Nota:
El acceso a esta página requiere autorización. Puede intentar iniciar sesión o cambiar directorios.
El acceso a esta página requiere autorización. Puede intentar cambiar los directorios.
En este tutorial, se usa una marca de característica de variante para administrar experiencias para distintos segmentos de usuarios en una aplicación de ejemplo, Cita del día. Usará la marca de característica de variante creada en Uso de marcas de característica de variante. Antes de continuar, asegúrese de crear la marca de característica de variante llamada Saludo en su almacén de App Configuration.
Prerrequisitos
- Versiones LTS de Node.js.
- Siga el tutorial Uso de marcas de característica de variante y cree la marca de característica de variante llamada Saludo.
Creación de una aplicación Node.js
Cree una carpeta denominada
quote-of-the-daye inicialice el proyecto.mkdir quote-of-the-day cd quote-of-the-day npm init -yInstale los siguientes paquetes.
npm install @azure/app-configuration-provider
npm install @microsoft/feature-management
npm install express
Cree un nuevo archivo denominado server.js y agregue el código siguiente.
const express = require("express");
const server = express();

const appConfigEndpoint = process.env.AZURE_APPCONFIG_ENDPOINT;
const { DefaultAzureCredential } = require("@azure/identity");
const { load } = require("@azure/app-configuration-provider");
const { FeatureManager, ConfigurationMapFeatureFlagProvider } = require("@microsoft/feature-management");

let appConfig;
let featureManager;

async function initializeConfig() {
    appConfig = await load(appConfigEndpoint, new DefaultAzureCredential(), {
        featureFlagOptions: {
            enabled: true,
            refresh: {
                enabled: true
            }
        }
    });

    featureManager = new FeatureManager(
        new ConfigurationMapFeatureFlagProvider(appConfig));
}

function startServer() {
    // Use a middleware to refresh the configuration before each request
    server.use((req, res, next) => {
        appConfig.refresh();
        next();
    });
    server.use(express.json());
    // Serve static index.html from the current folder
    server.use(express.static("."));

    // This API returns the different greeting messages based on the segment the user belongs to.
    // It evaluates a variant feature flag based on user context. The greeting message is retrieved from the variant configuration.
    server.get("/api/getGreetingMessage", async (req, res) => {
        const { userId, groups } = req.query;
        const variant = await featureManager.getVariant("Greeting", { userId: userId, groups: groups ? groups.split(",") : [] });
        res.status(200).send({ message: variant?.configuration });
    });

    server.post("/api/like", (req, res) => {
        const { UserId } = req.body;
        if (UserId === undefined) {
            return res.status(400).send({ error: "UserId is required" });
        }
        // Here you would typically emit a 'like' event to compare variants.
        res.status(200).send();
    });

    const port = "8080";
    server.listen(port, () => {
        console.log(`Server is running at http://localhost:${port}`);
    });
}

// Initialize the configuration and start the server
initializeConfig()
    .then(() => {
        startServer();
    })
    .catch((error) => {
        console.error("Failed to load configuration:", error);
        process.exit(1);
    });
Cree un nuevo archivo denominado index.html y agregue el código siguiente:
<!DOCTYPE html>
<html lang="en">
<head>
<meta charset="UTF-8">
<title>Quote of the Day</title>
<style>
    .heart-button {
    background-color: transparent;
    border: none;
    cursor: pointer;
    font-size: 24px;
    }

    .heart-button:hover {
    background-color: #F0F0F0;
    }
</style>
</head>
<body>
<div style="display: flex; flex-direction: column; min-height: 100vh; background-color: #f4f4f4;">
    <header style="background-color: white; border-bottom: 1px solid #eaeaea; display: flex; justify-content: space-between; align-items: center; font-family: 'Arial', sans-serif; font-size: 16px;">
    <div style="font-size: 1.25em; color: black;">QuoteOfTheDay</div>
    </header>

    <main style="display: flex; justify-content: center; align-items: center; flex-grow: 1;">
    <div style="background-color: white; padding: 30px; border-radius: 8px; box-shadow: 0 2px 10px rgba(0, 0, 0, 0.1); max-width: 700px; position: relative; text-align: left;">
        <div id="quote-content">
        <h2 id="greeting">Quote of the Day</h2>
        <blockquote style="font-size: 2em; font-style: italic; color: #4EC2F7; margin: 0 0 20px 0; line-height: 1.4;">
            <p>"You cannot change what you are, only what you do."</p>
            <footer style="font-size: 0.55em; color: black; font-family: 'Arial', sans-serif; font-style: normal; font-weight: bold;">— Philip Pullman</footer>
        </blockquote>
        <div style="position: absolute; top: 10px; right: 10px; display: flex;">
            <button class="heart-button" id="like-button">
            <span id="heart-icon" style="color: #ccc">♥</span>
            </button>
        </div>
        </div>
        <div id="loading" style="display: none;">
        <p>Loading</p>
        </div>
    </div>
    </main>
</div>

<script>
    // extract URL parameters to simulate user login
    document.addEventListener('DOMContentLoaded', function() {
    const urlParams = new URLSearchParams(window.location.search);
    const currentUser = urlParams.get('userId') || '';
    let liked = false;

    const greetingElement = document.getElementById('greeting');
    const heartIcon = document.getElementById('heart-icon');
    const likeButton = document.getElementById('like-button');
    const quoteContent = document.getElementById('quote-content');
    const loadingElement = document.getElementById('loading');

    async function init() {
        quoteContent.style.display = 'none';
        loadingElement.style.display = 'block';

        const response = await fetch(`/api/getGreetingMessage?userId=${currentUser}`, {
        method: "GET"
        });
        const result = await response.json();
        greetingElement.textContent = result.message || "";
        quoteContent.style.display = 'block';
        loadingElement.style.display = 'none';
    }

    likeButton.addEventListener('click', async function() {
        if (!liked) {
        const response = await fetch("/api/like", {
            method: "POST",
            headers: { "Content-Type": "application/json" },
            body: JSON.stringify({ UserId: currentUser }),
        });
        }
        liked = !liked;
        heartIcon.style.color = liked ? 'red' : '#ccc';
    });

    init();
    });
</script>
</body>
</html>
Para simplificar, en el ejemplo se extrae el
userIdde los parámetros de consulta de URL (por ejemplo,?userId=UserA) para simular diferentes identidades de usuario.
Ejecutar la aplicación
Establezca la variable de entorno denominada AZURE_APPCONFIG_ENDPOINT en el punto de conexión del almacén de App Configuration que se encuentra en la Información general del almacén en Azure Portal.
Si usa el símbolo del sistema de Windows, ejecute el siguiente comando y reinícielo para que se aplique el cambio:
setx AZURE_APPCONFIG_ENDPOINT "<endpoint-of-your-app-configuration-store>"Si usa PowerShell, ejecute el siguiente comando:
$Env:AZURE_APPCONFIG_ENDPOINT = "<endpoint-of-your-app-configuration-store>"Si usa macOS o Linux, ejecute el siguiente comando:
export AZURE_APPCONFIG_ENDPOINT='<endpoint-of-your-app-configuration-store>'Ejecute la aplicación.
node server.jsAbra el explorador web y vaya a
localhost:8080. Debería ver la vista predeterminada de la aplicación que no tiene ningún mensaje de saludo.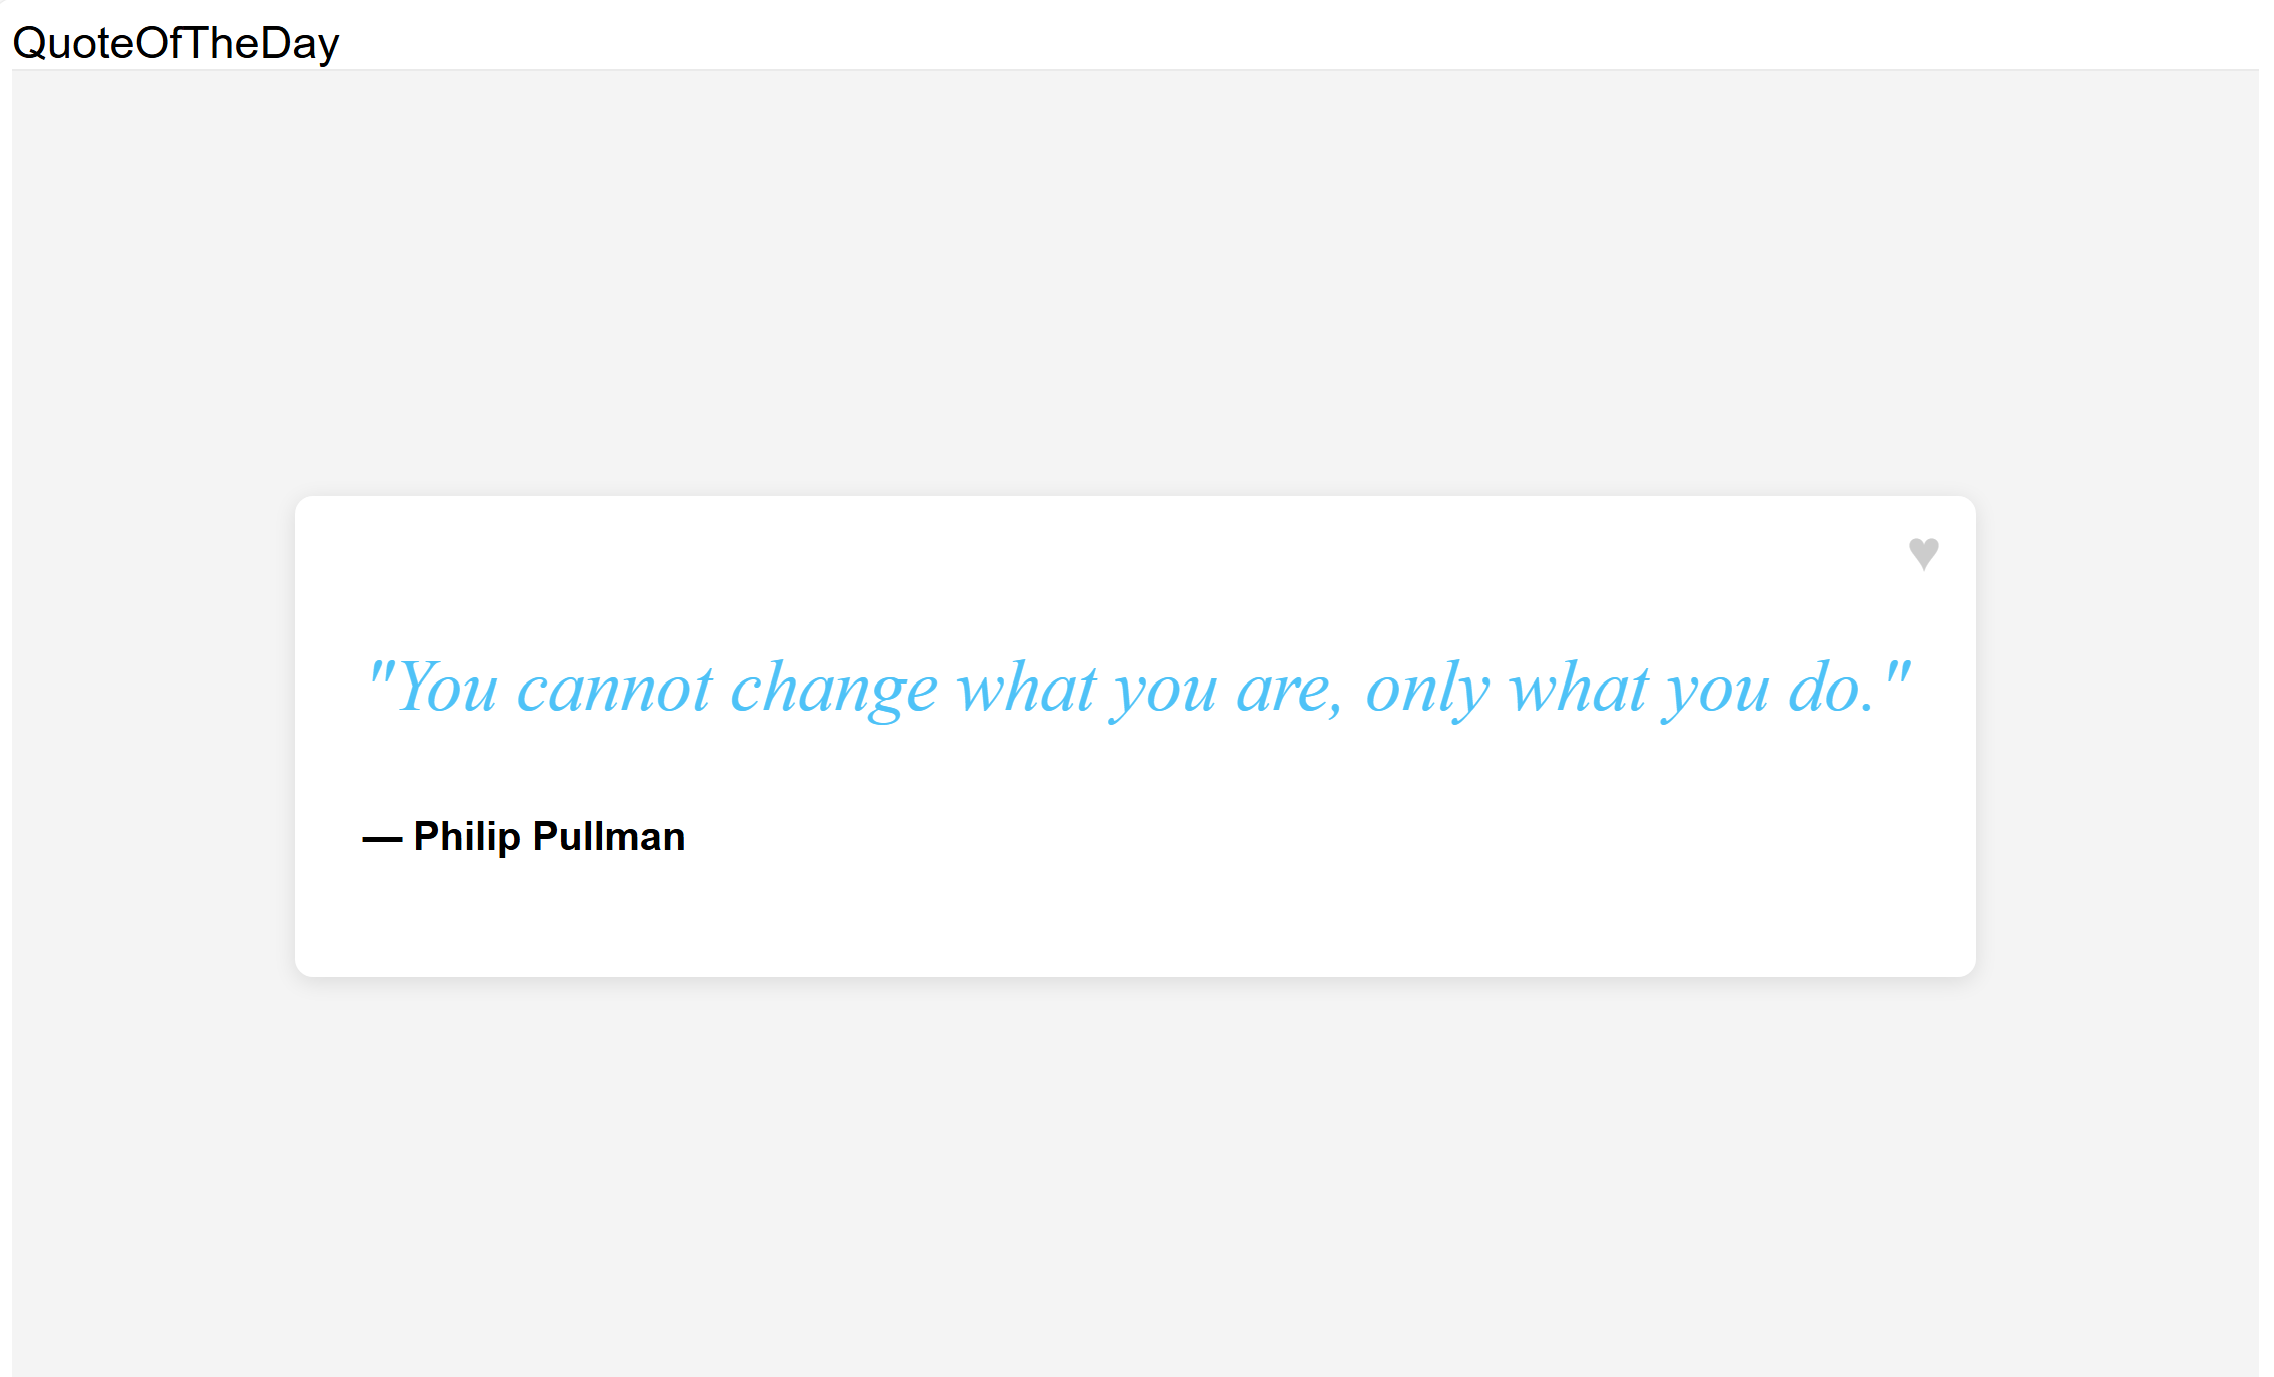
Puede usar
userIdel parámetro de consulta en la dirección URL para especificar el identificador de usuario. Visitelocalhost:8080/?userId=UserAy verá un mensaje de saludo largo.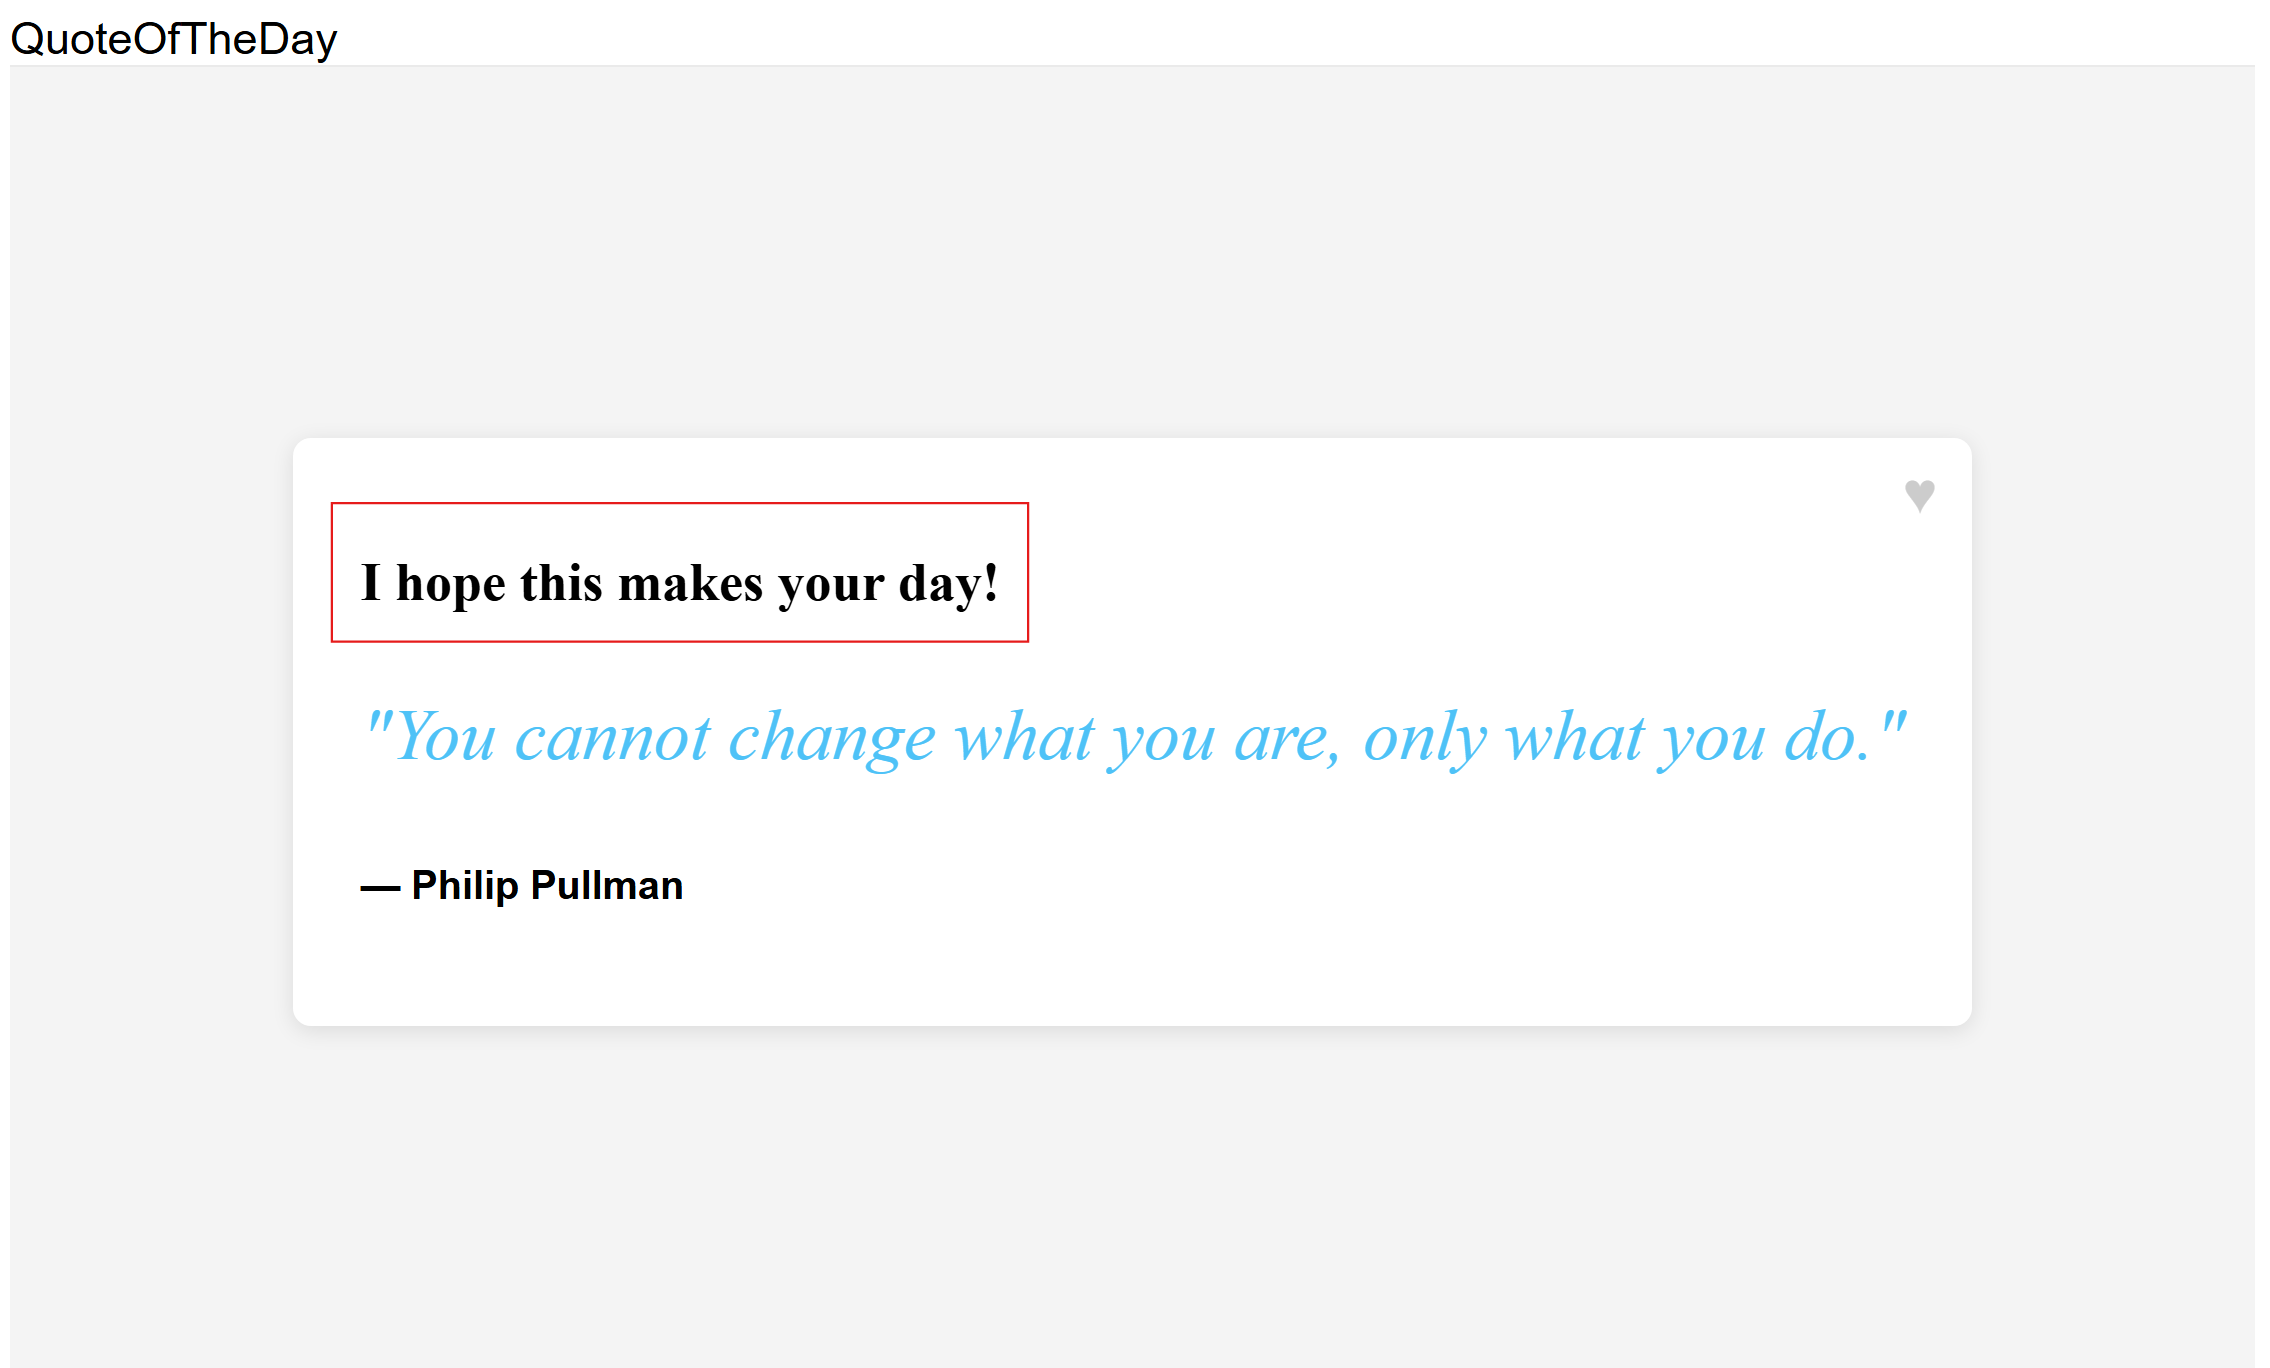
Pruebe diferentes identificadores de usuario para ver cómo la bandera de función variante cambia el mensaje de saludo para distintos segmentos de usuarios. Visite
localhost:8080/?userId=UserBy verá un mensaje de saludo más corto.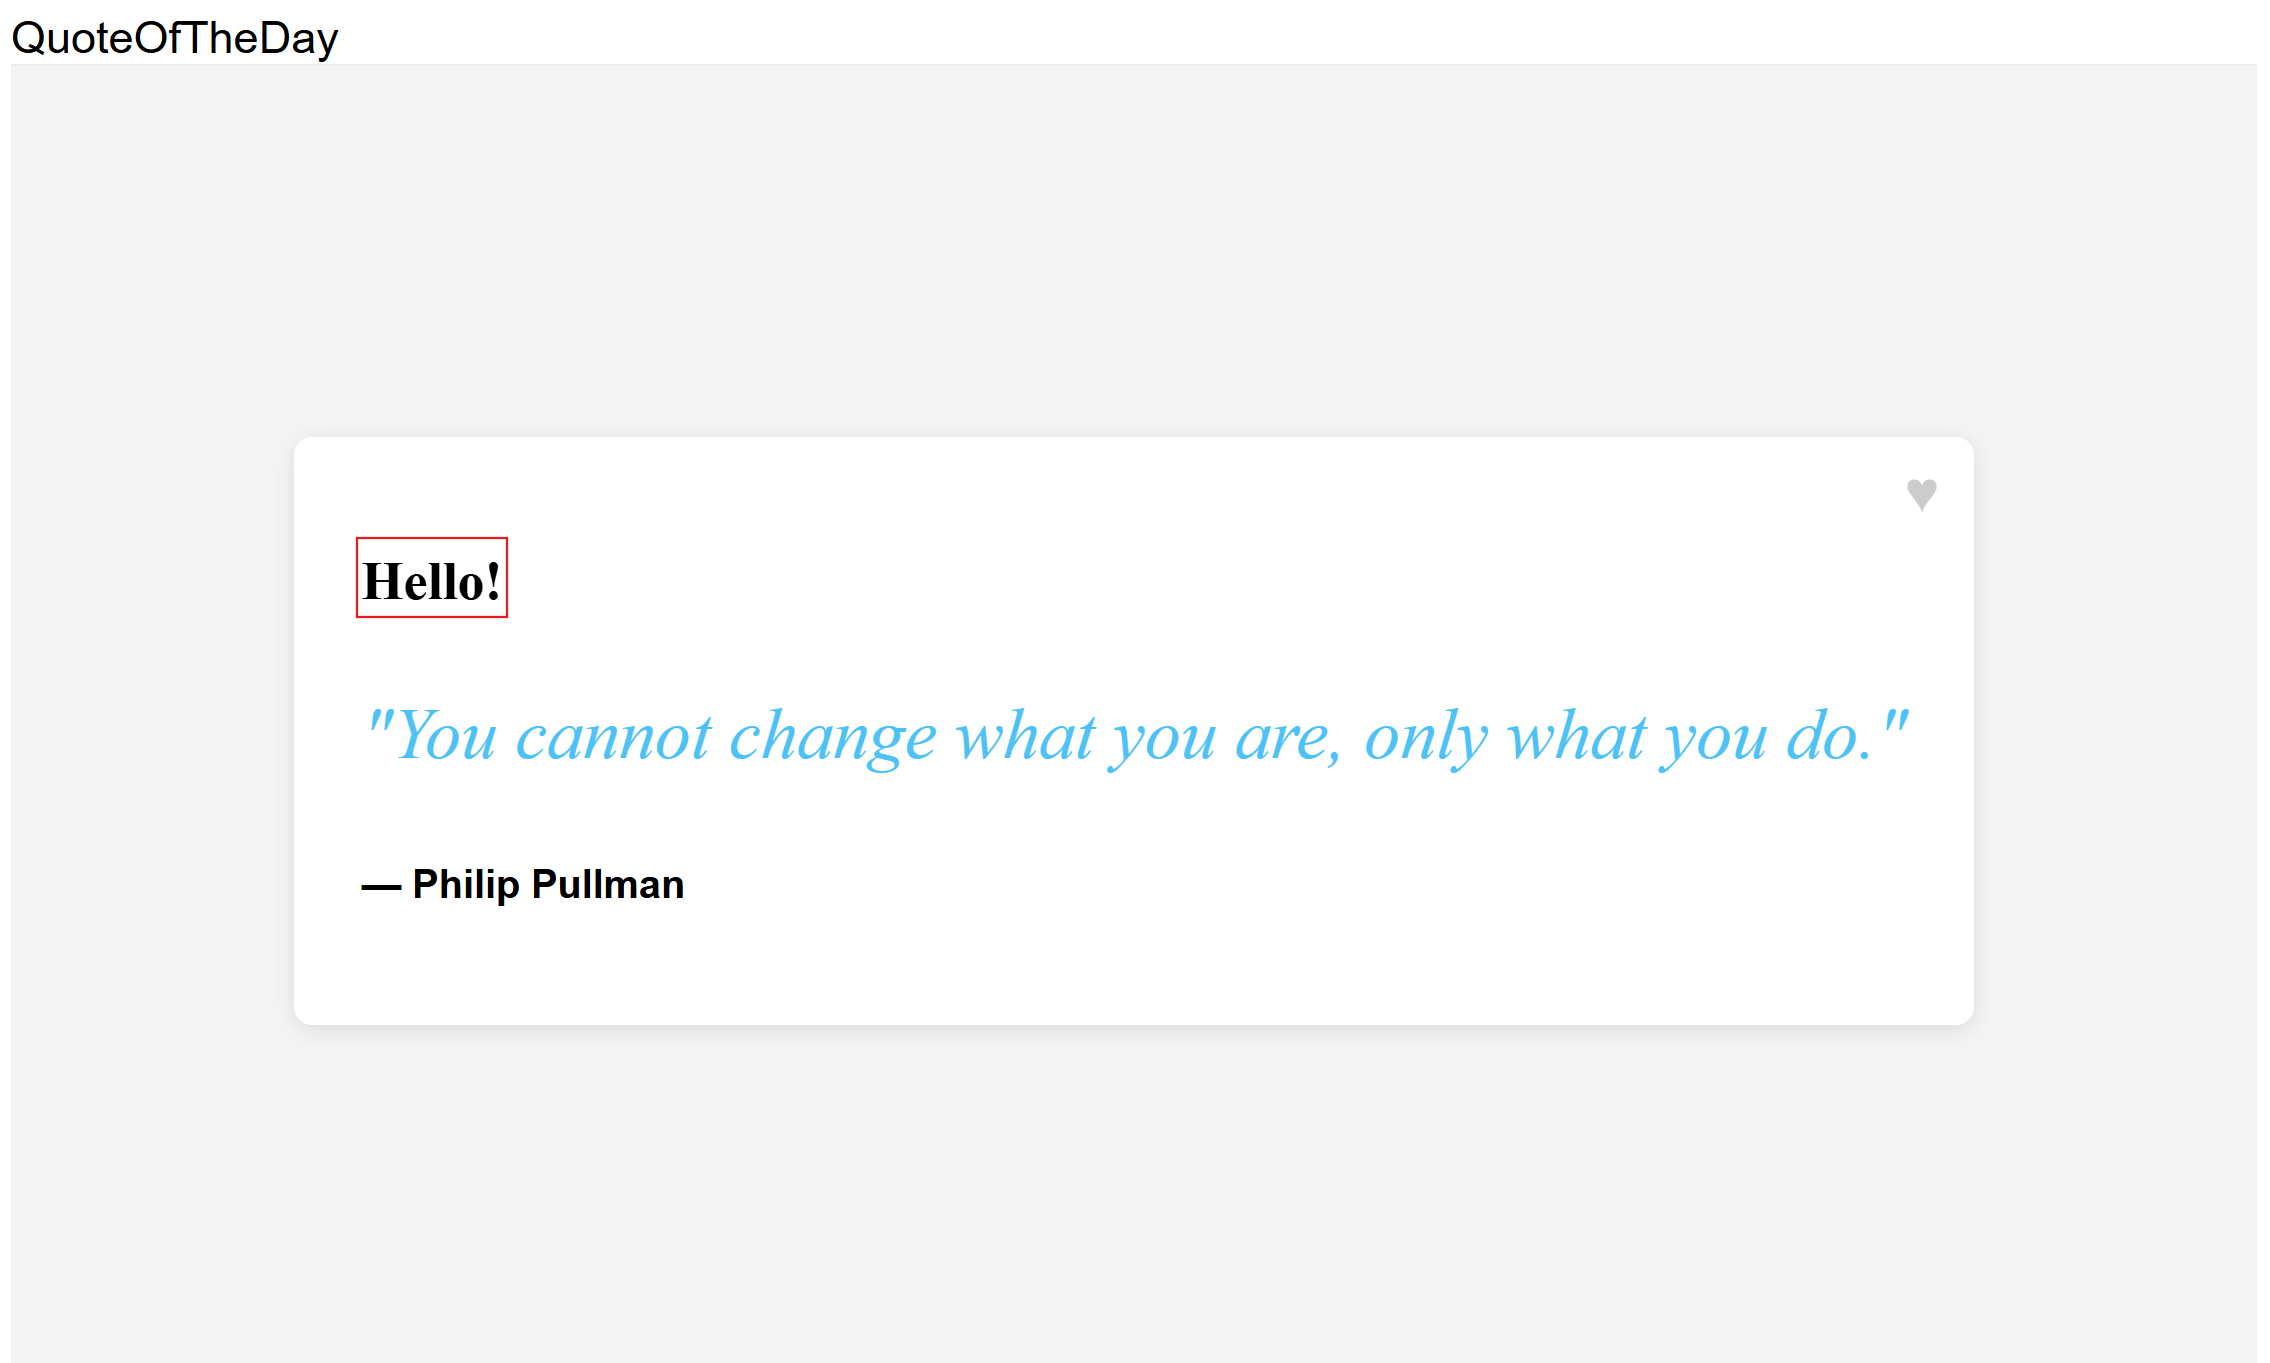
Pasos siguientes
Para obtener la lista completa de características de la biblioteca de administración de características de JavaScript, consulte el siguiente documento.