Nota
El acceso a esta página requiere autorización. Puede intentar iniciar sesión o cambiar directorios.
El acceso a esta página requiere autorización. Puede intentar cambiar los directorios.
La migración desde Android SDK de Azure Maps al SDK web en WebView implica la transición de la vista de mapa existente desde una implementación nativa a un mapa basado en web mediante el SDK web de Azure Maps. Esta guía le muestra cómo migrar su código y funciones de Android SDK al SDK web.
Nota:
Retirada de Android SDK para Azure Maps
El SDK nativo de Azure Maps para Android ya está en desuso y se retirará el 31 de marzo de 2025. Para evitar interrupciones del servicio, migre al SDK web de Azure Maps antes del 31 de marzo de 2025.
Requisitos previos
Para usar el control de mapa en una página web, debe cumplir uno de los siguientes requisitos previos:
- Una cuenta de Azure Maps.
- Una clave de suscripción o credenciales de Microsoft Entra. Para obtener más información, consulte opciones de autenticación.
Crear un WebView
Agregue un WebView si la aplicación Android no tiene una. Para ello, agregue el elemento WebView al XML de diseño o mediante programación en el código Java. Asegúrese de que está configurado para ocupar el área deseada del diseño.
<?xml version="1.0" encoding="utf-8"?>
<androidx.coordinatorlayout.widget.CoordinatorLayout xmlns:android="http://schemas.android.com/apk/res/android"
    xmlns:app="http://schemas.android.com/apk/res-auto"
    xmlns:tools="http://schemas.android.com/tools"
    android:layout_width="match_parent"
    android:layout_height="match_parent"
    tools:context=".MainActivity">

    <WebView
        android:id="@+id/webView"
        android:layout_width="match_parent"
        android:layout_height="match_parent"/>

</androidx.coordinatorlayout.widget.CoordinatorLayout>
Habilite el acceso a Internet agregando permisos en AndroidManifest.xml.
<uses-permission android:name="android.permission.INTERNET" />
En la actividad o fragmento, inicialice el WebView y habilite JavaScript actualizando la configuración. Cargue el archivo HTML que contiene el código del SDK web. Puede cargarlo desde la carpeta de activos o desde una URL remota.
import android.os.Bundle;
import androidx.appcompat.app.AppCompatActivity;
import android.webkit.WebSettings;
import android.webkit.WebView;

public class MainActivity extends AppCompatActivity {

    private WebView webView;

    @Override
    protected void onCreate(Bundle savedInstanceState) {
        super.onCreate(savedInstanceState);

        setContentView(R.layout.activity_main);
        webView = findViewById(R.id.webView);

        // Enable JavaScript
        WebSettings webSettings = webView.getSettings();
        webSettings.setJavaScriptEnabled(true);

        // Load local HTML file from /src/main/assets/map.html
        webView.loadUrl("file:///android_asset/map.html");
    }
}
Configuración de un mapa con el SDK web de Azure Maps
En el archivo HTML, inicialice un mapa con su clave de suscripción. Reemplace <YOUR_SUBSCRIPTION_KEY> por la clave real.
<!DOCTYPE html>
<html>
   <head>
       <title>Azure Maps</title>
       <meta charset="utf-8" />
       <meta name="viewport" content="width=device-width, initial-scale=1" />
       <!-- Add references to the Azure Maps Map control JavaScript and CSS files. -->
       <link rel="stylesheet" href="https://atlas.microsoft.com/sdk/javascript/mapcontrol/3/atlas.min.css" type="text/css"/>
       <script src="https://atlas.microsoft.com/sdk/javascript/mapcontrol/3/atlas.min.js"></script>
       <style>
           html,
           body,
           #map {
               margin: 0;
               height: 100%;
               width: 100%;
           }
           body {
               display: flex;
               flex-direction: column;
           }
           main {
               flex: 1 1 auto;
           }
       </style>
       <script type="text/javascript">
           // Create an instance of the map control.
           function InitMap() {
               var map = new atlas.Map("map", {
                   center: [-122.33, 47.6],
                   zoom: 12,
                   authOptions: {
                       authType: "subscriptionKey",
                       subscriptionKey: "<YOUR_SUBSCRIPTION_KEY>"
                   }
               });

               // Wait until the map resources are ready.
               map.events.add("ready", function () {
                   // Resize the map to fill the container.
                   map.resize();
               });
           }
       </script>
   </head>
   <body onload="InitMap()">
       <main>
           <div id="map"></div>
       </main>
   </body>
</html>
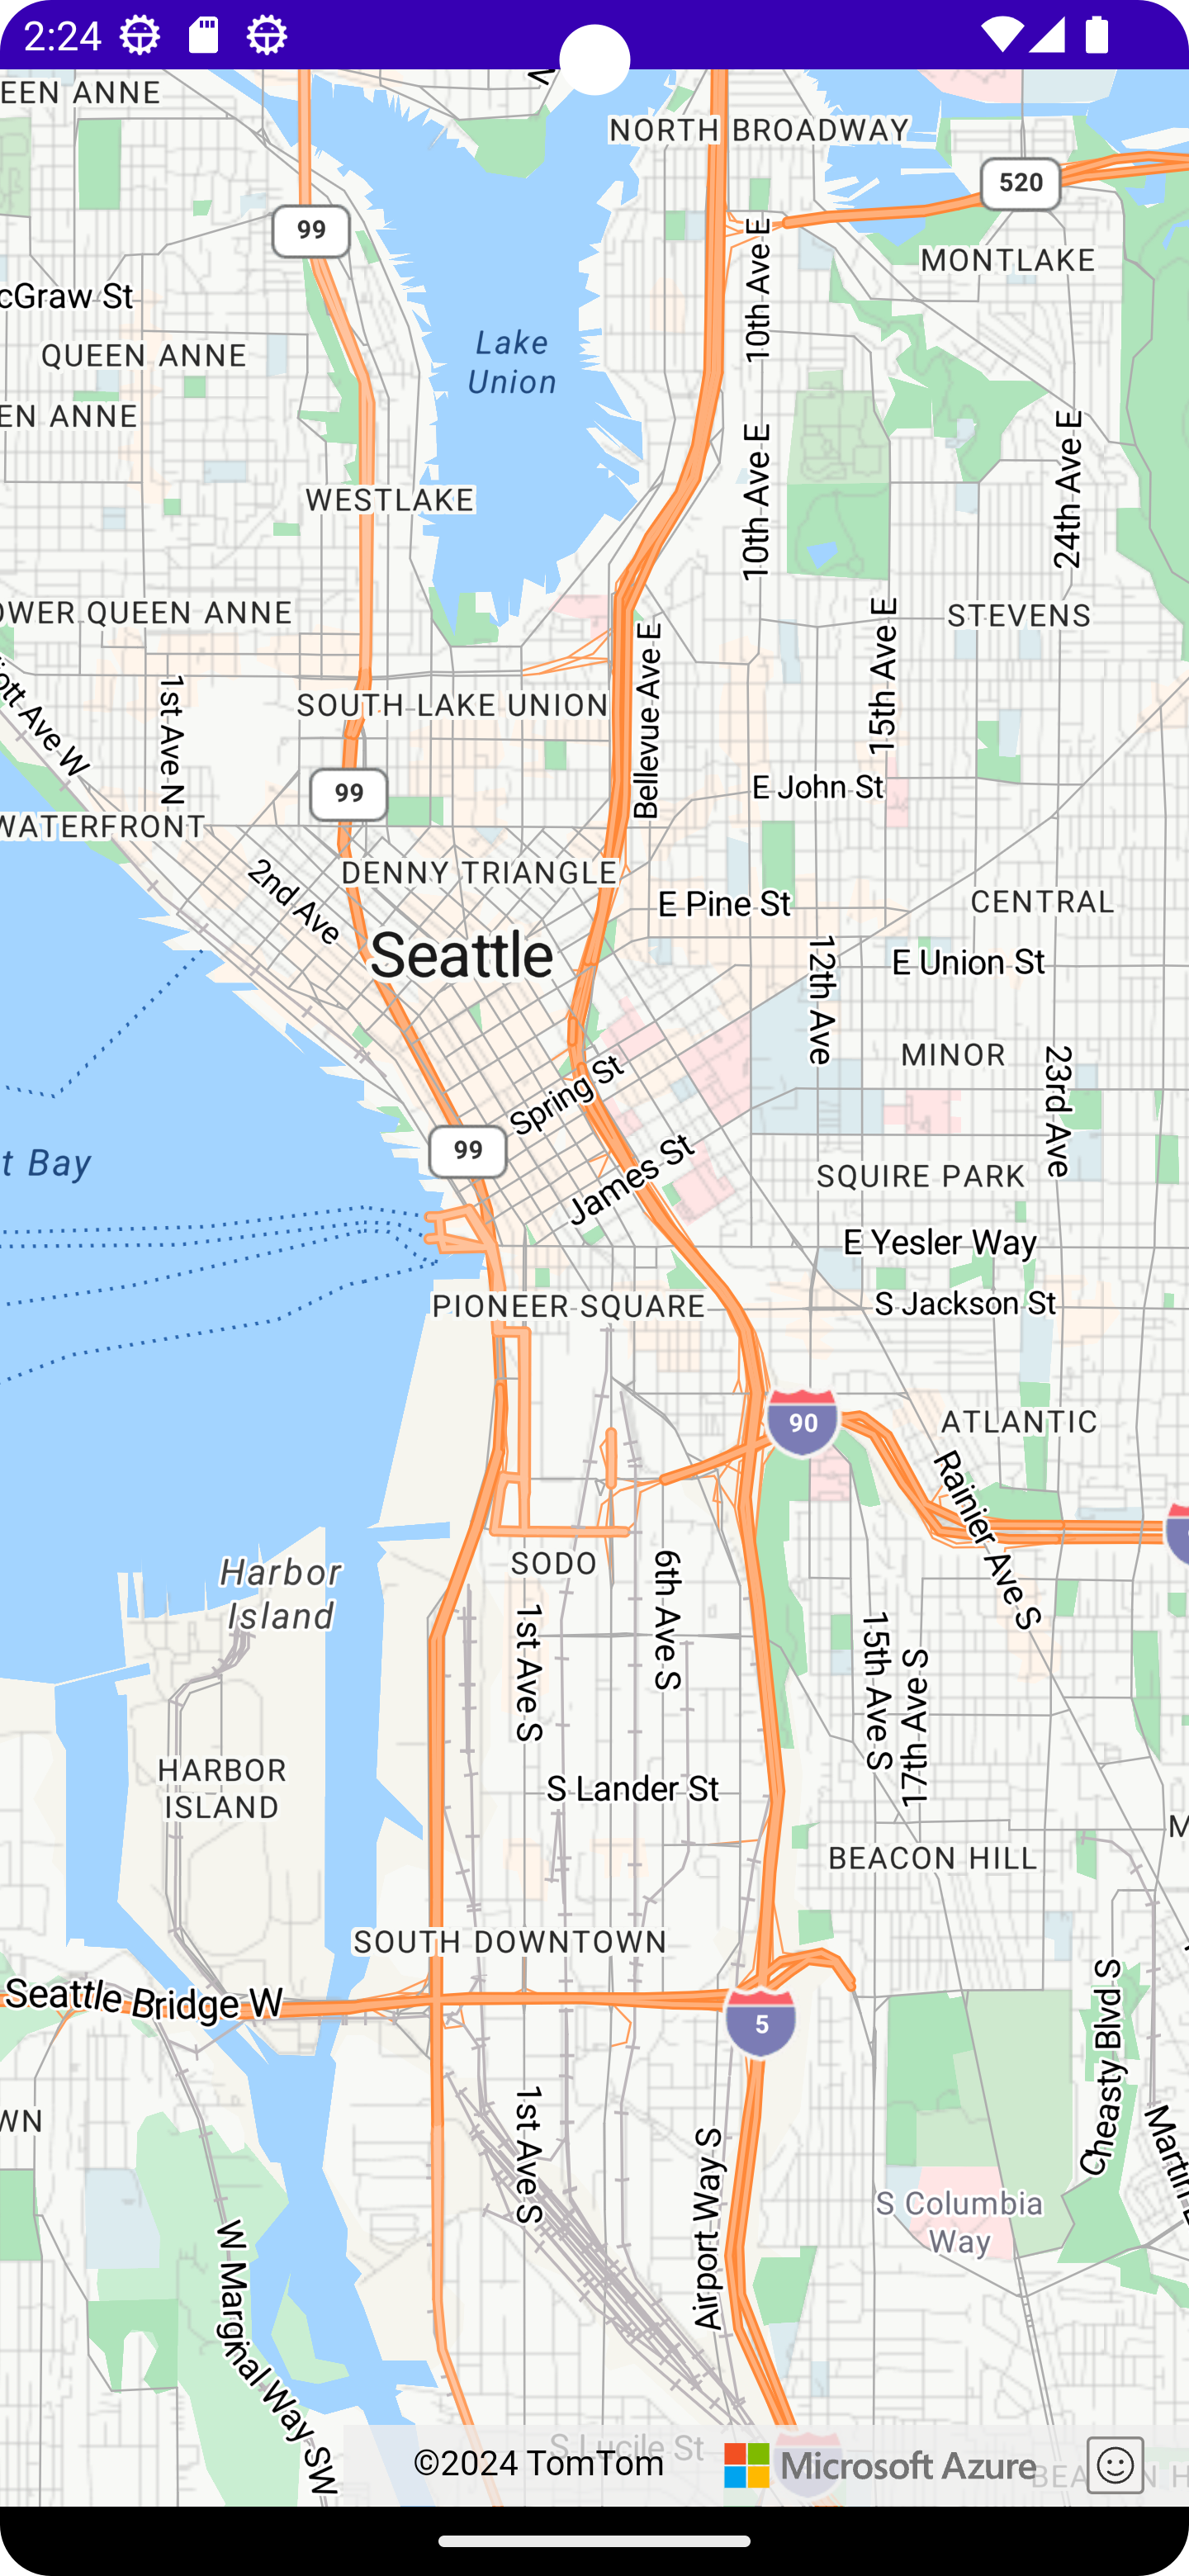
Almacenamiento y ejecución de la aplicación. Aparecerá un mapa dentro de una WebView. Agregue las características o funcionalidades necesarias desde el SDK web. Para obtener más información, consulte la Documentación de Azure Maps y los Ejemplos de Azure Maps.
Comunicación entre código nativo y WebView (opcional)
Para habilitar la comunicación entre la aplicación Android y WebView, puede usar el método addJavascriptInterface de vista web para exponer un objeto Java a JavaScript que se ejecuta en la vista web. Le permite llamar a métodos Java desde su código JavaScript. Para obtener más información, consulte WebView en la documentación de Android.
Limpieza de una implementación de mapas nativos
Elimine el código relacionado con el Android SDK de Azure Maps para Android, incluidas las dependencias y el código de inicialización relacionados con com.azure.android:azure-maps-control.
Prueba
Pruebe la aplicación exhaustivamente para asegurarse de que la migración se realizó correctamente. Compruebe si hay problemas relacionados con la funcionalidad del mapa, las interacciones del usuario y el rendimiento.
Pasos siguientes
Obtenga información sobre cómo agregar mapas a aplicaciones web y móviles mediante la biblioteca de JavaScript del lado cliente de Control de mapa de Azure Maps: