Nota
El acceso a esta página requiere autorización. Puede intentar iniciar sesión o cambiar directorios.
El acceso a esta página requiere autorización. Puede intentar cambiar los directorios.
Note
If you’re not familiar with editing forms using the form designer, follow the instructions here: Create, edit, or configure forms using the form designer
To add the Insights tab to custom forms:
Open the form editor where you want to have the control placed.
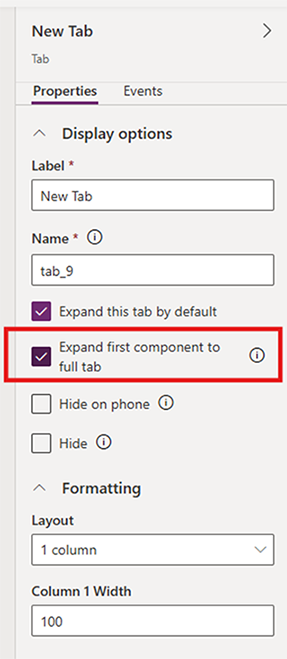
Add a new tab to that form.
Make sure to check the "Expand first component to full tab" checkbox.
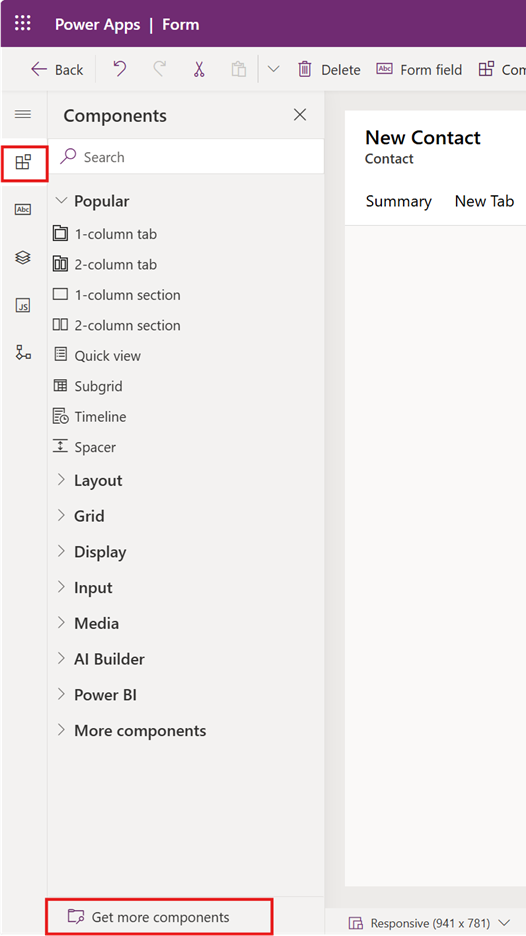
Select the Components section on the left side then select Get more components.
In the side panel that opens, search for "InsightsControl."
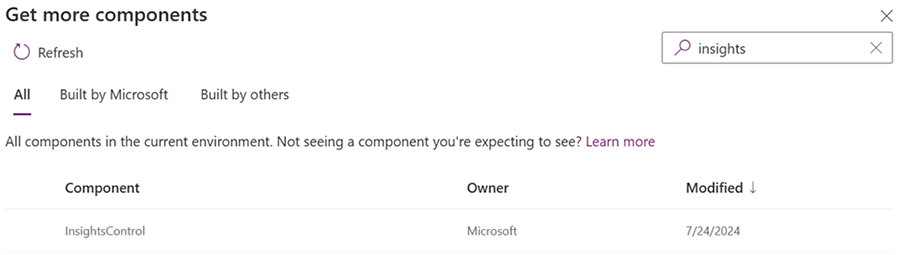
Select the “InsightsControl” component then select Add.
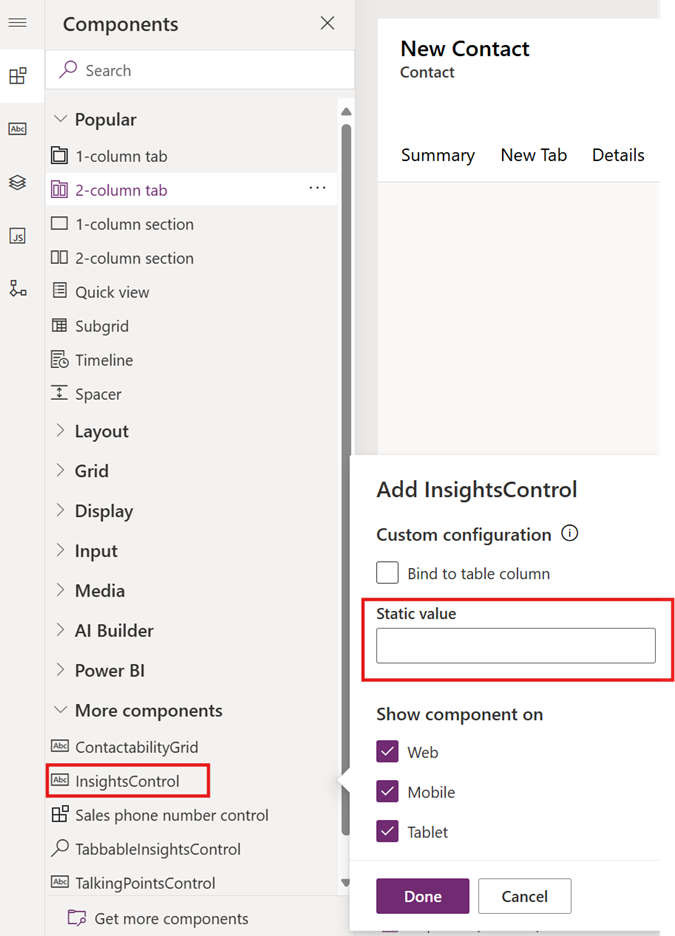
The control now appears under the More components section. You can now add the control to the form.
Fill out the Custom configuration property. This is the web resource name (including extension) that's loaded to display the widgets. The “CC_filter” property shouldn't be used. Here are the default insights configurations:
- Contact: ContactInsights.msdynmkt_InsightsConfig.json
- Lead: LeadInsights.msdynmkt_InsightsConfig.json
Save changes and publish all customizations.
Customize the layout
Note
- The preferred way to customize the layout is to clone an existing configuration and customize the JSON according to user needs.
- Using widgets not listed in "Available widgets" for a given entity results in unpredictable errors.
- For more information about web resources, see Create or edit model-driven app web resources to extend an app
Insights configuration is a JSON file specifying a layout of widgets on a page. It's meant to be used as a full-page control in a form.
To create a JSON file with layout definition:
Use one of the existing configurations as the base by querying its web resource. Consult the appropriate section to find out about the available web resources. After downloading the web resource, you can make the modifications. Don't modify properties other than the ones specified below:
- layout > gridConfiguration > responsiveBreakpoints: These values specify the name and breakpoint at which the grid placement override is applied.
- pages: This specifies the pages available for navigation. The first page is always the first, main visible page. Other pages can be navigated to by using InsightsNavigationControl.
- compoundWidgets: The definition of content for each separate card on the layout. Consult the layout JSON description section for more detailed information.
After making changes, save the file on your local drive with a ".js" extension.
In the admin portal (Settings
 > Advanced settings), go to Solutions and select the solution that the web resource should belong to.
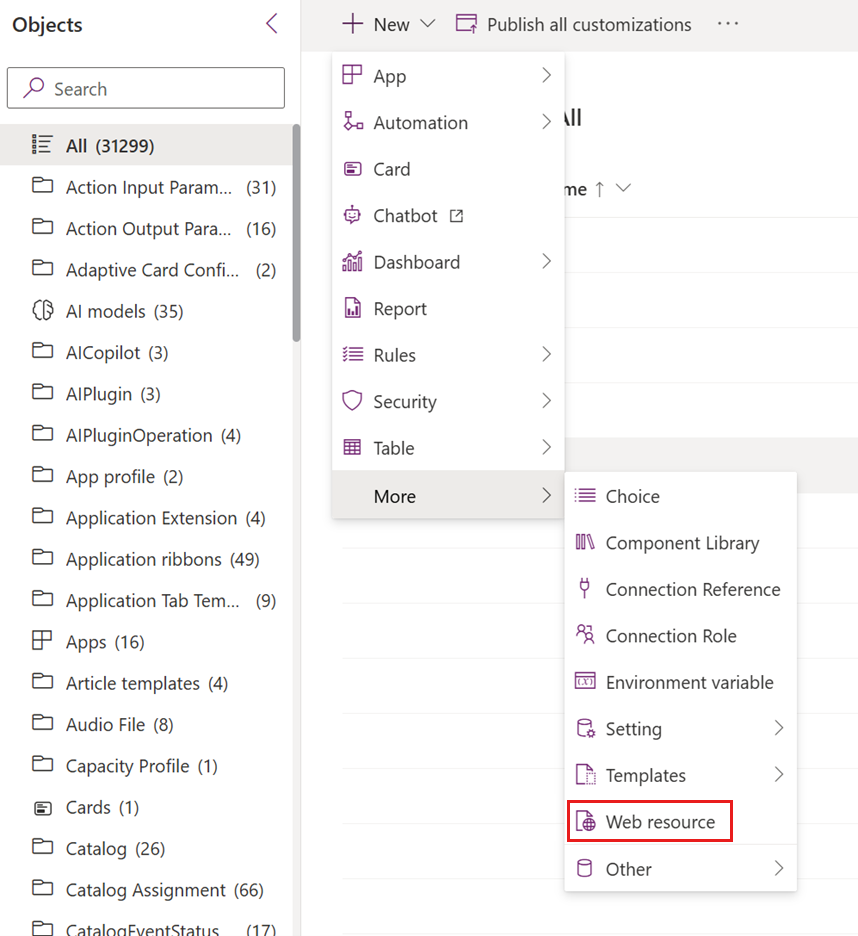
Upload the file. In the custom control configuration, make sure to use the value of the “Name” field (including the solution prefix).