Business events and Azure Event Hubs
This tutorial describes the steps that you must follow to make business events work with Microsoft Azure Event Hubs.
In Azure portal, create an Active Directory application registration. Make a note of the application ID.

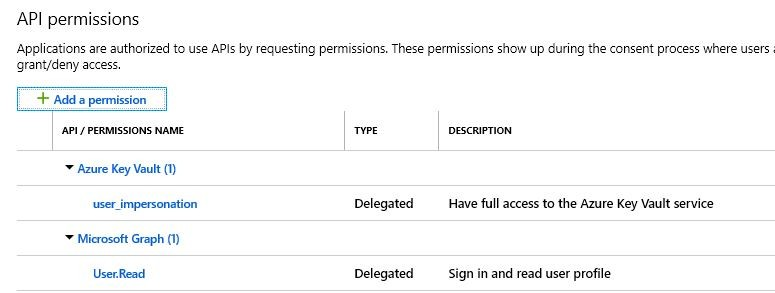
Give the app, permission to the Azure Key Vault application programming interface (API).
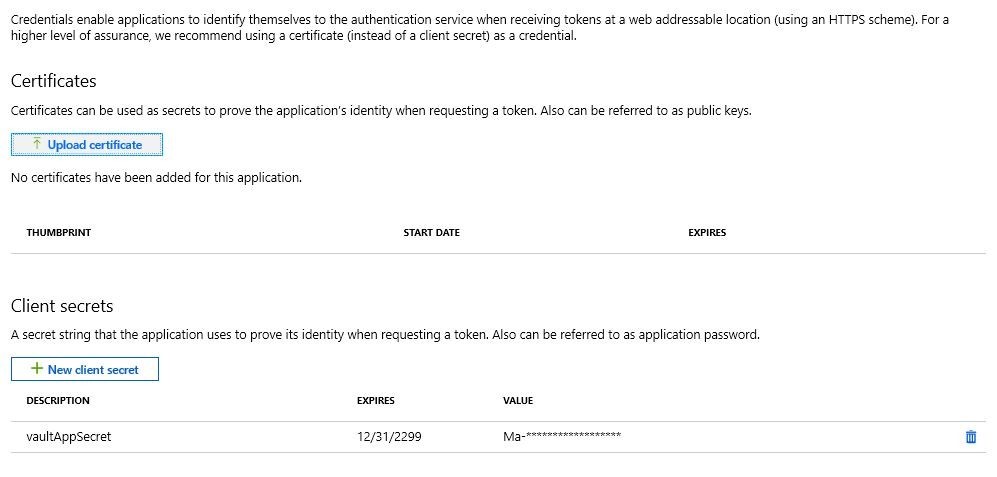
In the app registration, create an application secret. Make a note of the value.
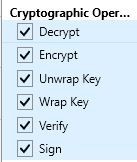
In the key vault, give permission to the new app registration.
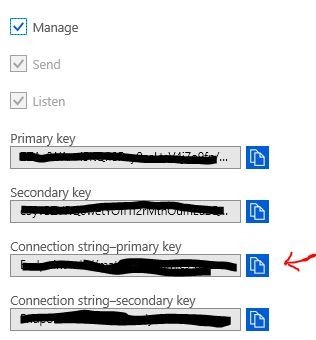
In the key vault, create a new secret. The value of this secret must be the connection string to your event hub. Make a note of the value.
Create an endpoint configuration for the event hub. Go to System administration > Setup > Business events > Business events catalog, and then, on the Endpoints tab, select New to open the Configure new endpoint wizard.
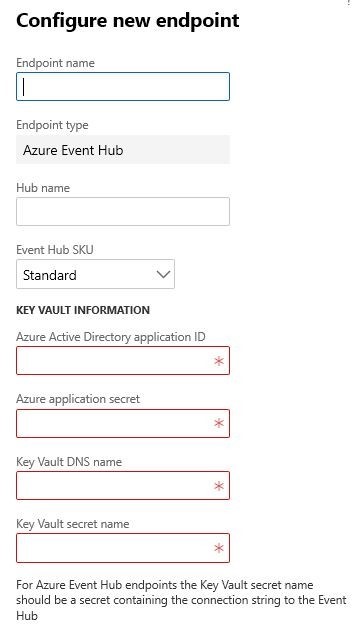
In the Endpoint type field, select Azure Event Hub.
Select Next.
In the Endpoint name field, enter a name for the endpoint.
In the Hub name field, enter the name of your event hub.
In the Microsoft Entra application ID field, enter the application ID that was created earlier.
In the Azure application secret field, enter the value that was created earlier.
In the Key Vault DNS name field, enter the Domain Name System (DNS) name of your key vault. You can find this value on the Overview tab of the key vault configuration in the Azure portal.
In the Key Vault secret name field, enter the name from the secret that was created earlier.
Select OK.
You can now activate one or more business events that should be sent to this endpoint.