Customize your Kanban boards
TFS 2017 | TFS 2015 | TFS 2013
This article shows how to customize a Kanban board. You have one Kanban board for each active product or portfolio backlog.
You can configure your Kanban board in several ways to support specific tracking needs. For example:
- Update fields directly from the card.
- Highlight cards based on field assignments.
- Add columns to track other workflow states.
- Add swimlanes to speed up work or differentiate work assigned to different service classes.
Open board settings
Each team can customize their Issues and Epics boards and sprint Taskboards.
Note
The Basic process is available when you add a project to Azure DevOps Services or Azure DevOps Server 2019 Update 1. For earlier on-premises deployments, choose Agile, Scrum, or CMMI process.
Choose the
 gear icon to configure the board setting settings.
The Settings dialog opens.
Choose one of the following tabs based on what you want to customize:
Common customizations:
- Fields: Set what fields appear on cards.
- Columns: Add, rename, and configure columns for the board.
- Swimlanes: Add swimlanes to a board to easily track high priority levels, distinguish different service classes, or track blocked items.
- Backlogs: Enable or disable issues or epics from being tracked on backlogs and boards.
- Styles: Specify the card color to display based on field criteria you specify.
- Tag colors: Specify the tag color to display based on tag criteria you specify.
- Annotations: Enable or disable task or test annotations.
- Tests: Configure how you want tests to appear and behave on the cards.
- Card reordering: Choose to enable/disable changing of the backlog priority when dragging and dropping cards on the board.
- Cumulative flow: Set how you want the cumulative flow diagram to display.
- Working days: Set the active weekdays to use when tracking capacity and burndown.
Customize fields on a card
To quickly assign fields from the card without having to open the work item, add them to display on the card.
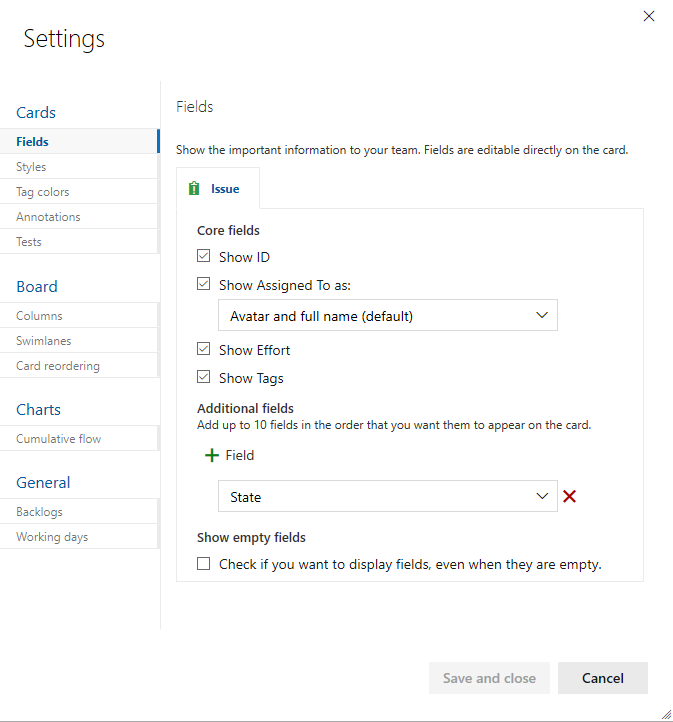
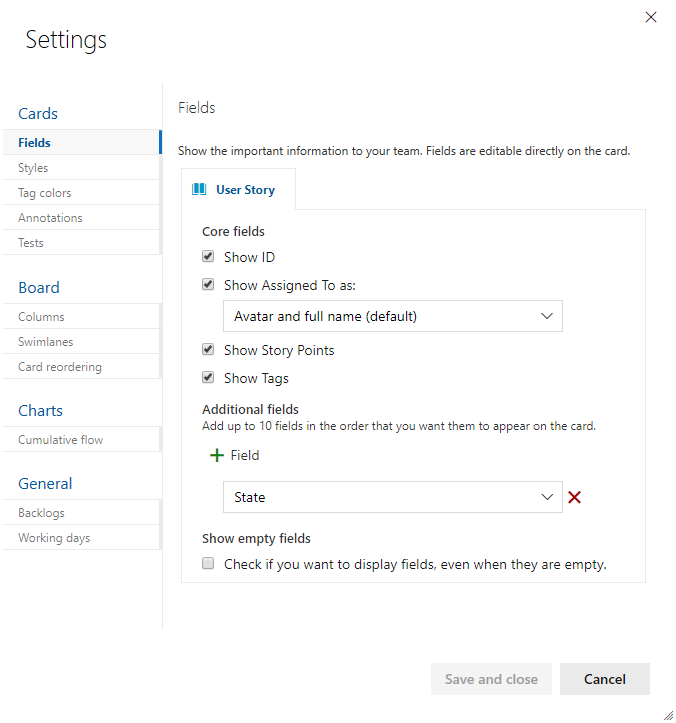
To configure the fields displayed on cards, choose the Fields tab.
Check or uncheck those fields you want to display or not display on the board.
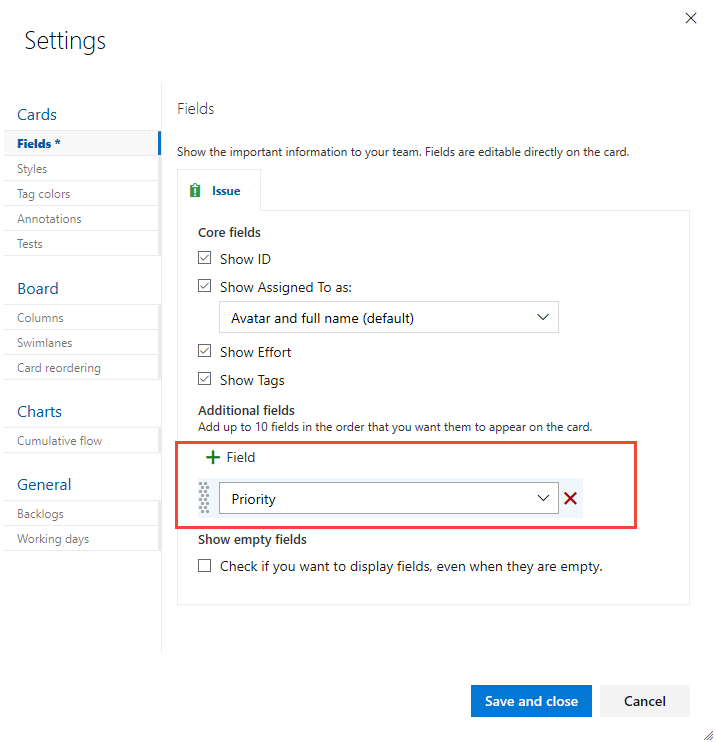
To add a field, choose
 Field to add a field.
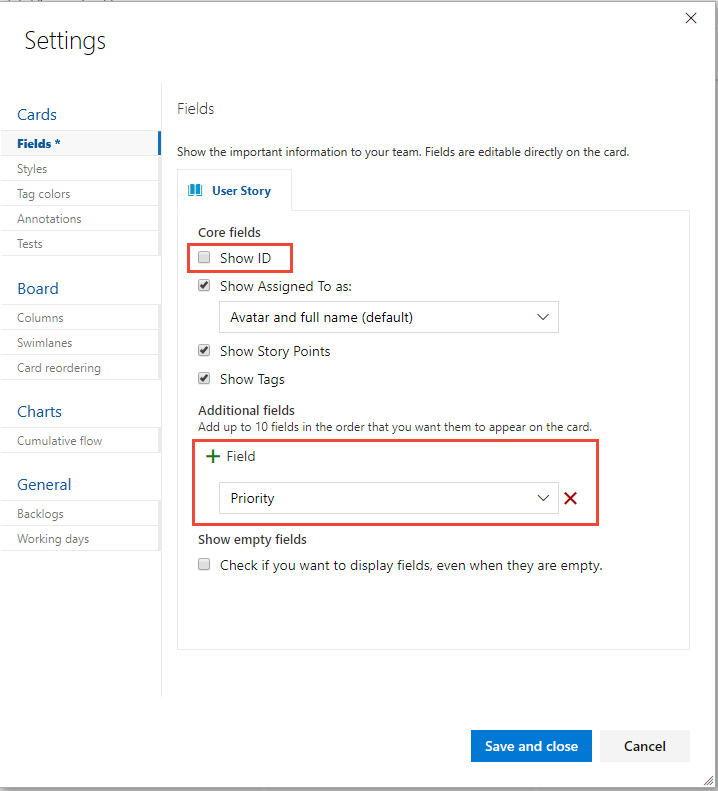
For example, here we uncheck Show ID and add the Priority field.
To remove a field, choose the
 delete icon next to the field.
Choose Save and close when done. To learn more, see Customize cards.
Customize your columns
You can add columns or change column names.
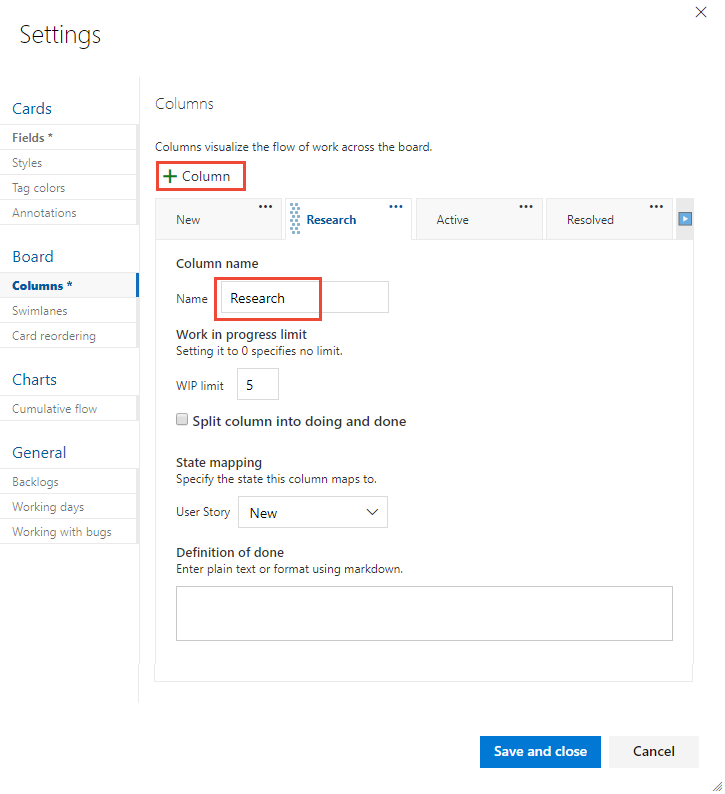
To add a column or change column settings, choose Columns tab.
Here we choose
Column, and then specify the name as Research.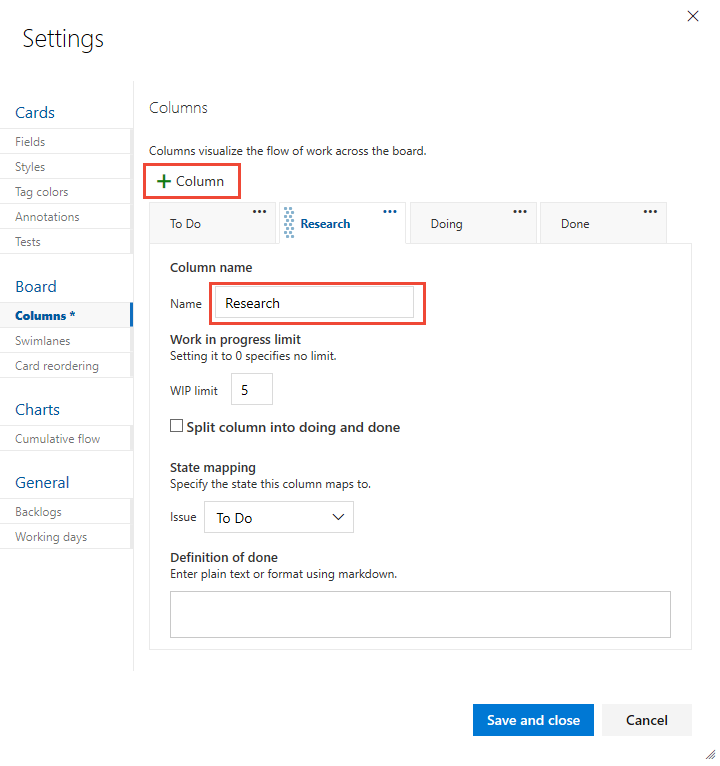
Choose Save and close when done. To learn more about column settings, see Add columns to your Kanban board.
Customize your swimlanes
Swimlanes appear as rows within the Kanban board and provide yet another way to categorize work you want to track.
To add a swimlane, choose Swimlanes tab and choose
Swimlane, and then specify the name.Here we label the swimlane Expedite.

Choose Save and close when done. To learn more about working with swimlanes, see Expedite work with swimlanes.
Add or remove backlog levels
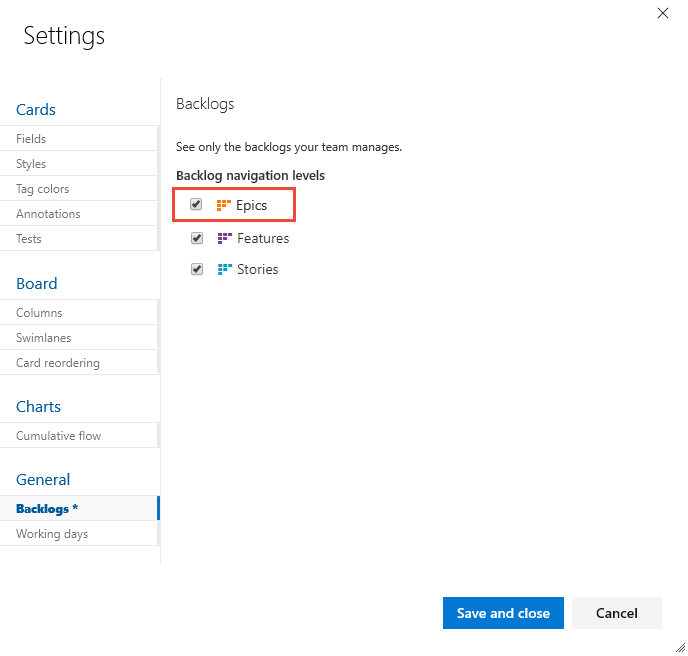
If you decide you don't want to use Epics to track work, you can turn it off and it won't show up as a board or backlog. By default, it's enabled for new projects.
Choose Backlogs tab and uncheck the work item type you no longer want to track on backlogs and boards.
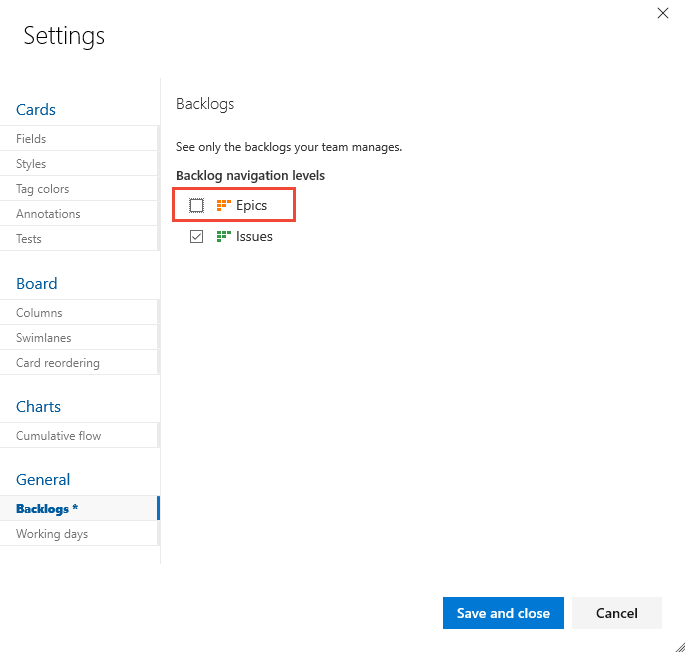
Choose Save and close when done.
Note
Contributors will still be able to create Epics from other views, they just won't be able to view Epics within a backlog or board. To completely disable the Epic work item type, see Add and manage work item types, Enable or disable a WIT.
Review your changes
After you close the settings dialog, refresh (F5) your board to view your changes. Verify that all changes appear as expected, or revisit the Settings dialog to make a change.
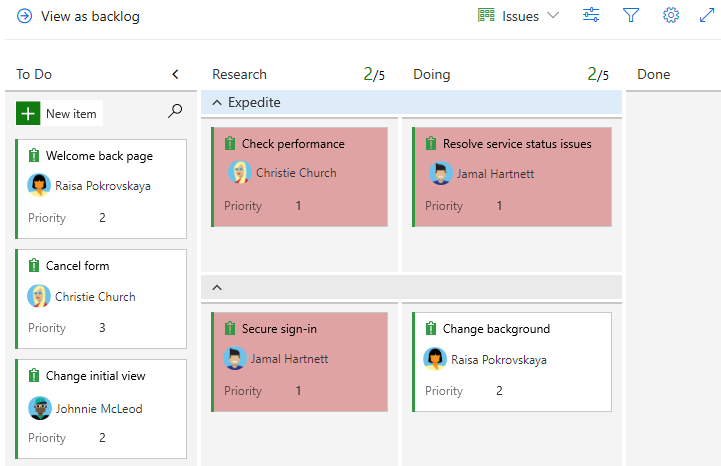
Here we show the customizations made in this article. The following image also shows a style applied to the color when the Priority=1.
Next step
Related articles
- Customize cards (addresses Styles, Tag colors, Annotations, and Tests)
- Card reordering
- Work in Progress limits
- Split columns
- Definition of Done
- Set working days
- Cumulative flow