Connecting to Blob Storage with a Shared Access Signature in Power BI
As you're likely aware Power BI supports dozens of data sources out of the box enabling you to mash up data from a variety of sources. Each one of these sources of data has a unique configuration governed by the capabilities of the source (ie. text files vs. a database). At times you may also find that the capabilities of the connector can be governed by what features the developers of the connector chose to implement. I ran into such a scenario recently using the Power BI connector for Blob Storage. You may have noticed that out of the box the connector only supports two authentication methods.

- Anonymous - this will only work if you've made your blob container public. (I find this is invalid for most scenarios).
- Account Key - This is the master account key, which has full permissions to the storage account.
If you're familiar with Blob Storage, it has another option for authentication called "Shared Access Signatures". This mechanism provides for much more granular security as it allows you to define at the container or blob level the type of access (Read/Write/Delete/List), and also when said access will expire. (For more details see: /en-us/azure/storage/common/storage-dotnet-shared-access-signature-part-1) Because of these added features it's a far more secure model to use SAS tokens as you can prevent users of the data from maliciously or accidentally abusing the data. Unfortunately the Power BI Connector does not support the SAS token method of authentication. (Please upvote this feature request here: https://ideas.powerbi.com/forums/265200-power-bi-ideas/suggestions/9953427-connect-to-azure-tables-via-shared-access-signatur )
Fortunately Power BI can talk to all manner of unanticipated data sources that have an HTTP endpoint via the Web connector. I find this particularly useful in two scenarios:
- Using an oData source that provides an authentication mechanism that is not exposed in the oData provider, most commonly oAuth2.
- Using a REST enabled endpoint.
Azure Blob Storage happens to have a REST endpoint, so I set out on a mission to query Azure Blob Storage with a SAS token via the REST endpoint using Power BI's Web connector. This was truly a mission, so I want to share this with you to reduce your heartache and encourage you again to upvote this feature in Power BI and share this with your friends.
In order to create this scenario I have to make some assumptions. For our purposes here I'm assuming:
- You have a storage account and container created already.
- You want to process more than one file in the storage container (processing one file is actually just a dramatically simplified version of this).
- The storage container has some blobs in it.
- The blobs in the storage container all have the same format.
- The format of the files in the container is CSV (it should be pretty obvious where you'd change this logic in the process).
Since there are several steps, I decided to break it up into three parts to better organize the process. The three key steps are:
- Generate the shared access signature.
- Enumerate the files in your storage container in Power BI with the shared access signature.
- Manipulate the M script in Power BI to download the CSV files.
Part 1 - Generate your shared access signature:
- First and foremost, you'll want to download Storage Explorer, it's by far the easiest way to generate a Shared Access Signature. You can find Storage Explorer here: https://azure.microsoft.com/en-us/features/storage-explorer/
- Once you've downloaded storage explorer connect to your storage account using the primary key, and navigate to a container in the storage account.
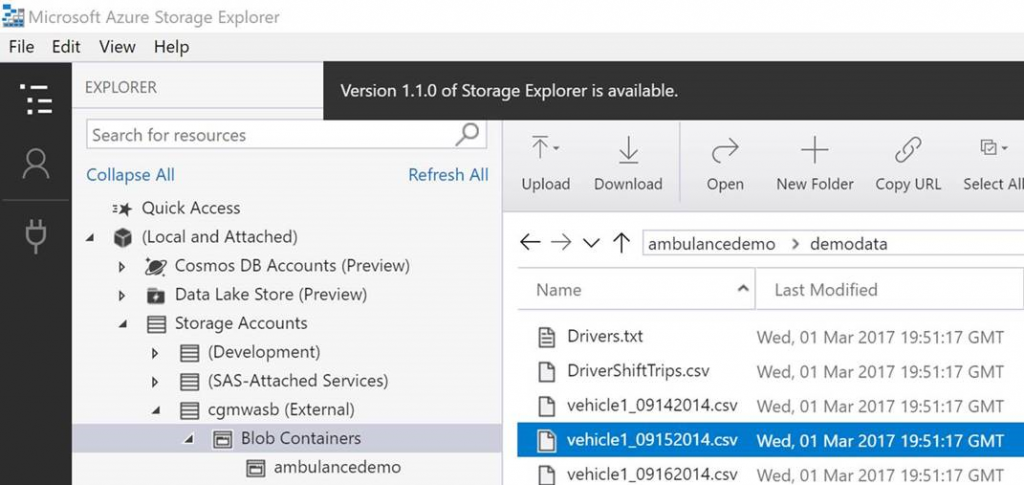
- Right click on the storage container, and click "Get Shared Access Signature…"

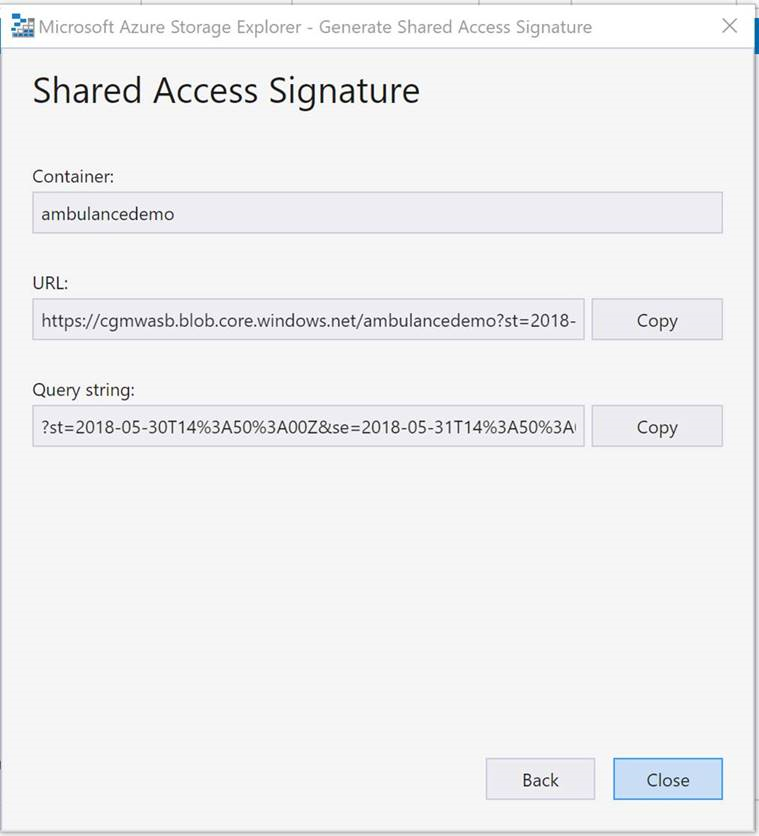
- Make sure "Read" and "List" are selected. This will allow the same signature to be used to not only read items but enumerate items in the container. (Note: for security purposes I'm making my key very short lived. In the real world you'll likely want to make the key have a longer lifetime).

- Copy and save the query string as we'll use it several times. The query string will look like:
?st=2018-05-30T14%3A50%3A00Z&se=2018-05-31T14%3A50%3A00Z&sp=rl&sv=2017-04-17&sr=c&sig=qb1hBqeASuJJRR1eZmPEQu1MLXTCLqn2G4bTlfDlcp4%3
Part 2 - Connect to your storage container in Power BI Desktop.
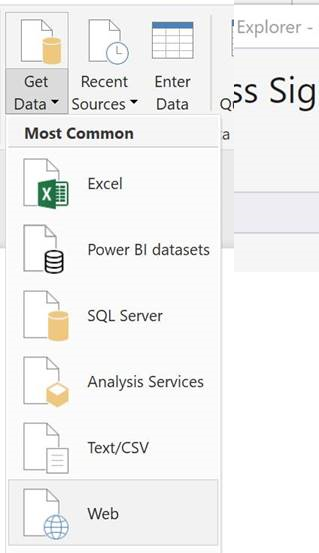
- Launch Power BI and select "Get Data -> Web"
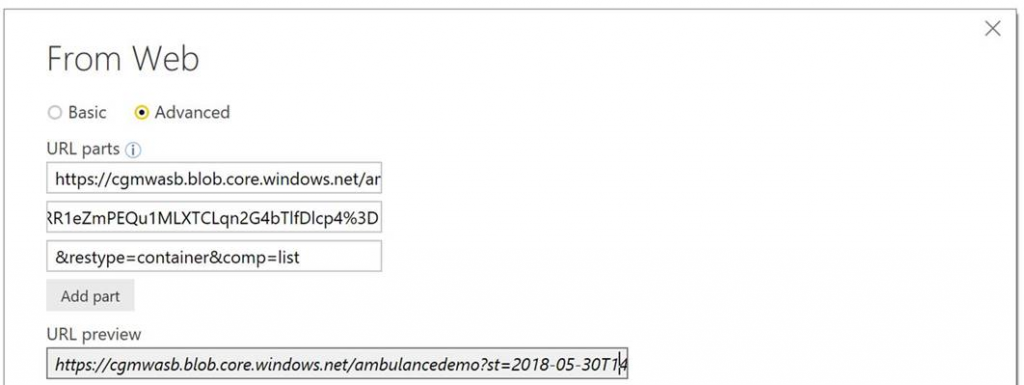
- Switch to the "Advanced" view, and input the base URL in the first box, your copied query string in the second box.
- Click "Add part" and enter "&restype=container&comp=list" in the third box (this is the directive that tells the rest endpoint to return a an enumeration of the blobs in the container.
- Click "Ok", you will eventually be presented with a screen that shows a one row table being returned. This is because the payload that comes back from the REST api is XML. Click "Load"

- This will load the table, which is not very useful, we'll need to manipulate it. Click "Edit Queries"
- Delete all columns except for "Blobs" as they are unnecessary.
- Drill down into the Table twice to get at the underlying file names in the container.

- Now we have a list of filenames in the container, but we need to extract the individual files. To do this we first need to build a complete URL for the file. Click "Custom Column" from the "Add Column" menu.
- Build a formula that uses the URL to the container, the filename, and the querystring to create a complete URL, and name the field "FileURL". For example: "https://cgmwasb.blob.core.windows.net/ambulancedemo/" & [Name] & "?st=2018-05-30T14%3A50%3A00Z&se=2018-05-31T14%3A50%3A00Z&sp=rl&sv=2017-04-17&sr=c&sig=qb1hBqeASuJJRR1eZmPEQu1MLXTCLqn2G4bTlfDlcp4%3D"
Part 3 - Manipulating the M script to download the blobs.
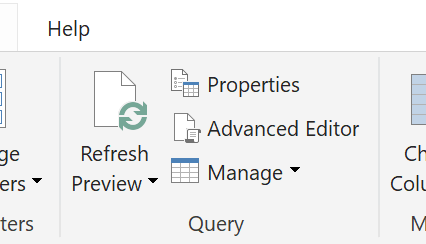
- Under the Home menu, select the "Advanced Editor" to see the M script.
- First, we need to add a comma to the end of the last line before the "in" keyword so we can add another expression.
- Second, we need to add another step to process the "Web.Contents" of each URL in our table. To do this we can add a column to the table with the following M script. The script will look like this:
BinaryURLContents = Table.AddColumn(#"Added Custom", "BinaryFiles", each Web.Contents([FileURL])) - Finally, we need to change the return object after the "in" statement from the script from #"Added Custom" to BinaryURLContents.
- The script should look like this:

- Now that we've told the M to explode each URL into a binary file, the rest of the steps can be done in the GUI.
- Remove all columns except the "BinaryFIles" column.
- Click the "Drill Down" button to expand the binary files.

- You'll be presented an error, because by default Power BI will try to process the files with the excel parser. Click "Edit"
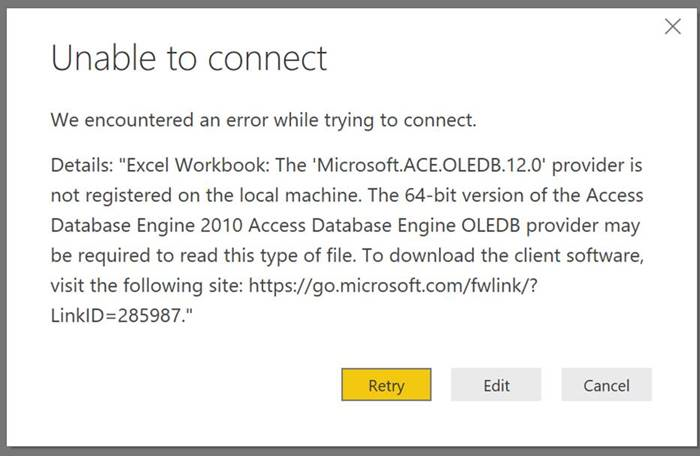
- Switch the parser to open the file as a "Csv Document" and click "OK"

- You'll now be presented the "Combine Files" dialogue which lets you adjust the delimiter and codepage if necessary. Click "OK".
- You're done, you now have a merged set of all files in the container that were authenticated using a shared access signature.
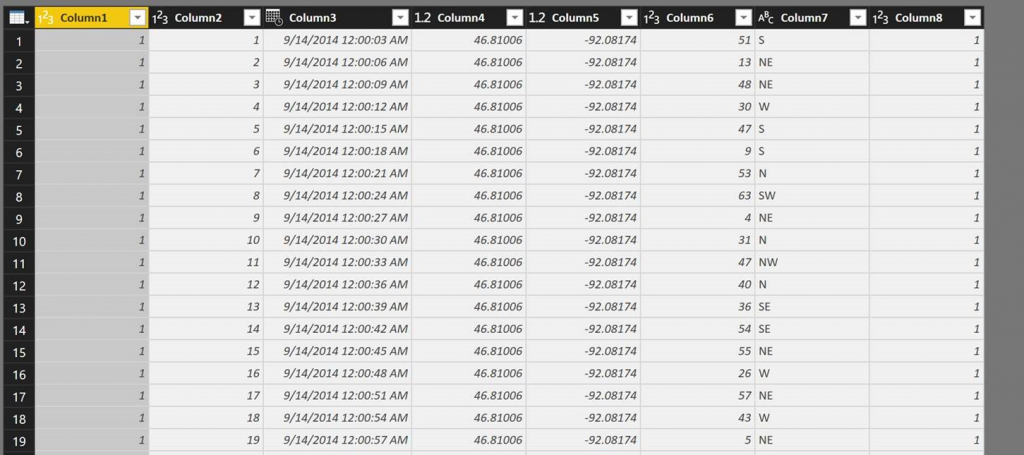
Phew... I know that was a lot of steps. Hopefully you'll find this useful and it will save you some time. What's I find particularly nice about this approach is that it's defined entirely in the Power BI model, and will gracefully deal with a changing list of files in the container. As new files show up in the container you don't need to update the model, a scheduled refresh will just read them as part of this process.