Building a Virtualized UC Development Environment: Part 5 – Logging In
This is Part 5 of a series of blog posts on setting up a virtualized development environment based on the Office Communications Server 2007 R2 VHDs.
Now that we’ve done all the heavy lifting getting the TS virtual machine configured and up and running, getting started with development is just a matter of logging in and writing some code. Let’s get started.
1. Start all the virtual machines in the order specified in the Office Communications Server 2007 R2 VHDs setup document.
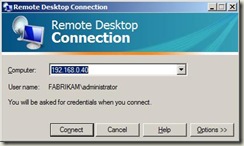
2. Click Start, All Programs, Accessories and Remote Desktop Connection.
- Rather than using the Connect command to log into the TS virtual machine, we’ll be logging into Remote Desktop Connection sessions for each user in order to provide a each user their own desktop environment.
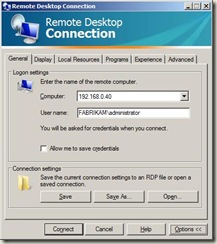
3. Enter 192.168.0.40 (the IP address of the TS virtual machine) into the Computer text box.
4. Click the Options button to display more options.
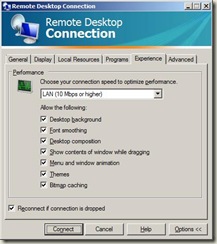
5. Click the Experience tab and under Choose your connection speed to optimize performance select the LAN setting.
- I’m assuming you’re running from the host machine or another machine on the same LAN/subnet as the virtual machines. If not, select the appropriate setting.
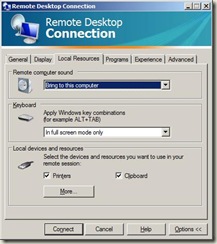
6. Click the Local Resources tab and under Remote computer sound select Bring to this computer.
- This allows you to hear audio in the remote session (phones ringing, etc.).
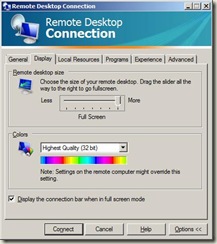
7. Click the Display tab and under Remote desktop size select Full screen.
8. Click the Connect button.
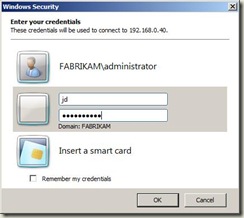
9. On the Windows Security dialog, click Use another account and enter the fabrikam\jd and pass@word1 credentials.
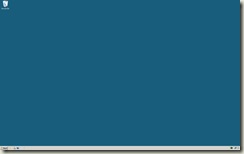
10. You should see a Remote Desktop Connection session for the Jim Daly account.
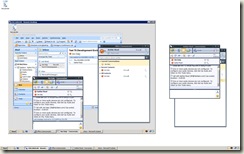
11. Open another Remote session using these same steps and the fabrikam\kf credentials from *inside* the Jim Daly account session.
- Use a Remote desktop size that is smaller than the first session.
- Opening the second session inside the first allows you to quickly switch between your development account and test account when testing changes in presence, code to start conference calls, etc.
12. In each session, open Office Communicator 2007 R2 and Outlook 2007 to make sure you’re connected to Office Communications Server 2007 R2 and Exchange 2007. Send IM and email between the accounts to make sure everything is configured correctly.
- If you’re having issues, please check the trouble-shooting section of the VM setup document.
Congratulations! You now have a virtualized development environment for the UC platform SDKs! At this point, you can open Visual Studio 2008 and start going through the UC platform SDK documentation and samples.
Please respond with comments if you run into any issues.
Have a great weekend!
Thanks,
Chris
Comments
Anonymous
April 17, 2009
PingBack from http://blogs.msdn.com/cmayo/archive/2009/04/10/building-a-virtualized-uc-development-environment-part-1-building-the-ts-virtual-machine.aspxAnonymous
April 22, 2009
After installing all VMs for OCS, then setting up TS, everything seems ok. However upon starting Visual Studio, a 'Communications Workflow' project type doesn't show up. Trying to work through the Hello World sample. Any tips on what may not be installed properly or is missing?Anonymous
May 01, 2009
After installing the UCMA 2.0 SDK, you should have a project type folder that looks like this with the following project templates: Visual C# (or whatever language): Communications Workflow Inbound Sequential Workflow Console Outbound Sequential Workflow Console Did you run the SDK MSI and then run the install from the MSI extration directory? Did you get any errors in the SDK install? Thanks, ChrisAnonymous
May 13, 2009
Thanks. The problem was the UCMA 2.0 installer doesn't actually install, it just unzips the files and claims all was successful. Then you have to go install. Once actually installed the workflows are there.
