Using OAuth in an App for Office
I will walk through the steps to combine an ASP.NET MVC5 application with an App for Office to allow the app to authenticate using a Microsoft Account or using Facebook. Similar steps could also be followed to authenticate using Google.
Step 1 (Create an App for Office)
Using Visual Studio 2013 or Visual Studio 2012 with MVC5, create a new App for Office application.
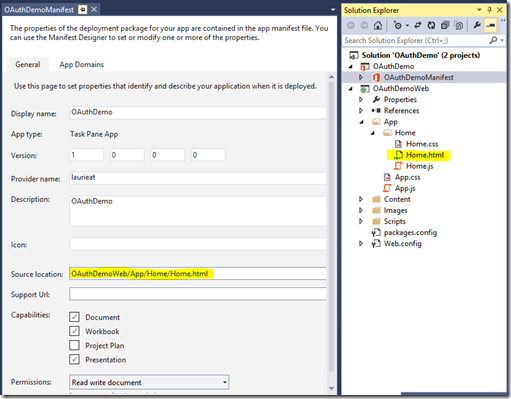
Note that the web application project which is automatically created and added to the solution includes an html page and the default Source Location of the app is that html page. We will change this later to reference our ASP.NET MVC5 web application instead.
Step 2 (Create an ASP.NET MVC5 Application)
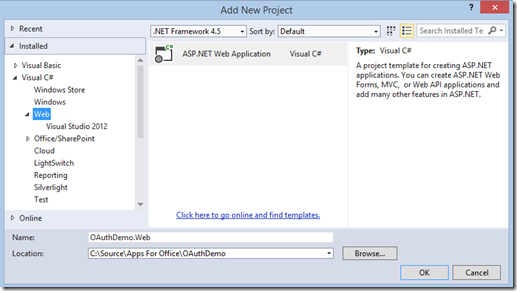
Add a new ASP.NET MVC project to the solution and click the button to Change Authentication.
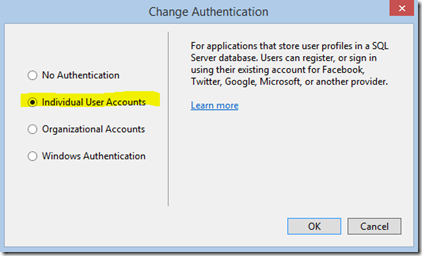
By default authentication is set to No Authentication, so change that to Individual Accounts.
Step 3 (Copy CSS and JavaScript assets to your MVC project)
Copy the css files from the App and App\Home folders and paste into the Content folder of your MVC project.
Copy the js files from the App and App\Home folders and paste into a folder within the Scripts folder of your MVC project.
Copy the stylesheet references from the auto-generated Home.html into _Layout.cshtml in your MVC project.
Copy the script references from Home.html into either _Layout.cshtml or the scripts section of Index.cshtml.
Step 4 (Remove the HTML Web project)
Delete the auto-generated Web project from your solution.
Step 5 (Configure authentication and register with each provider)
You will edit Startup.Auth.cs with the login providers you wish to support. The class that is created for you by MVC contains commented out code that can be filled in to automatically add support for each provider.
This code makes use of OWIN middleware and requires a reference to each of the providers you plan to use.
using Microsoft.Owin.Security.Facebook;
using Microsoft.Owin.Security.Google;
using Microsoft.Owin.Security.MicrosoftAccount;
using Microsoft.Owin.Security.Twitter;
In order to obtain the properties that this authentication code needs, you must first register your app with each of the authentication service providers. And this requires that you create a developer account for each one.
MICROSOFT ACCOUNT:
https://account.live.com/developers/applications
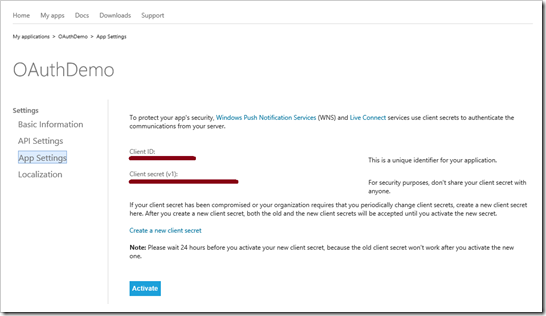
The Client ID and Client Secret will be listed under App Settings and should be copied and pasted into Startup.Auth.cs
Startup.Auth.cs
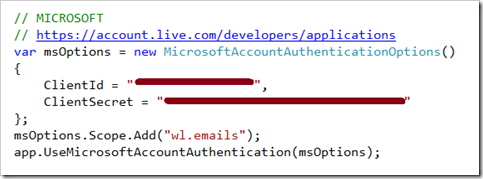
Uncomment the Microsoft Account section and enter the ClientId and ClientSecret. If your app requires access to particular properties (such as the email address in this code example), that field may be requested.
FACEBOOK:
https://developers.facebook.com
Startup.Auth.cs
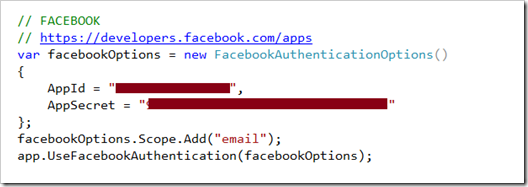
Uncomment the Facebook Authentication section and enter the AppId and AppSecret. Again, this example shows the syntax to request the email address.
AccountController.cs
If your authentication code requests additional properties such as the email address, modify ExternalLoginCallback() to retrieve the claim attached to the identity.
Step 6 (Update the App manifest file)
YourAppForOffice.xml
The Source location should contain the url for the root of your MVC web application.
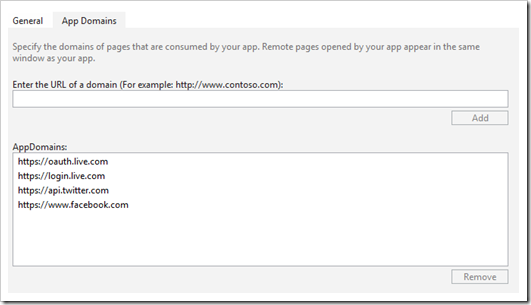
In addition you need to include the domains that provide the authentication in the app manifest.
Step 7 (Enable SSL)
Before testing your app you will need to make sure your web project has the SSL Enabled property set to True.
And your App for Office will not be satisfied with a self-signed certificate.
This problem is quickly solved by deploying your web app to Microsoft Azure. If you are using the *.azurewebsites.net domain assigned to your web site by Azure then your site is already secured by a certificate provided by Microsoft. You may access your free ASP.NET web sites through MSDN or here for those without an MSDN subscription.
The Source location in the app manifest should now be updated to contain the url of your Azure web site.


