Part 2- Create a new service in windows Azure
In part one we covered a small introduction to windows Azure and how you can create account in windows Azure. In this part I will cover how you can create simple website and how you can publish it to the public cloud. But before jumping to details steps we need to cover some concepts like subscription ID and certificate.
Subscription ID
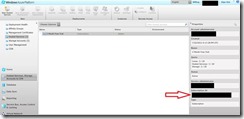
Once you create an account in windows Azure you will have a unique subscription ID, this ID is the unique identifier for your account and you will use this ID during configuring SCOM or App controller to manage your public cloud.
To get your subscription ID go to “Hosted Services, Storage Accounts & CDN” select Hosted Services as shown below
Certificates
All your communication to public cloud “Windows Azure” is secured communication, so you need to create a certificate to establish this channel, this certificate can be a public certificate or even a self-sign certificate. There are multiple ways to create a self-sign certificate like CA, Visual studio, PowerShell, IIS and ….etc.
To create self-sign certificate from IIS and upload it to Azure follow the following steps:-
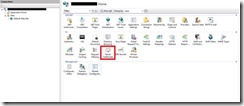
1- Open IIS manager console then select Server Certificates
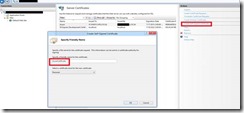
2- Select “Create Self-Signed Certificate” from action section in the right side to generate a new one and it will automatically save locally in computer certificate store.
3- Any certificate has two parts Public key and private key; we need to export both of them. The Public key we will upload it to windows Azure (.cer file) and the private key we will use it while configuring SCOM and App controller.
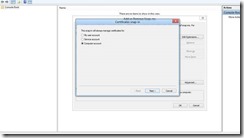
4- To export the Public key open MMC then add certificate and select “computer account”
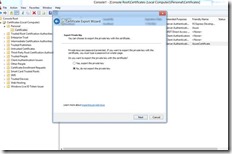
5- Under personal right click in the certificate you generate from IIS and select export, and while exporting select don’t export private key.
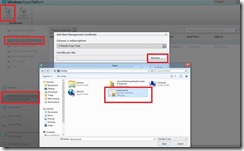
6- Finally we will upload the certificate to Windows Azure, go to Azure portal select “Hosted Services, Storage Accounts & CDN” then management certificate and upload the public key of the certificate that you just exported in previous step.
7- After you finish, export the certificate again but with the private key and keep it in secure location.
Create a new service in windows Azure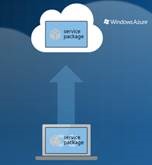
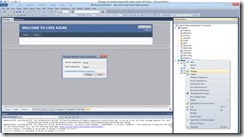
Now you can create your first website in the cloud. To upload your website to Azure your need to package your website code using Visual studio as Azure package which will generate two files:-
1- .CSpkg file:- is the file that contains your website content.
2- .CScfg file:-is the file that contains your website configuration like type of Roles, number of instances, enable remote desktop on machines,….etc.
Sample of files ServiceConfiguration.Cloud.cscfg ; WindowsAzureProject1.cspkg
Note that by default Visual studio doesn’t understand cloud you have to install Windows Azure Tools for Microsoft Visual Studio.
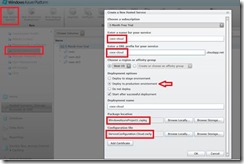
Now we are ready to create our first website in Azure and the first step as we discussed in part one is creating new hosted services. Go to Azure portal select “Hosted Services, Storage Accounts & CDN” then select “New Hosted Service”. Enter the name of your service, your public URL of your website and select either production or staging. Finally browse .CSpkg and .CScfg click ok.
Azure will start creating new virtual machines and deploy your website on them. Numbers and types of virtual machines is equal to what you defined in CScfg file. For example in screen shoot below Azure will 2 virtual machines, these 2 VMs are under the same role “Web Role”.
Once it finish you can browse your website immediately
