Office 365 Directory Synchronization
Dirsync is required to support Single Sign On (SSO) and creates Mail Enabled Users (MEU) in the cloud tenant. Installing Dirsync allows you have a unified Global Address List (GAL) between on-premise and cloud (Office 365). It also allows you to on-board/off-board users to and from Office 365 (this requires a 2 way sync).
Note: When user accounts are first sync’d they are marked as non-activated (therefore do not consume any licenses)
Here are the steps for installing and verifying Disync has completed. Also to verify Dirsync has completed check the event logs for:-
- Source = Directory Synchronisation with an Event ID of 4 ‘The export has completed’
1
Steps |
Action |
Activate directory synchronisation from the online portal |
Sign in to the online portal https://portal.microsoftonline.com, under Admin (as per above steps) click users |
Select ‘Activate’ Active directory Synchronization Note: User users that there are no synchronized users from your on-premise AD |
 |
Select Step 3 ‘Active directory Synchronization’ and click ‘Activate’ |
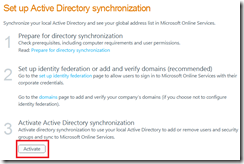 |
Select ‘Yes’ to activate Directory Synchronization |
 |
Now we need to install the Directory Synchronization Tool |
Launch the Directory Synchronization Tool by double clicking on Dircync.exe |
Click next on the welcome screen |
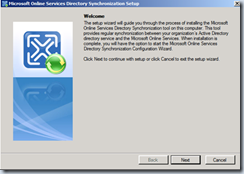 |
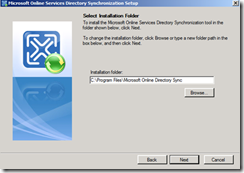
Accept the license agreement and default install location |
|
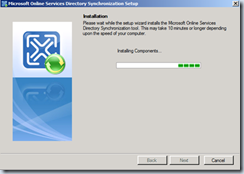
The Directory Synchronization Tool will install and click finish when it’s completed |
|
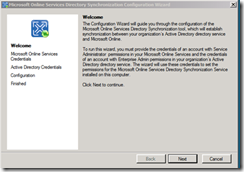
On the Directory Synchronization server launch ‘directory Sync configuration’ and click next on the welcome screen |
|
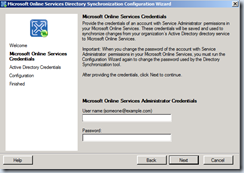
Specify your Office 365 administrator credentials |
|
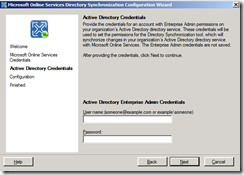
Specify Enterprise Admin credentials to create the service account Note: The credentials specified here are not saved or cached in memory. |
|
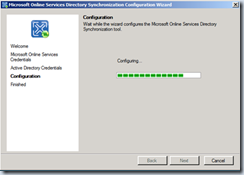
Click Next on the configuration page |
|
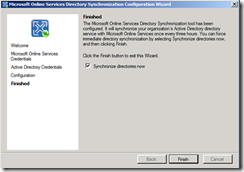
Verify the ‘Synchronize directories now’ is selected and click finish |
|
Review the wizard and click ok |
|
Verify users have been synchronized Note: If might take a few minutes for the user appear, if they don’t appear refresh your browser |
Sign into the online portal https://portal.microsoftonline.com |
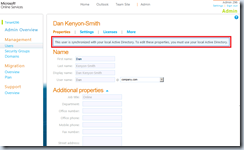
All changes to the user account needs to managed on-premise and then the changes will synchronised to Office 365 by the directory synchronization tool. |
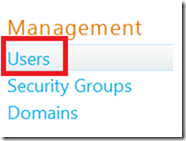
On the home page, select ‘Admin’ the under management select ‘Users’ |
Directory synchronization will occur every 3 hours, but you can force synchronization if required |
Navigate to C:\Program Files\Microsoft Online Directory Sync and Double-click DirSyncConfigShell.psc1. Then run Start-OnlineCoexistenceSync
|
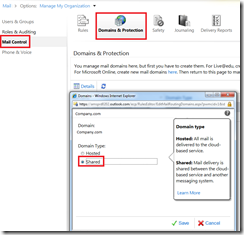
Update your domain to a shared domain |
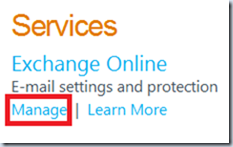
On the home page, select Admin and then manage under Exchange Online (this takes you into the Exchange Control Panel (ECP)) |
In the ECP, select ‘Mail control’ then ‘domains and Protection’ and select company.com as a shared domain |
Written by Daniel Kenyon-Smith
