Azure Mobile Services – Adding a Table
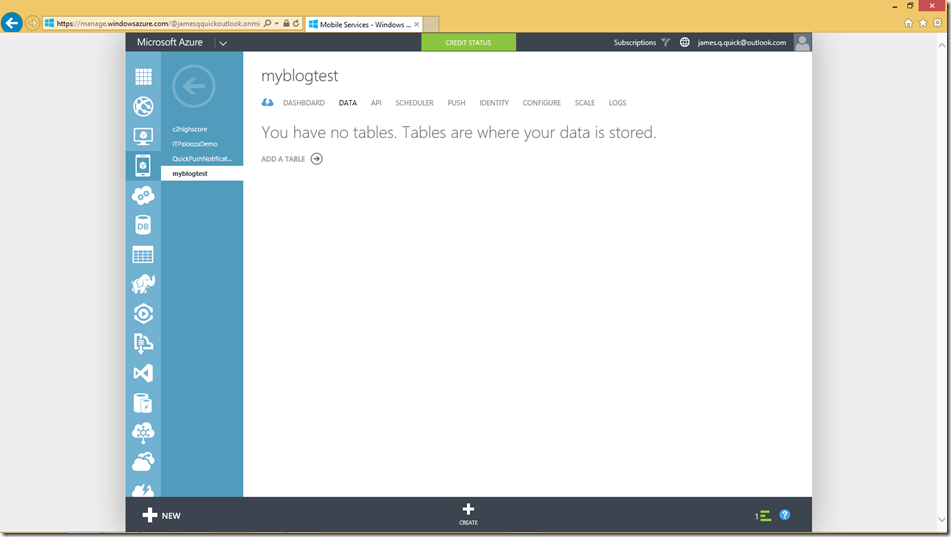
In my post, Creating an Azure Mobile Service, you should have successfully created your first Azure Mobile Service. In this post, we are going to walk through the steps of adding a table to our Azure Mobile Service. If you recall, under the data column in our Dashboard, we saw the following message below, stating “You have no tables. Tables are where your data is stored.”
Let’s go ahead and create our new table. Click”Create” at the bottom of the screen
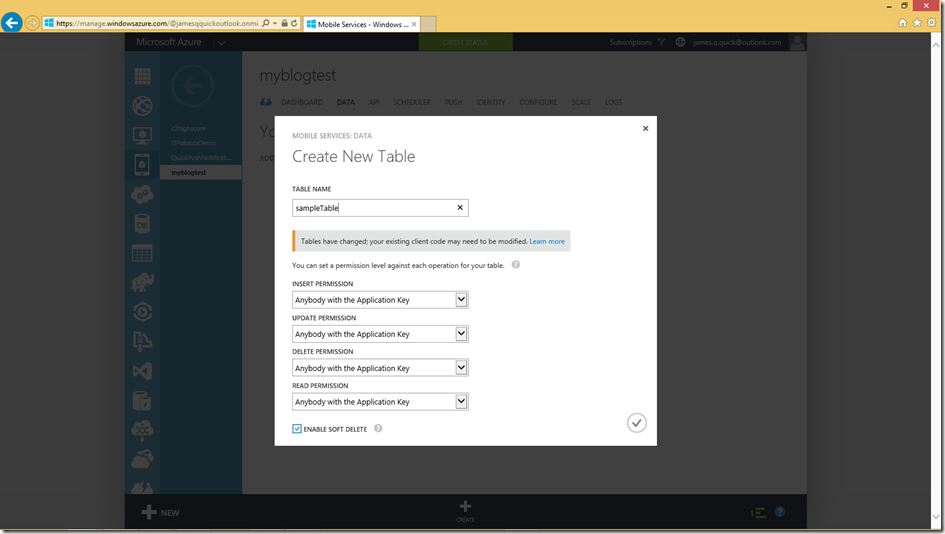
Give your table a name. I’ll just use “SampleTable” for now. We want get into permissions just yet (we will in the future), so for now we can leave all of the permissions alone. Go ahead and click the checkmark.
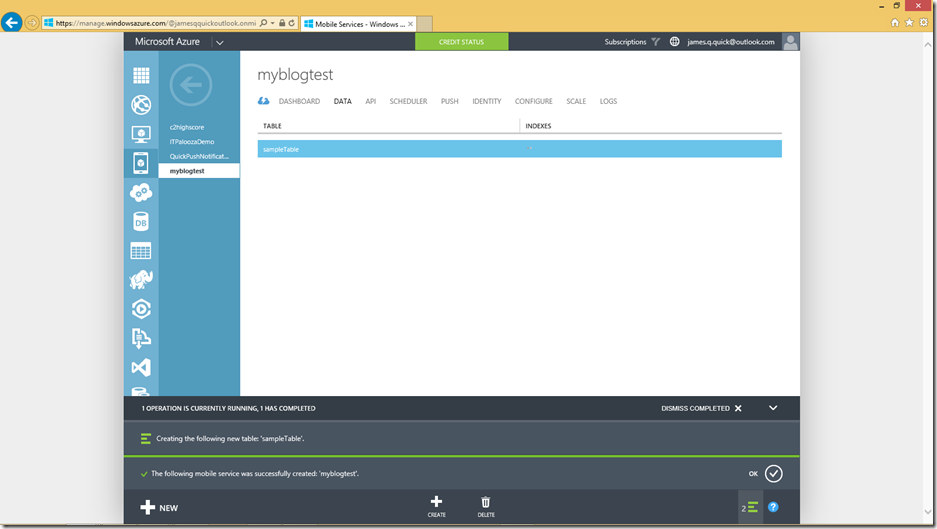
The portal lets us know that it is creating our new table. Should only take a few seconds.
After your table is created, you should see it listed in the Data tab, as shown below. Go ahead and click on your table.
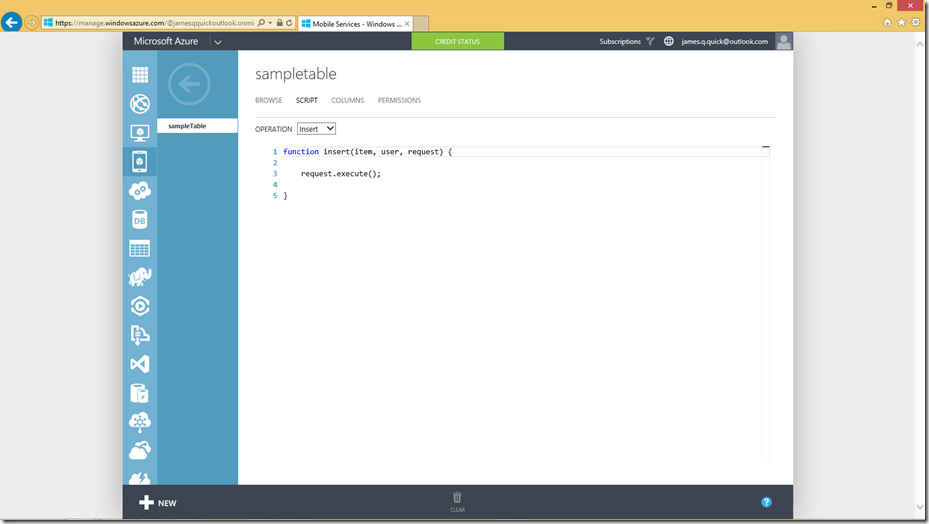
You should be taken to the Browse column. Notice that we don’t have any records in our table just yet. If you follow the “Learn How to Add Records”, you can download a sample project for either Windows, Android, IOS, or HTML/JS that can insert and read records from your Azure table. Let’s leave that alone for now and take a look at our other options. Click on “Script”.
The Script section is where you can add custom functionality to your Insert, Read, update, and Delete Operations. We don’t have anything to do here now, but in the future we will take a look at implementing Push Notifications for our Mobile Service. We will do so by editing the code in the Insert script below. Now, click on “Columns”.
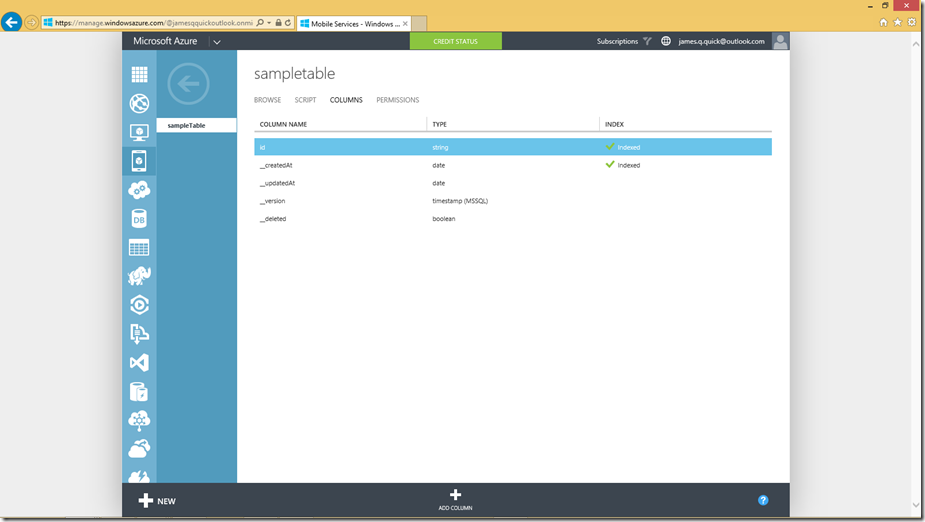
Here is where you can see the different columns that you have in your table. You can create a column, delete one, etc. Let’s create a simply column now. Click “Add Column” at the bottom.
To create a column, you need to give a name and data type. Your data type can either be string, number, data, or boolean. Just for simplicity, I’m going to create a column with Data Type of String and Column Name of sampleString. After you input those two things, click the check.
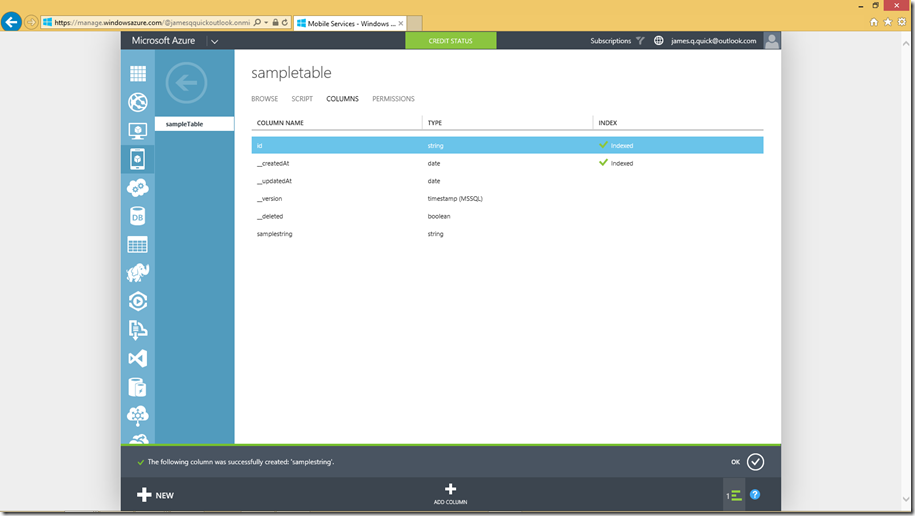
After a few seconds, you should see that your column was successfully added as below.
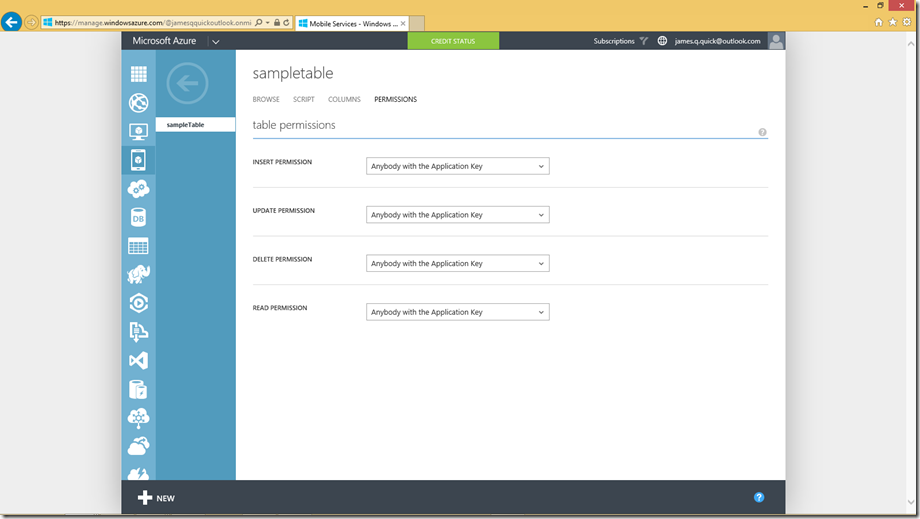
Now, let’s take a look at the Permissions tab. In general, we don’t want just anyone and everyone to be able to connect to our mobile service. Therefore, we have a couple of different choices for Permissions below. We can let anyone in with an Application Key (remember that from Creating an Azure Mobile Service??), which is the default behavior as you can see.
You can below that our other options are “Everyone” “Only Authenticated Users”, and “Only Scripts and Admins”. Everyone is pretty self explanitory…anyone can access the mobile service! Not idea in most scenarios. The second options is Authenticated Users. We will look at this later on, but you can Authenticate users with several different options: Microsoft Account, Facebook, Twitter, Google, or Azure Active Directory. These are very useful!
You’ve done it. You create your first table in an Azure Mobile Service. As always, comment below with any questions, comments, or concerns, or find me on twitter @jamesqquick.
Comments
Anonymous
March 23, 2015
I was able to create a mobile service but didn't find the DATA COLUMN so I am unable to create tables.Anonymous
March 30, 2015
The comment has been removed
