Préparer les certificats à charger sur votre appareil Azure Stack Edge Pro GPU
S’APPLIQUE À : Azure Stack Edge Pro - GPUAzure Stack Edge Pro 2Azure Stack Edge Pro RAzure Stack Edge Mini R
Cet article explique comment convertir les certificats dans un format approprié en vue de leur chargement sur votre appareil Azure Stack Edge. Cette procédure est généralement à effectuer si vous apportez vos propres certificats.
Pour en savoir plus sur la création de ces certificats, consultez Créer des certificats à l’aide d’Azure PowerShell.
Préparer des certificats
Si vous apportez vos propres certificats, les certificats que vous avez créés pour votre appareil résident par défaut dans le magasin personnel sur votre client. Ces certificats doivent être exportés sur votre client dans des fichiers de format appropriés qui peuvent ensuite être chargés sur votre appareil.
Préparer les certificats racines : le certificat racine doit être exporté au format DER avec l’extension
.cer. Pour obtenir des instructions détaillées, consultez Exporter des certificats au format DER.Préparer les certificats de point de terminaison : les certificats de point de terminaison doivent être exportés sous forme de fichiers .pfx avec des clés privées. Pour obtenir des instructions détaillées, consultez Exporter des certificats en tant que fichiers .pfx avec des clés privées.
Exporter les certificats au format DER
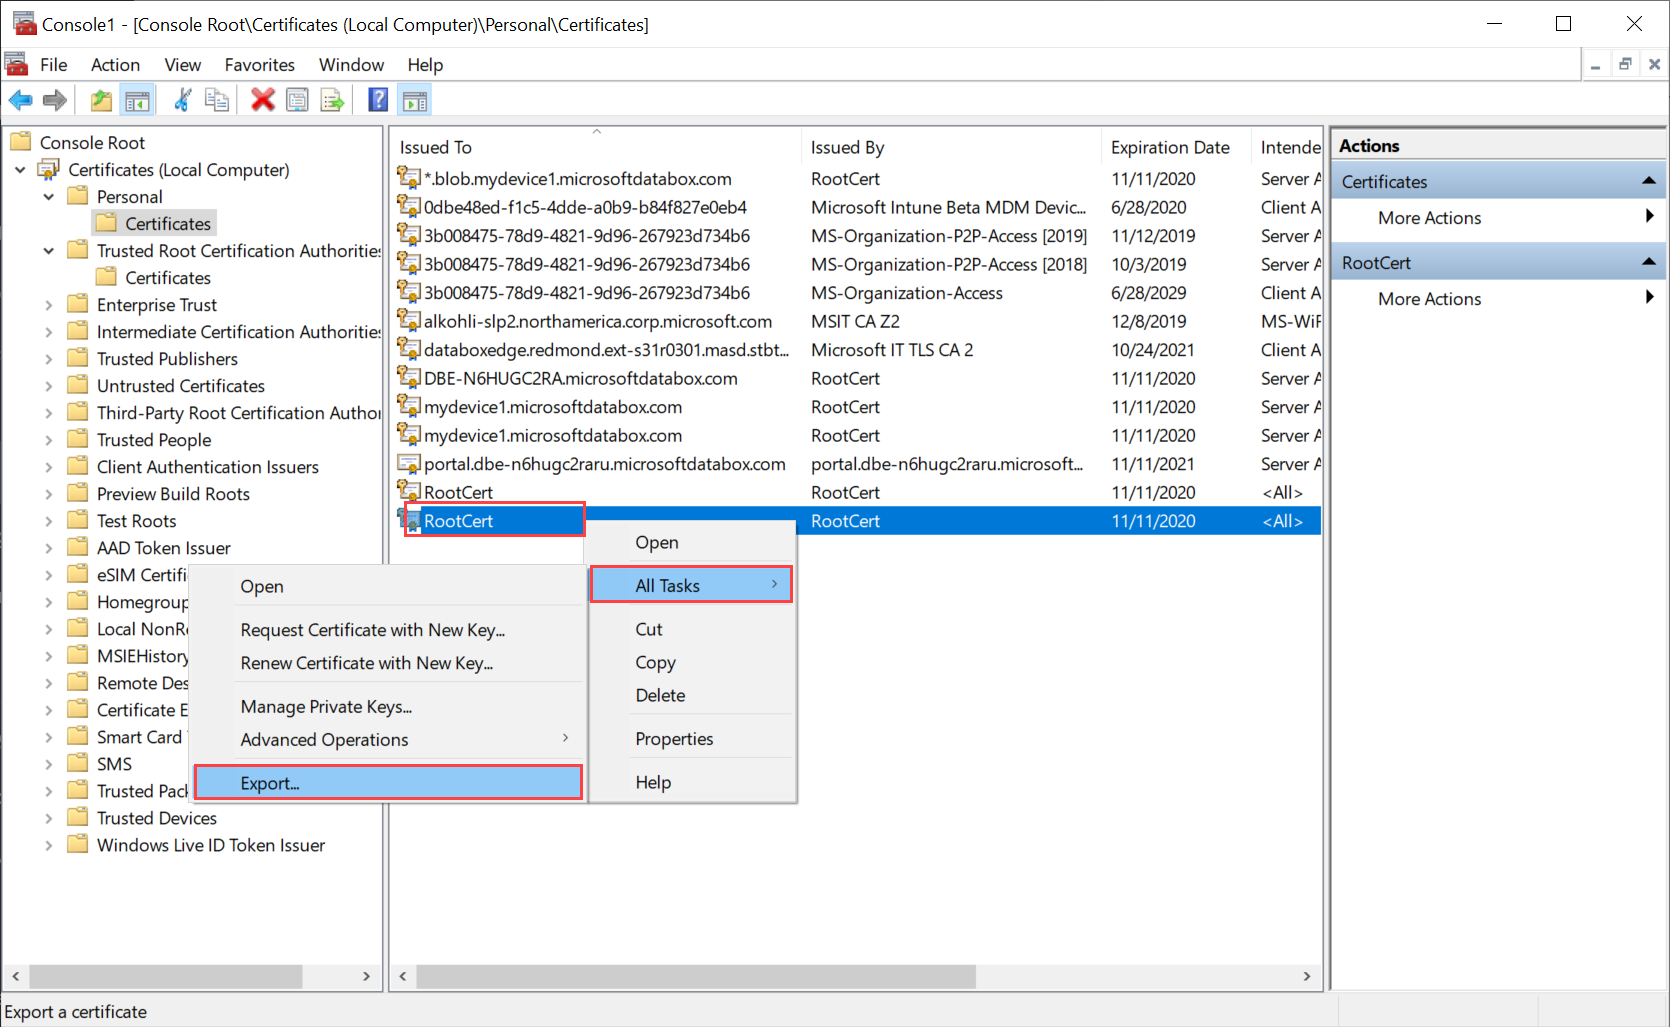
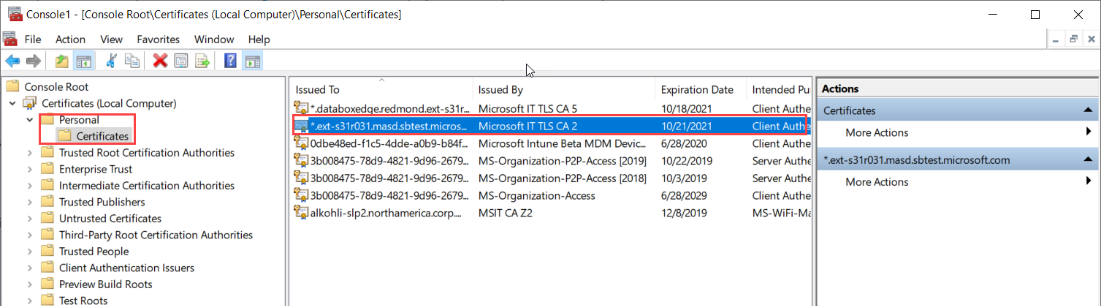
Exécutez certlm.msc pour lancer le magasin de certificats de l’ordinateur local.
Dans le magasin de certificats personnel, sélectionnez le certificat racine. Cliquez avec le bouton droit, puis sélectionnez Toutes les tâches > Exporter...
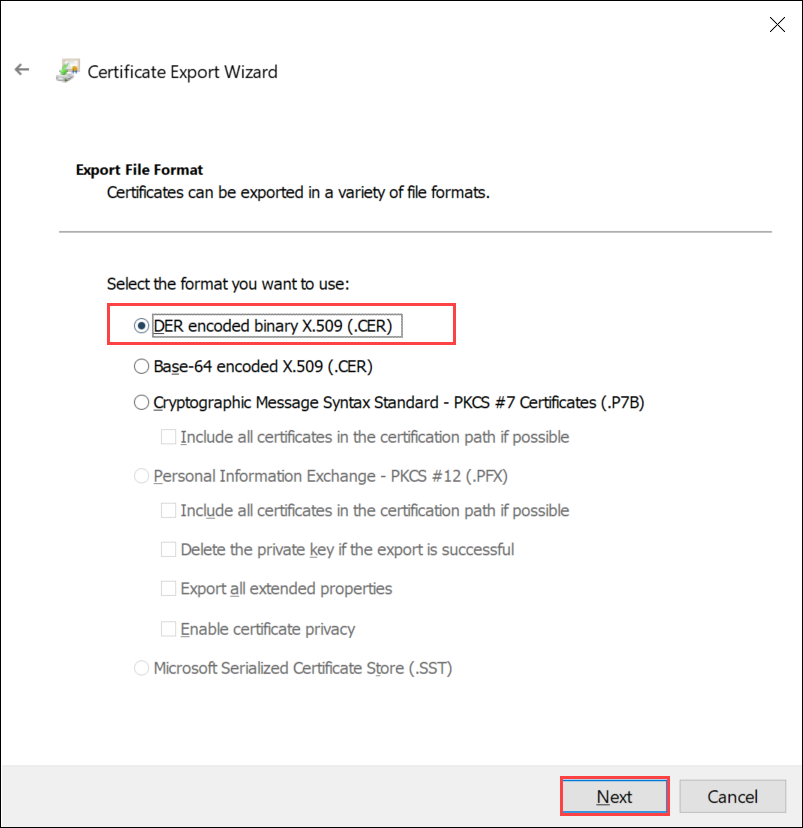
L’Assistant Certificat s’ouvre. Sélectionnez le format X.509 binaire encodé DER (*.cer). Cliquez sur Suivant.
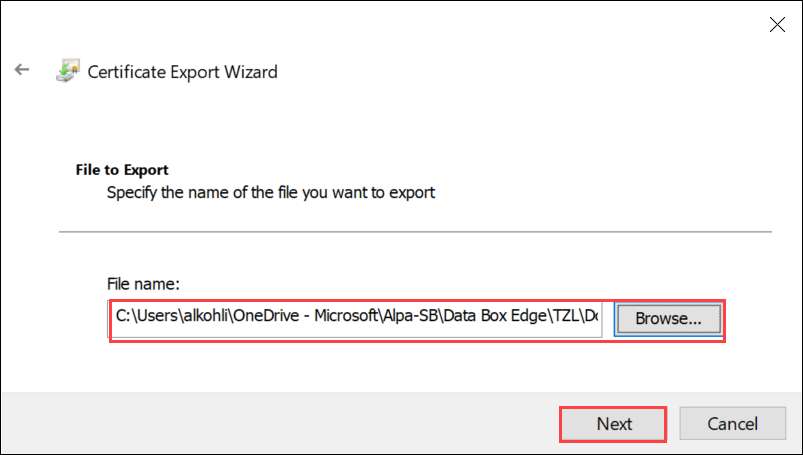
Recherchez et sélectionnez l’emplacement où vous souhaitez exporter le fichier au format .cer.
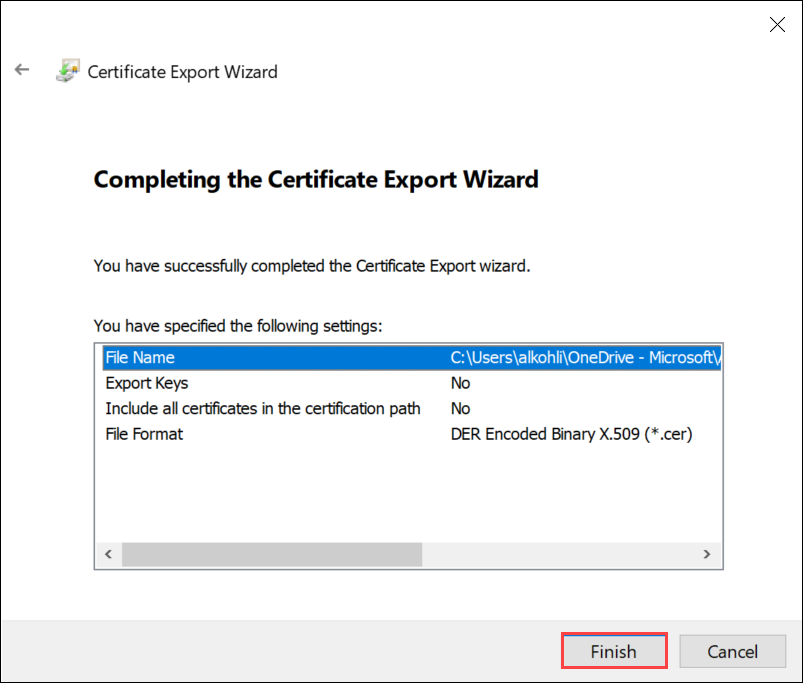
Cliquez sur Terminer.
Exporter les certificats au format .pfx avec une clé privée
Procédez comme suit pour exporter un certificat SSL avec une clé privée sur un ordinateur Windows.
Important
Effectuez ces étapes sur le même ordinateur que celui que vous avez utilisé pour créer le certificat.
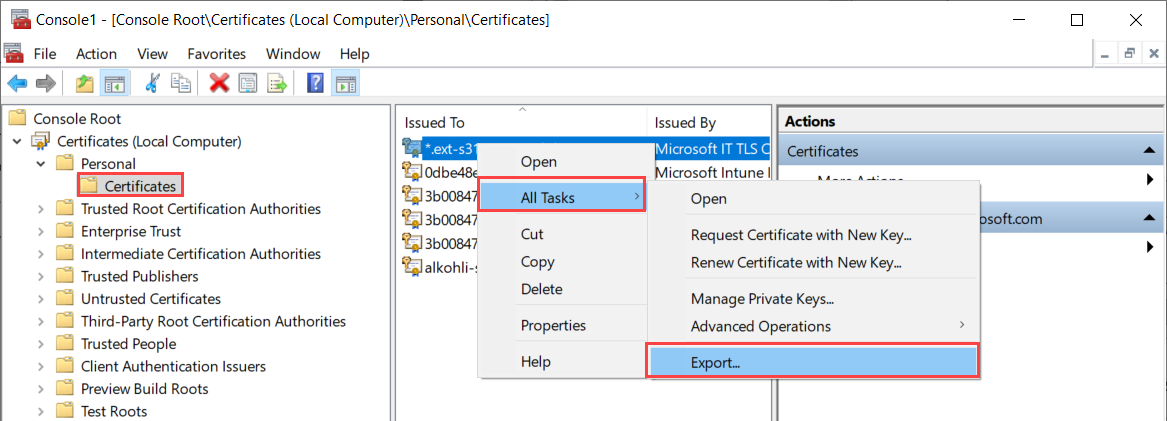
Exécutez certlm.msc pour lancer le magasin de certificats de l’ordinateur local.
Double-cliquez sur le dossier Personnel, puis sur Certificats.
Cliquez avec le bouton droit sur le certificat que vous souhaitez sauvegarder, puis choisissez Toutes les tâches > Exporter....
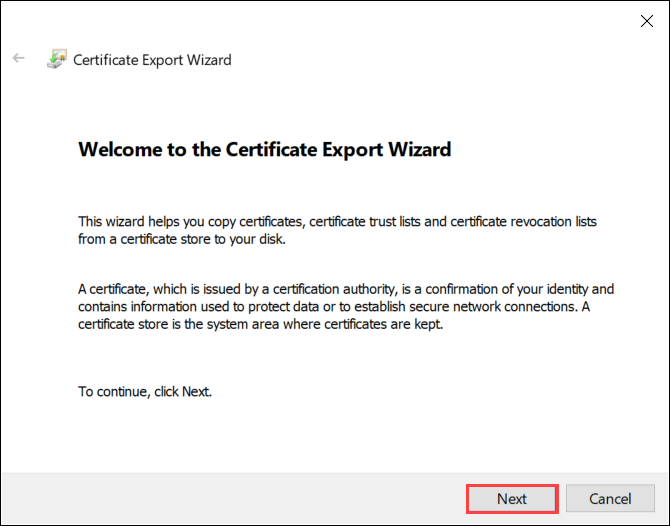
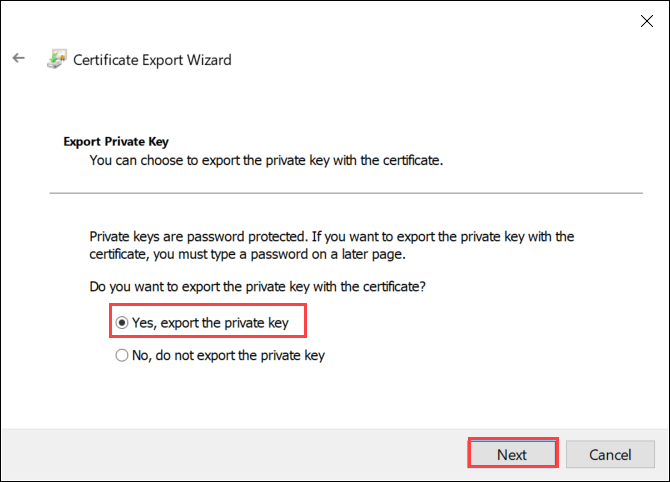
Suivez l’Assistant d’exportation de certificat pour sauvegarder votre certificat dans un fichier .pfx.
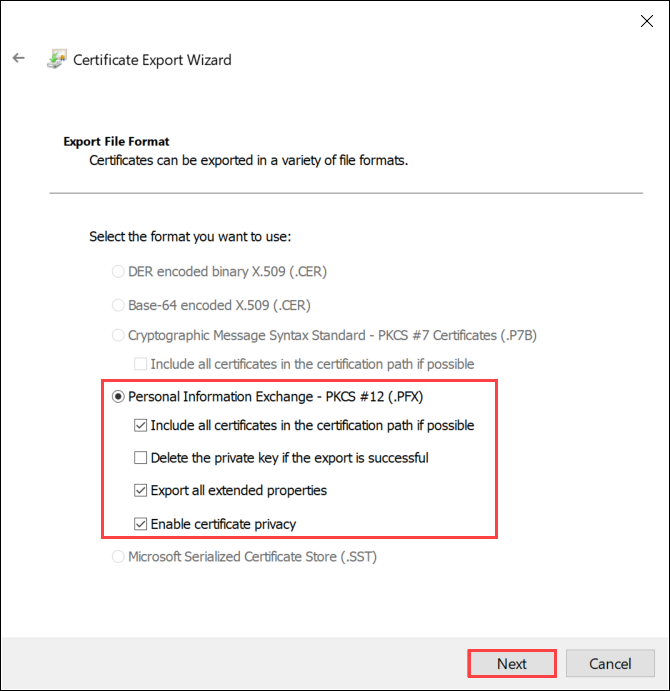
Choisissez Oui, exporter la clé privée.
Choisissez Inclure tous les certificats dans le chemin d’accès du certificat si possible, Exporter toutes les propriétés étendues et Activer la confidentialité du certificat.
Quand vous incluez tous les certificats dans votre exportation, vous n’avez pas besoin d’ajouter la chaîne de signature séparément avant d’ajouter ce certificat lorsque vous configurez des certificats à l’aide de l’interface utilisateur web locale. Pour plus d’informations, consultez Apporter vos propres certificats.
Important
NE sélectionnez PAS l’option Supprimer la clé privée si l’exportation est réussie.
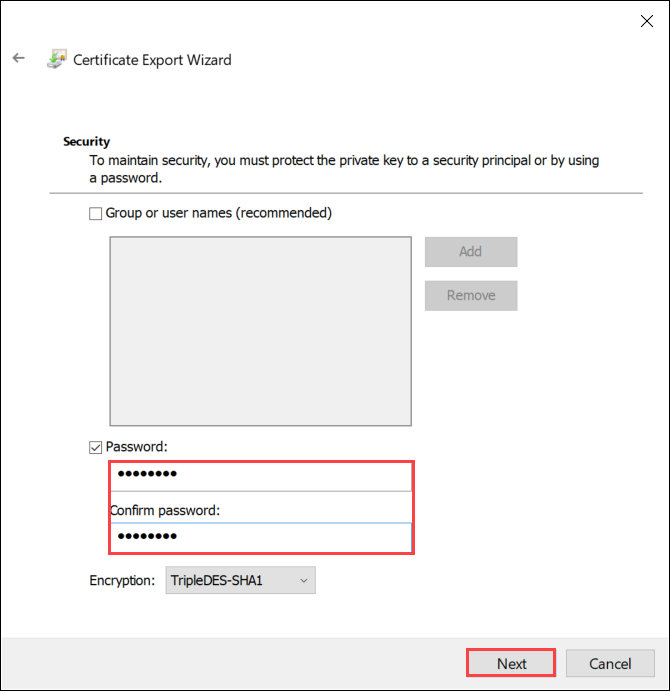
Entrez un mot de passe dont vous vous souviendrez. Confirmez le mot de passe. Le mot de passe protège la clé privée.
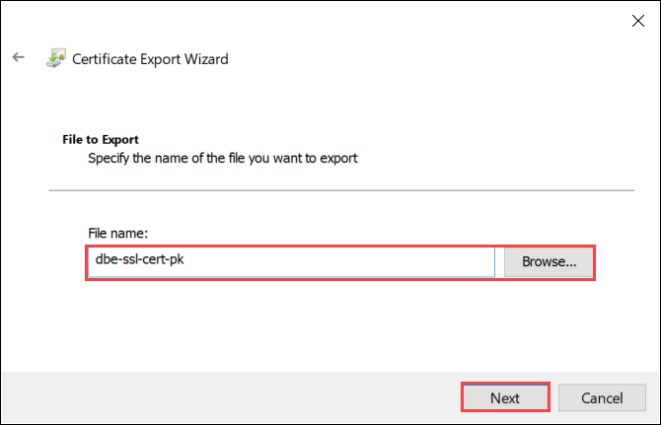
Choisissez d’enregistrer le fichier à un emplacement défini.
Cliquez sur Terminer.
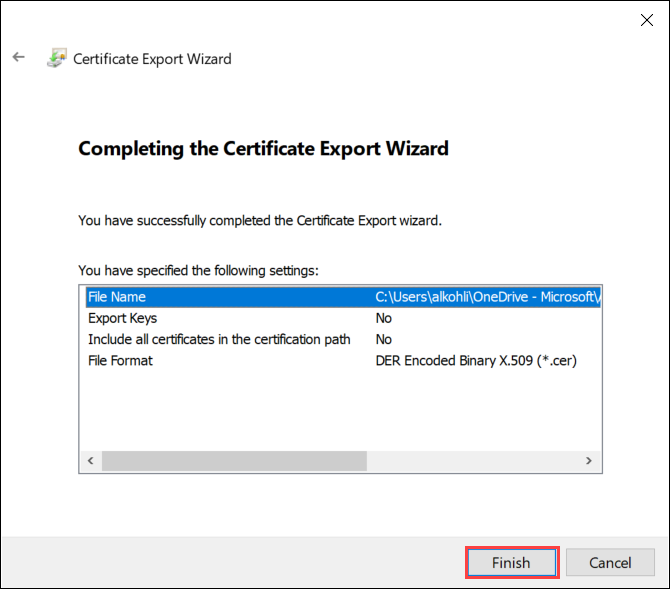
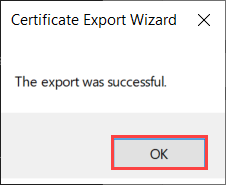
Vous recevez un message indiquant que l’exportation a réussi. Cliquez sur OK.
La sauvegarde du fichier .pfx est maintenant enregistrée à l’emplacement sélectionné et est prête à être déplacée ou stockée pour une conservation sûre.
Étapes suivantes
Découvrez comment Charger des certificats sur votre appareil.
Commentaires
Bientôt disponible : Tout au long de 2024, nous allons supprimer progressivement GitHub Issues comme mécanisme de commentaires pour le contenu et le remplacer par un nouveau système de commentaires. Pour plus d’informations, consultez https://aka.ms/ContentUserFeedback.
Envoyer et afficher des commentaires pour