Setting up an app or game at Partner Center, for Managed Partners
To add Xbox services functionality to your app or game, start by setting up a product definition in Partner Center, by following the steps below.
Contents:
- 1. Create the initial product definition at Partner Center
- 2. Contact your Microsoft Representative to enable your app or game
- 3. Publish the game
- 4. Update the MicrosoftGame.config file
Prerequisites
- Have a prototype of your app or game, such as a demo and screen captures.
1. Create the initial product definition at Partner Center
Go to Partner Center. The Partner Center dashboard Home page appears.
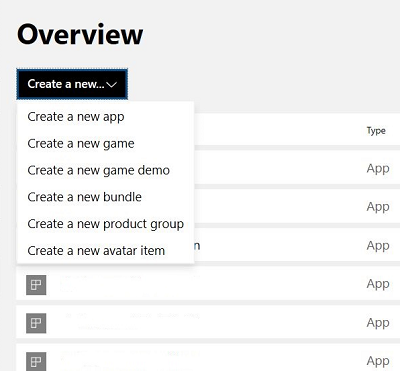
Navigate to Windows & Xbox > Overview. The "Overview" page appears.
Click the Create a new... button, then select a product type, such as app, game, or game demo.
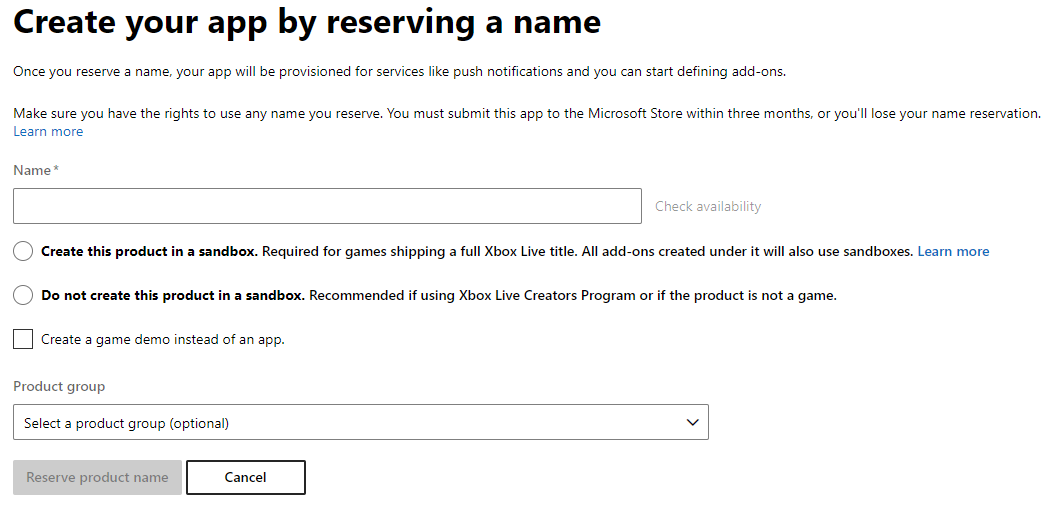
The "Create your app by reserving a name" page appears:
Or, the "Create your game by reserving a name" page appears:
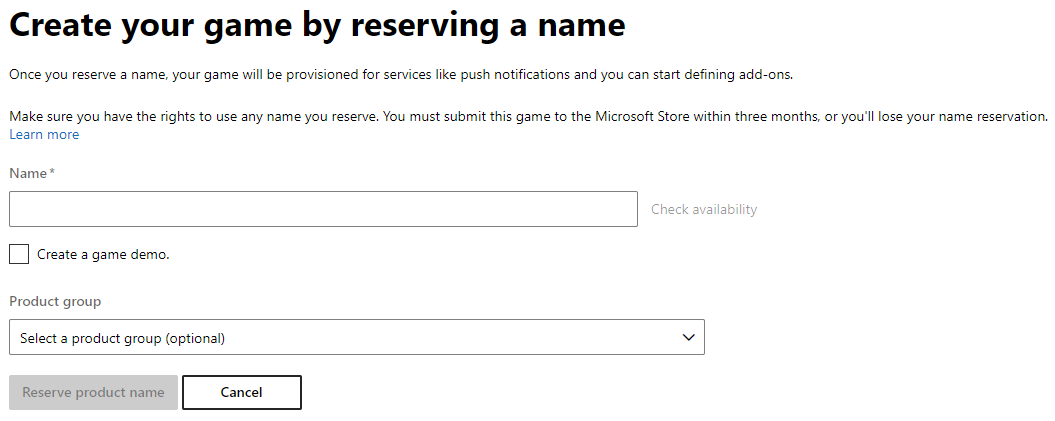
In the Name text box, enter the name of your game or app.
If you want your product to include a reduced, demo version of your game, select the Create a game demo check box so that a checkmark appears.
If you know your Product Group, click the Product Group drop-down list and then click your Product Group.
Click the Reserve product name button. A "Setup" page appears, and initially the top of the page reads "Status: Incomplete":
Figure: The "App setup" page:
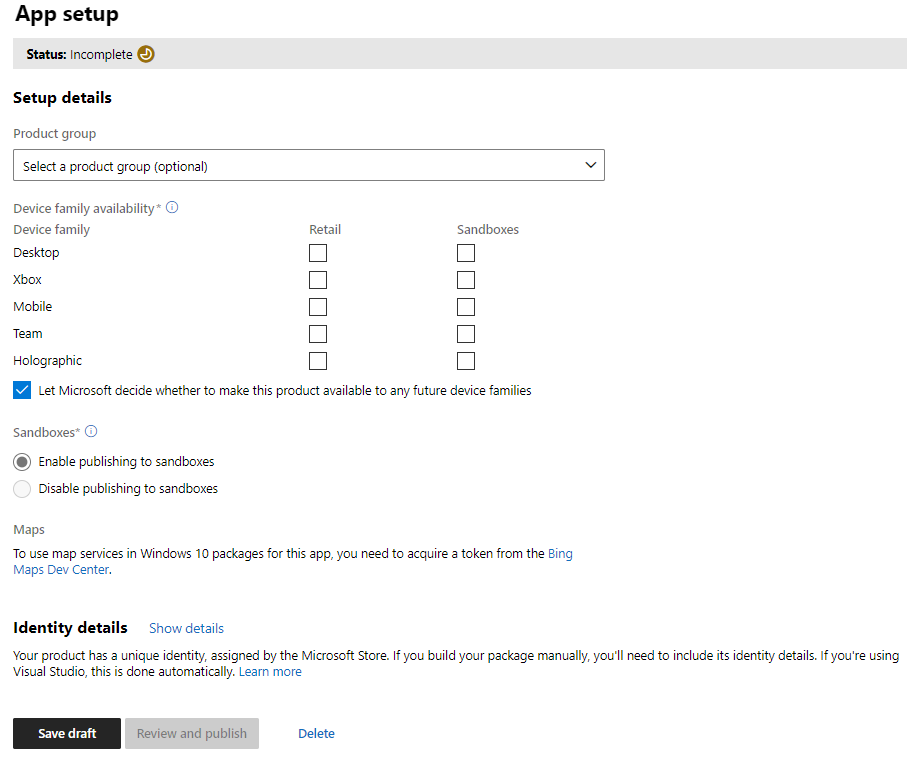
Figure: The "Game setup" page:
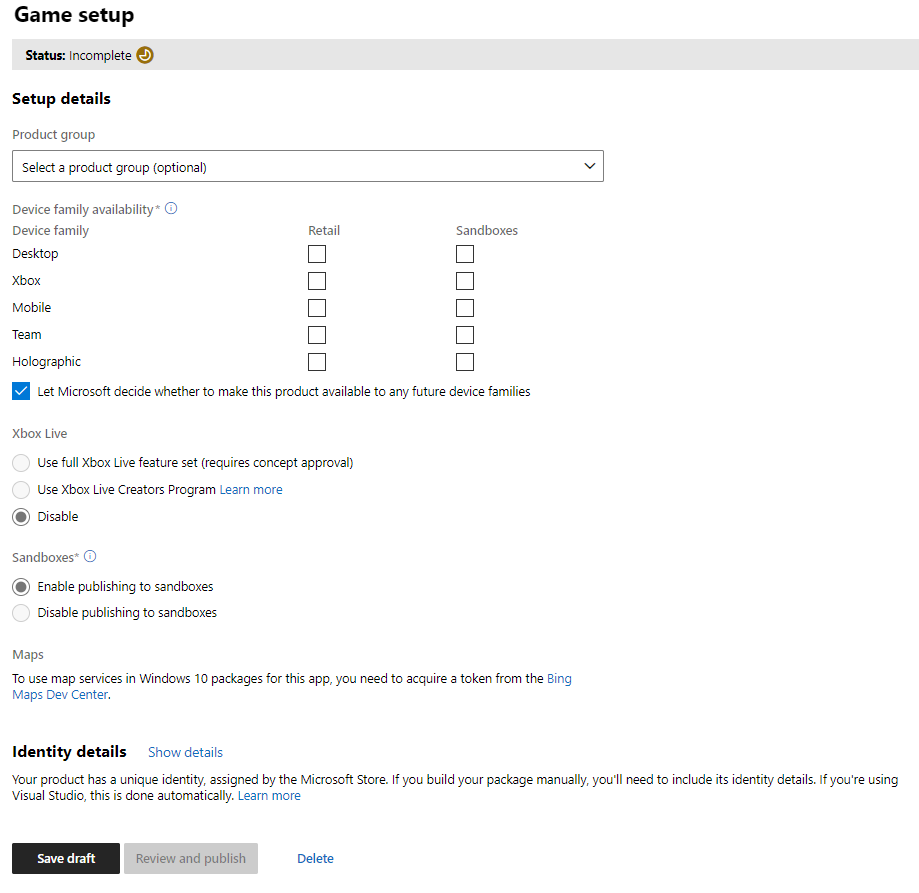
Select settings for your product. For example, in the Device family availability section, you can select the Xbox > Retail check box.
At the bottom of the "Setup" page, click the Save draft button. The top of the page now reads "Status: Complete", and the Review and publish button becomes available.
Click the Review and publish button. The "Review and publish" page appears.
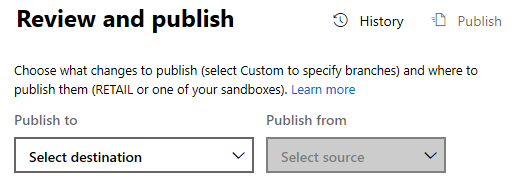
In the Publish to drop-down list, select a sandbox. Sections are added to the page:
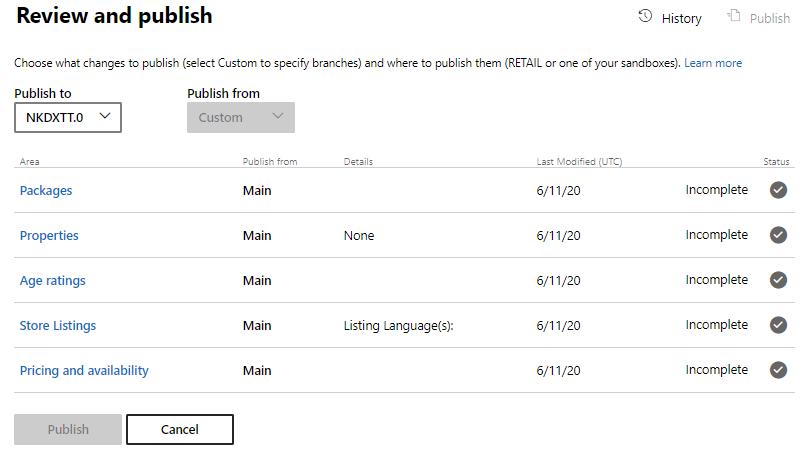
Follow the onscreen Partner Center setup steps for your product. Once your app or game reaches the Completed state, contact your Microsoft Representative to enable your game, as follows.
2. Contact your Microsoft Representative to enable your app or game
In Partner Center, select your app or game.
The "Application overview" or "Game overview" page appears.
Click App setup or Game setup. The "App setup" page or "Game setup" page appears.
Toward the bottom of the page, click the Identity details link. The "Identity details" section expands:
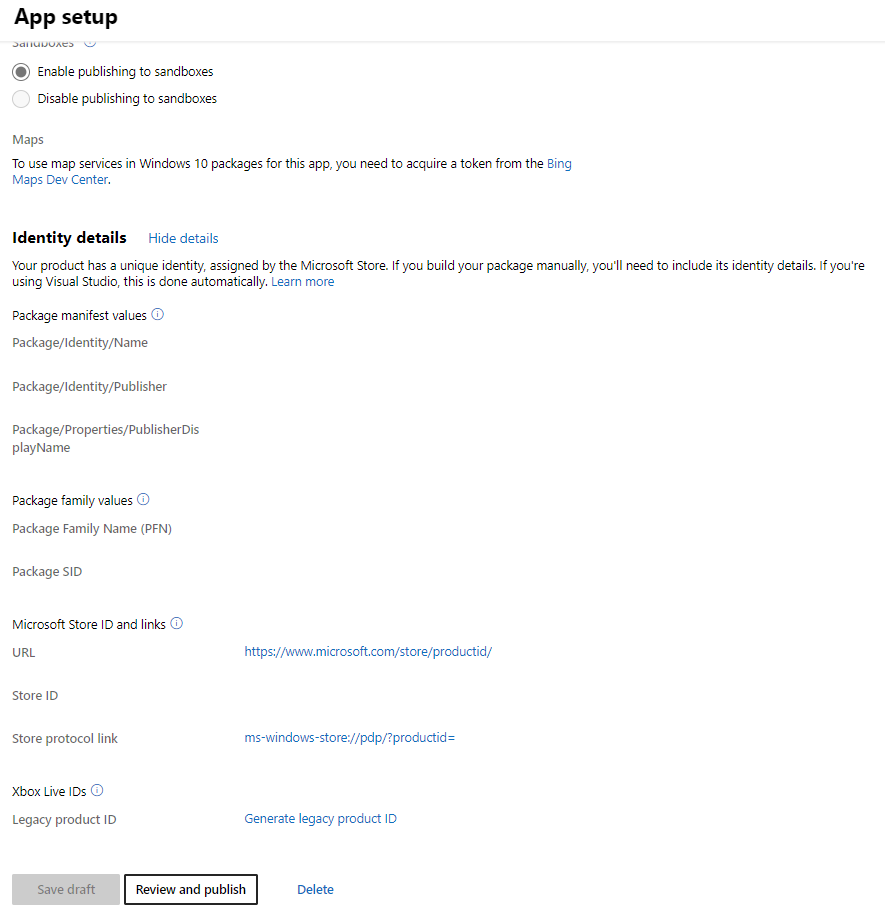
Copy the Store ID.
Contact your Microsoft representative to ask them to add Xbox services capability to your title. Include the Microsoft Store ID. For example:
Subject: Need to enable game for Xbox services
Body: "Hi support, please enable Xbox services compatibility for my Partner Center product. The Microsoft Store ID is [your game's store ID]."
Your Microsoft representative emails you telling you that your app or game has been enabled in Partner Center.
The initial setup of your app or game is now complete. Your game cannot be tested yet; you need to publish the game first. To do this, you take the identity information that was generated above, and push that information into the Xbox services runtime system, as follows.
3. Publish the game
In Partner Center, with your game selected as in the above procedures, do the following.
In the top right, click the Publish link.
The "Publish gameplay settings" dialog box appears.
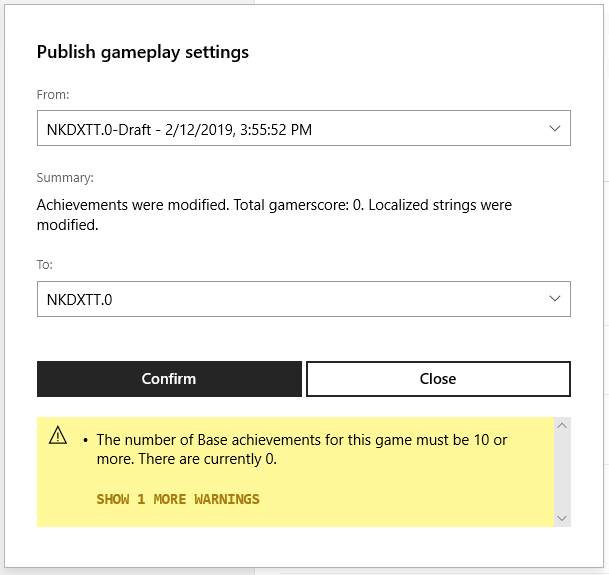
Click the Confirm button.
At the bottom of the dialog box, the message appears: "Publishing configuration..." and then "Publishing configuration finished successfully."
Important
Though the UI says "finished successfully", the Xbox network servers can take as long as 30 minutes to replicate the new info.
Click the Close button.
The "Publish gameplay settings" dialog box closes, and the "Gameplay Setting" page remains displayed.
The SDK can now be used in an application to sign-in.
4. Update the MicrosoftGame.config file
Important
To ensure successful sign-in, the MicrosoftGame.config file needs to match what is in Partner Center exactly. The MicrosoftGame.config Editor provides a Store Association Wizard which will automatically pull down all of the various IDs (MSA App ID, Title ID, Store ID, etc.) from Partner Center on your behalf.
Within the Identity element of the MicrosoftGame.config file, the value of the Name and Publisher attributes must match the Package/Identity/Name and Package/Identity/Publisher values shown in the Game setup page in Partner Center.
Also the values in the MSAAppID and TitleId elements must also exactly match the MSA App ID and Title ID (hexadecimal) values shown in Partner Center's Xbox services -> Xbox Settings page. MSA App Id can be either a GUID or hexadecimal value.
It is important to correctly set the following fields in MicrosoftGame.config:
| Field | Required? | Description | Product type | Notes |
|---|---|---|---|---|
| MSAFullTrust | Optional (PC Desktop only) | Specifies if the Title is declared as "MSA Full Trust". | Game | This should not be used unless otherwise noted by your Account Manager. |
| MSAAppId | Optional | Specifies the Titles MSA App ID, which is used with Xbox services Title ID (as follows) for identity with Xbox services. | Game | The MSAAppId is required if your MicrosoftGame.config specifies a TitleId, NoCodePCRoot or AdvancedUserModel element set to false. |
| TitleId | Optional | Specifies the Titles Xbox services Title ID, used for identity with Xbox services. | Game | The TitleId is required if your MicrosoftGame.config specifies a MSAAppId, NoCodePCRoot or AdvancedUserModel element set to false. |
| RequiresXboxLive | Optional | Specifies if the title requires Xbox services via Gaming Runtime Services (GRTS). | Game |
<Game configVersion="1">
  <Identity Name="ExactName.InPartnerCenter" Publisher="CN=00000000-0000-0000-0000-000000000000" Version="1.0.0.0" />

  <MSAAppId>000000000000000</MSAAppId>
  <TitleId>00000ABC</TitleId>
  <RequiresXboxLive>true</RequiresXboxLive>
For more information on application management, such as the wdapp register command, see Title packaging, content updates, and streaming-installation testing.
For more information on running the game from the start menu and/or debugging, see MicrosoftGame.config Overview.