Create a Microsoft Entra tenant to use with Power BI
APPLIES TO:
App owns data
User owns data
This article shows you how to create a Microsoft Entra tenant to use when creating a custom app that calls Power BI REST APIs.
A Microsoft Entra tenant is a reserved Microsoft Entra service instance that an organization receives and owns once it signs up for a Microsoft cloud service such as Azure, Microsoft Intune, or Microsoft 365. Each tenant represents an organization, and is distinct and separate from other Microsoft Entra tenants. Once you have a Microsoft Entra tenant, you can define an application and assign it permissions so it can call Power BI REST APIs.
Your organization may already have a Microsoft Entra tenant that you can use for your app. If it doesn't, here's how you can create a new tenant specifically for your app.
Create a Microsoft Entra tenant
To integrate Power BI into your custom app, you need a Microsoft Entra directory. This directory is your tenant. If your organization doesn't have a tenant, you need create one as part of your dev environment. You should also create a tenant if you want to keep things isolated and don't want your app mixing with your organization's tenant. Or, you may just want to create a tenant for testing purposes.
To create a new Microsoft Entra tenant:
Follow the directions in Quickstart: Create a new tenant in Microsoft Entra ID to create a new Microsoft Entra ID.
Provide the relevant Organization name, Initial domain name and Country/Region.
Note
Your initial domain is part of onmicrosoft.com. You can add other domain names later. A tenant directory can have multiple domains assigned to it.
Create Microsoft Entra tenant users
When you create a new Microsoft Entra tenant, you become the first user of that tenant. As the first user, you're automatically assigned the Global Admin role. Add new users by navigating to the Users page.
Create a master user to use as your master embedding account. You can think of the master user account as a service account.
In the home page of the Azure portal, select the Microsoft Entra ID tab.
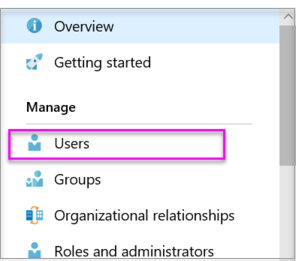
Under Manage, select Users.

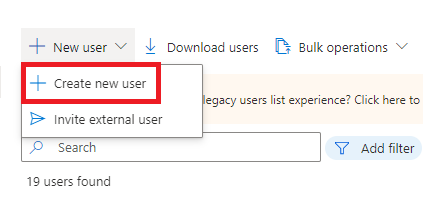
Under + New user select + Create new user.

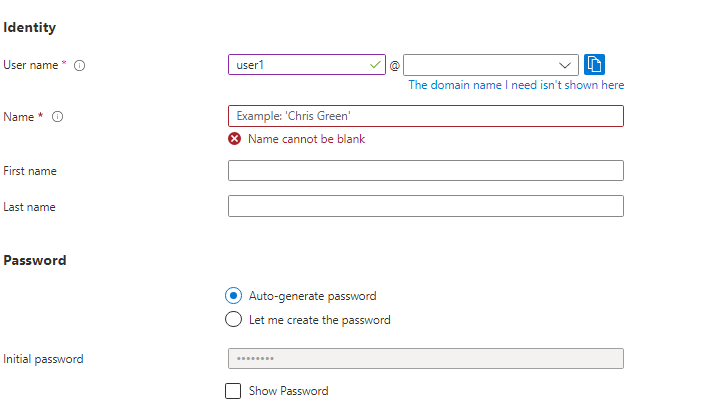
Provide a Display Name and User name for your tenant Global Admin. Leave Directory role as user. Note the password, then select Create.

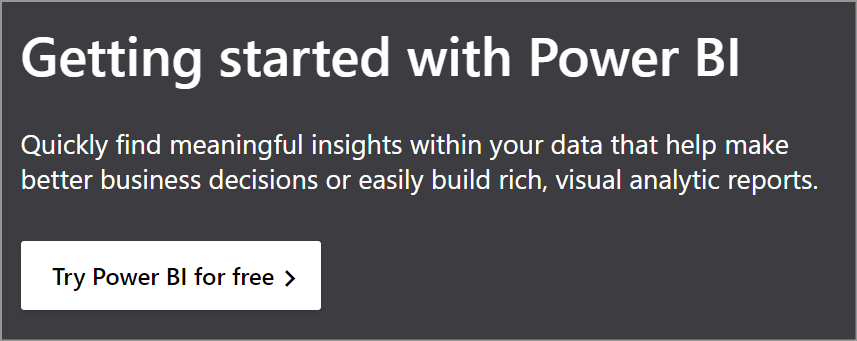
Sign up for Power BI with the user account that you created in step 4. Go to powerbi.com and select Try Power BI for free.

When you sign up, you're prompted to try Power BI Pro free for 60 days. You can opt into that to become a Pro user, which gives you the option to start developing an embedded solution.
Note
Make sure you sign up with your user account's email address.
Related content
- Register an app
- Quickstart: Set up a dev environment
- How to embed your Power BI dashboards, reports, and tiles
More questions? Try asking the Power BI Community