Nota
L'accesso a questa pagina richiede l'autorizzazione. È possibile provare ad accedere o modificare le directory.
L'accesso a questa pagina richiede l'autorizzazione. È possibile provare a modificare le directory.
In questa esercitazione si usa un flag di funzionalità variante per gestire le esperienze per segmenti utente diversi in un'applicazione di esempio, Offerta del giorno. Usare il flag di funzionalità variant creato in Usa flag di funzionalità varianti. Prima di procedere, assicurarsi di creare il flag di funzionalità variante denominato Messaggio di saluto nell'archivio di Configurazione app.
Prerequisiti
- Versioni LTS di Node.js.
- Seguire l'esercitazione Usare flag di funzionalità varianti e creare il flag di funzionalità variant denominato Messaggio di saluto.
Creare un'applicazione Node.js
Creare una cartella denominata
quote-of-the-daye inizializzare il progetto.mkdir quote-of-the-day cd quote-of-the-day npm init -yInstallare i pacchetti seguenti.
npm install @azure/app-configuration-provider
npm install @microsoft/feature-management
npm install express
Creare un nuovo file denominato server.js e aggiungere il codice seguente.
const express = require("express");
const server = express();

const appConfigEndpoint = process.env.AZURE_APPCONFIG_ENDPOINT;
const { DefaultAzureCredential } = require("@azure/identity");
const { load } = require("@azure/app-configuration-provider");
const { FeatureManager, ConfigurationMapFeatureFlagProvider } = require("@microsoft/feature-management");

let appConfig;
let featureManager;

async function initializeConfig() {
    appConfig = await load(appConfigEndpoint, new DefaultAzureCredential(), {
        featureFlagOptions: {
            enabled: true,
            refresh: {
                enabled: true
            }
        }
    });

    featureManager = new FeatureManager(
        new ConfigurationMapFeatureFlagProvider(appConfig));
}

function startServer() {
    // Use a middleware to refresh the configuration before each request
    server.use((req, res, next) => {
        appConfig.refresh();
        next();
    });
    server.use(express.json());
    // Serve static index.html from the current folder
    server.use(express.static("."));

    // This API returns the different greeting messages based on the segment the user belongs to.
    // It evaluates a variant feature flag based on user context. The greeting message is retrieved from the variant configuration.
    server.get("/api/getGreetingMessage", async (req, res) => {
        const { userId, groups } = req.query;
        const variant = await featureManager.getVariant("Greeting", { userId: userId, groups: groups ? groups.split(",") : [] });
        res.status(200).send({ message: variant?.configuration });
    });

    server.post("/api/like", (req, res) => {
        const { UserId } = req.body;
        if (UserId === undefined) {
            return res.status(400).send({ error: "UserId is required" });
        }
        // Here you would typically emit a 'like' event to compare variants.
        res.status(200).send();
    });

    const port = "8080";
    server.listen(port, () => {
        console.log(`Server is running at http://localhost:${port}`);
    });
}

// Initialize the configuration and start the server
initializeConfig()
    .then(() => {
        startServer();
    })
    .catch((error) => {
        console.error("Failed to load configuration:", error);
        process.exit(1);
    });
Creare un nuovo file denominato index.html e aggiungere il codice seguente:
<!DOCTYPE html>
<html lang="en">
<head>
<meta charset="UTF-8">
<title>Quote of the Day</title>
<style>
    .heart-button {
    background-color: transparent;
    border: none;
    cursor: pointer;
    font-size: 24px;
    }

    .heart-button:hover {
    background-color: #F0F0F0;
    }
</style>
</head>
<body>
<div style="display: flex; flex-direction: column; min-height: 100vh; background-color: #f4f4f4;">
    <header style="background-color: white; border-bottom: 1px solid #eaeaea; display: flex; justify-content: space-between; align-items: center; font-family: 'Arial', sans-serif; font-size: 16px;">
    <div style="font-size: 1.25em; color: black;">QuoteOfTheDay</div>
    </header>

    <main style="display: flex; justify-content: center; align-items: center; flex-grow: 1;">
    <div style="background-color: white; padding: 30px; border-radius: 8px; box-shadow: 0 2px 10px rgba(0, 0, 0, 0.1); max-width: 700px; position: relative; text-align: left;">
        <div id="quote-content">
        <h2 id="greeting">Quote of the Day</h2>
        <blockquote style="font-size: 2em; font-style: italic; color: #4EC2F7; margin: 0 0 20px 0; line-height: 1.4;">
            <p>"You cannot change what you are, only what you do."</p>
            <footer style="font-size: 0.55em; color: black; font-family: 'Arial', sans-serif; font-style: normal; font-weight: bold;">— Philip Pullman</footer>
        </blockquote>
        <div style="position: absolute; top: 10px; right: 10px; display: flex;">
            <button class="heart-button" id="like-button">
            <span id="heart-icon" style="color: #ccc">♥</span>
            </button>
        </div>
        </div>
        <div id="loading" style="display: none;">
        <p>Loading</p>
        </div>
    </div>
    </main>
</div>

<script>
    // extract URL parameters to simulate user login
    document.addEventListener('DOMContentLoaded', function() {
    const urlParams = new URLSearchParams(window.location.search);
    const currentUser = urlParams.get('userId') || '';
    let liked = false;

    const greetingElement = document.getElementById('greeting');
    const heartIcon = document.getElementById('heart-icon');
    const likeButton = document.getElementById('like-button');
    const quoteContent = document.getElementById('quote-content');
    const loadingElement = document.getElementById('loading');

    async function init() {
        quoteContent.style.display = 'none';
        loadingElement.style.display = 'block';

        const response = await fetch(`/api/getGreetingMessage?userId=${currentUser}`, {
        method: "GET"
        });
        const result = await response.json();
        greetingElement.textContent = result.message || "";
        quoteContent.style.display = 'block';
        loadingElement.style.display = 'none';
    }

    likeButton.addEventListener('click', async function() {
        if (!liked) {
        const response = await fetch("/api/like", {
            method: "POST",
            headers: { "Content-Type": "application/json" },
            body: JSON.stringify({ UserId: currentUser }),
        });
        }
        liked = !liked;
        heartIcon.style.color = liked ? 'red' : '#ccc';
    });

    init();
    });
</script>
</body>
</html>
Per semplicità, l'esempio estrae i
userIdparametri di query dall'URL ,ad esempio?userId=UserA, per simulare identità utente diverse.
Eseguire l'applicazione
Impostare la variabile di ambiente denominata AZURE_APPCONFIG_ENDPOINT sull'endpoint dell'archivio di Configurazione app disponibile in Panoramica dello store nel portale di Azure.
Se si usa il prompt dei comandi di Windows, eseguire il comando seguente e riavviare il prompt per rendere effettiva la modifica:
setx AZURE_APPCONFIG_ENDPOINT "<endpoint-of-your-app-configuration-store>"Se si usa PowerShell, eseguire il comando seguente:
$Env:AZURE_APPCONFIG_ENDPOINT = "<endpoint-of-your-app-configuration-store>"Se si usa macOS o Linux, eseguire il comando seguente:
export AZURE_APPCONFIG_ENDPOINT='<endpoint-of-your-app-configuration-store>'Eseguire l'applicazione.
node server.jsAprire il browser e passare a
localhost:8080. Dovrebbe essere visualizzata la visualizzazione predefinita dell'app che non contiene alcun messaggio di saluto.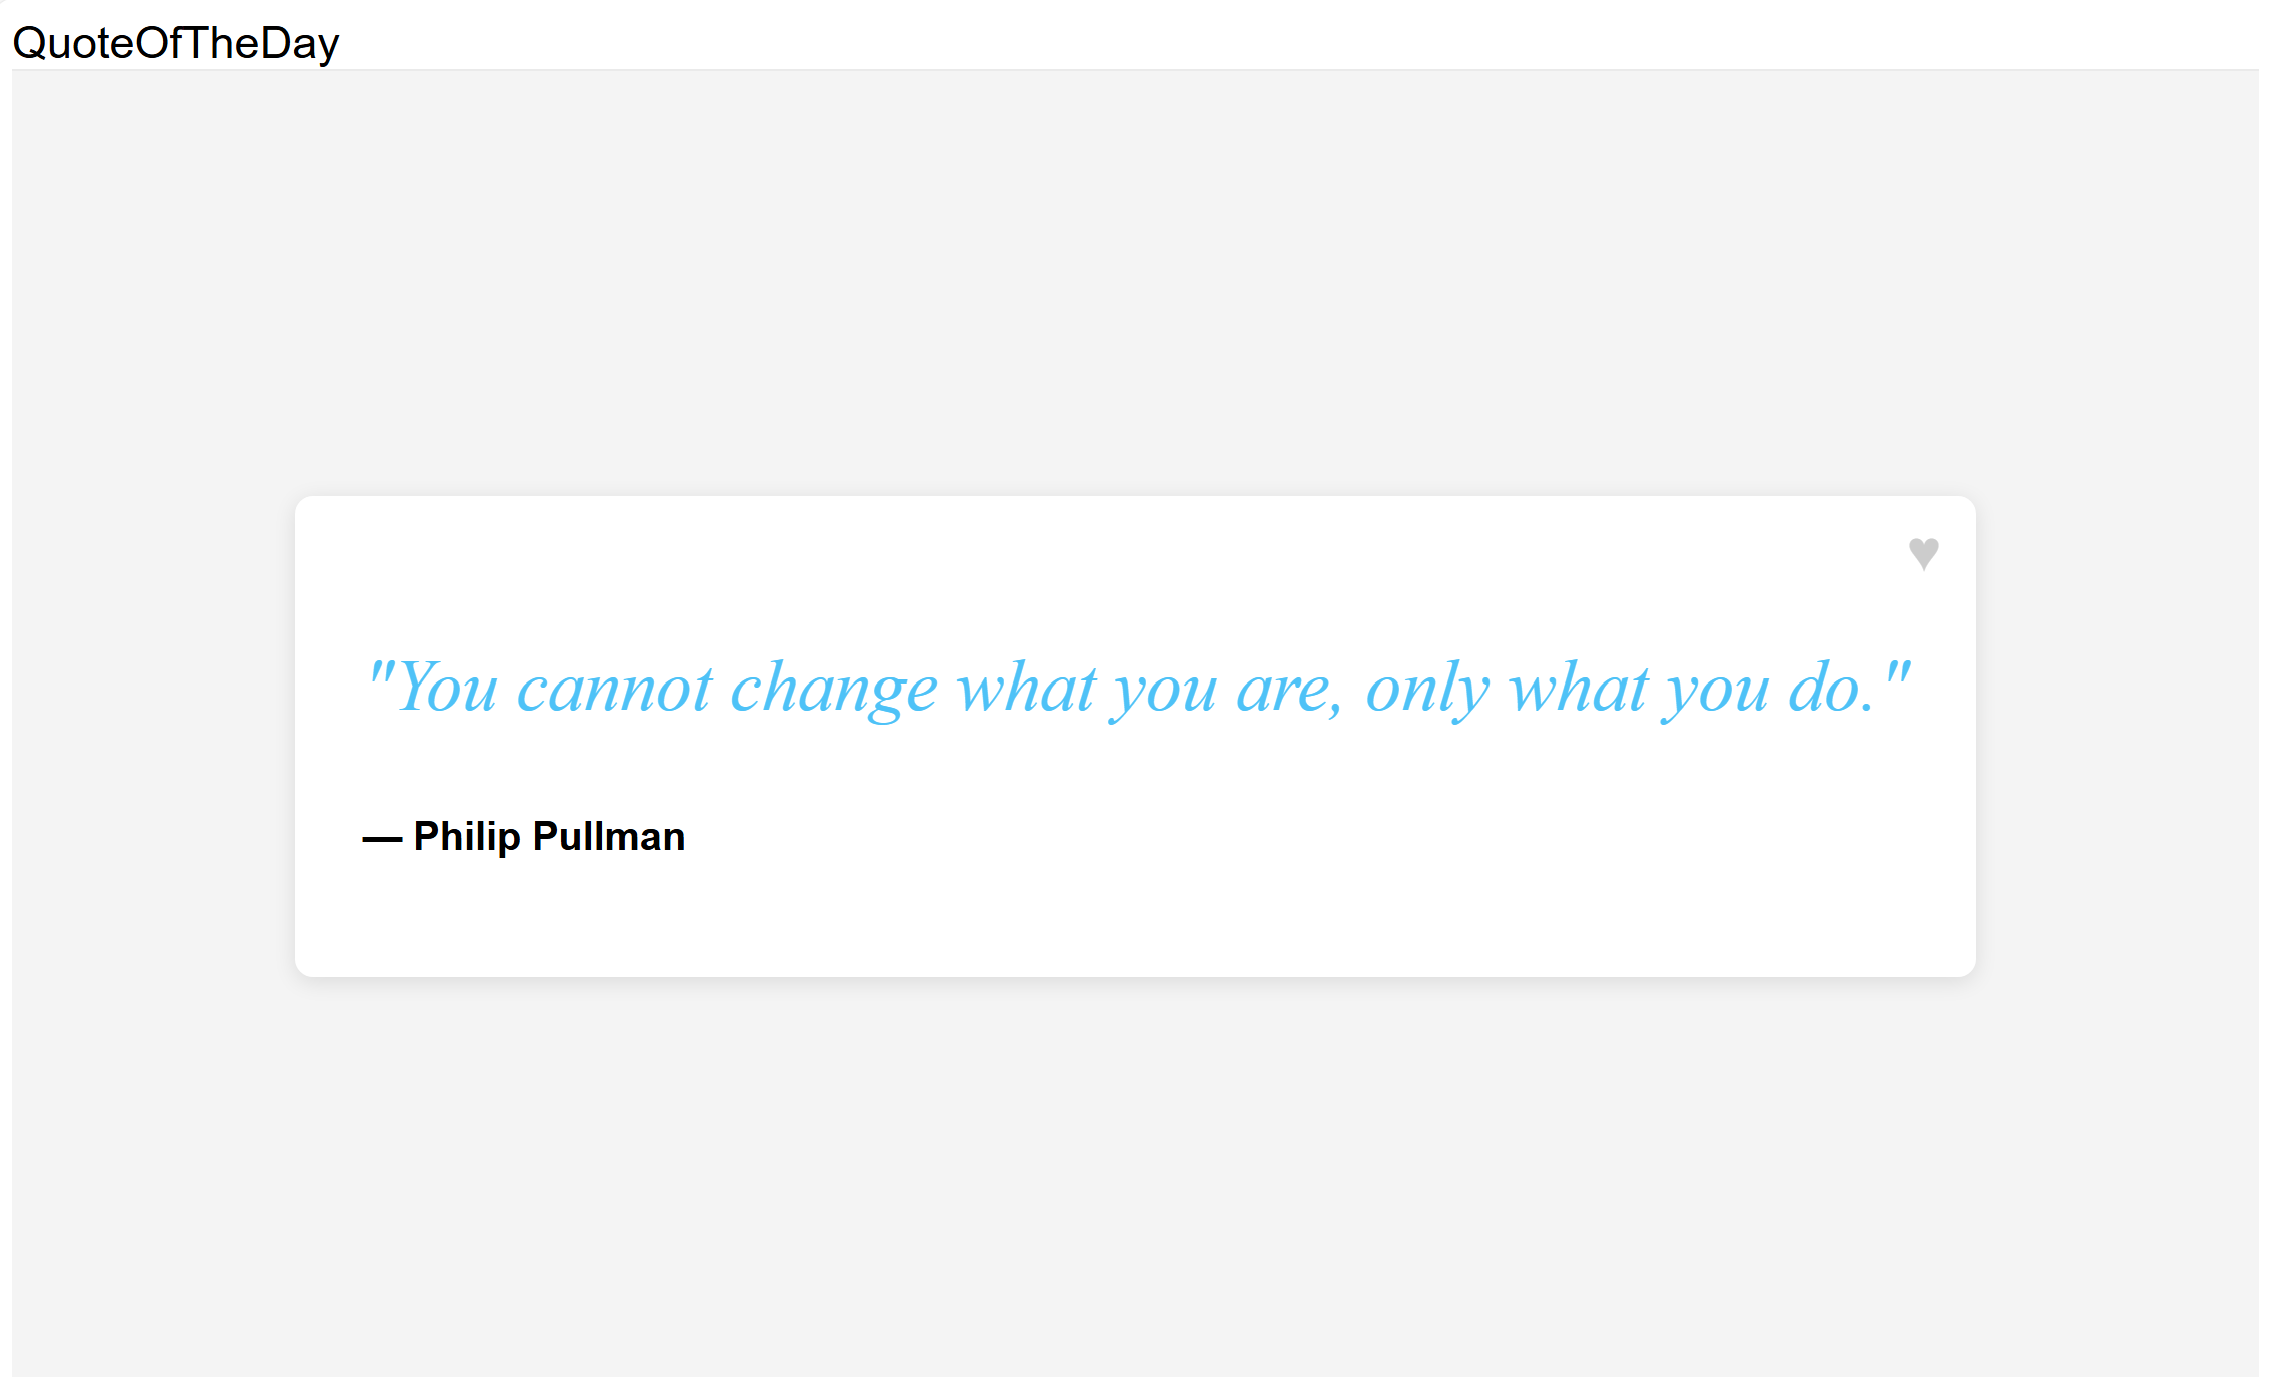
È possibile usare il
userIdparametro di query nell'URL per specificare l'ID utente. Visitalocalhost:8080/?userId=UserAe viene visualizzato un lungo messaggio di saluto.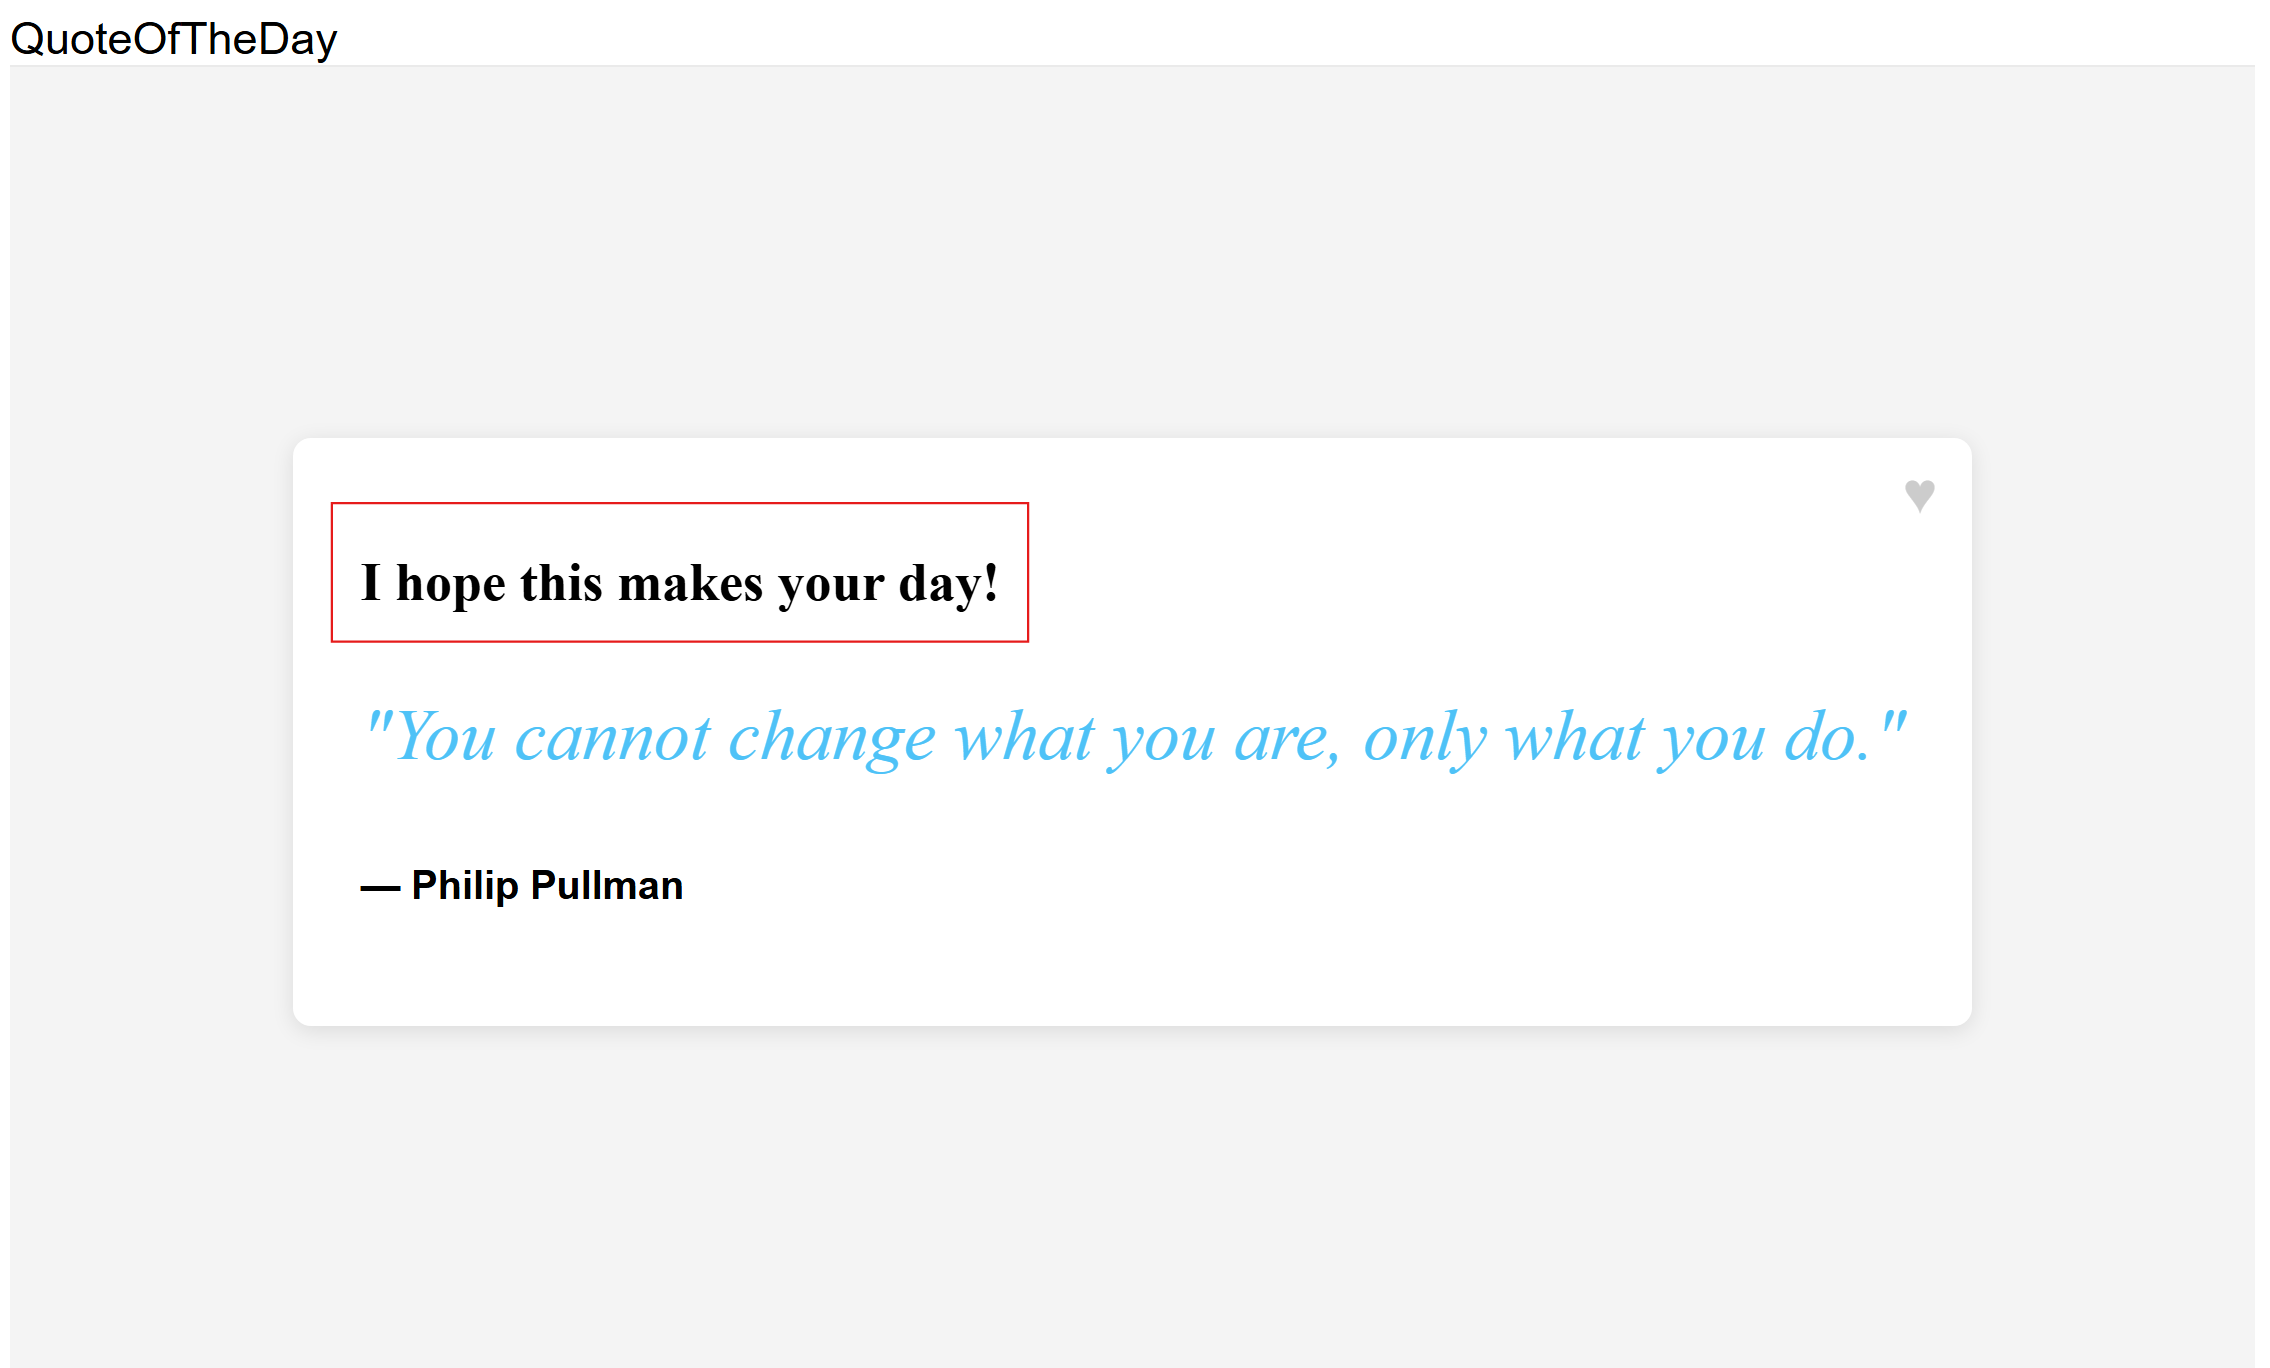
Provare ID utente diversi per vedere in che modo il flag di funzionalità variant modifica il messaggio di saluto per diversi segmenti di utenti. Visita
localhost:8080/?userId=UserBe viene visualizzato un messaggio di saluto più breve.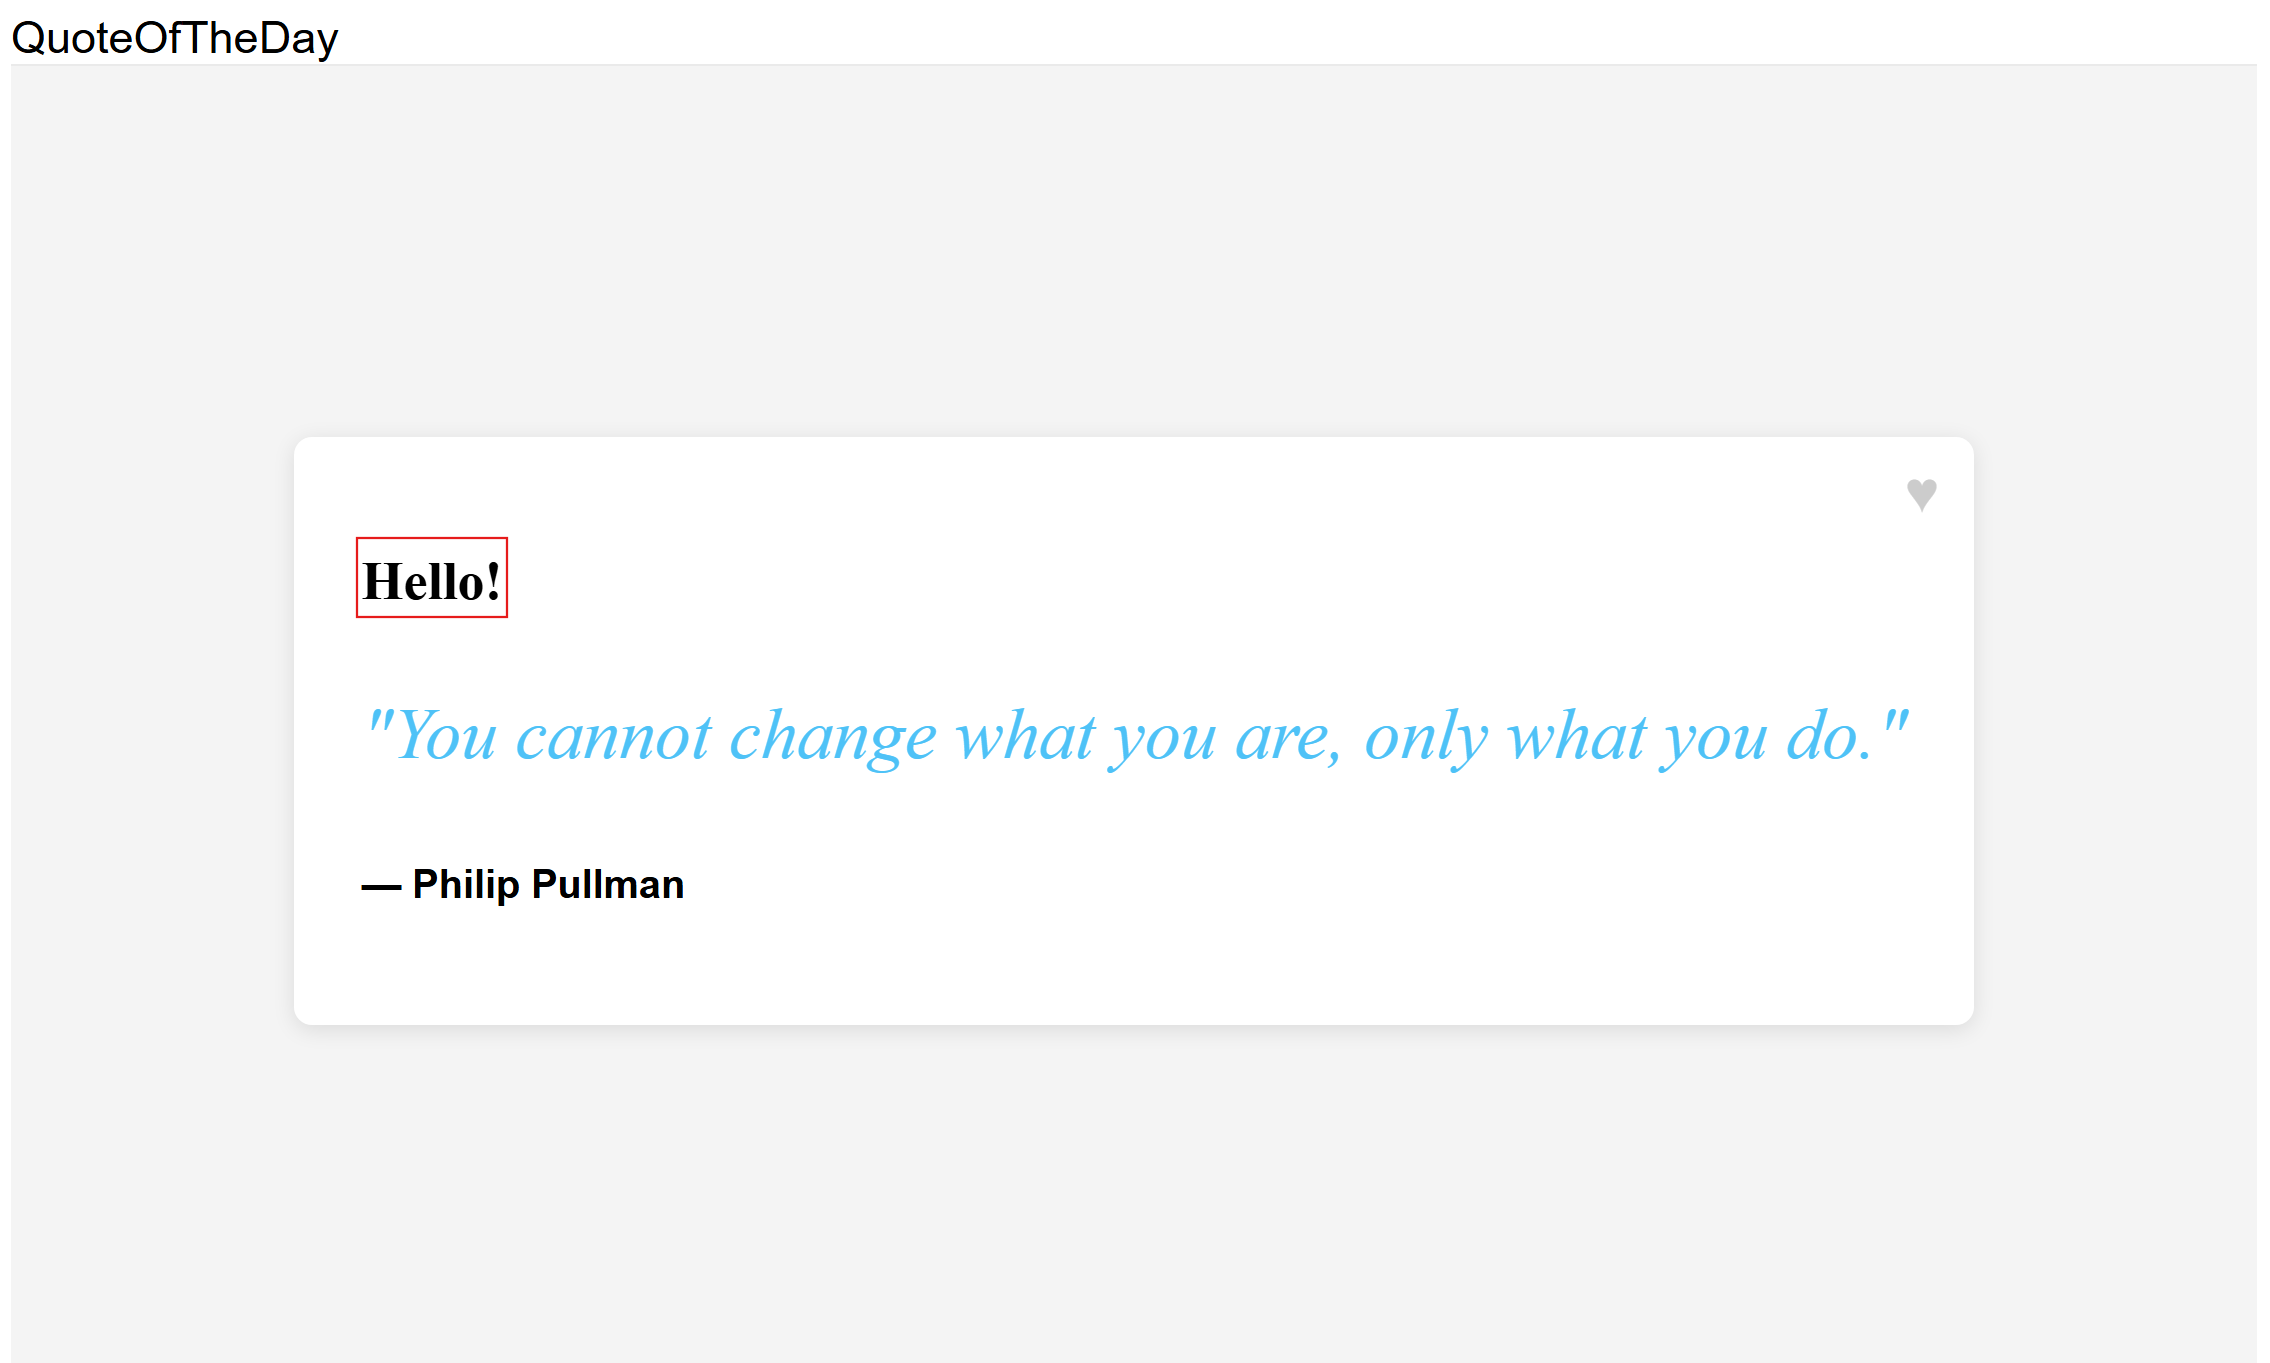
Passaggi successivi
Per il rundown completo delle funzionalità della libreria di gestione delle funzionalità JavaScript, vedere il documento seguente.