Import donations
Important
Fundraising and Engagement is being retired. Support for Fundraising and Engagement will end at 11:59 PM Pacific Time on December 31, 2026. For more information, go to What’s new in Fundraising and Engagement.
You can import donation data into Fundraising and Engagement with the Donation import wizard. The import wizard provides the following capabilities:
- Simplified navigation that walks you through the import process
- Template to help you match import fields
- Ability to monitor the import process while continuing with other work
During the import process, the import wizard performs the following actions:
- If a donor doesn't already exist in Fundraising and Engagement, the import wizard automatically creates a new contact record.
- Automatically link all imported financial transactions to the donor record and assume that the payment has already been made. As a result, the import process doesn't deduct any money from donor accounts.
- Imports all records and mark them as active.
Preparing data for import
Before importing any records, ensure your data is clean, because all data is imported and automatically marked as active. You can preview the data before importing, but after the records are imported, they'll be live in the system.
You can use the standard import template. To use the import template, select Get Import Template on the command bar on the Import donations page.
You can import donation data by using the original Excel or CSV file from the source. To use the original file, follow the steps in Import donations with the Donation import wizard.
The import template includes data validation on some of the columns to ensure that data is properly formatted for import. If you import without using the template, note the following requirements:
- You must express donation amount currency values using comma and decimal separators (for example, ###,###.##).
- You must express dates in month/date/year format (for example, MM/DD/YY).
Important
At a minimum, the source document must have the transaction amount and either the organization name or the first and last name of the donor.
Your Dynamics data format must be set to English (United States) to ensure that dates and donation amounts are imported properly. If your settings are not set to English (United States), you will receive a notification at the beginning of the import process. To confirm or change the format, click on the gear icon in the upper-right corner and select Personalization Settings -> Formats. This limitation will be addressed in a future release.
Import donations with the Donation import wizard
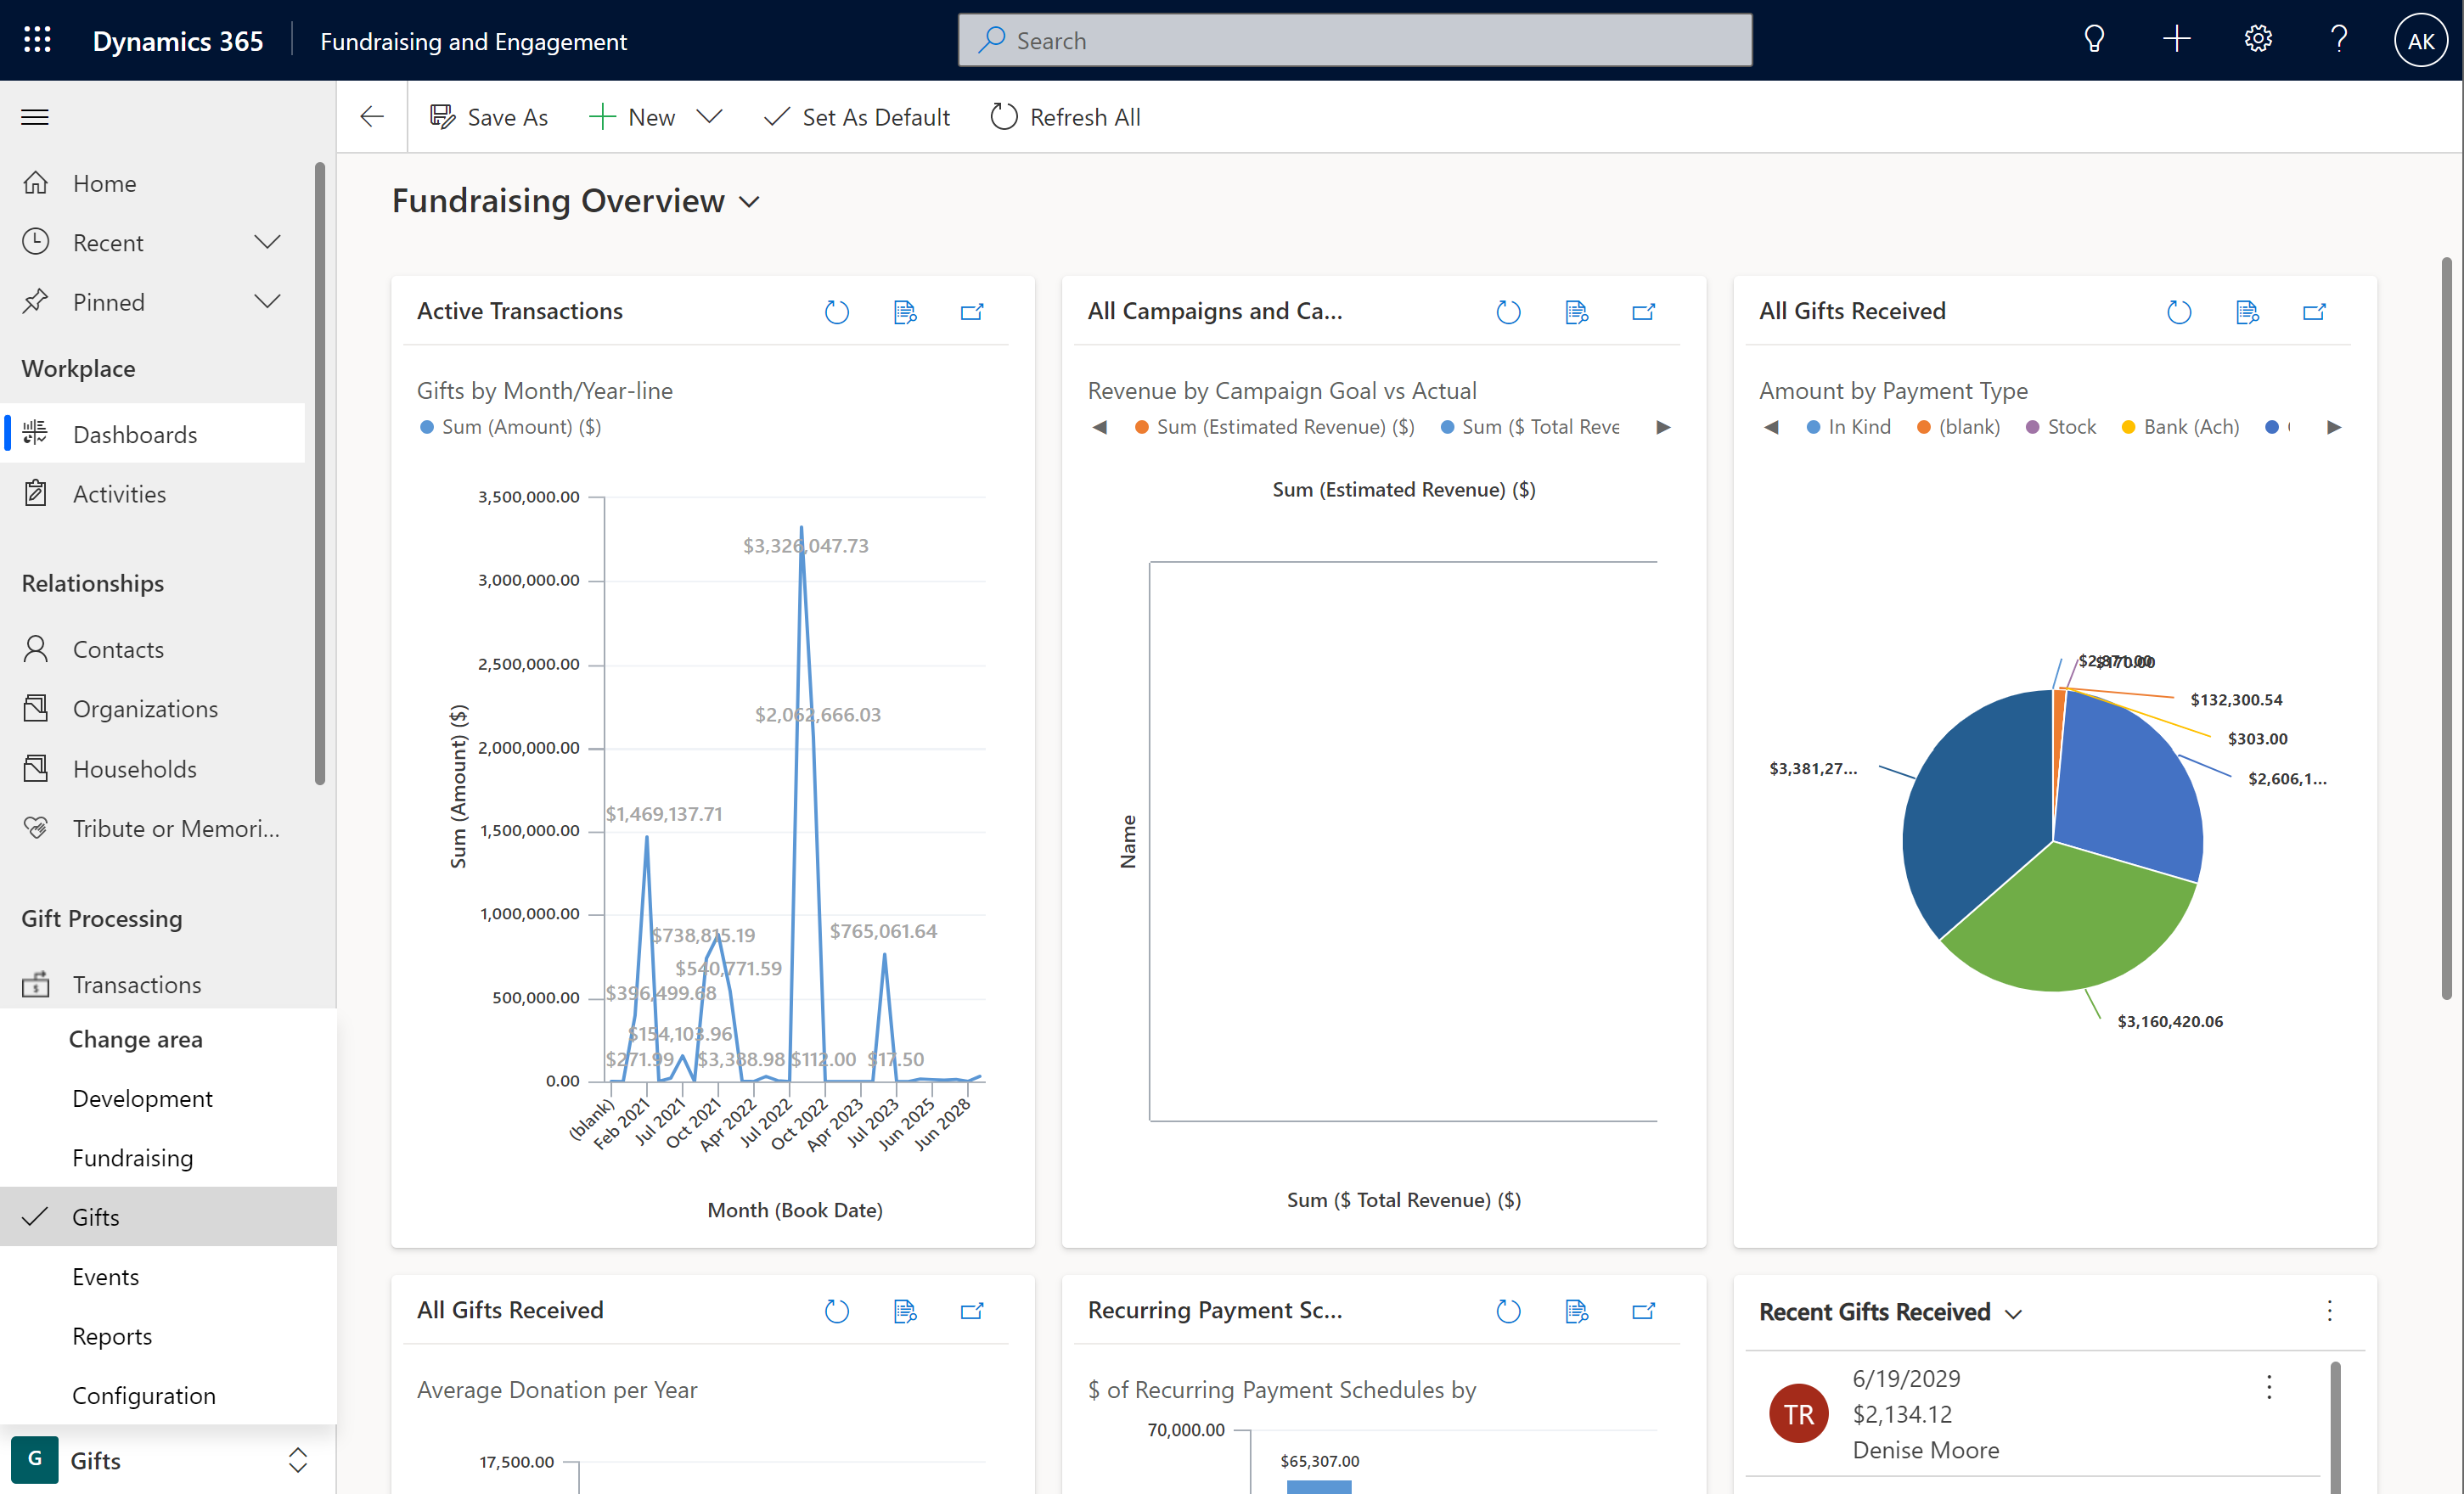
Select Gifts from the options area in the bottom left of the screen.
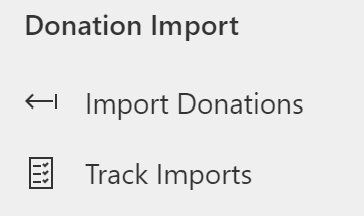
On the left navigation panel, select Import Donations.
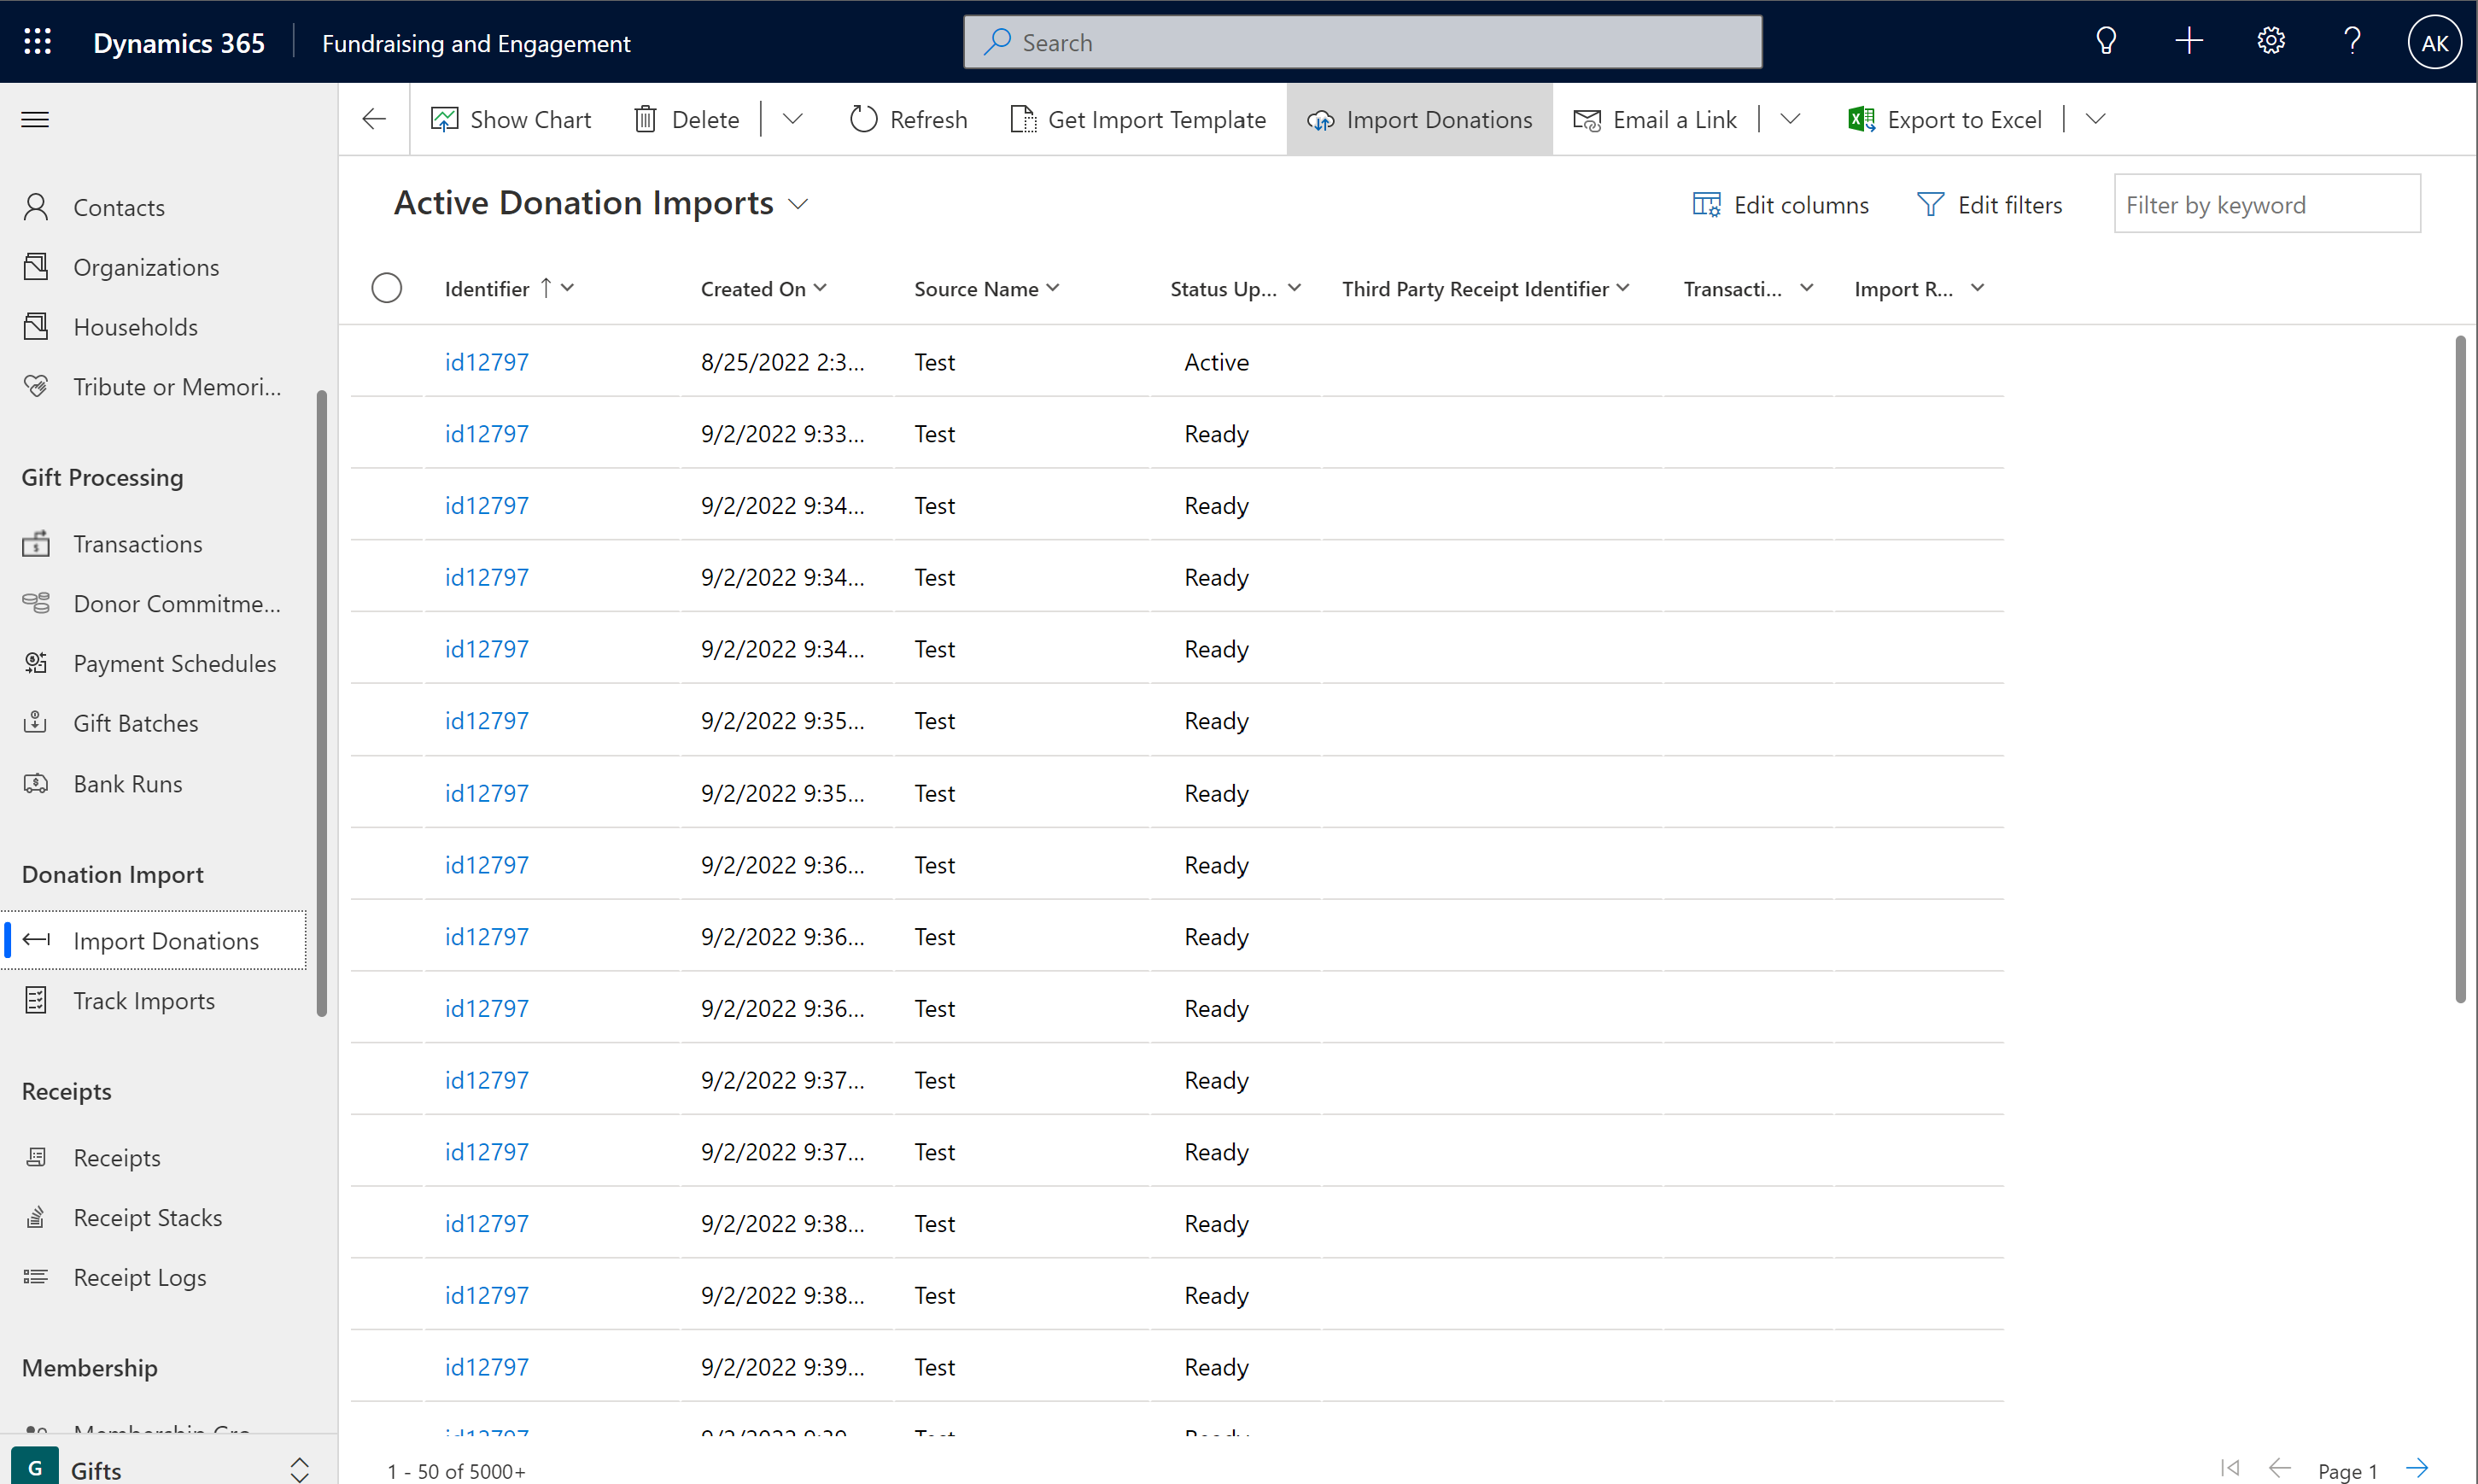
On the command bar, select Import Donations.
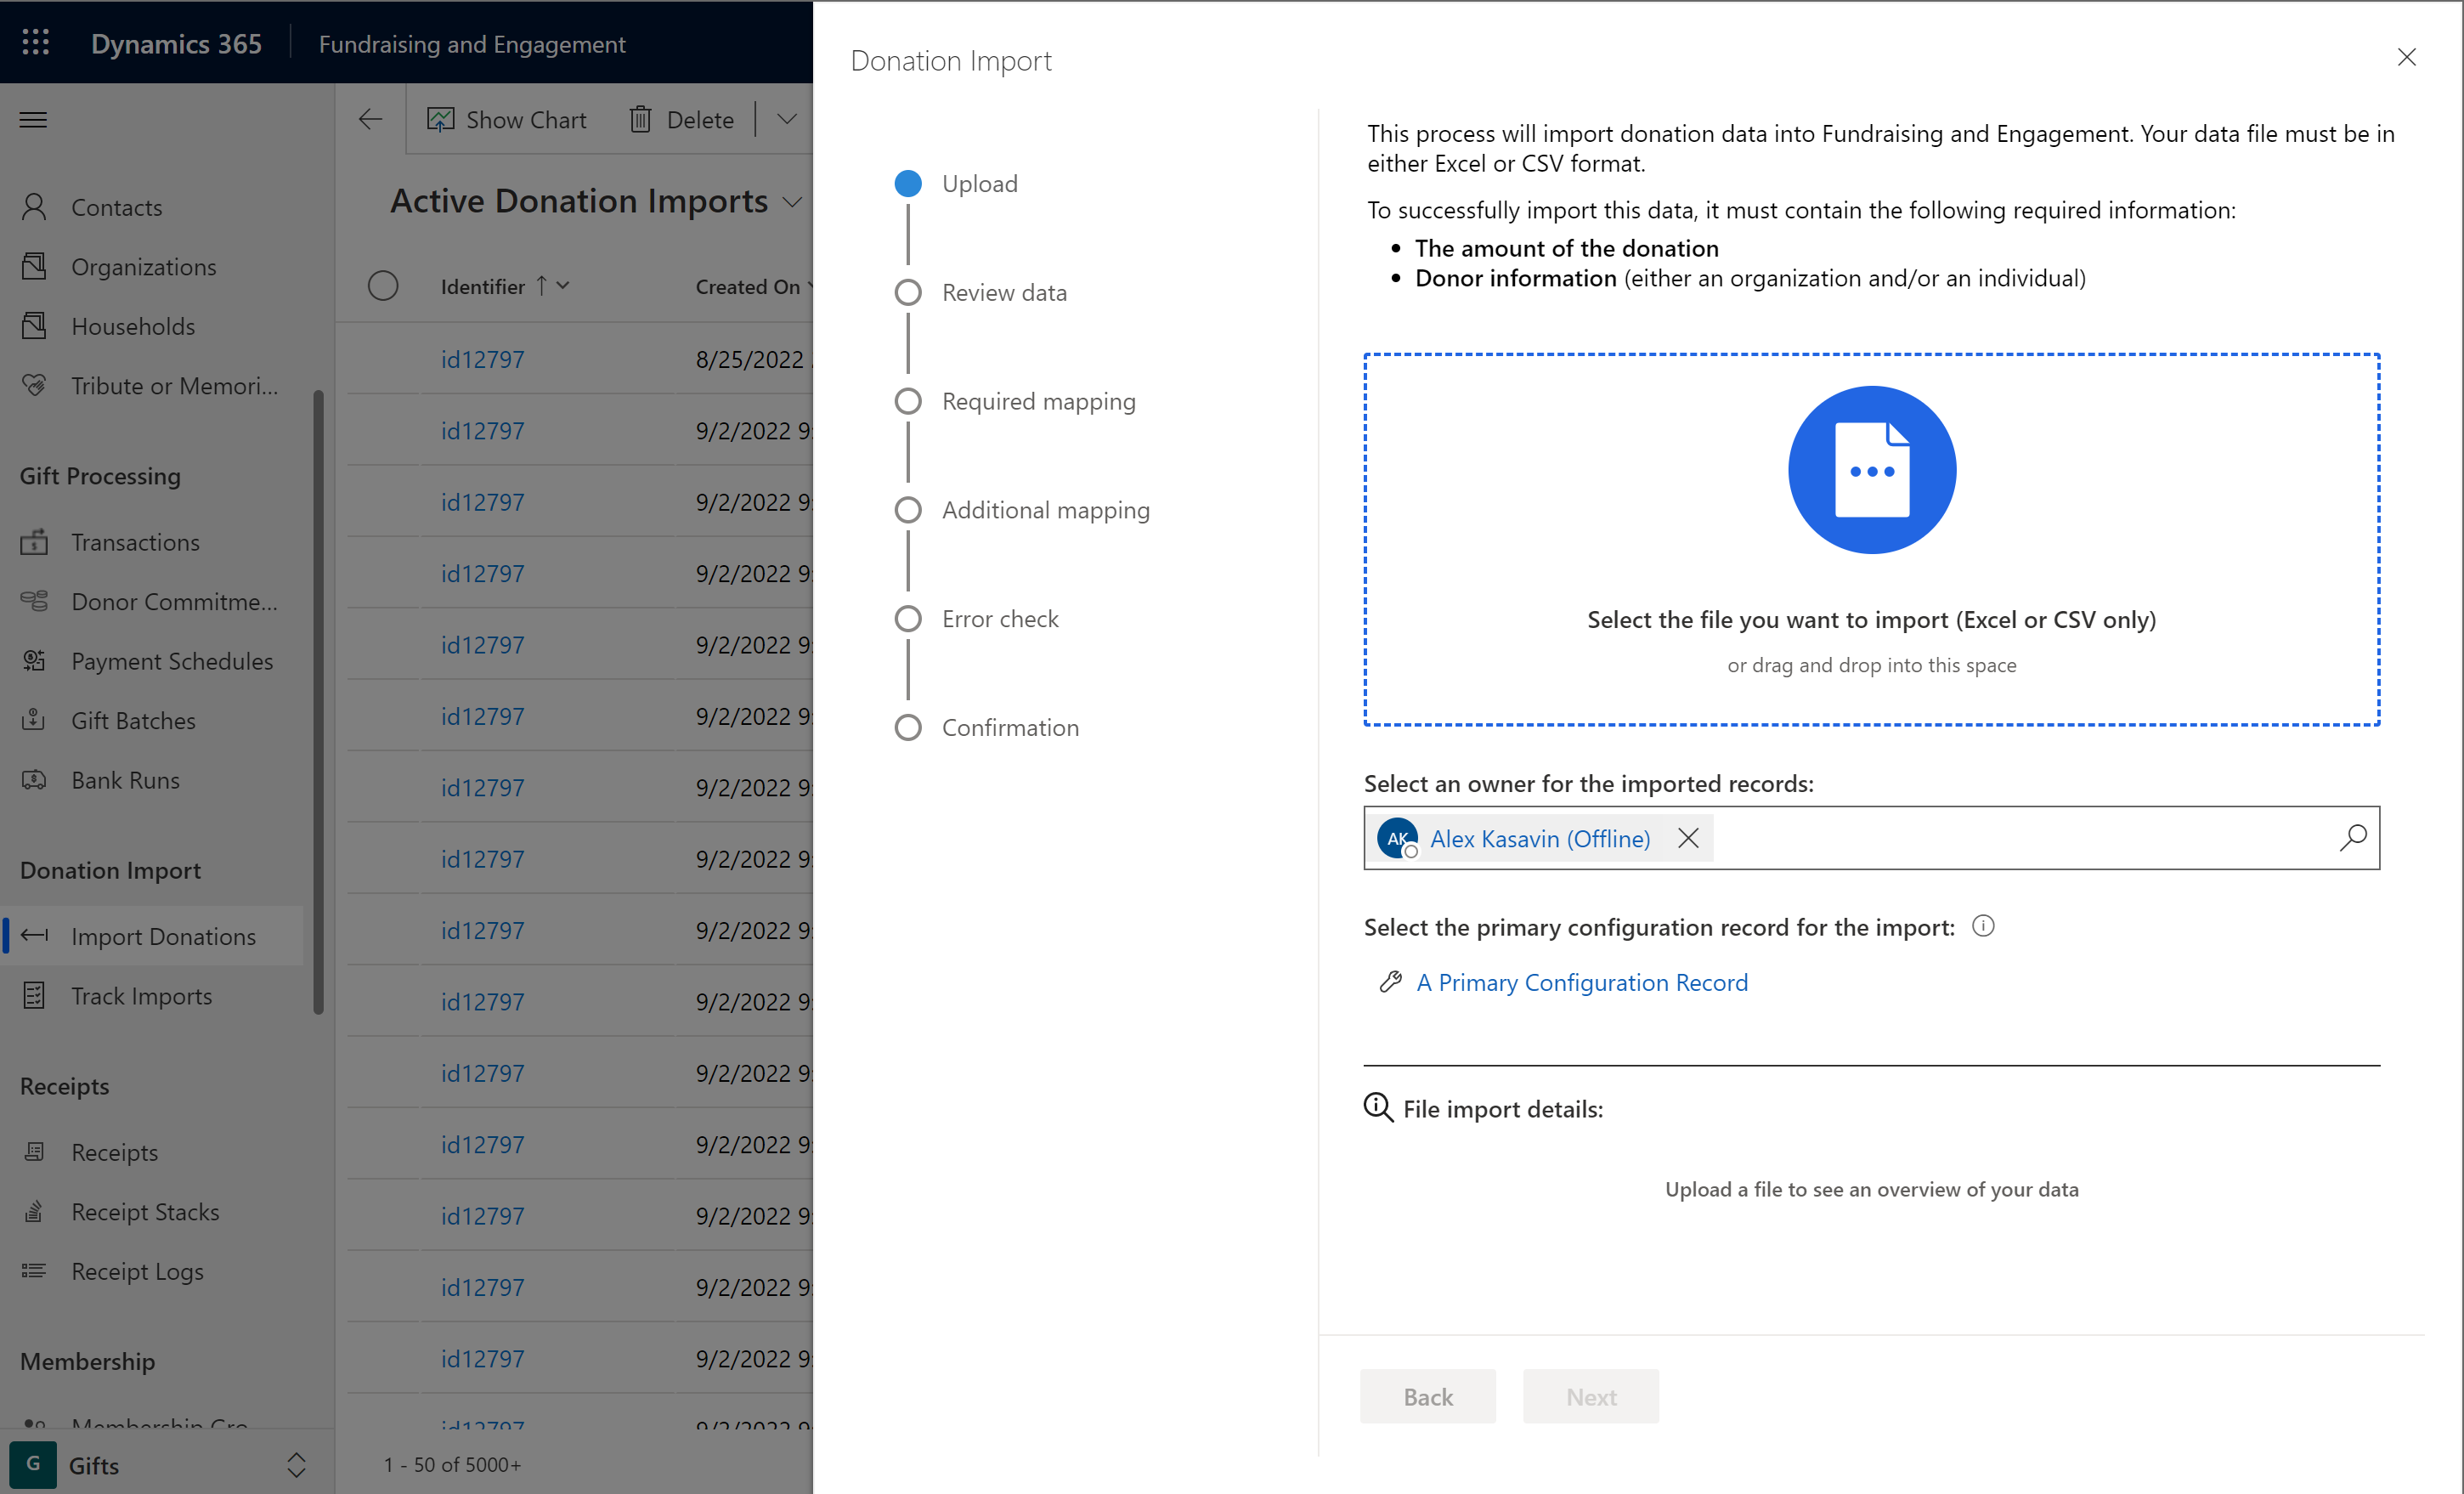
The Donation import wizard opens.
On the Select file page, either select the main panel to navigate to your CSV or Excel file, or drag and drop the file into the main panel.
After you select a file, the panel will display the following items:
The source file name
Details of the uploaded file
Your Fundraising and Engagement account name
The primary configuration record associated with your account
Important
Without a primary configuration record, the import will fail. To proceed, you need to get a configuration record assigned to your Fundraising and Engagement account.
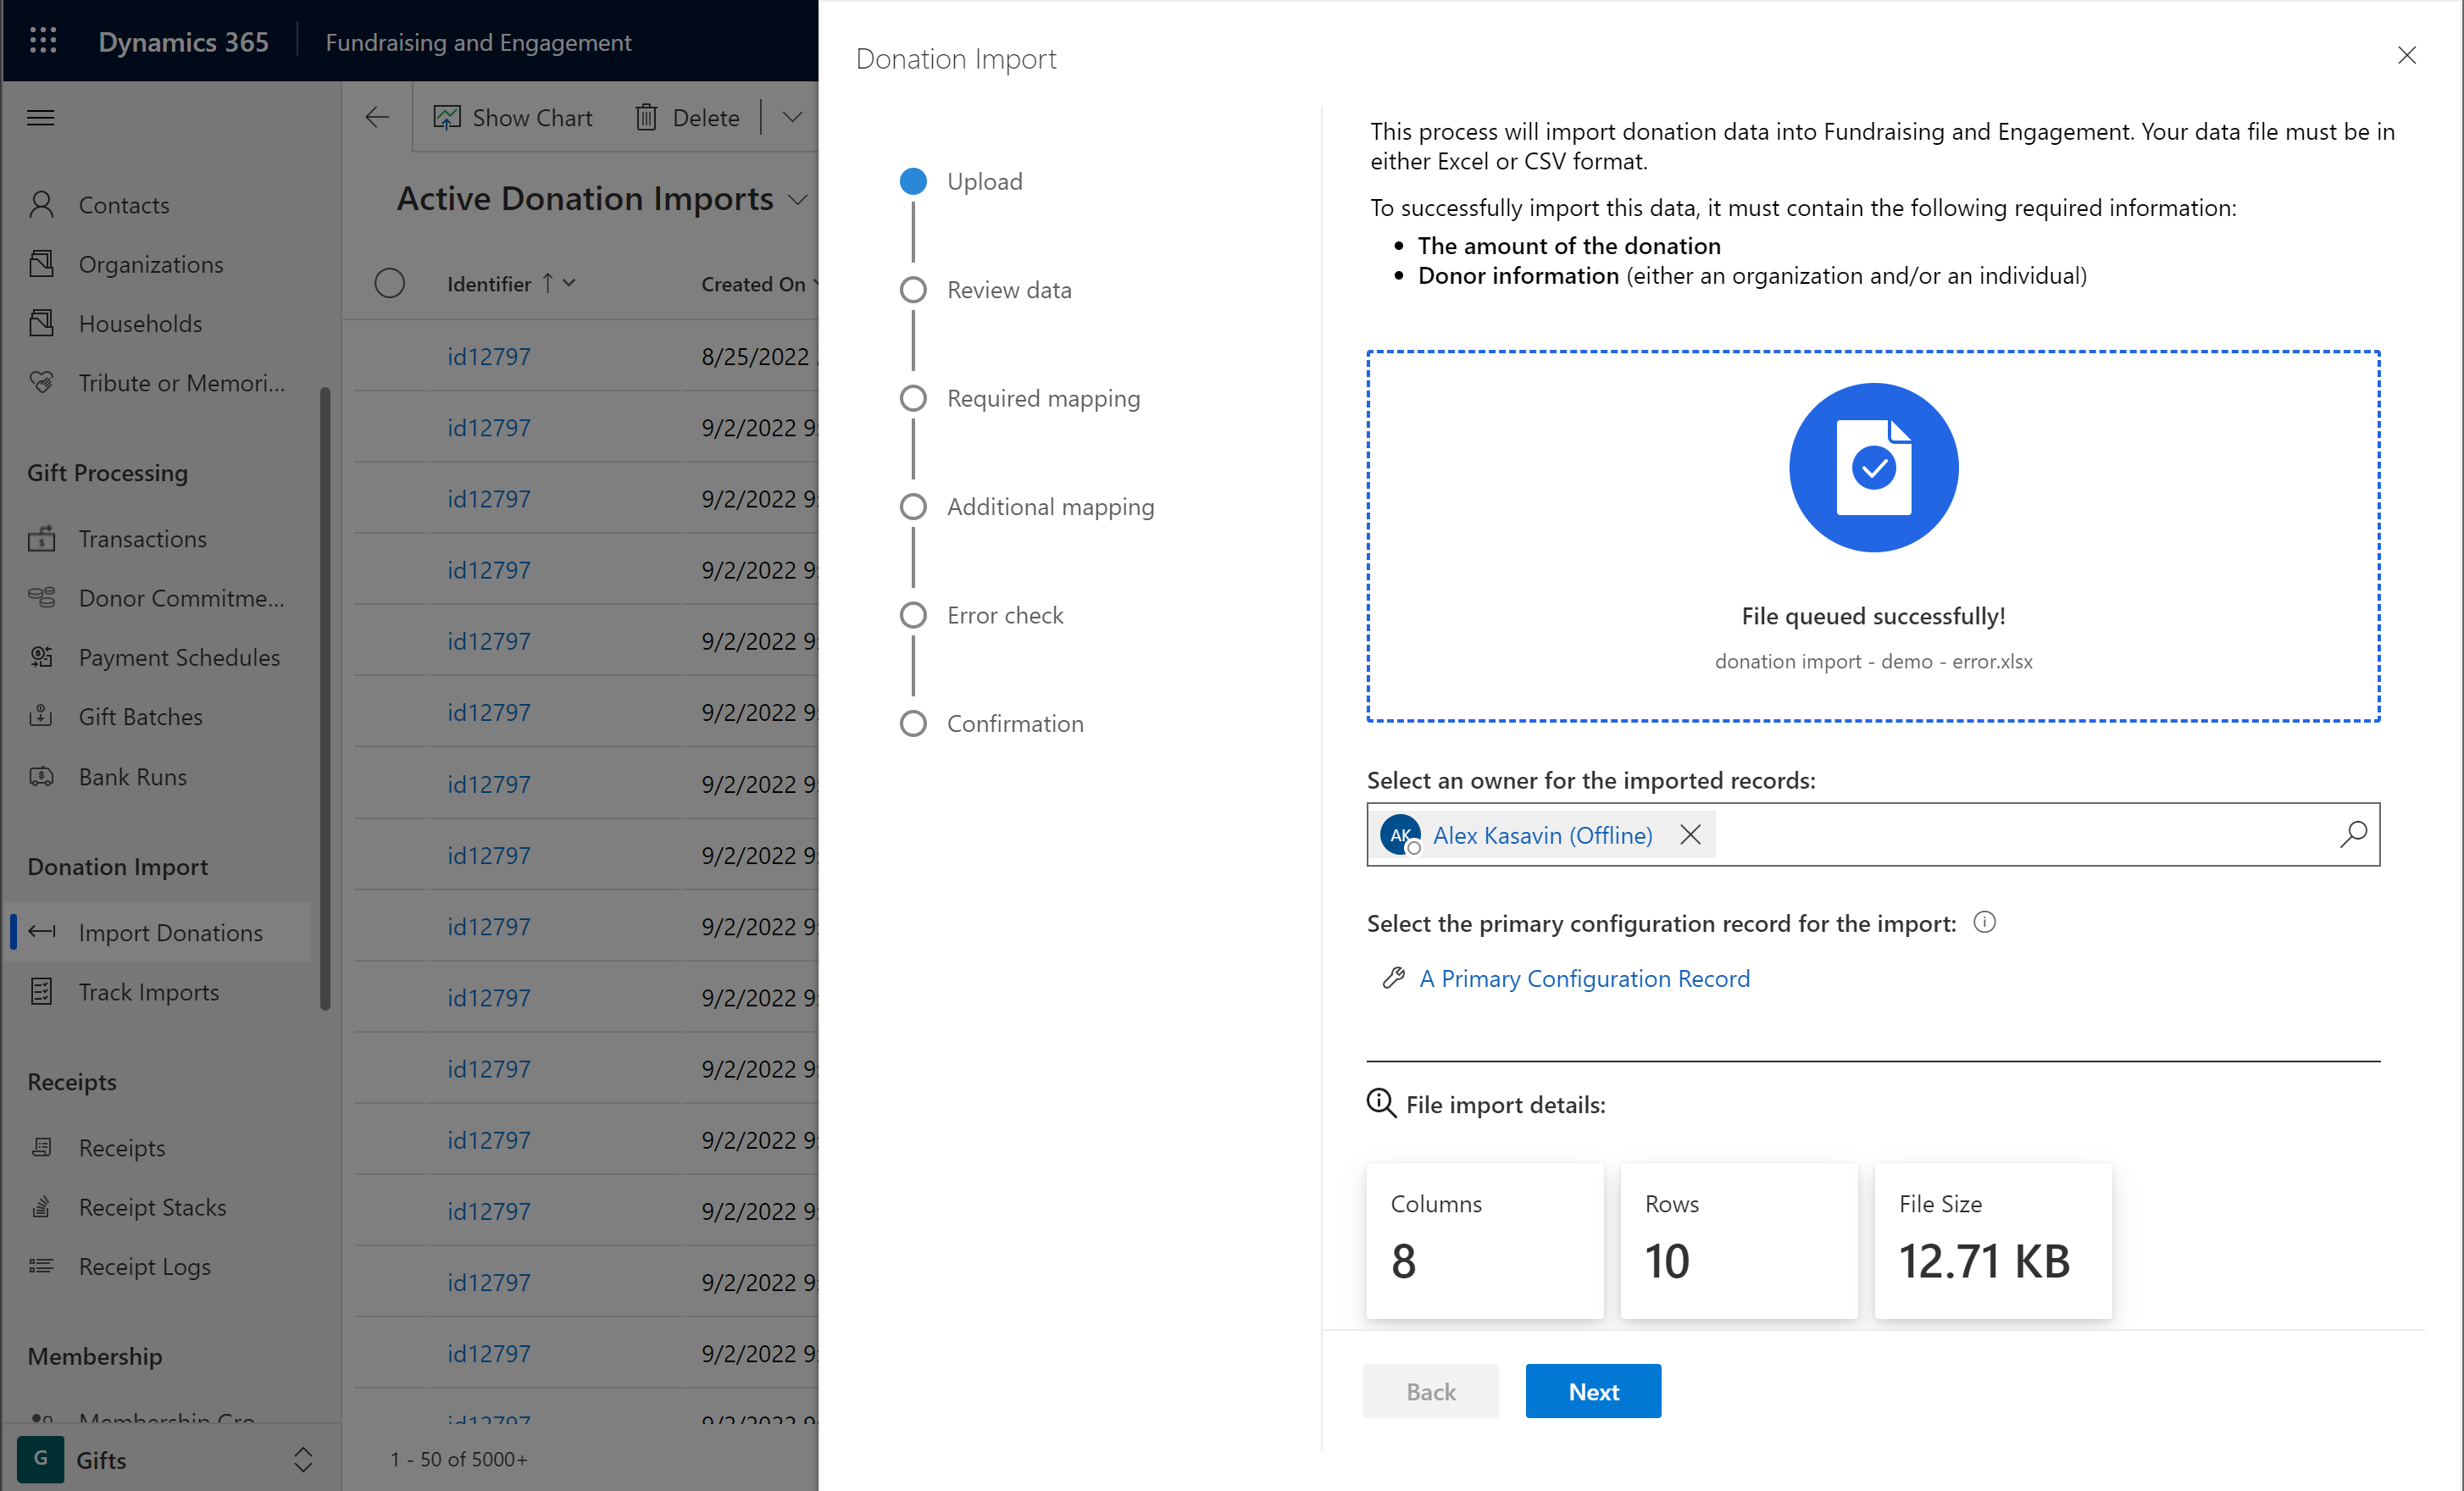
Select Next to continue.
On the Review data page, a preview of the selected file appears if the file meets all the import criteria. Select Next to continue.
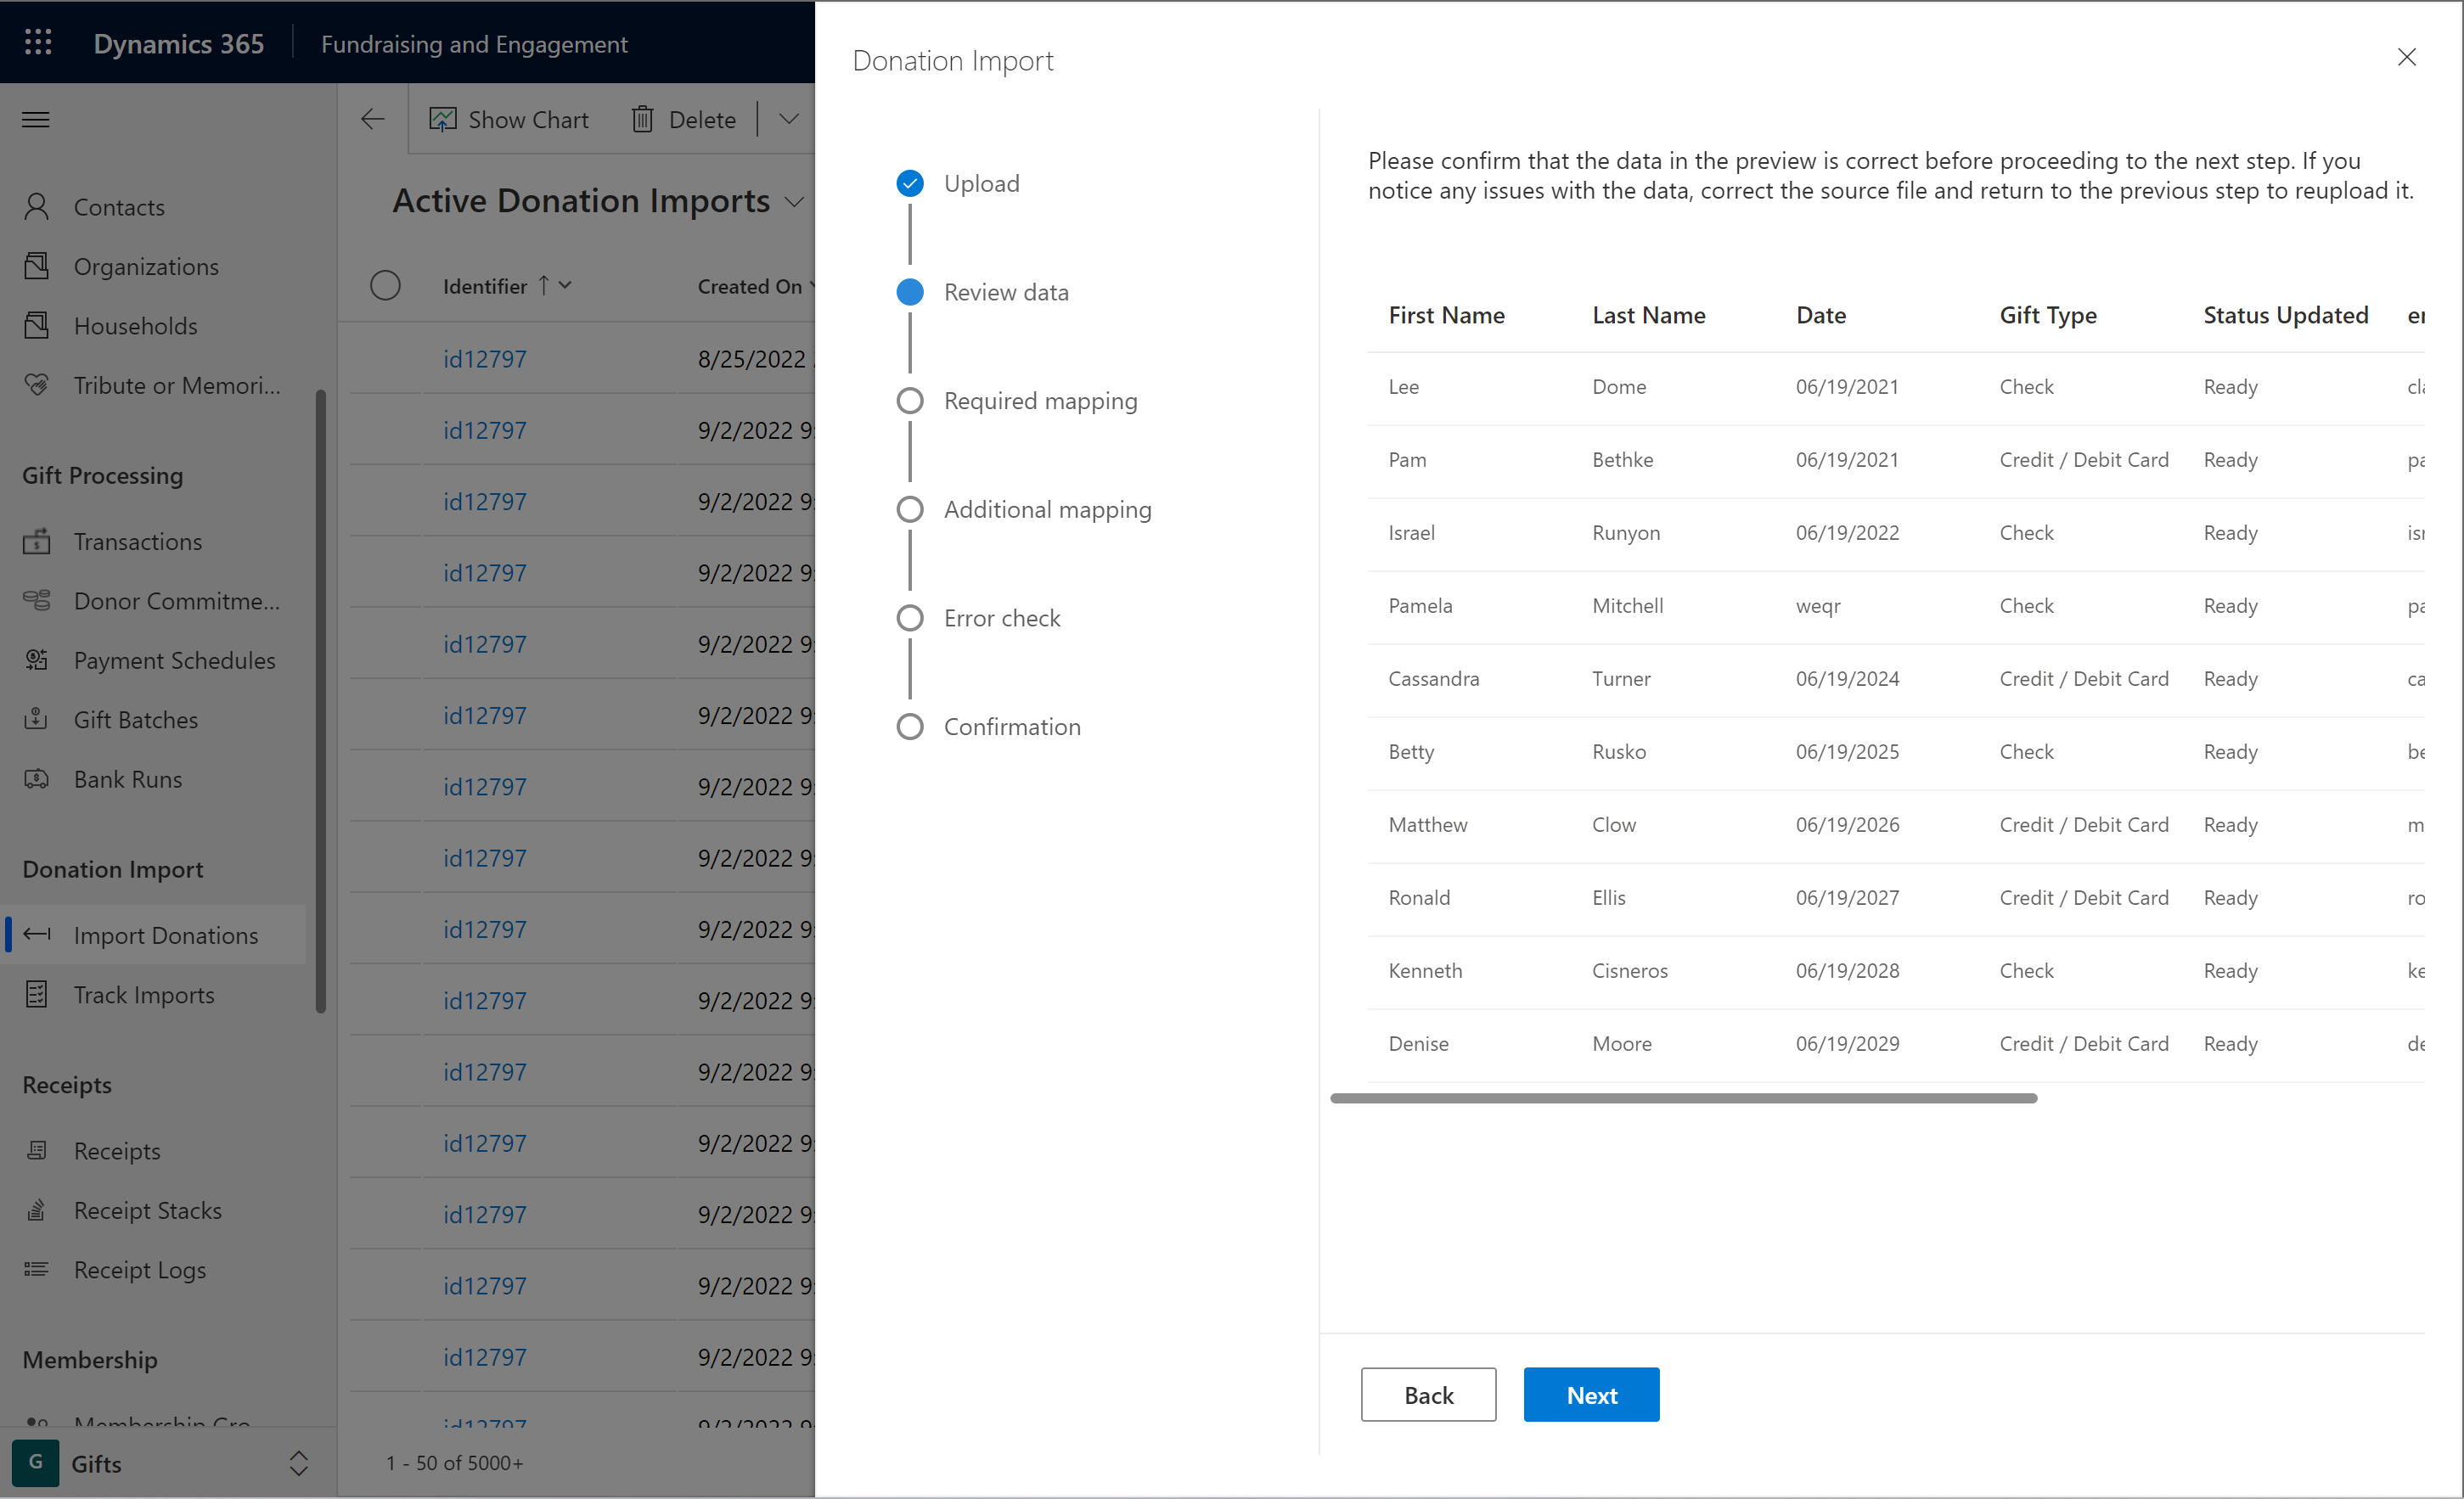
If the file has no data or is too large, one of the following messages displays. Correct the source file and try again.


On the Required page under Mapping, you need to map the fields from your data source to the fields in Fundraising and Engagement. You can save the mapping for future imports.
The symbols at the end of the fields have the following meanings:
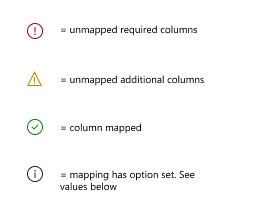
You must map the following mandatory fields:
- Transaction amount
- Either Organization or First Name and Last Name.
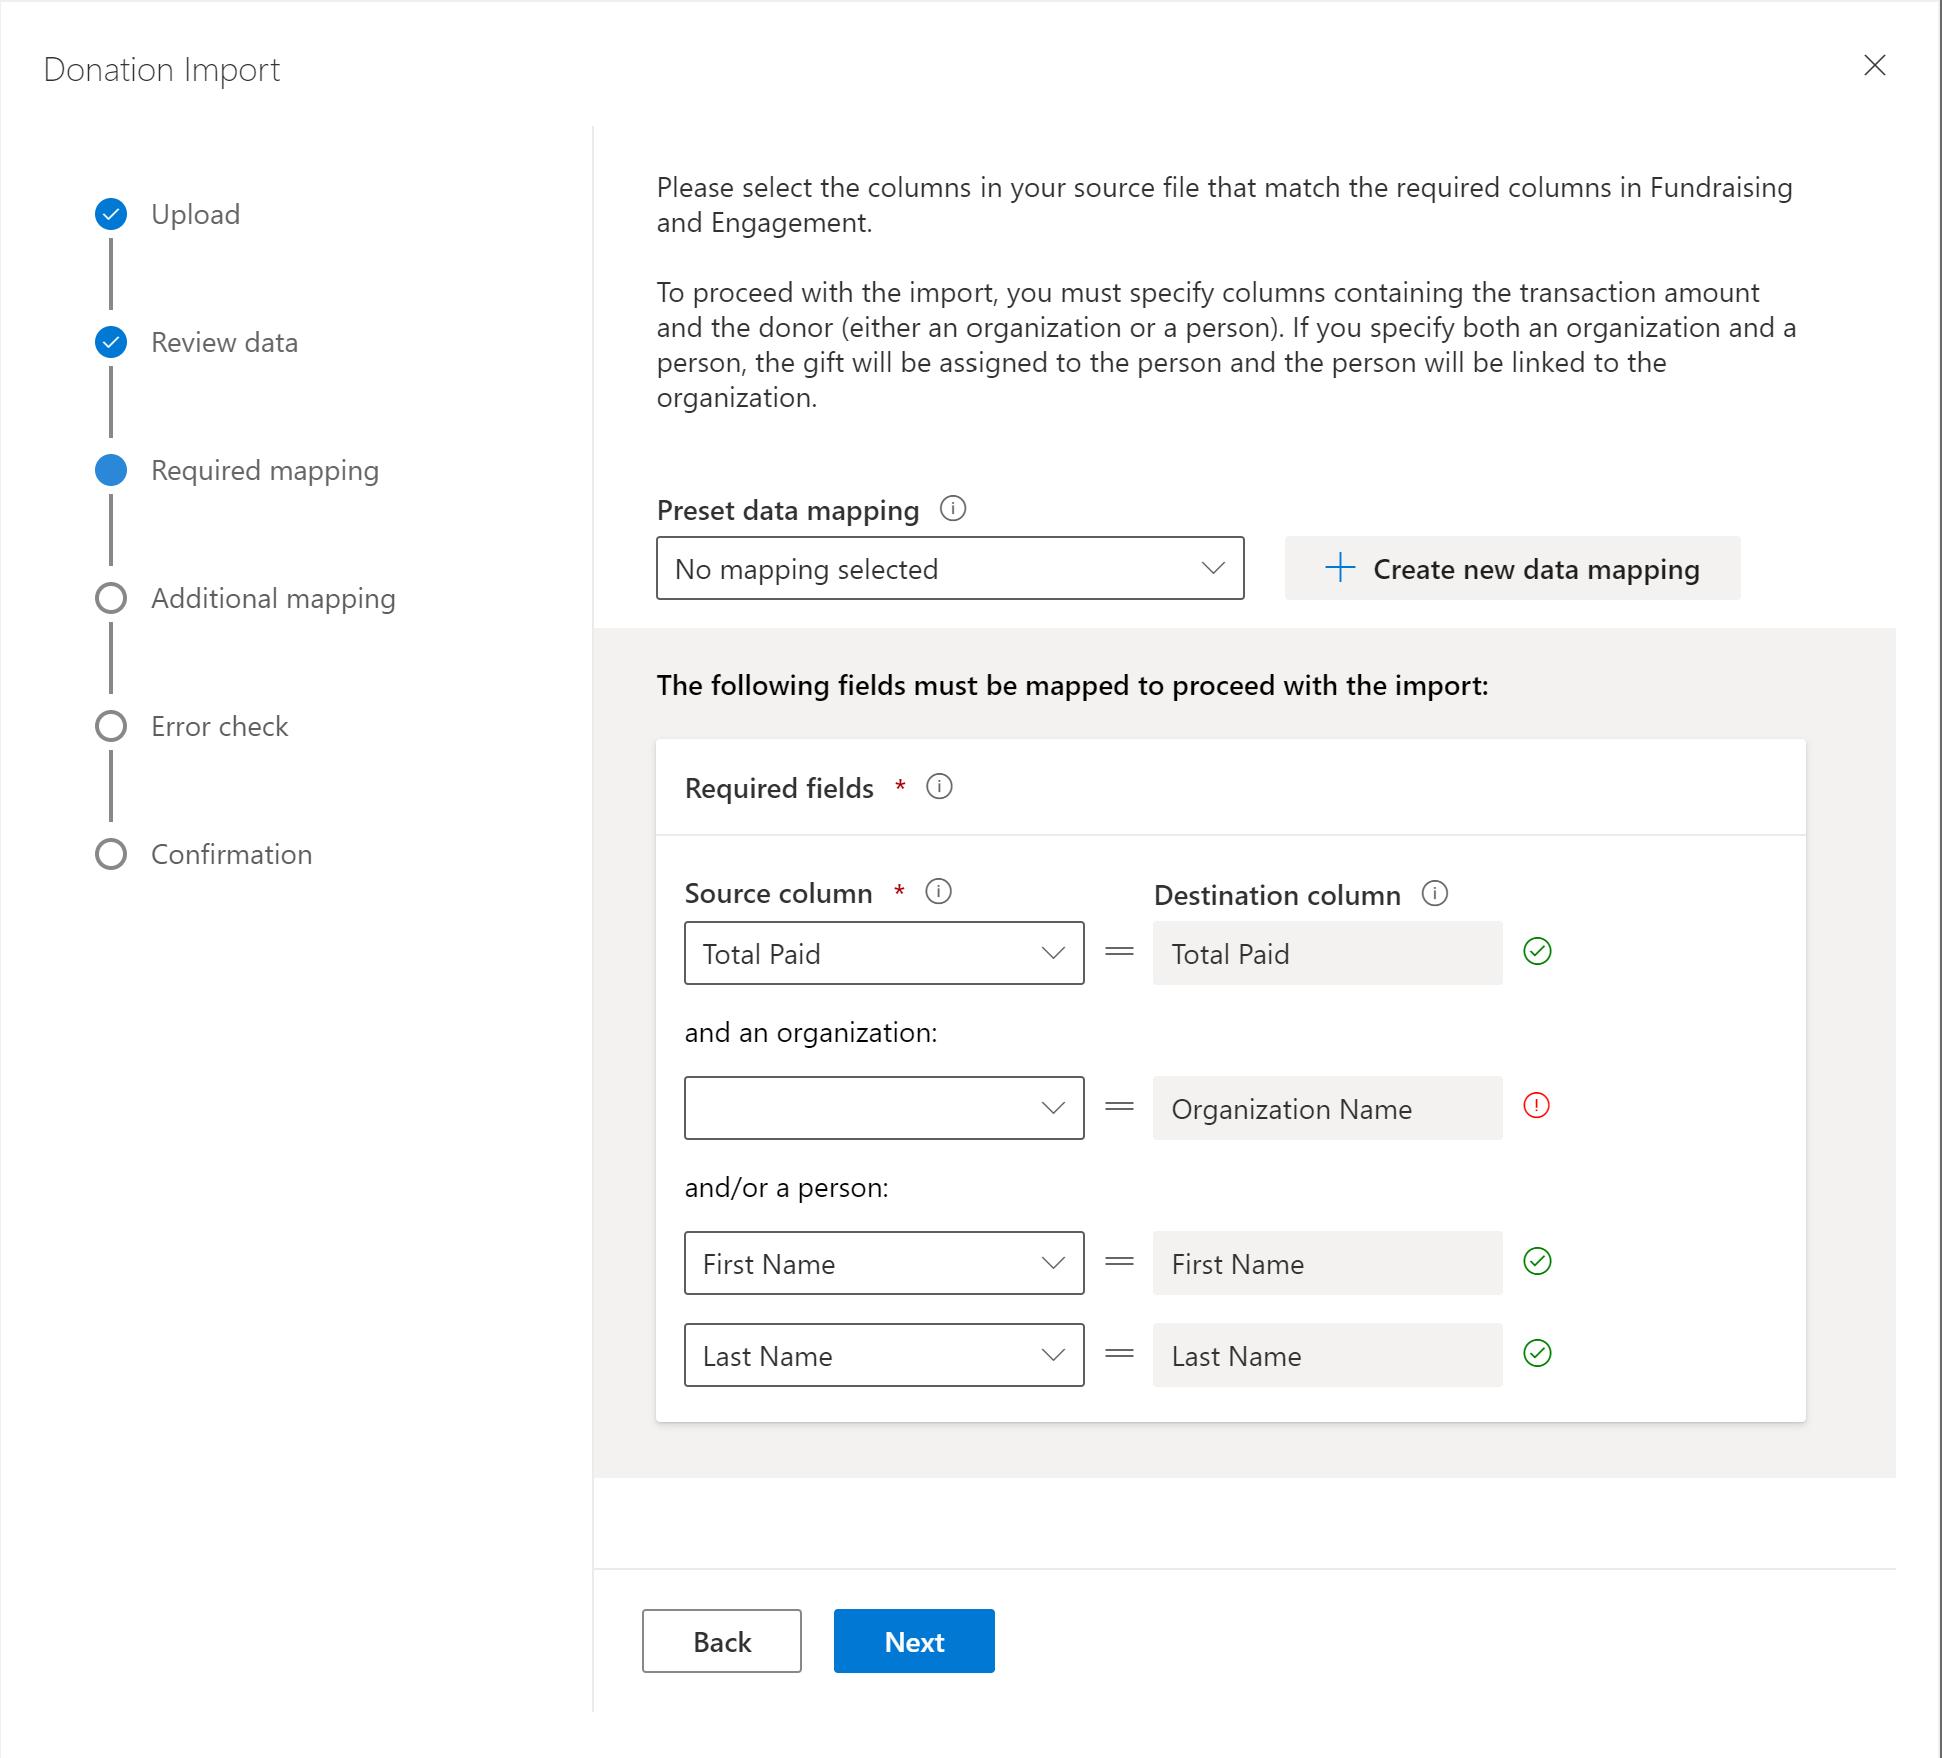
Select Next.
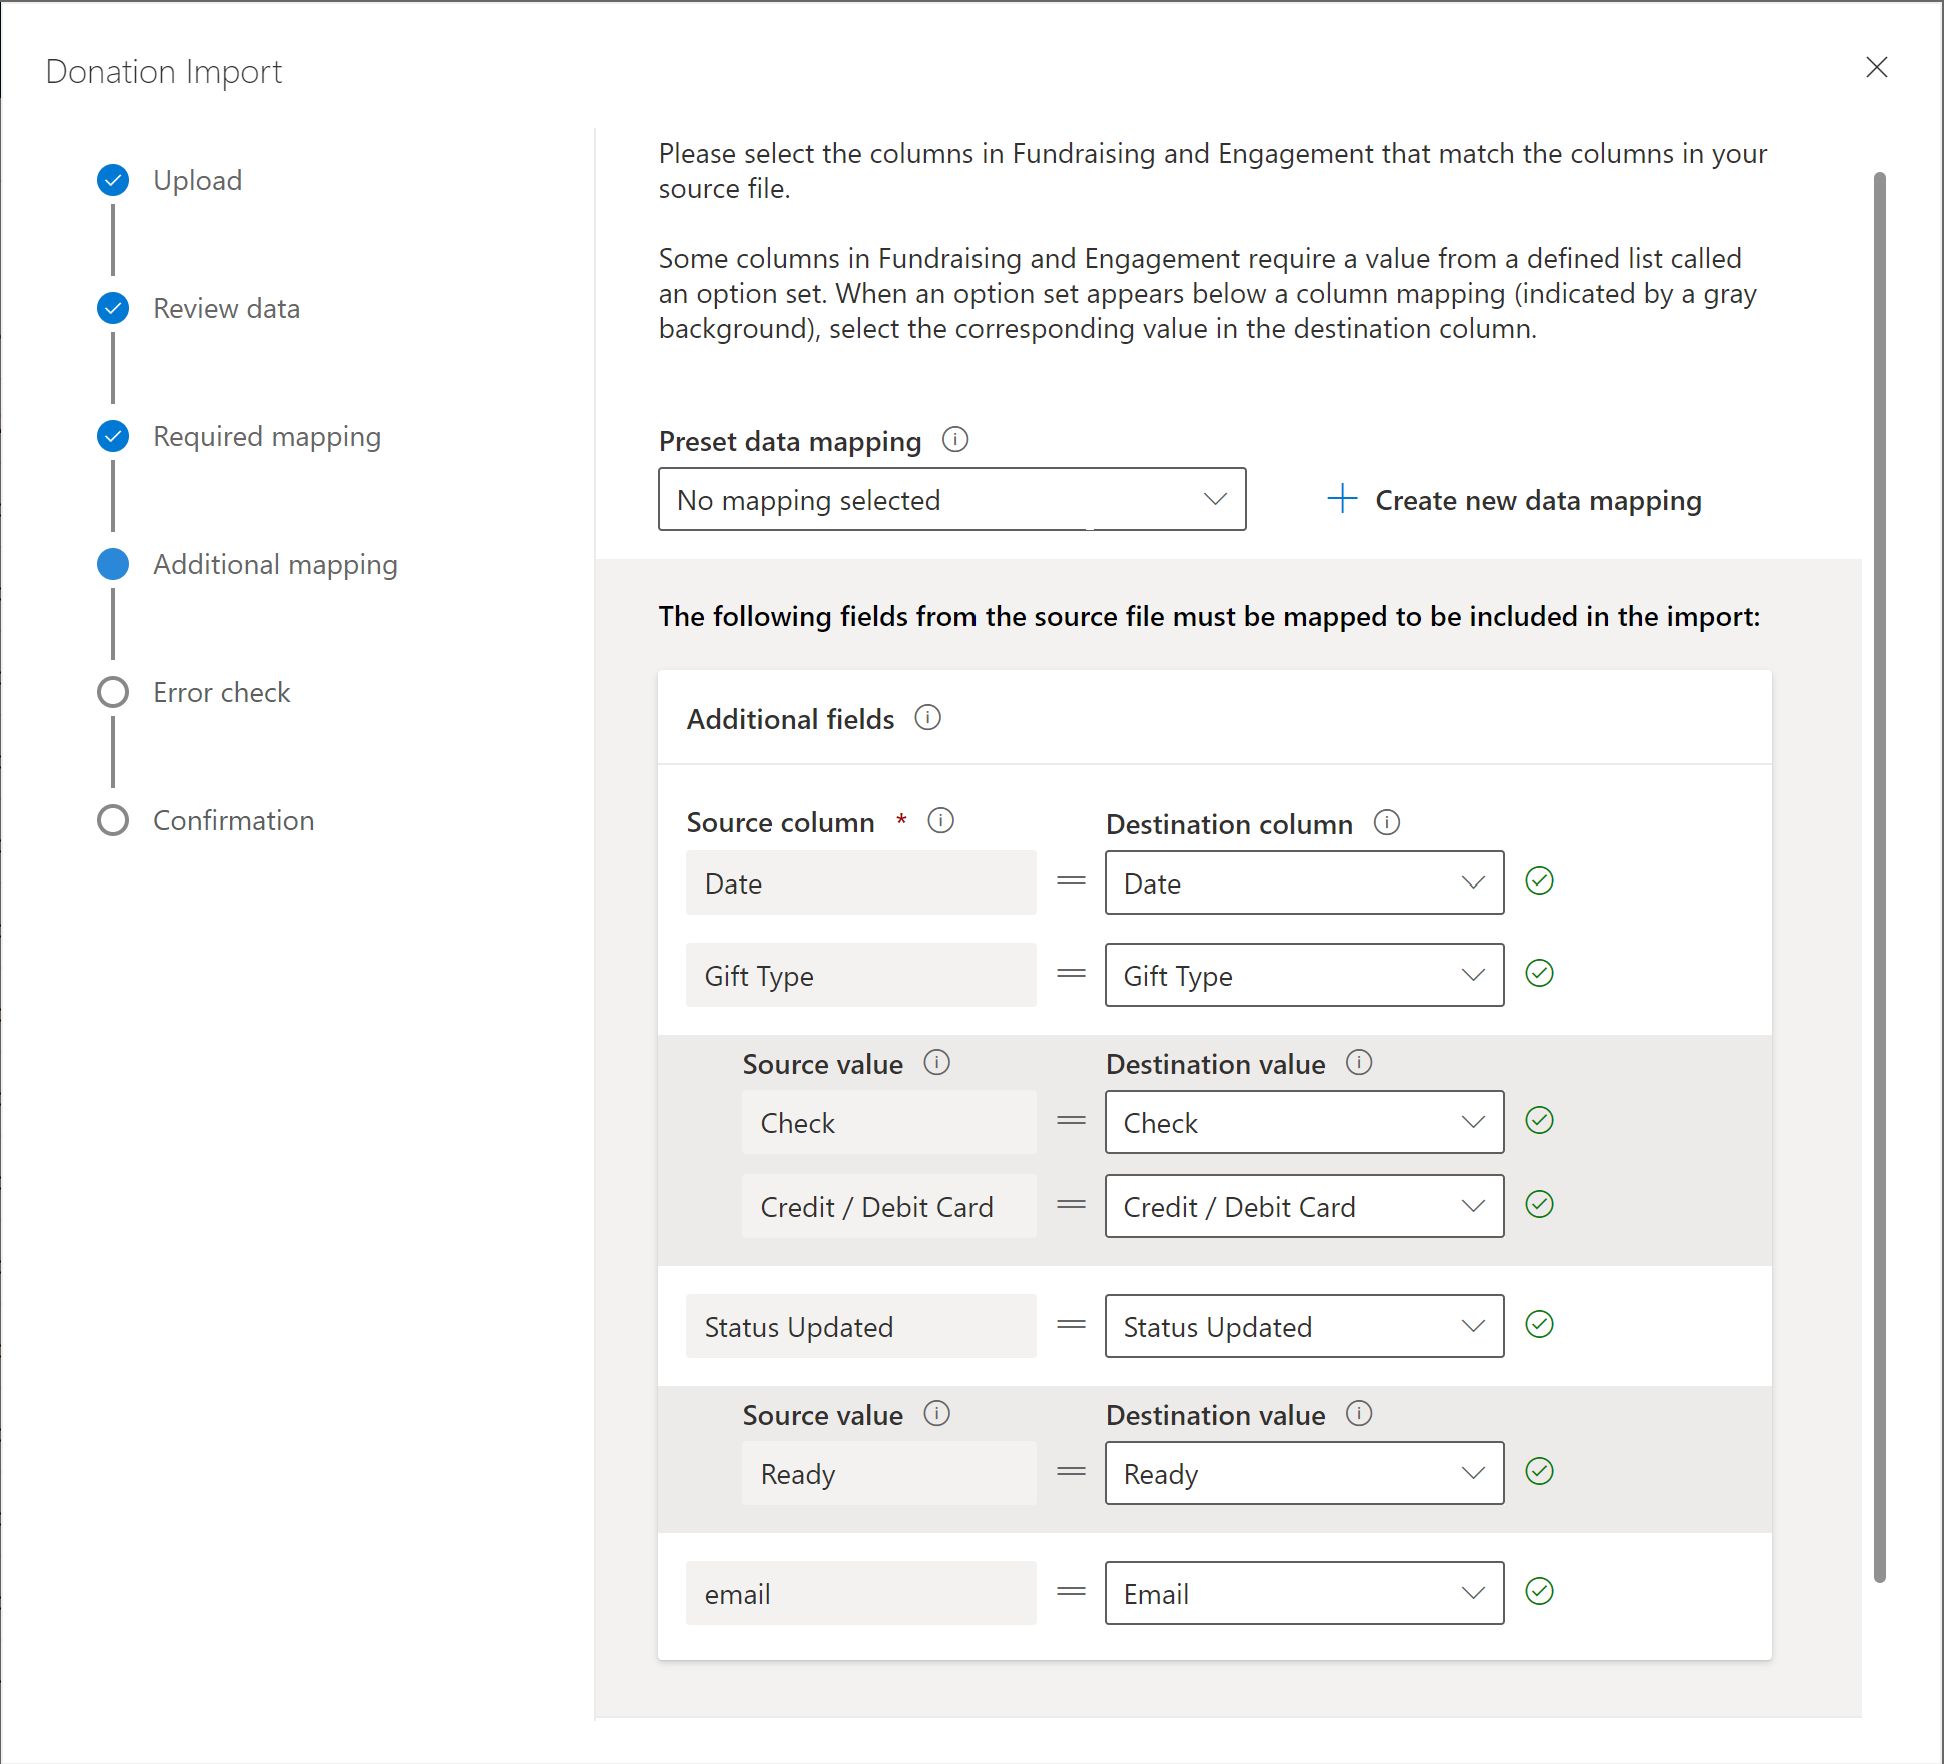
On the Additional page under Mapping, you can add any other fields detected in the source file. You need to map any fields that you want to upload into Fundraising and Engagement.
Note
You only need to map fields that are relevant to your import. You can ignore any fields that aren't required.
To save your mapping, select Create new data mapping at the top of the screen.

Enter a name to identify the data source that you're using to import your data. The next time you import data using a file in this format, you can select the mapping name from the dropdown list, and it will automatically populate the required fields.

Select Next.
On the Error check page, a warning message appears if any fields in the source field aren't mapped. You don't need to include these fields if they aren't required.
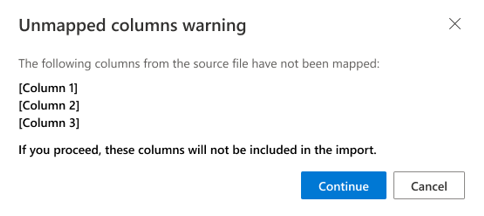
Select Cancel to map the remaining fields, or select Continue to start the import.
The data is checked to ensure that the data in each column is in the correct format.
Any errors found in the data source are highlighted. You can either Reupload source file or select Next to continue without those fields. If there are any errors in the mandatory fields, you must fix the issues in the source file, and then reupload the source file to continue.
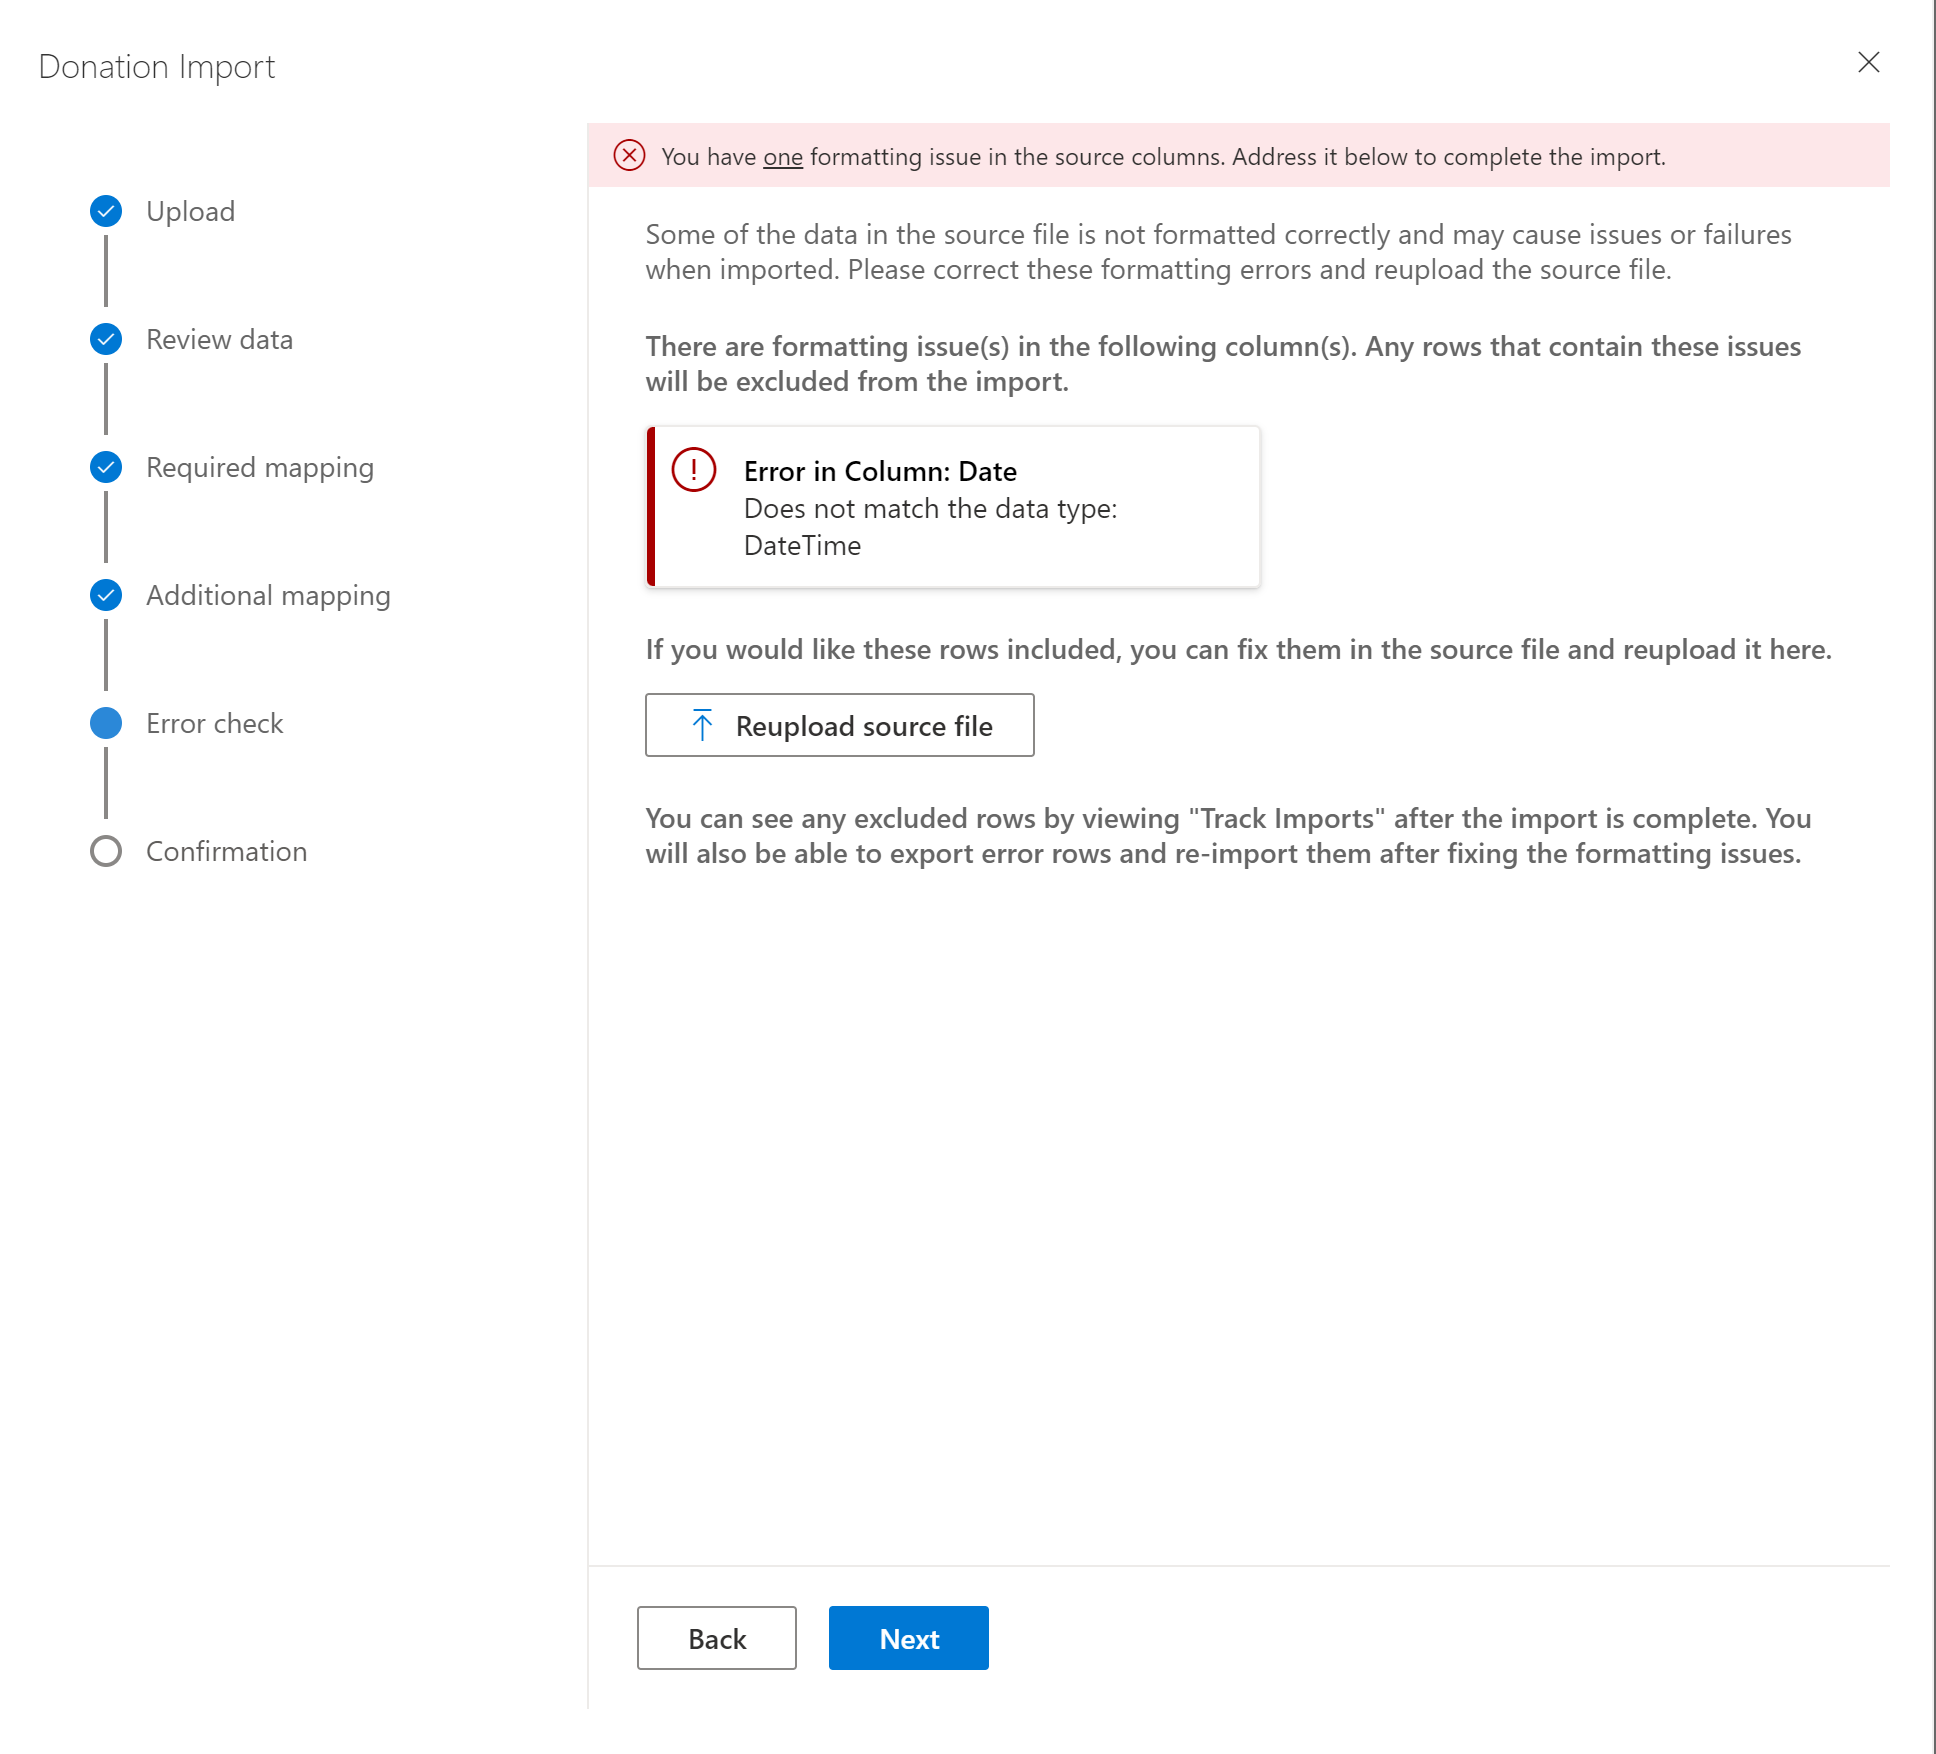
Select Next.
The Confirmation page shows the status of your import.
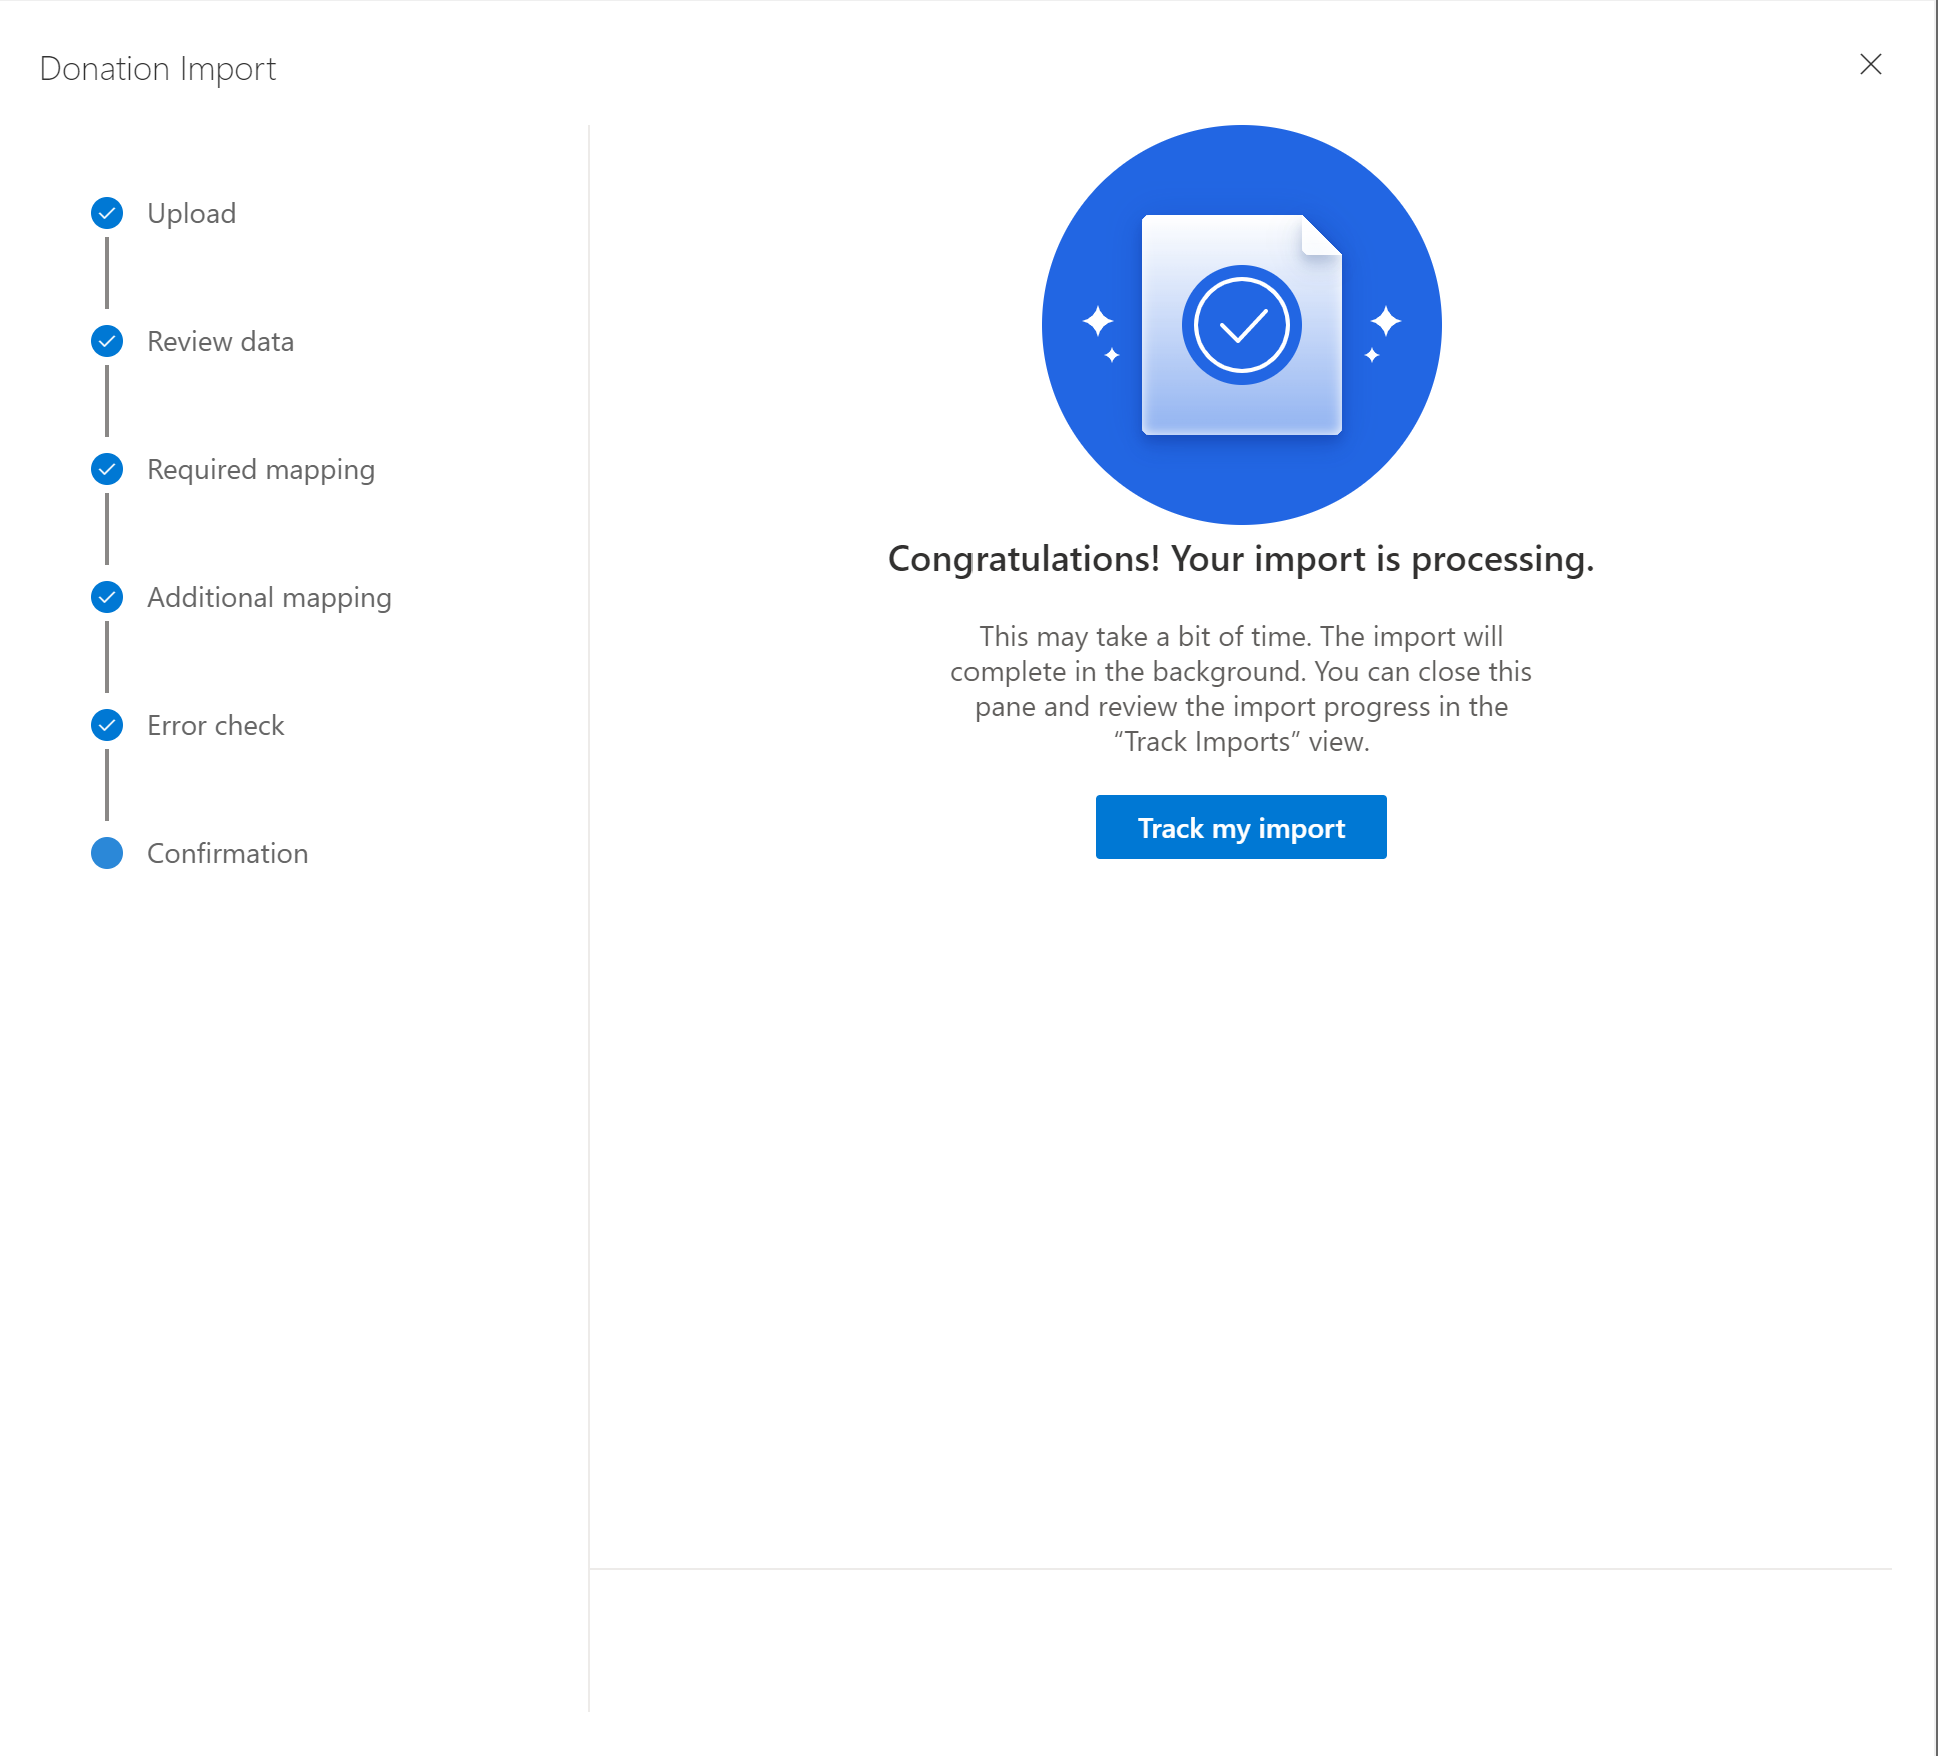
Select Track my import to check the progress of the import.
Note
You can continue with your work during the import process. If you receive a notification message with the title "Leave this page?", select OK to proceed.
See also
Gifts overview
Contacts in Fundraising and Engagement
Transactions in Fundraising and Engagement
