Section 1: Set up your business domains
Business Domains are the key to establishing accountability for your data and will help to federate governance of that data across the company. When you create business domains, starting with the proper owner ensures you're able to effectively identify and collaborate with experts for all of the data in the data estate. Business Domains can be many different types to align to the type of data boundary for the team that will govern that data. For example: functional domains (Finance, HR, Sales), or data domains (product, customer, health).
Prerequisites
- You need the Data governance administrator role for the data catalog.
Grant permissions and build the first business domain
Open the Microsoft Purview portal.
Sign in to the Microsoft Purview portal using credential for an admin account that is assigned the Role management role (for example, a Purview administrator). Go to Settings > Roles and scopes to view and manage.
Select Role groups.
On the Role groups for Microsoft Purview solutions page, select the Data Governance role group.
On the Edit member of the role group page, select Choose users or Choose groups.
Select the check box for all users or groups you want to add to the role group.
Select Select.
Open the Data management section in the left navigation panel and select the Business domains tab.
From the Business domains tab you're able to set up the rest of your catalog to enable others to federate the ownership of data, empower teams to build out their knowledge and establish business value of your data:
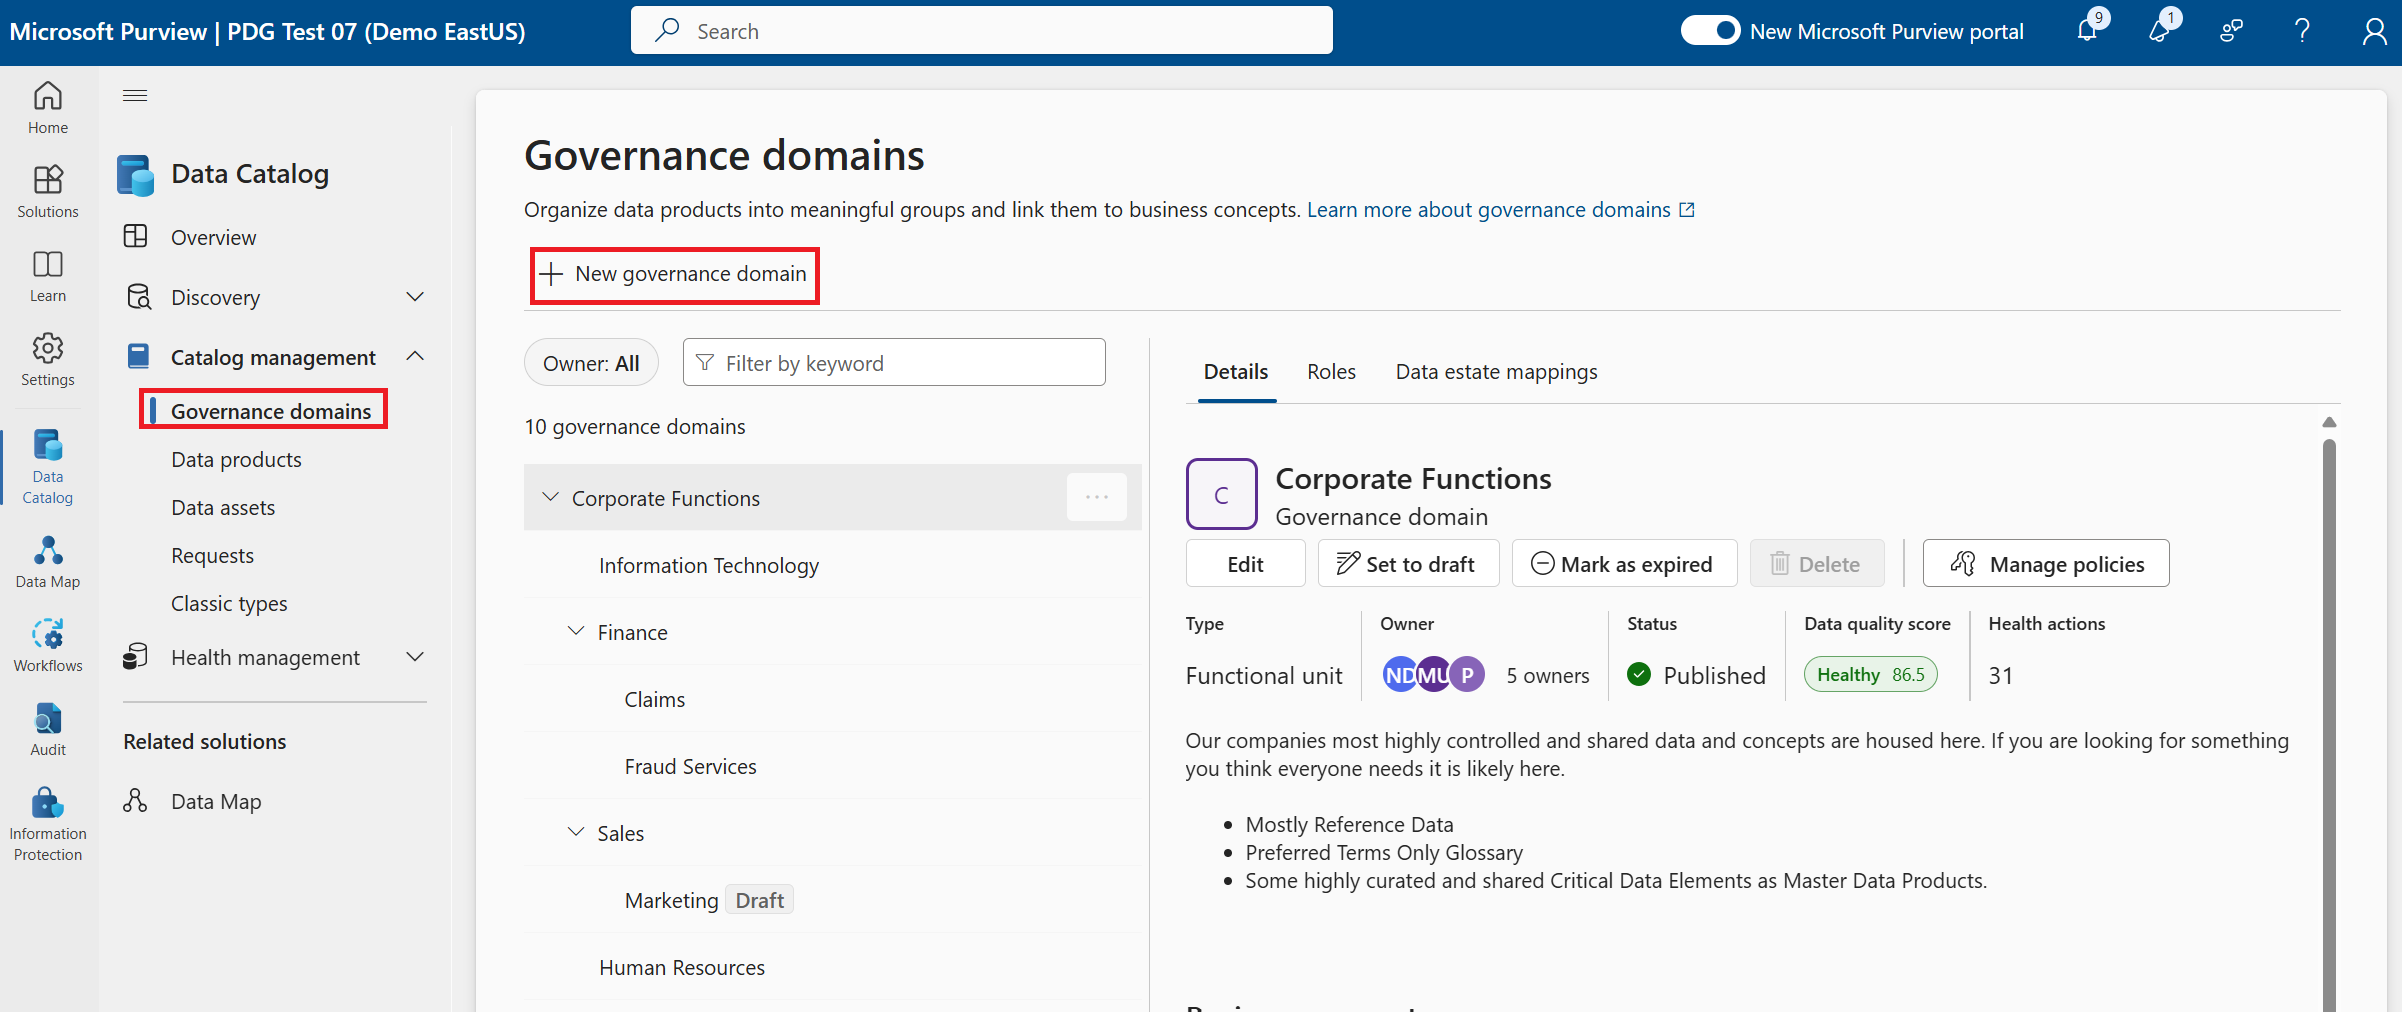
- Start by selecting + New business domain
- You're able to update the name of your business domain but for this we can name it '(Tutorial) Personal Health' and give it a description of 'Personal health data refers to any information related to an individual’s physical or mental health that is collected and used within the healthcare sector. This can include a wide range of data types, such as medical records, treatment histories, diagnostic images, and laboratory test results. It's often protected under various laws and regulations to ensure privacy and confidentiality.'
- Select the type as a 'data domain'.
- Leave the parent blank (if this is the first business domain in the catalog it will not have anything to select here)
- Select Create
- Now create two more domains on your own. These will be key points of federation for collaboration and governance in your own organization, so think about who might be the owners of your domains when you get to implementing your own data catalog. For ideas, see our best practices documentation. Or, you can follow these examples:
- A Corporate functional domain represents the highly controlled assets and terms that an entire company uses.
- Sales is a functional domain that most organizations will have that is a child domain of Corporate.
- Start by selecting + New business domain
Select the business domain created.
Select the Roles tab of the business domain.
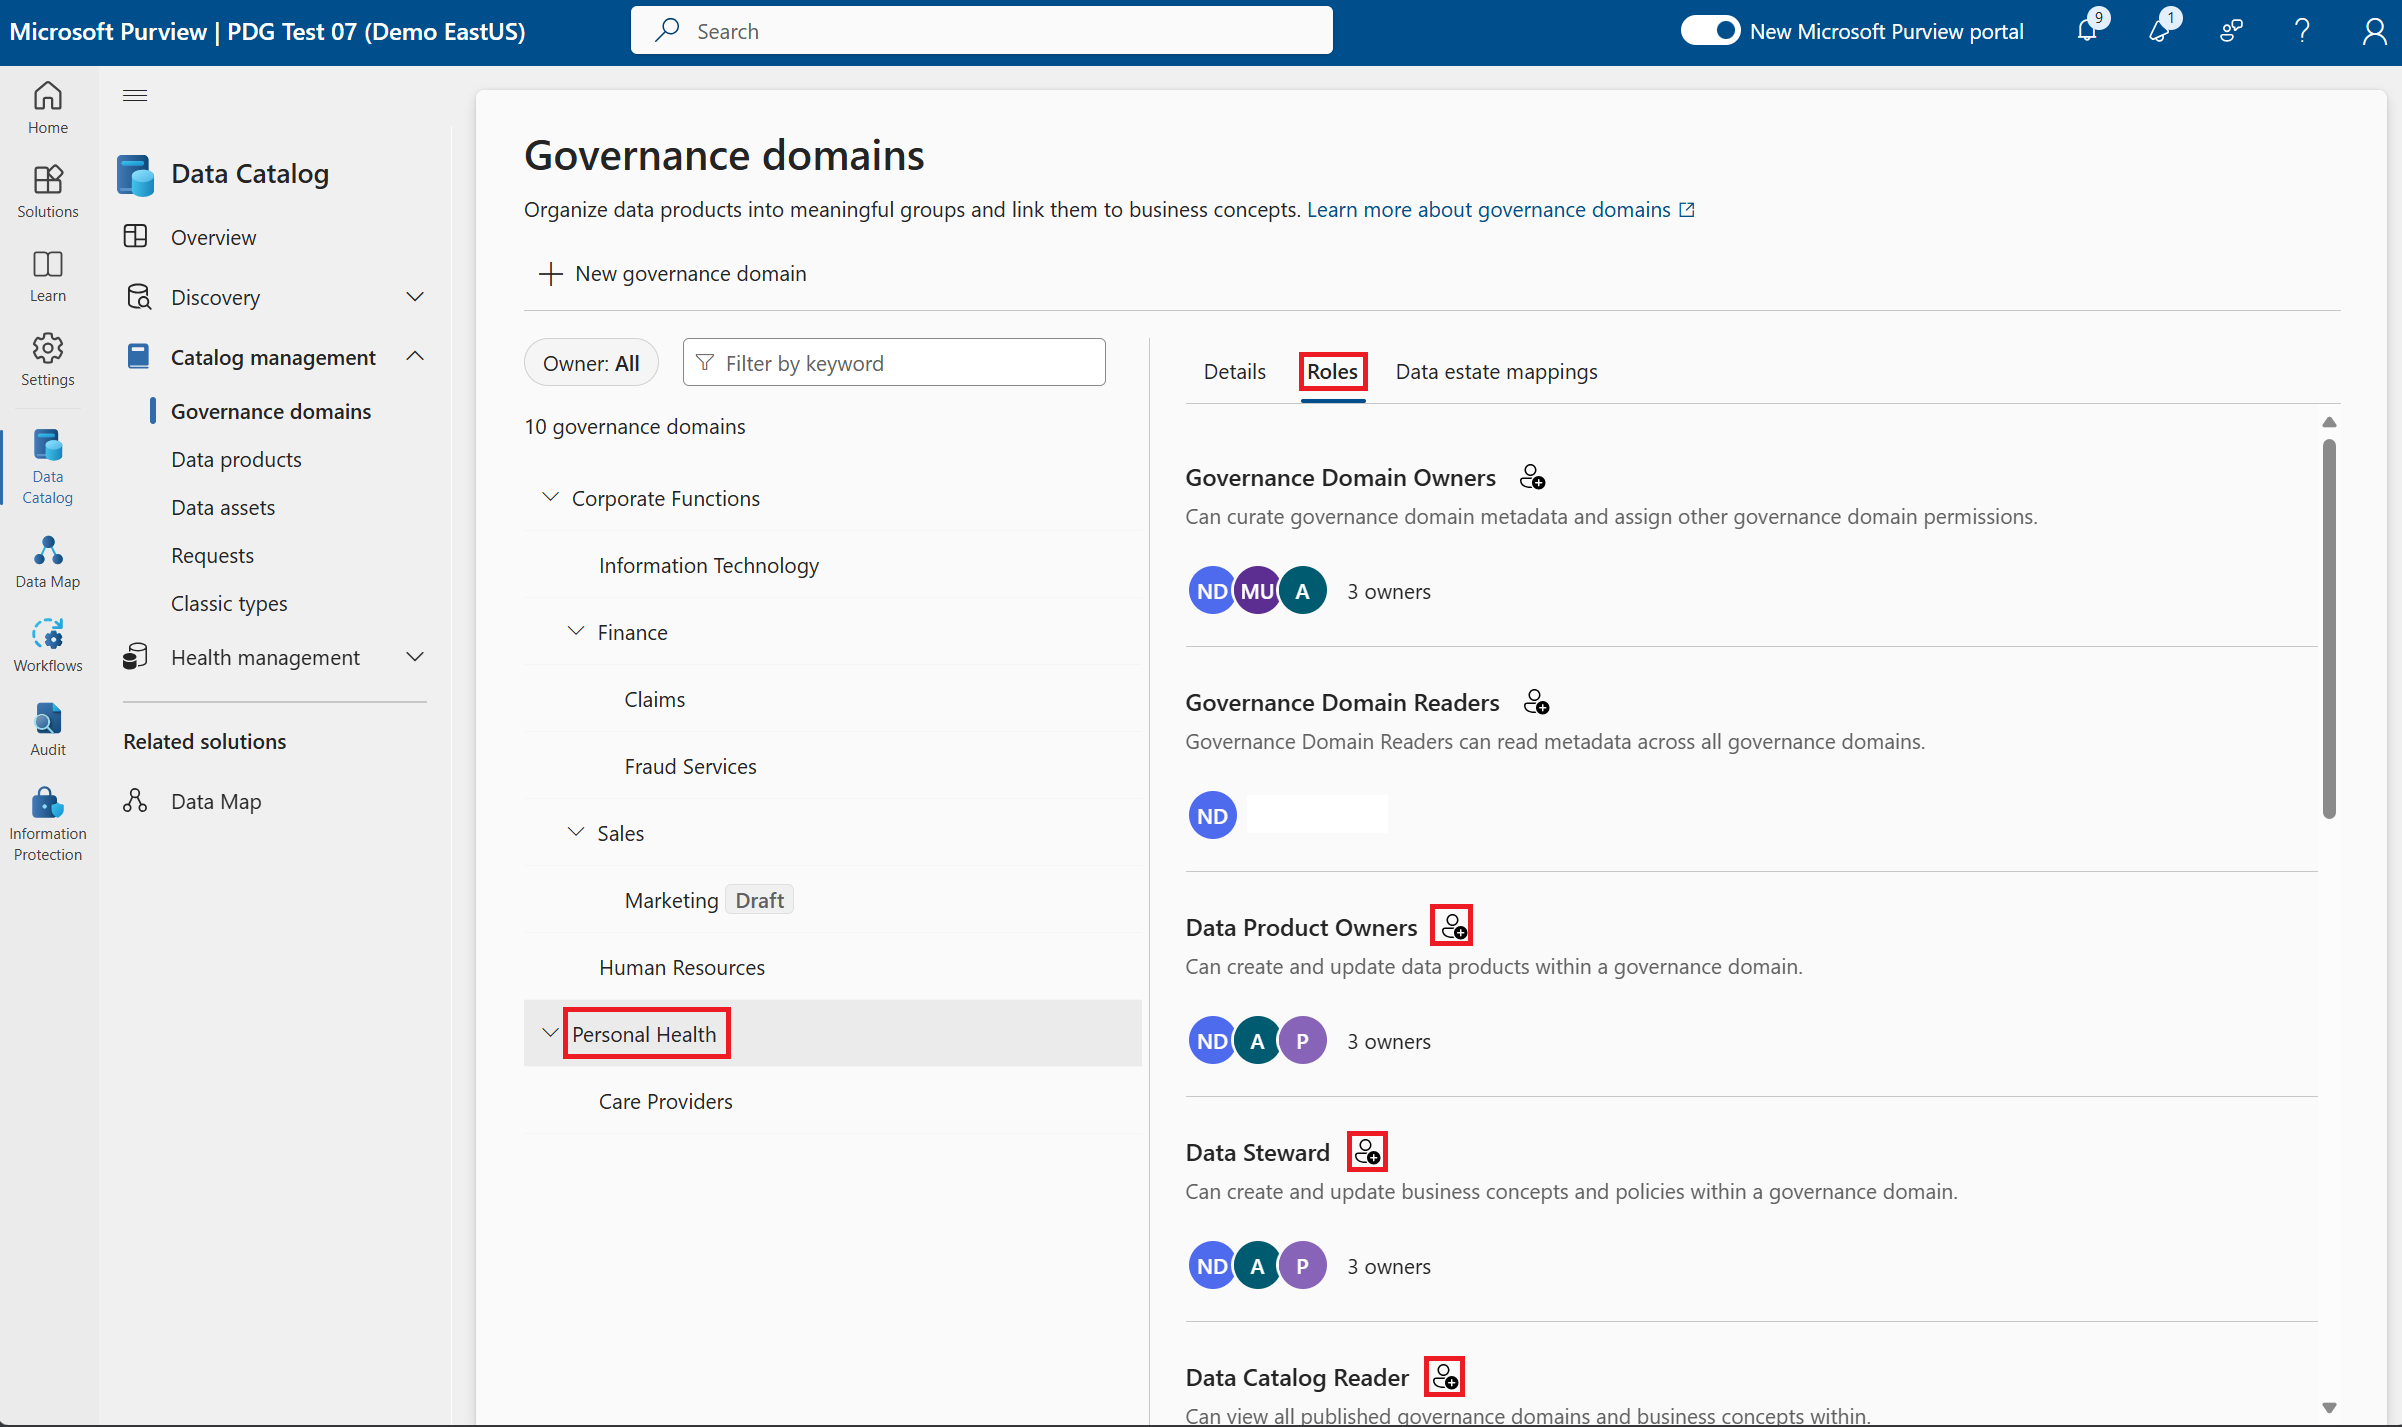
By default, when you create the business domain you're added to all roles in the business domain. As a business domain owner you add the data stewards (business experts in your domain), and the data product owners(who know which data assets are the best for others to consume).
Switch back to the Details tab.
Select the Manage policies button to apply a domain level policy. This policy will be applied to all data products in the domain, enabling the automatic application of a policy ensures the data experts don't have to be policy experts as well.

In the Manage access policies tab select the checkbox next to Permit data copies. By selecting this policy option it will automatically apply an attestation requiring all users who request access to your data products to attest that they understand the data copy policy for your data.
Select Save changes to confirm policy is set by the business domain.
Select Publish on the business domain. The Publish button publishes all other concepts within the domain.
Create glossary terms
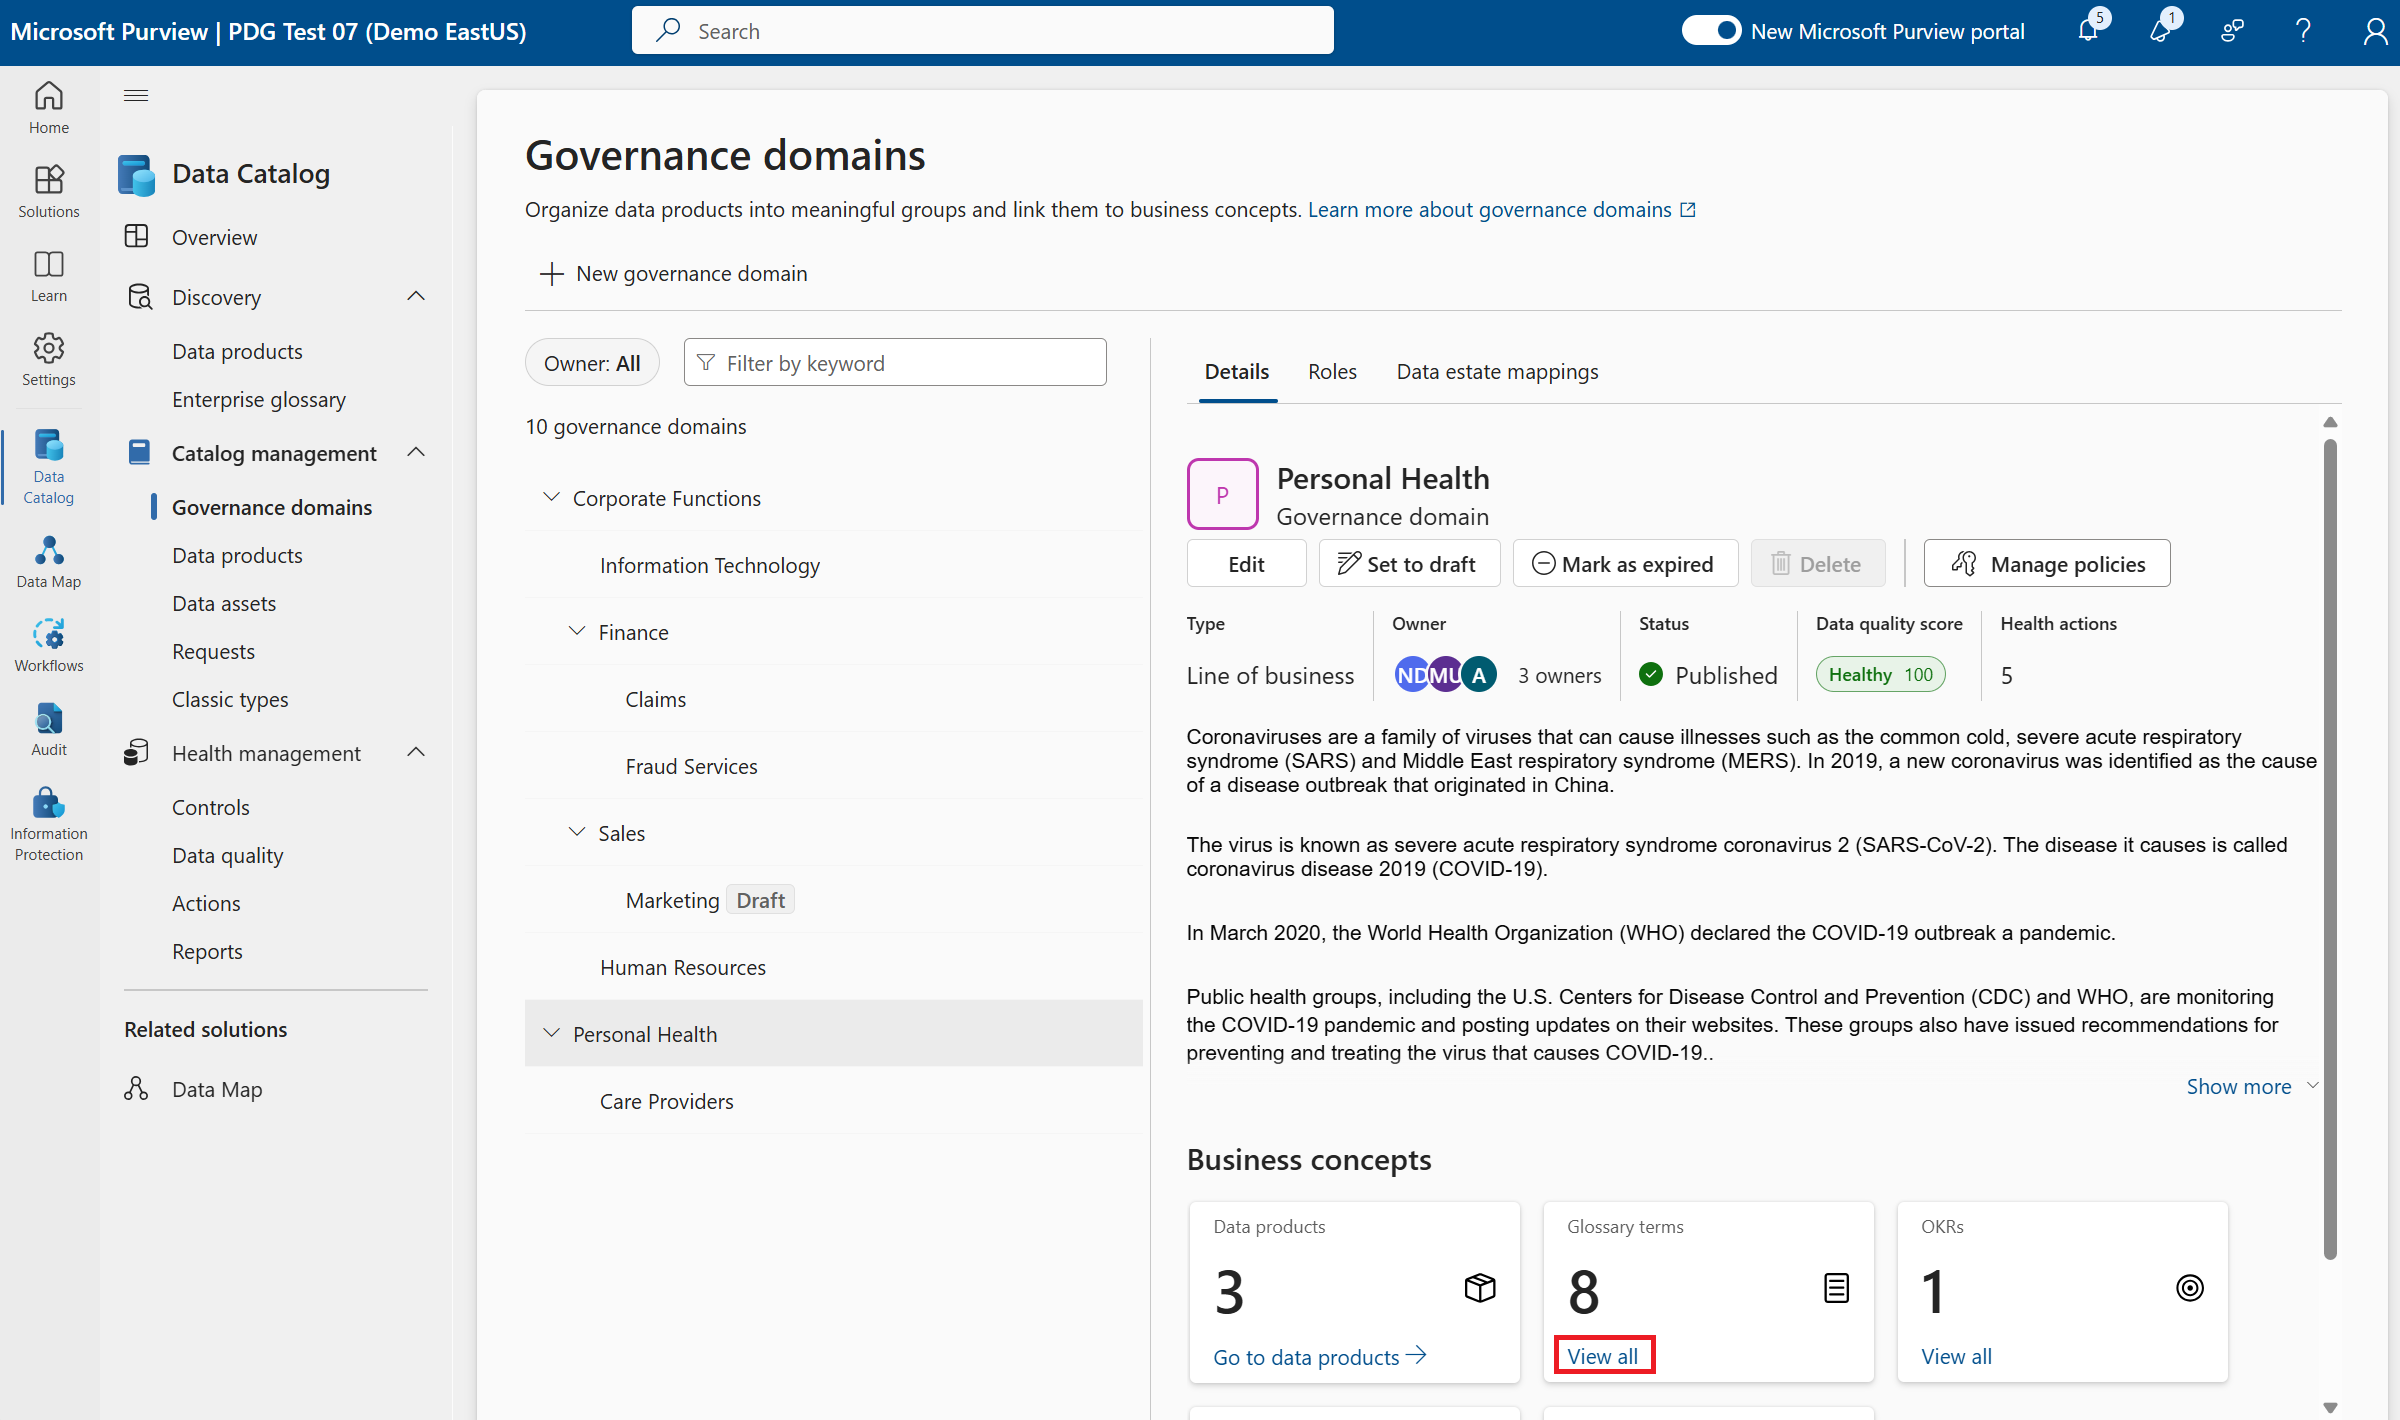
Adding glossary terms to your business domain enables others to better understand how the business uses and understands the data. Glossary terms also ensure insights use common terms, and generally your knowledge across your business domain.
Select the View all link in glossary terms.
Select Create term
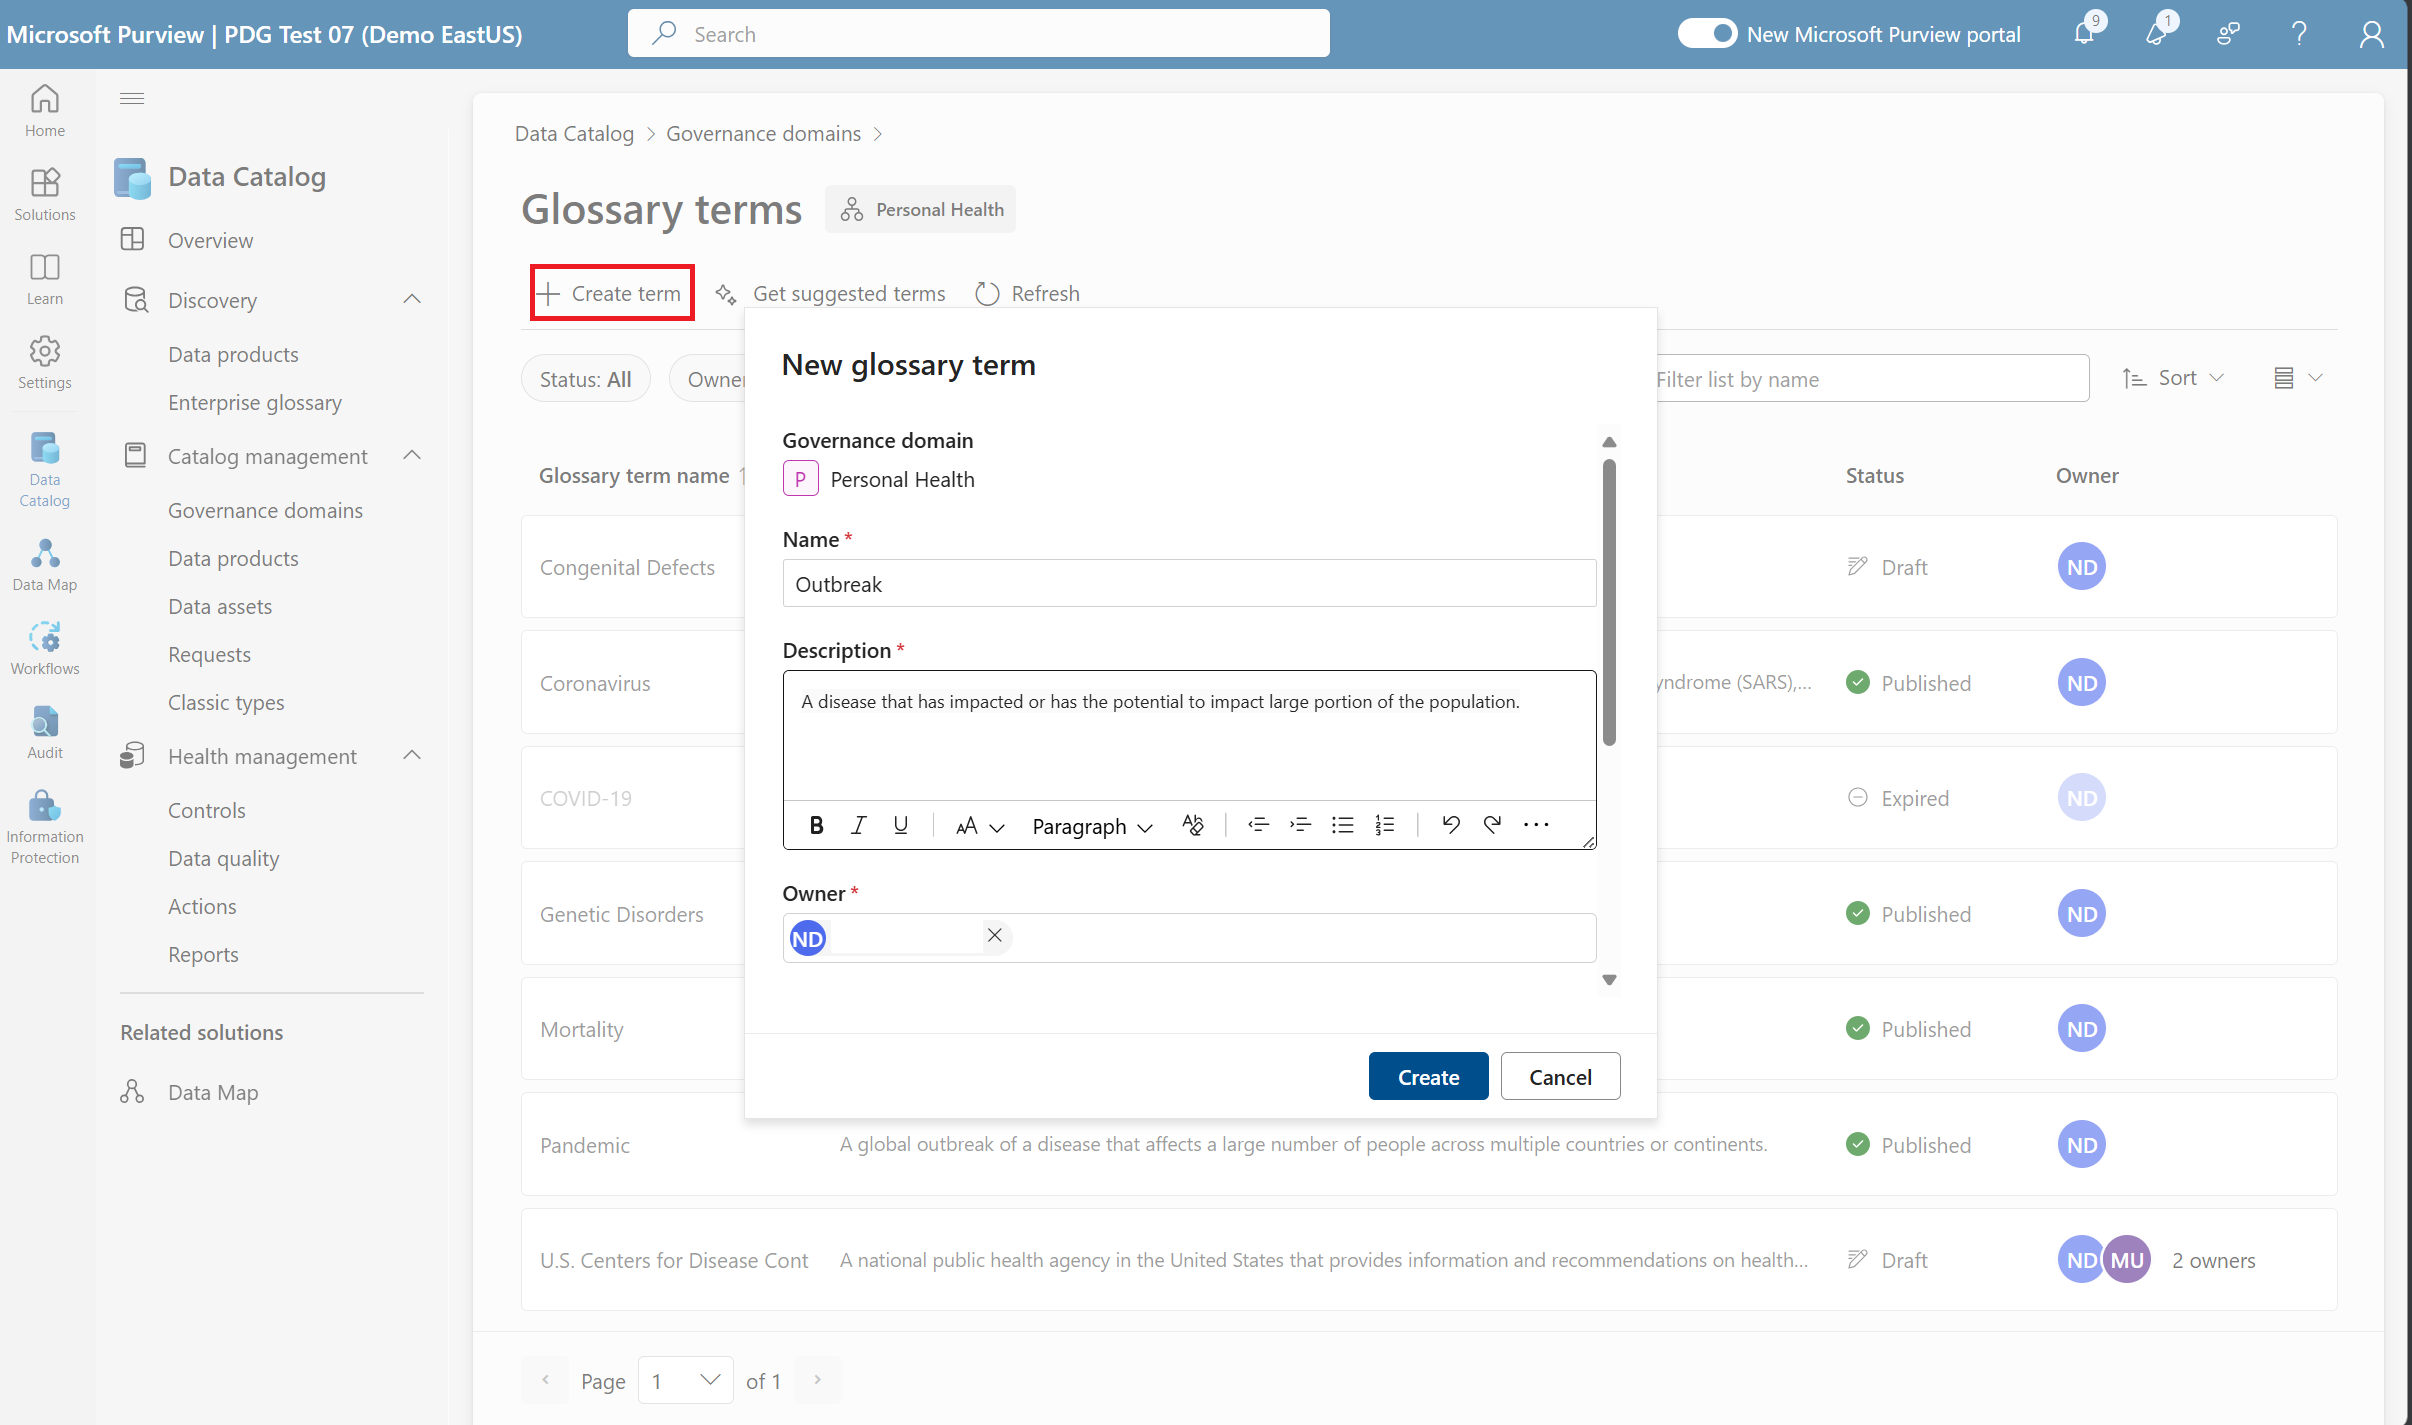
Enter details:
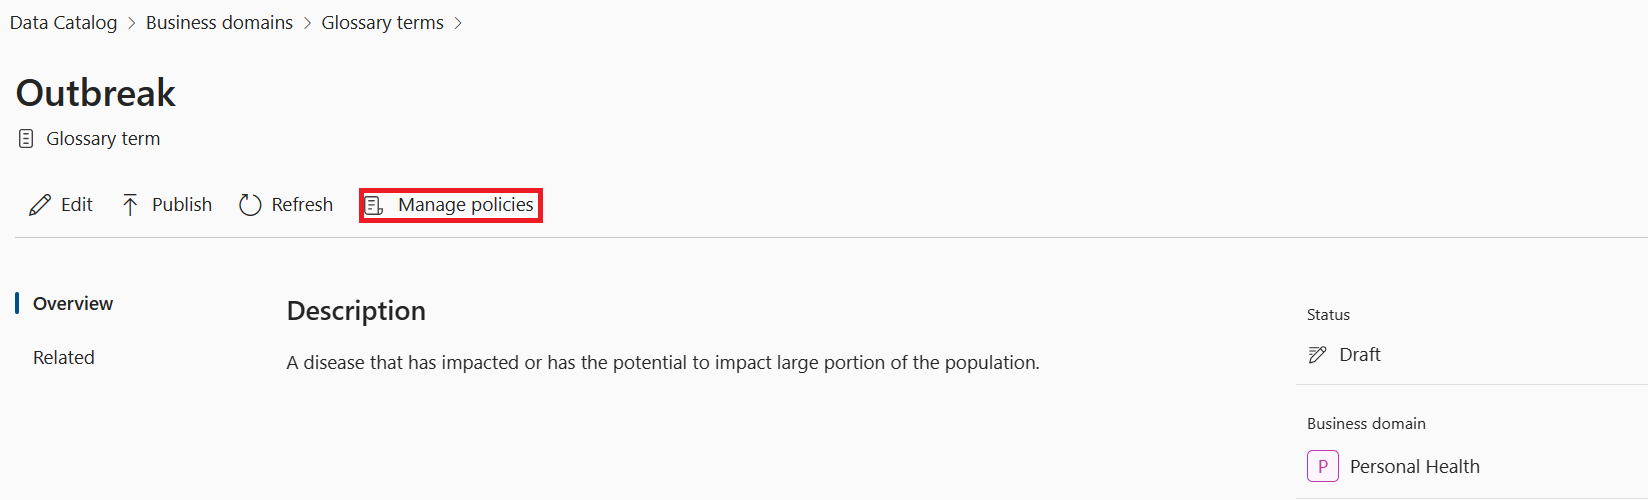
- Name: 'Outbreak'
- Description: A disease that has affected or has the potential to affect a large portion of the population.
- You can leave the rest blank for now but there are fields to collect: the term owner responsible for defining the term for your company, acronyms to share common also known as names of the term, lastly you can provide links to the resources that would have even more information about the term.
Select Create
Select the Manage Policies button. Similar to the domain level policies, you can create term level policies that will be applied wherever the term in in use.
Check the box next to Manager approval required. This enforces a secondary approval from the users listed manager in Microsoft Entra ID when access is requested to the data products.
Select Publish for the Outbreak term created. Published terms will be filterable in the data catalog and ensure others that use the term to describe their data product will be able to see that description in the data catalog while browsing the data product.

Now create two more terms. This time, select the 'Outbreak' term as the parent term for the terms you created. Try building relationships between these child terms in the related tab on either term to help build out the network of how these terms work together to explain the entirety of a topic.
- Pandemic: A global outbreak of a disease that affects a large number of people across multiple countries or continents.
- Epidemic: A country wide or regional outbreak of a disease that is high contagious and affects a large portion of the population.
Try creating a couple of other terms in any other domains you created earlier. If you aren't sure what to add, try the Get suggested terms button to have GenAI propose a few based on the description and name of the domain you already provided.
Add an OKR
Now add an OKR (objective and key result) for your Personal Health domain to help others understand the business value of your data. This will build a direct connection between your data and the business value it provides.
Select the OKR box from the business domain page.
Select + New OKR.
Enter the details of the objective first:
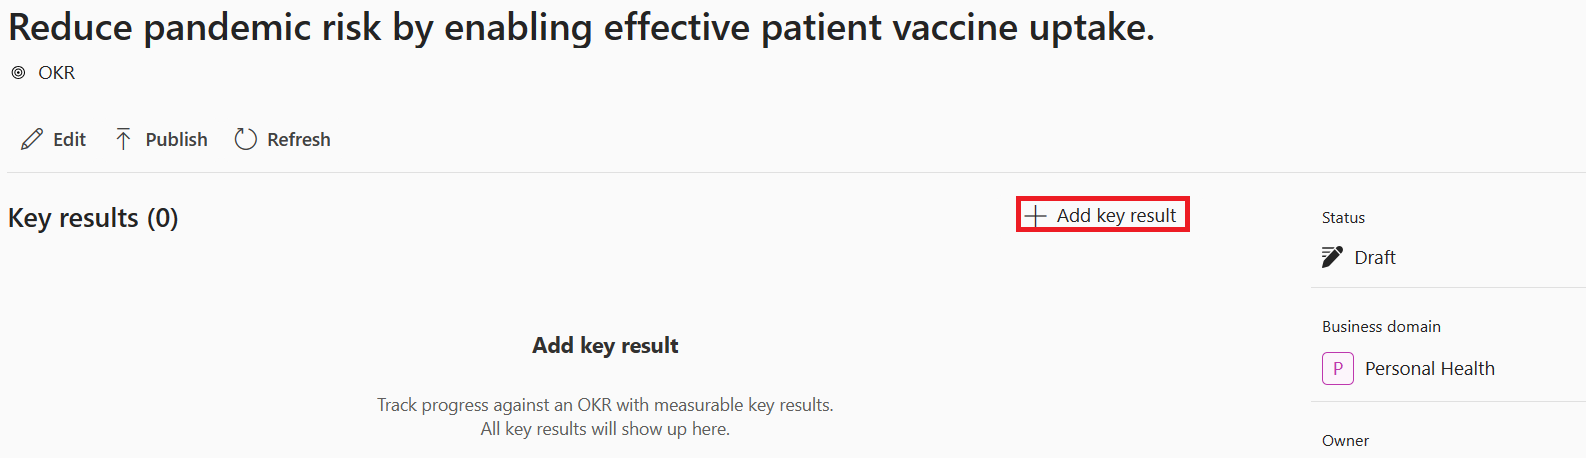
- Objective: Reduce pandemic risk by enabling effective patient vaccine uptake.
- Owner: Enter your name
- Target date: '2024-12-31'
Select Create
Adding key results to your objective ensures the goals are measurable and that progress towards the goal is monitored. Select + Add key result.
Enter the Key result details:
- Key result: Ensure 80% older age groups(>65 years) that are most likely to be affected by the pandemic receive full vaccination by end of the calendar year 2024.
- Progress status: On track
- Progress Amount: 70
- Goal amount: 80
- Maximum amount: 100
Select Create.
Select Publish.
Create Critical Data Elements
Lastly, create a CDE (critical data element) in Personal Health to ensure the most important columns of data have a consistent definition, understanding, and that they always meet business expectations for how that data is formed and stored.
- From the business domains page with the Personal Health domain selected, select the Critical data elements box.
- Select + New
- Enter the basic CDE metadata:
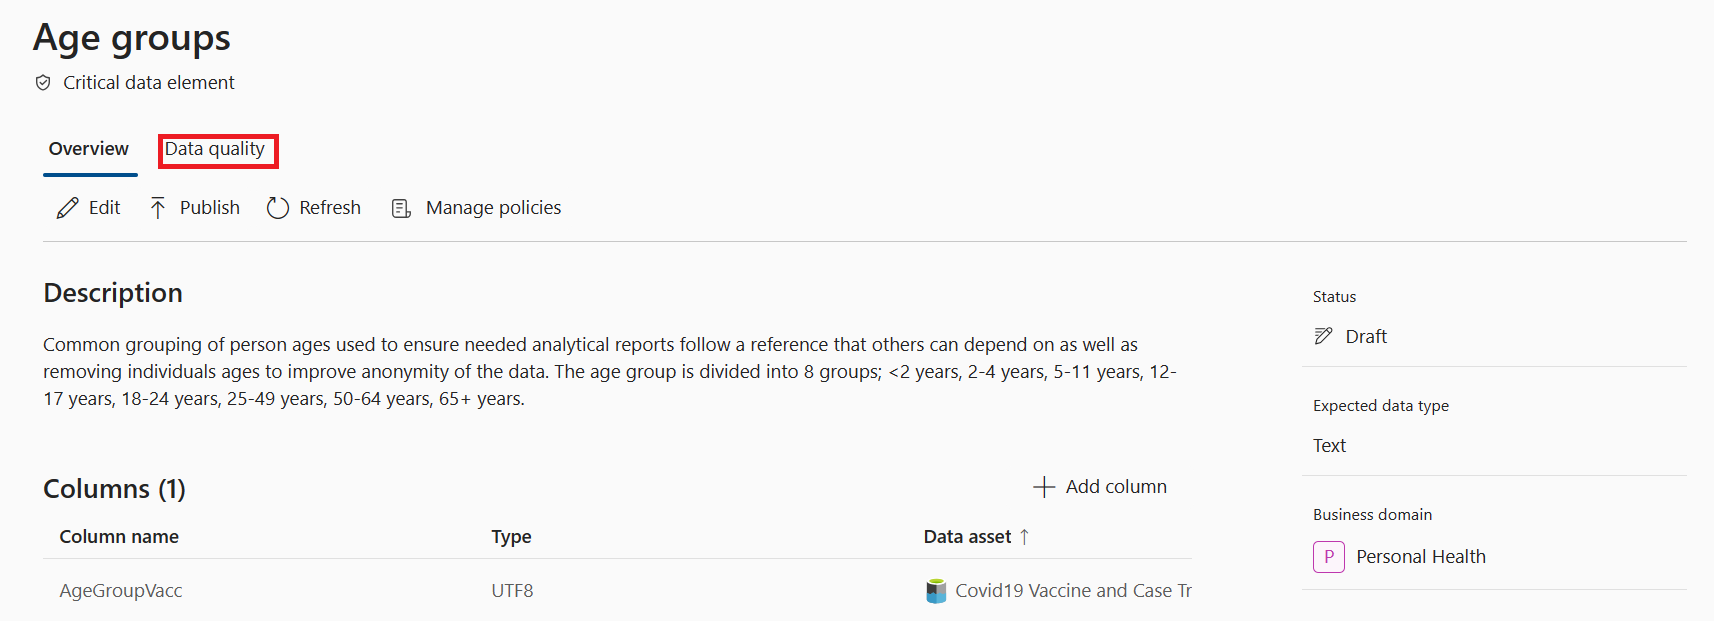
- Name: Age groups
- Description: Common grouping of person ages used to ensure needed analytical reports follow a reference that others can depend on and removing individual ages to improve anonymity of the data. The age group is divided into 8 groups; <2 years, 2-4 years, 5-11 years, 12-17 years, 18-24 years, 25-49 years, 50-64 years, 65+ years.
- Owner: enter your name
- Expected Data Type: Text
- Select Create
The real power of the CDE is that it maps directly to the physical data columns where this data is stored. This connection ensures common understanding and enables the evaluation of Data Quality rules and policies at scale.
From the CDE you just created select + Add column.
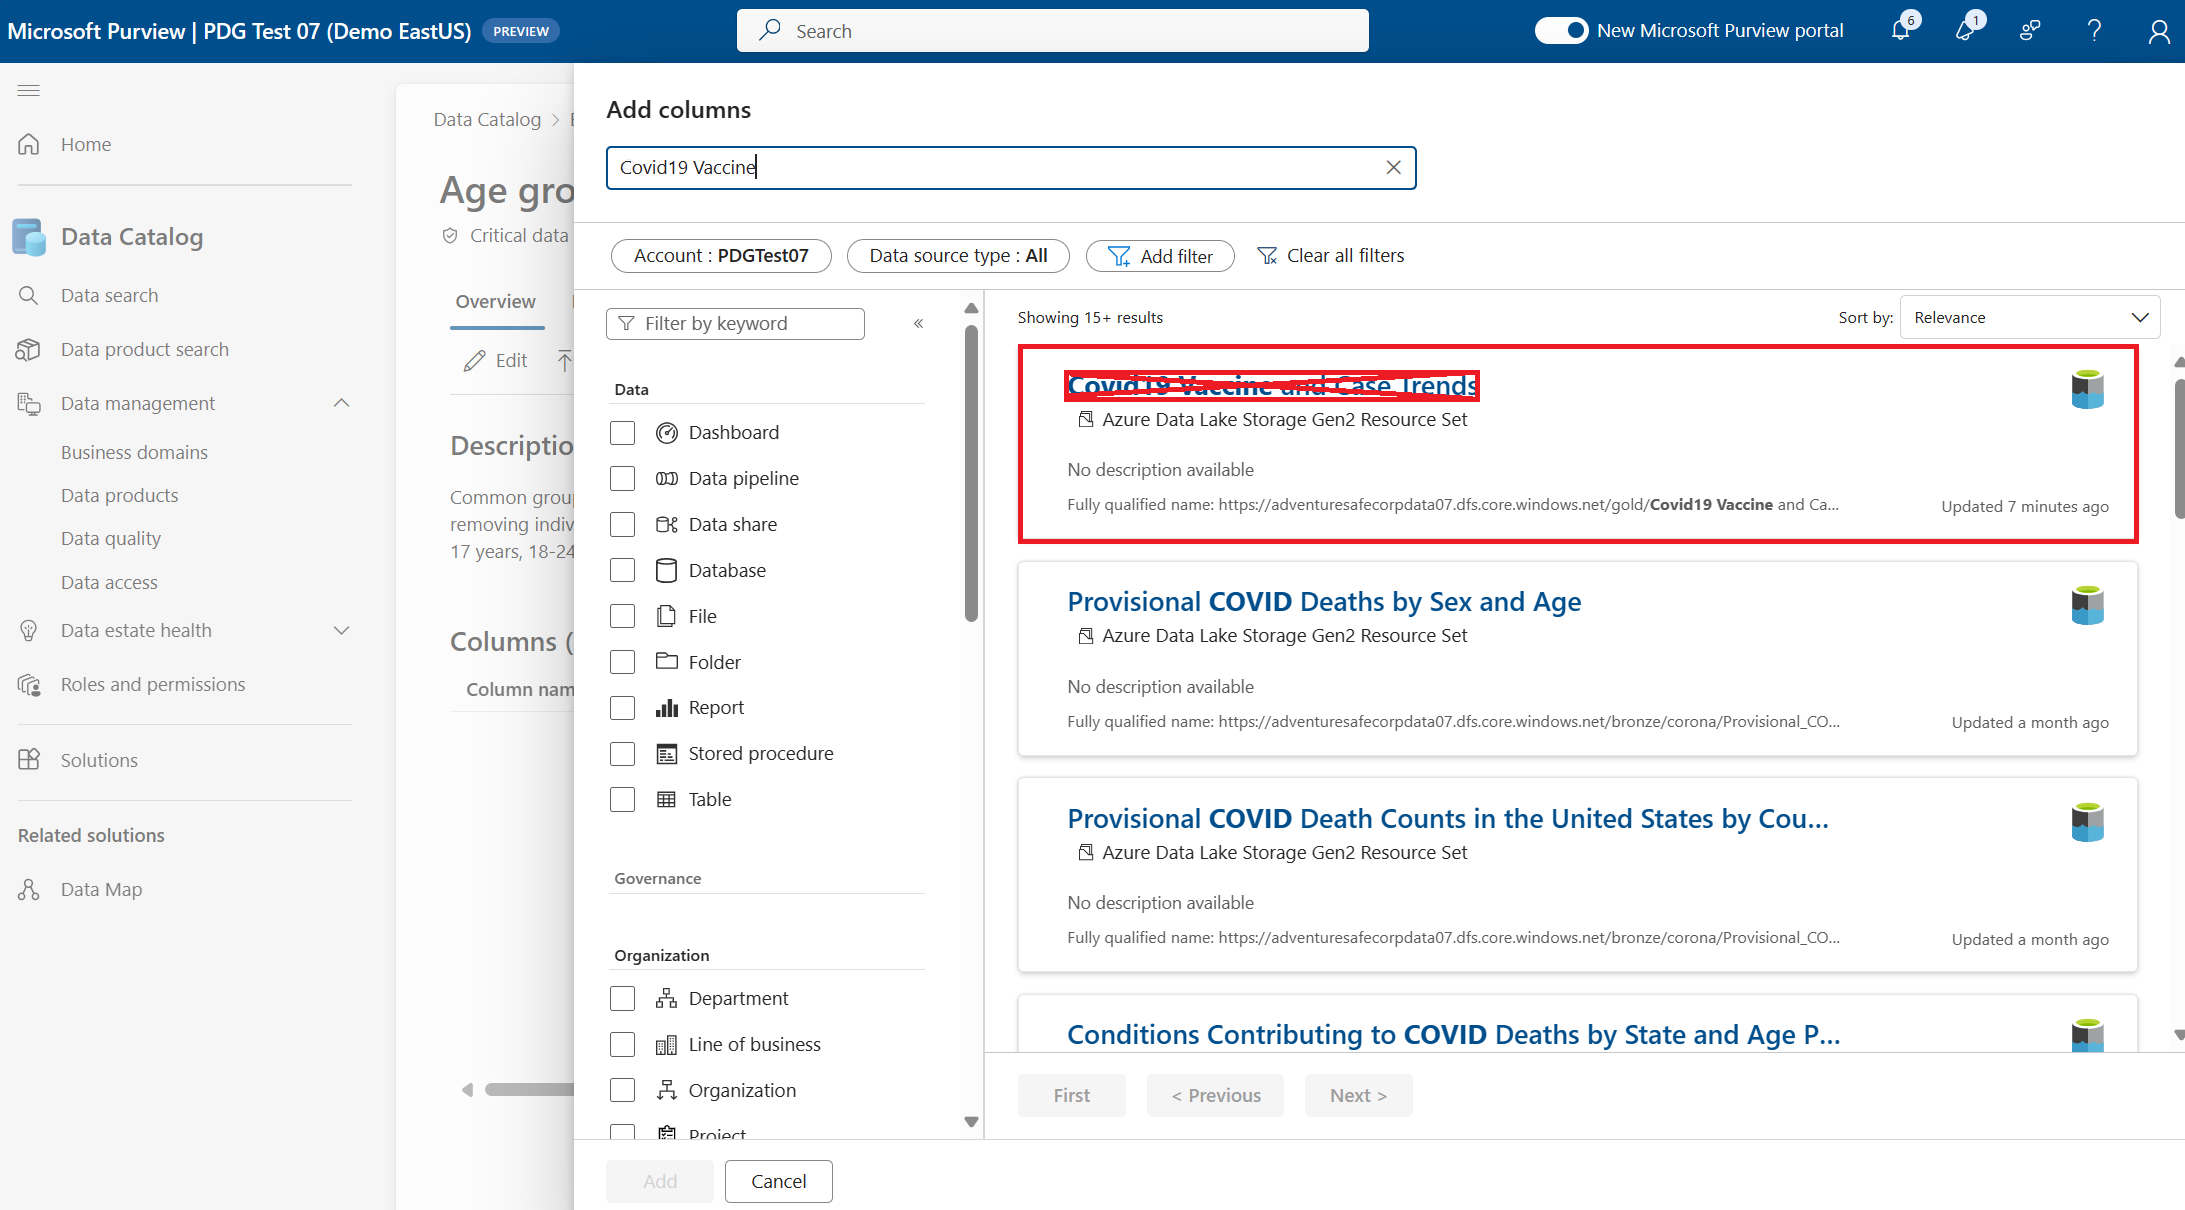
Search for the Covid 19 Vaccine and Case Trends data asset from the gold container of the data lake
Select the box, not the name, of the Covid 19 Vaccine and Case Trends asset.
Tip
If you select the blue name of the asset it will open a new window in Microsoft Purview showing you the asset details.
Select the radio button next to the AgeGroupVacc column.
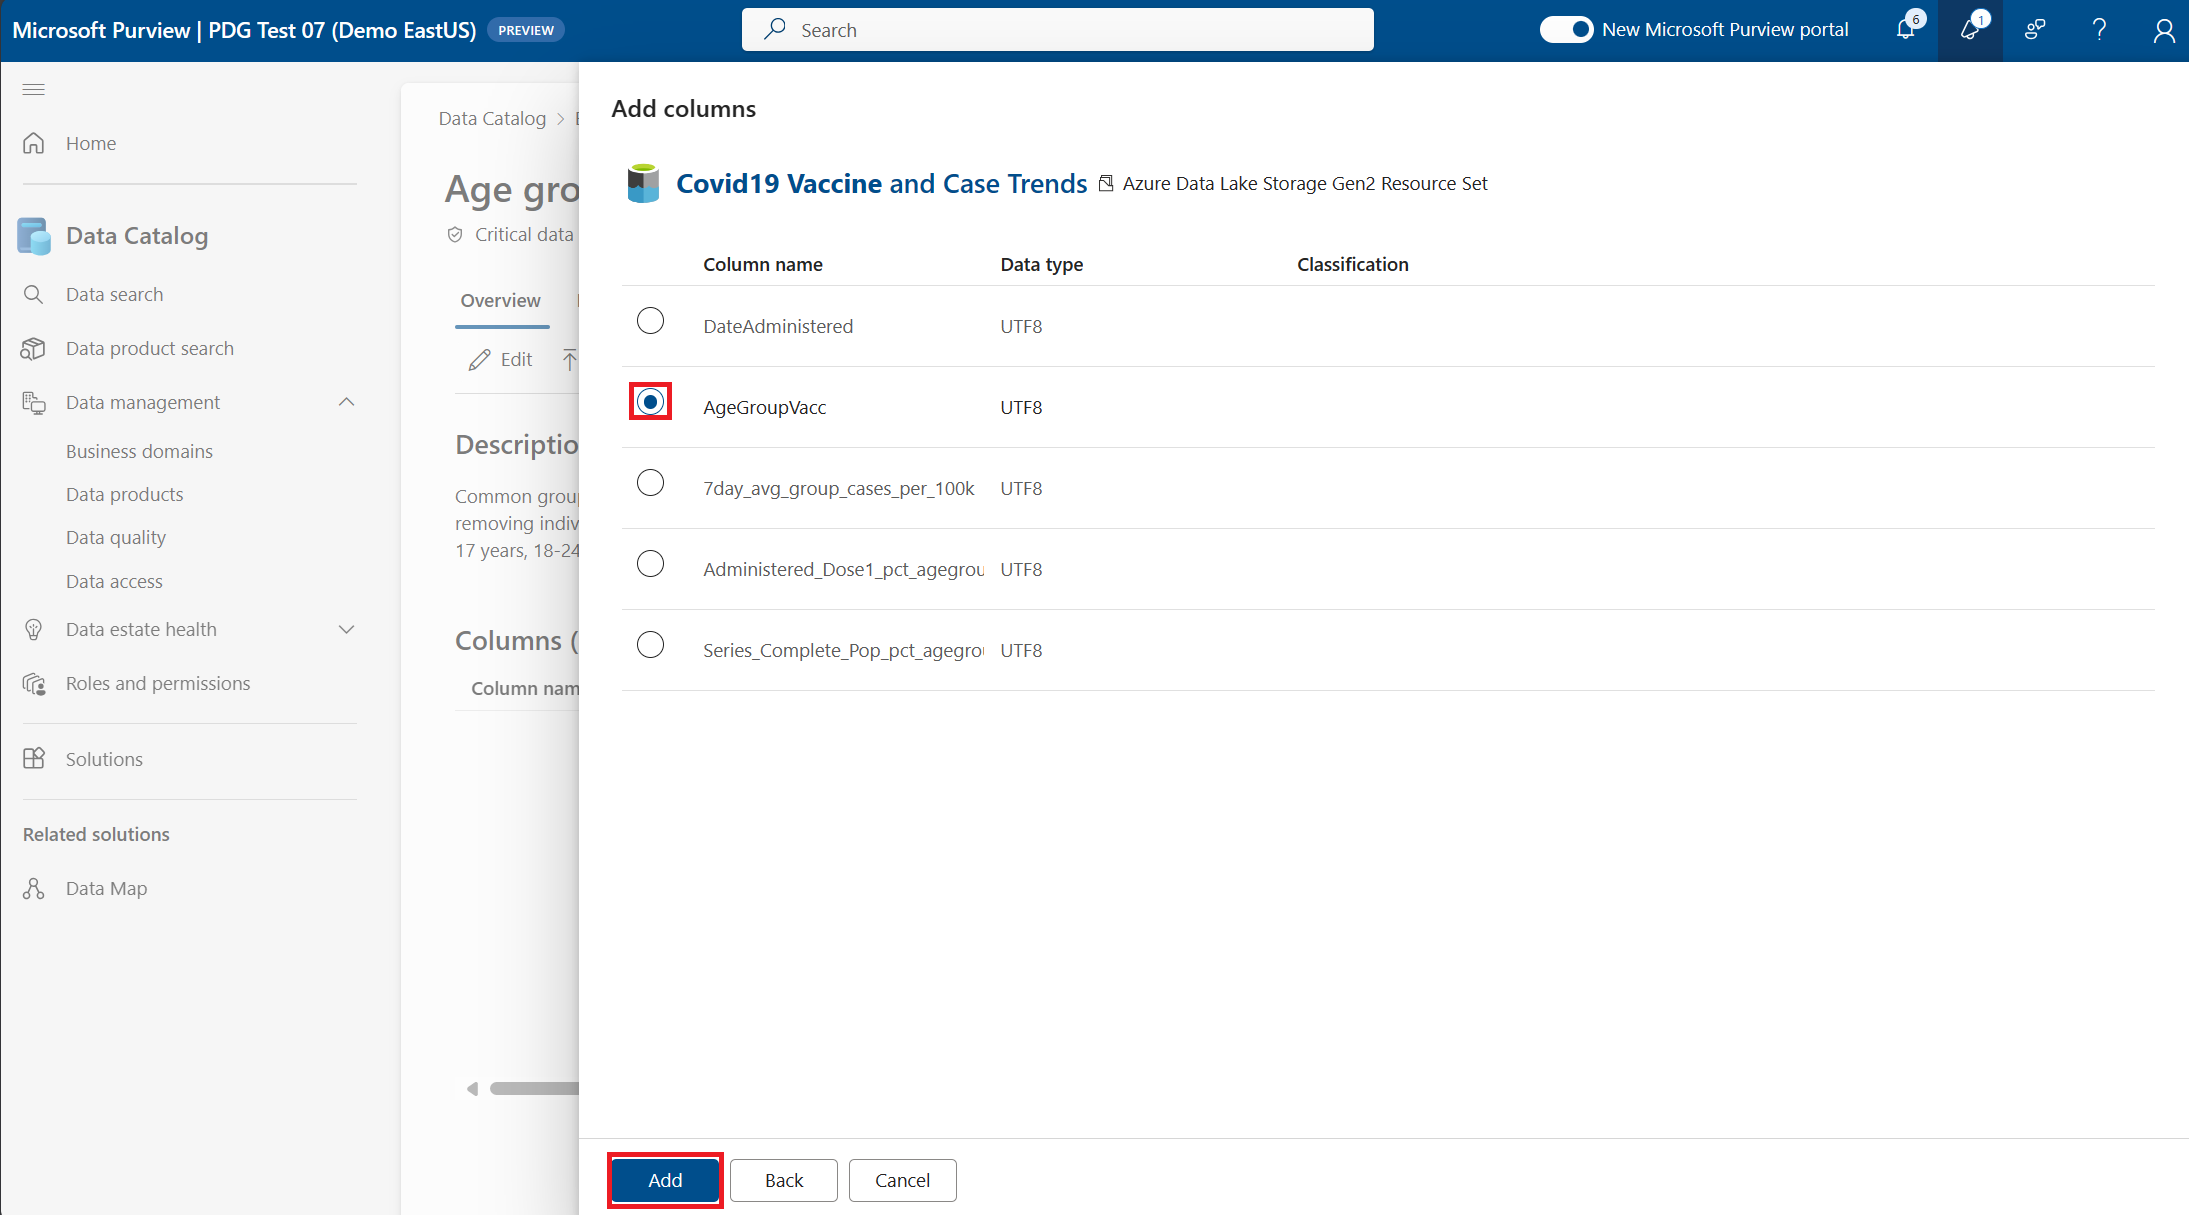
Select Add.
Select the Data quality tab at the top of the CDE you just created to apply data quality rules to the CDE. It's similar to how you added policies for glossary terms and business domains.
Select + New rule
Select Data type match
Enter Rule name: Confirm Age group formatting
Select Create
Select Publish on the CDE
This CDE will now automatically apply a data quality rule to every data product that uses the Covid 19 Vaccine and Case Trends asset, which we'll walk through in the next section.
- Try creating a couple of other CDEs in your other domains. Here's some ideas:
- Sales: Revenue and Seller Name
- Corporate: Product ID
Next steps
Commenti e suggerimenti
Presto disponibile: Nel corso del 2024 verranno gradualmente disattivati i problemi di GitHub come meccanismo di feedback per il contenuto e ciò verrà sostituito con un nuovo sistema di feedback. Per altre informazioni, vedere https://aka.ms/ContentUserFeedback.
Invia e visualizza il feedback per