Create a new project in Visual Studio for Mac
Important
Visual Studio for Mac was retired on August 31, 2024 in accordance with Microsoft’s Modern Lifecycle Policy. While you can continue to work with Visual Studio for Mac, there are several other options for developers on Mac such as the preview version of the new C# Dev Kit extension for VS Code.
Opening the project creation dialog
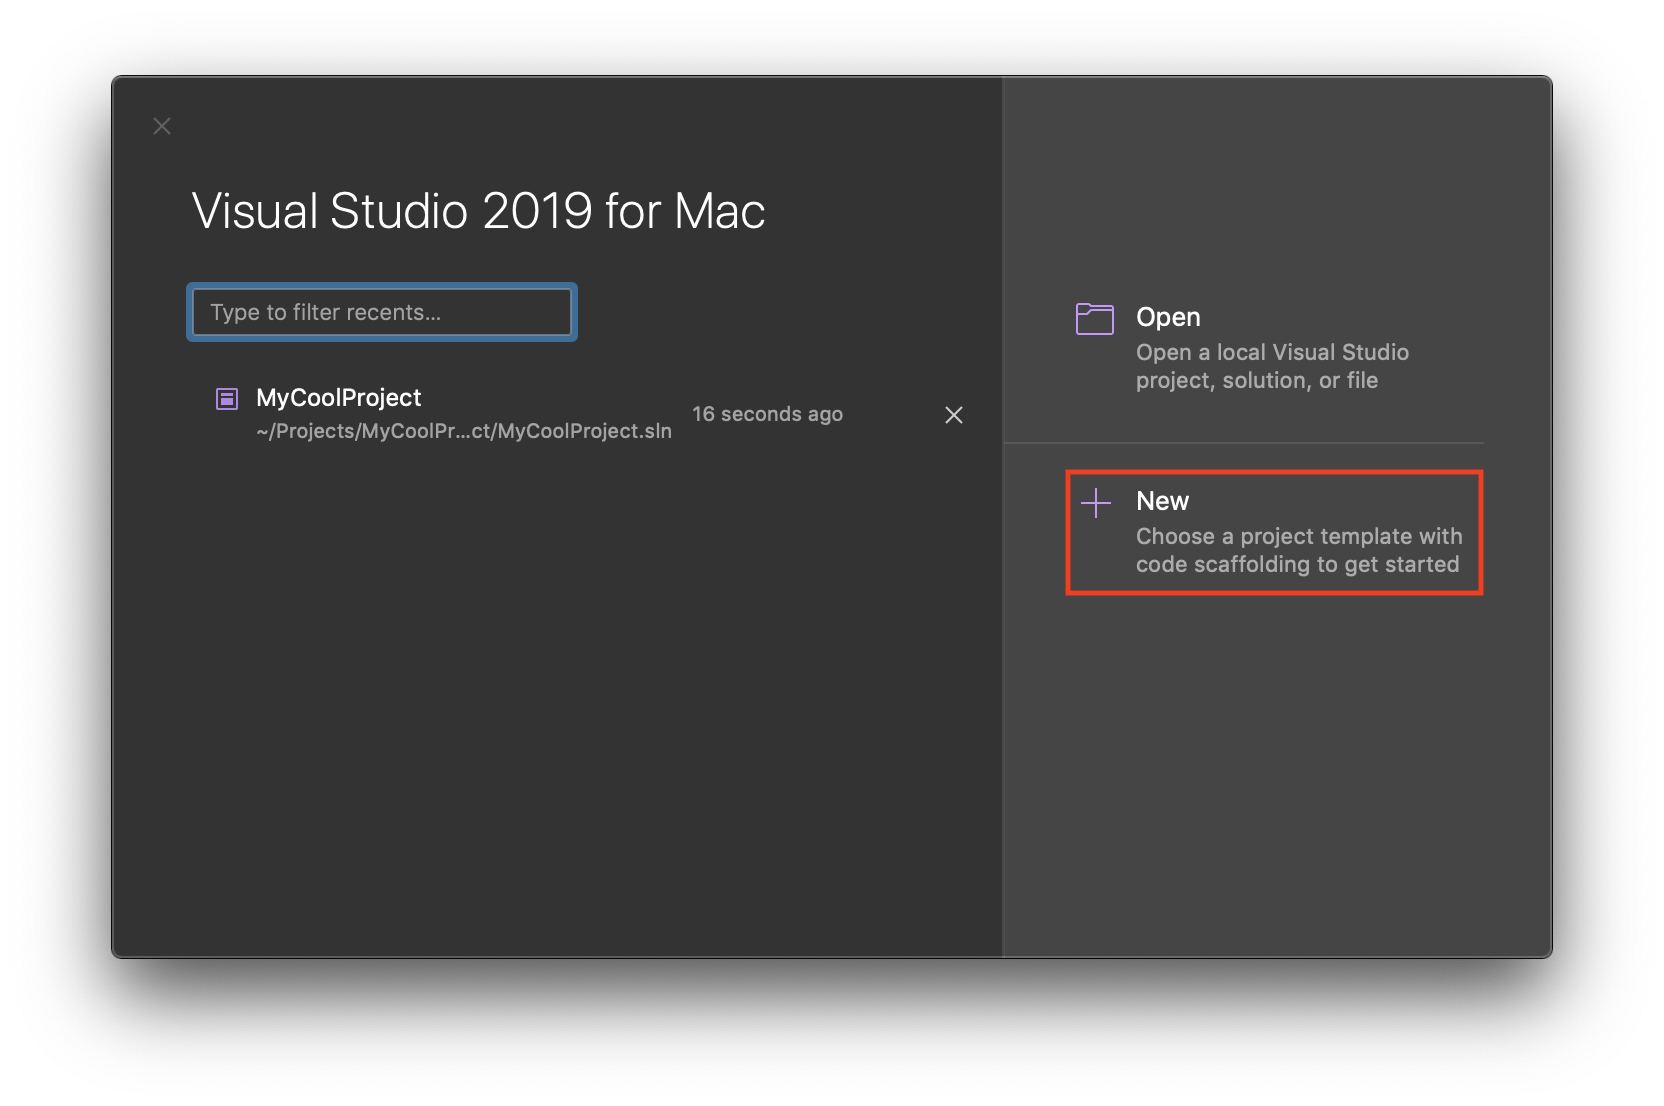
There are a few ways to create a new project in Visual Studio for Mac. When you first open Visual Studio for Mac, the start window is shown. From here, you can select New which takes you to the project creation screen.
Tip
Additionally, from the start window, you can also open and search for recent projects and solutions. You can also open recent projects by going to the menu bar and choosing File > Recent Solutions

If Visual Studio for Mac is already open with a solution loaded, you can create a new solution by going to the menu bar and choosing File > New Solution. Creating a new solution this way closes the solution that is already loaded.
Creating a new project
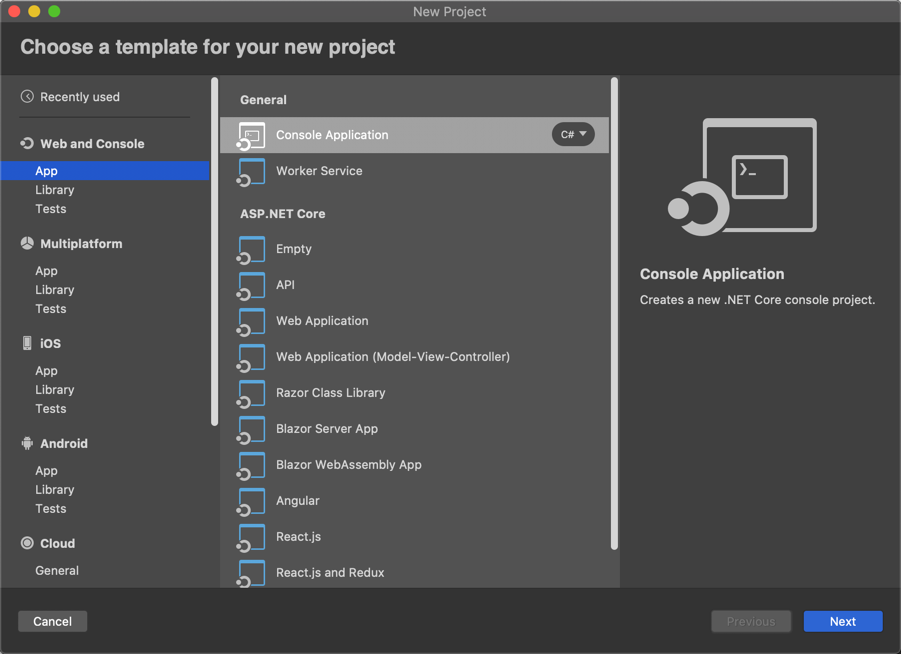
The New Project dialog, by default, will show your recently used templates sorted by most recently used.
If you don't want to use a recent template, you can choose from the categories on the left of the dialog. Each category contains several project templates for you to choose from. Clicking on a project type allows you to see a description on the right side of the screen.

Configuring your new project
Once you have chosen a project template, the following screens will take you through any configuration steps required to set up the project; which can vary by project type.
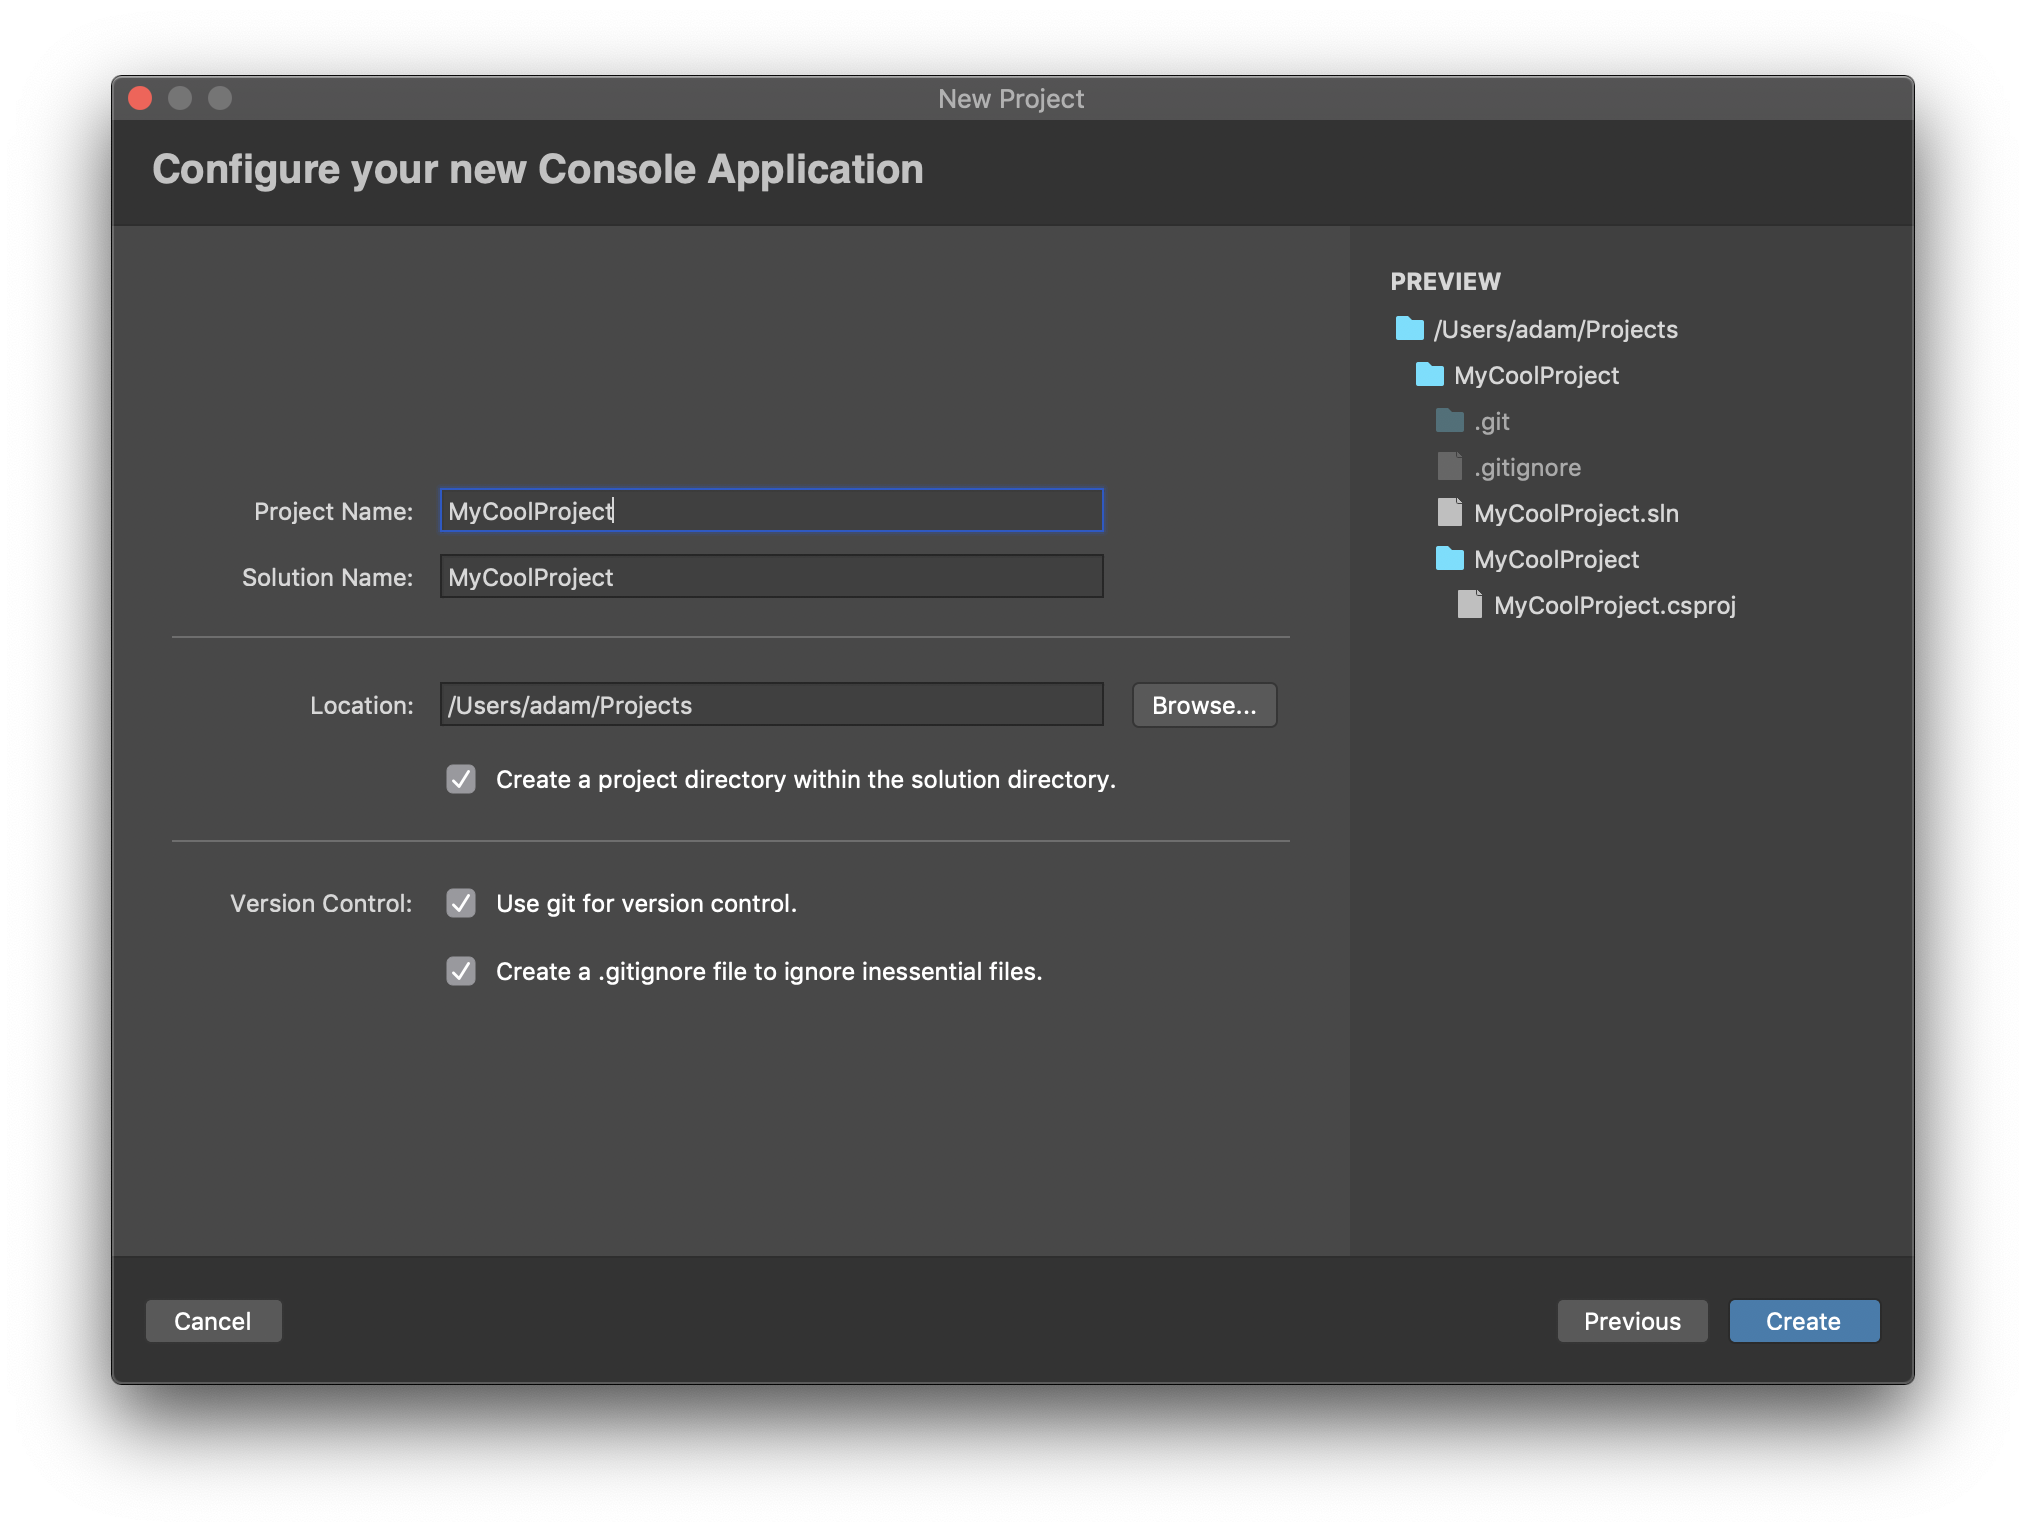
All projects require a new project, along with a location to store the files. If the project is part of a new solution, rather than adding it to an existing solution, a solution name will also be required.
Optionally, at this stage you can also configure Git source control options. The following image is an example of the final configuration step for a .NET Core project:

Adding additional projects to a solution
You can add additional projects to a solution by right-clicking the solution in the Solution Window and choosing either Add > Add New Project or Add > Add Existing Project.
Adding a new project will take you through project creation, as shown in Configuring Your New Project.
Choosing to add an existing project will allow you to browse for an existing project on your machine and add it to the solution.