チュートリアル: Node.js と Express の Web アプリでユーザーをサインインさせ、Microsoft Graph のトークンを取得する
このチュートリアルでは、ユーザーをサインインさせ、Microsoft Graph を呼び出すためのアクセス トークンを取得する Web アプリを構築します。 作成する Web アプリでは、Node 用の Microsoft Authentication Library (MSAL) を使用します。
このチュートリアルでは、次の手順に従います。
- Azure portal でアプリケーションを登録する
- Express Web アプリ プロジェクトを作成する
- 認証ライブラリ パッケージをインストールする
- アプリの登録の詳細を追加する
- ユーザー ログインのコードを追加する
- アプリケーションをテストする
詳細については、サンプル コードを参照してください。このサンプル コードでは、MSAL Node を使用して、Microsoft Graph などの保護されたリソースに対してサインイン、サインアウトを行う方法、保護されたリソースのアクセス トークンを取得する方法が示されています。
前提条件
- Node.js
- Visual Studio Code または別のコード エディター
アプリケーションを登録する
まず、Microsoft ID プラットフォームへのアプリケーションの登録に関するページの手順に従って、アプリを登録します。
アプリの登録には、次の設定を使用します。
- 名前:
ExpressWebApp(推奨) - サポートされているアカウントの種類: この組織のディレクトリ内のアカウントのみ
- プラットフォームの種類:Web
- リダイレクト URI:
http://localhost:3000/auth/redirect - クライアント シークレット:
*********(後の手順で使用するためにこの値を記録します。これは 1 回しか表示されません)
プロジェクトを作成する
Express アプリケーション ジェネレーター ツールを使用して、アプリケーションのスケルトンを作成します。
- まず、express-generator パッケージをインストールします。
npm install -g express-generator
- 次に、次のようにアプリケーションのスケルトンを作成します。
    express --view=hbs /ExpressWebApp && cd /ExpressWebApp
    npm install
これで、簡単な Express Web アプリができました。 このプロジェクトのファイルとフォルダーの構造は、次のフォルダー構造のようになります。
ExpressWebApp/
├── bin/
|    └── wwww
├── public/
|    ├── images/
|    ├── javascript/
|    └── stylesheets/
|        └── style.css
├── routes/
|    ├── index.js
|    └── users.js
├── views/
|    ├── error.hbs
|    ├── index.hbs
|    └── layout.hbs
├── app.js
└── package.json
認証ライブラリをインストールする
ターミナルでプロジェクト ディレクトリのルートを探し、npm を使用して MSAL Node パッケージをインストールします。
npm install --save @azure/msal-node
その他の依存関係をインストールする
このチュートリアルの Web アプリ サンプルでは、セッション管理用の express-session パッケージ、開発中の環境パラメーターを読み取るための dotenv パッケージ、Microsoft Graph API に対してネットワーク呼び出しを行う axios を使用します。 npm を使用してこれらをインストールします。
npm install --save express-session dotenv axios
アプリの登録の詳細を追加する
- プロジェクト フォルダのルートに .env.dev ファイルを作成します。 次のコードを追加します。
CLOUD_INSTANCE="Enter_the_Cloud_Instance_Id_Here" # cloud instance string should end with a trailing slash
TENANT_ID="Enter_the_Tenant_Info_Here"
CLIENT_ID="Enter_the_Application_Id_Here"
CLIENT_SECRET="Enter_the_Client_Secret_Here"

REDIRECT_URI="http://localhost:3000/auth/redirect"
POST_LOGOUT_REDIRECT_URI="http://localhost:3000"

GRAPH_API_ENDPOINT="Enter_the_Graph_Endpoint_Here" # graph api endpoint string should end with a trailing slash

EXPRESS_SESSION_SECRET="Enter_the_Express_Session_Secret_Here"
これらの詳細には、Azure アプリ登録ポータルから取得した値を入力します。
Enter_the_Cloud_Instance_Id_Here:アプリケーションが登録されている Azure クラウド インスタンス。- メイン (または "グローバル") の Azure クラウドの場合、「
https://login.microsoftonline.com/(末尾のスラッシュを含む)」と入力します。 - 各国のクラウド (中国など) の場合は、「各国のクラウド」に適切な値が記載されています。
- メイン (または "グローバル") の Azure クラウドの場合、「
Enter_the_Tenant_Info_hereは、次のいずれかのパラメーターにする必要があります。- ご自分のアプリケーションで "この組織のディレクトリ内のアカウント" がサポートされる場合は、この値をテナント ID またはテナント名に置き換えます。 たとえば、「
contoso.microsoft.com」のように入力します。 - アプリケーションで "任意の組織のディレクトリ内のアカウント" がサポートされる場合は、この値を
organizationsに置き換えます。 - アプリケーションで "任意の組織のディレクトリ内のアカウントと個人用の Microsoft アカウント" がサポートされる場合は、この値を
commonに置き換えます。 - "個人用の Microsoft アカウントのみ" にサポートを制限するには、この値を
consumersに置き換えます。
- ご自分のアプリケーションで "この組織のディレクトリ内のアカウント" がサポートされる場合は、この値をテナント ID またはテナント名に置き換えます。 たとえば、「
Enter_the_Application_Id_Here:登録したアプリケーションのアプリケーション (クライアント) ID。Enter_the_Client_secret:この値を、前に作成したクライアント シークレットで置き換えます。 新しいキーを生成するには、Azure portal でアプリの登録設定の [証明書とシークレット] を使用します。
警告
ソース コードでシークレットがプレーンテキストになっていると、セキュリティ リスクが増大します。 この記事でプレーンテキストのクライアント シークレットを使用しているのは、あくまで簡潔にするためです。 機密性の高いクライアント アプリケーション、特に運用環境へのデプロイを予定しているアプリでは、クライアント シークレットではなく、証明書の資格情報を使用してください。
Enter_the_Graph_Endpoint_Here: アプリが呼び出す Microsoft Graph API クラウド インスタンス。 メイン (グローバル) Microsoft Graph API サービスの場合は、「https://graph.microsoft.com/」 (末尾のスラッシュを含める) と入力します。Enter_the_Express_Session_Secret_HereExpress セッション Cookie の署名に使用されるシークレット。 クライアント シークレットなど、この文字列を置き換える文字のランダムな文字列を選択します。
- 次に、プロジェクトのルートに、これらのパラメーターを読み取るための authConfig.js という名前のファイルを作成します。 作成したら、そこに次のコードを追加します。
/*
 * Copyright (c) Microsoft Corporation. All rights reserved.
 * Licensed under the MIT License.
 */

require('dotenv').config({ path: '.env.dev' });

/**
 * Configuration object to be passed to MSAL instance on creation.
 * For a full list of MSAL Node configuration parameters, visit:
 * https://github.com/AzureAD/microsoft-authentication-library-for-js/blob/dev/lib/msal-node/docs/configuration.md
 */
const msalConfig = {
    auth: {
        clientId: process.env.CLIENT_ID, // 'Application (client) ID' of app registration in Azure portal - this value is a GUID
        authority: process.env.CLOUD_INSTANCE + process.env.TENANT_ID, // Full directory URL, in the form of https://login.microsoftonline.com/<tenant>
        clientSecret: process.env.CLIENT_SECRET // Client secret generated from the app registration in Azure portal
    },
    system: {
        loggerOptions: {
            loggerCallback(loglevel, message, containsPii) {
                console.log(message);
            },
            piiLoggingEnabled: false,
            logLevel: 3,
        }
    }
}

const REDIRECT_URI = process.env.REDIRECT_URI;
const POST_LOGOUT_REDIRECT_URI = process.env.POST_LOGOUT_REDIRECT_URI;
const GRAPH_ME_ENDPOINT = process.env.GRAPH_API_ENDPOINT + "v1.0/me";

module.exports = {
    msalConfig,
    REDIRECT_URI,
    POST_LOGOUT_REDIRECT_URI,
    GRAPH_ME_ENDPOINT
};
ユーザー サインインとトークン取得のコードを追加する
- auth という名前の新しいフォルダを作成し、その下に AuthProvider.js という名前の新しいファイルを追加します。 これには、MSAL ノードを使用して必要な認証ロジックをカプセル化する AuthProvider クラスが含まれます。 そこに、次のコードを追加します。
const msal = require('@azure/msal-node');
const axios = require('axios');

const { msalConfig } = require('../authConfig');

class AuthProvider {
    msalConfig;
    cryptoProvider;

    constructor(msalConfig) {
        this.msalConfig = msalConfig
        this.cryptoProvider = new msal.CryptoProvider();
    };

    login(options = {}) {
        return async (req, res, next) => {

            /**
             * MSAL Node library allows you to pass your custom state as state parameter in the Request object.
             * The state parameter can also be used to encode information of the app's state before redirect.
             * You can pass the user's state in the app, such as the page or view they were on, as input to this parameter.
             */
            const state = this.cryptoProvider.base64Encode(
                JSON.stringify({
                    successRedirect: options.successRedirect || '/',
                })
            );

            const authCodeUrlRequestParams = {
                state: state,

                /**
                 * By default, MSAL Node will add OIDC scopes to the auth code url request. For more information, visit:
                 * https://docs.microsoft.com/azure/active-directory/develop/v2-permissions-and-consent#openid-connect-scopes
                 */
                scopes: options.scopes || [],
                redirectUri: options.redirectUri,
            };

            const authCodeRequestParams = {
                state: state,

                /**
                 * By default, MSAL Node will add OIDC scopes to the auth code request. For more information, visit:
                 * https://docs.microsoft.com/azure/active-directory/develop/v2-permissions-and-consent#openid-connect-scopes
                 */
                scopes: options.scopes || [],
                redirectUri: options.redirectUri,
            };

            /**
             * If the current msal configuration does not have cloudDiscoveryMetadata or authorityMetadata, we will
             * make a request to the relevant endpoints to retrieve the metadata. This allows MSAL to avoid making
             * metadata discovery calls, thereby improving performance of token acquisition process. For more, see:
             * https://github.com/AzureAD/microsoft-authentication-library-for-js/blob/dev/lib/msal-node/docs/performance.md
             */
            if (!this.msalConfig.auth.cloudDiscoveryMetadata || !this.msalConfig.auth.authorityMetadata) {

                const [cloudDiscoveryMetadata, authorityMetadata] = await Promise.all([
                    this.getCloudDiscoveryMetadata(this.msalConfig.auth.authority),
                    this.getAuthorityMetadata(this.msalConfig.auth.authority)
                ]);

                this.msalConfig.auth.cloudDiscoveryMetadata = JSON.stringify(cloudDiscoveryMetadata);
                this.msalConfig.auth.authorityMetadata = JSON.stringify(authorityMetadata);
            }

            const msalInstance = this.getMsalInstance(this.msalConfig);

            // trigger the first leg of auth code flow
            return this.redirectToAuthCodeUrl(
                authCodeUrlRequestParams,
                authCodeRequestParams,
                msalInstance
            )(req, res, next);
        };
    }

    acquireToken(options = {}) {
        return async (req, res, next) => {
            try {
                const msalInstance = this.getMsalInstance(this.msalConfig);

                /**
                 * If a token cache exists in the session, deserialize it and set it as the
                 * cache for the new MSAL CCA instance. For more, see:
                 * https://github.com/AzureAD/microsoft-authentication-library-for-js/blob/dev/lib/msal-node/docs/caching.md
                 */
                if (req.session.tokenCache) {
                    msalInstance.getTokenCache().deserialize(req.session.tokenCache);
                }

                const tokenResponse = await msalInstance.acquireTokenSilent({
                    account: req.session.account,
                    scopes: options.scopes || [],
                });

                /**
                 * On successful token acquisition, write the updated token
                 * cache back to the session. For more, see:
                 * https://github.com/AzureAD/microsoft-authentication-library-for-js/blob/dev/lib/msal-node/docs/caching.md
                 */
                req.session.tokenCache = msalInstance.getTokenCache().serialize();
                req.session.accessToken = tokenResponse.accessToken;
                req.session.idToken = tokenResponse.idToken;
                req.session.account = tokenResponse.account;

                res.redirect(options.successRedirect);
            } catch (error) {
                if (error instanceof msal.InteractionRequiredAuthError) {
                    return this.login({
                        scopes: options.scopes || [],
                        redirectUri: options.redirectUri,
                        successRedirect: options.successRedirect || '/',
                    })(req, res, next);
                }

                next(error);
            }
        };
    }

    handleRedirect(options = {}) {
        return async (req, res, next) => {
            if (!req.body || !req.body.state) {
                return next(new Error('Error: response not found'));
            }

            const authCodeRequest = {
                ...req.session.authCodeRequest,
                code: req.body.code,
                codeVerifier: req.session.pkceCodes.verifier,
            };

            try {
                const msalInstance = this.getMsalInstance(this.msalConfig);

                if (req.session.tokenCache) {
                    msalInstance.getTokenCache().deserialize(req.session.tokenCache);
                }

                const tokenResponse = await msalInstance.acquireTokenByCode(authCodeRequest, req.body);

                req.session.tokenCache = msalInstance.getTokenCache().serialize();
                req.session.idToken = tokenResponse.idToken;
                req.session.account = tokenResponse.account;
                req.session.isAuthenticated = true;

                const state = JSON.parse(this.cryptoProvider.base64Decode(req.body.state));
                res.redirect(state.successRedirect);
            } catch (error) {
                next(error);
            }
        }
    }

    logout(options = {}) {
        return (req, res, next) => {

            /**
             * Construct a logout URI and redirect the user to end the
             * session with Azure AD. For more information, visit:
             * https://docs.microsoft.com/azure/active-directory/develop/v2-protocols-oidc#send-a-sign-out-request
             */
            let logoutUri = `${this.msalConfig.auth.authority}/oauth2/v2.0/`;

            if (options.postLogoutRedirectUri) {
                logoutUri += `logout?post_logout_redirect_uri=${options.postLogoutRedirectUri}`;
            }

            req.session.destroy(() => {
                res.redirect(logoutUri);
            });
        }
    }

    /**
     * Instantiates a new MSAL ConfidentialClientApplication object
     * @param msalConfig: MSAL Node Configuration object
     * @returns
     */
    getMsalInstance(msalConfig) {
        return new msal.ConfidentialClientApplication(msalConfig);
    }


    /**
     * Prepares the auth code request parameters and initiates the first leg of auth code flow
     * @param req: Express request object
     * @param res: Express response object
     * @param next: Express next function
     * @param authCodeUrlRequestParams: parameters for requesting an auth code url
     * @param authCodeRequestParams: parameters for requesting tokens using auth code
     */
    redirectToAuthCodeUrl(authCodeUrlRequestParams, authCodeRequestParams, msalInstance) {
        return async (req, res, next) => {
            // Generate PKCE Codes before starting the authorization flow
            const { verifier, challenge } = await this.cryptoProvider.generatePkceCodes();

            // Set generated PKCE codes and method as session vars
            req.session.pkceCodes = {
                challengeMethod: 'S256',
                verifier: verifier,
                challenge: challenge,
            };

            /**
             * By manipulating the request objects below before each request, we can obtain
             * auth artifacts with desired claims. For more information, visit:
             * https://azuread.github.io/microsoft-authentication-library-for-js/ref/modules/_azure_msal_node.html#authorizationurlrequest
             * https://azuread.github.io/microsoft-authentication-library-for-js/ref/modules/_azure_msal_node.html#authorizationcoderequest
             **/
            req.session.authCodeUrlRequest = {
                ...authCodeUrlRequestParams,
                responseMode: msal.ResponseMode.FORM_POST, // recommended for confidential clients
                codeChallenge: req.session.pkceCodes.challenge,
                codeChallengeMethod: req.session.pkceCodes.challengeMethod,
            };

            req.session.authCodeRequest = {
                ...authCodeRequestParams,
                code: '',
            };

            try {
                const authCodeUrlResponse = await msalInstance.getAuthCodeUrl(req.session.authCodeUrlRequest);
                res.redirect(authCodeUrlResponse);
            } catch (error) {
                next(error);
            }
        };
    }

    /**
     * Retrieves cloud discovery metadata from the /discovery/instance endpoint
     * @returns
     */
    async getCloudDiscoveryMetadata(authority) {
        const endpoint = 'https://login.microsoftonline.com/common/discovery/instance';

        try {
            const response = await axios.get(endpoint, {
                params: {
                    'api-version': '1.1',
                    'authorization_endpoint': `${authority}/oauth2/v2.0/authorize`
                }
            });

            return await response.data;
        } catch (error) {
            throw error;
        }
    }

    /**
     * Retrieves oidc metadata from the openid endpoint
     * @returns
     */
    async getAuthorityMetadata(authority) {
        const endpoint = `${authority}/v2.0/.well-known/openid-configuration`;

        try {
            const response = await axios.get(endpoint);
            return await response.data;
        } catch (error) {
            console.log(error);
        }
    }
}

const authProvider = new AuthProvider(msalConfig);

module.exports = authProvider;
- 次に、routes フォルダーの下に auth.js という名前の新しいファイルを作成し、そこに次のコードを追加します。
/*
 * Copyright (c) Microsoft Corporation. All rights reserved.
 * Licensed under the MIT License.
 */

var express = require('express');

const authProvider = require('../auth/AuthProvider');
const { REDIRECT_URI, POST_LOGOUT_REDIRECT_URI } = require('../authConfig');

const router = express.Router();

router.get('/signin', authProvider.login({
    scopes: [],
    redirectUri: REDIRECT_URI,
    successRedirect: '/'
}));

router.get('/acquireToken', authProvider.acquireToken({
    scopes: ['User.Read'],
    redirectUri: REDIRECT_URI,
    successRedirect: '/users/profile'
}));

router.post('/redirect', authProvider.handleRedirect());

router.get('/signout', authProvider.logout({
    postLogoutRedirectUri: POST_LOGOUT_REDIRECT_URI
}));

module.exports = router;
- 既存のコードを次のコード スニペットに置き換えて、index.js ルートを更新します。
/*
 * Copyright (c) Microsoft Corporation. All rights reserved.
 * Licensed under the MIT License.
 */

var express = require('express');
var router = express.Router();

router.get('/', function (req, res, next) {
    res.render('index', {
        title: 'MSAL Node & Express Web App',
        isAuthenticated: req.session.isAuthenticated,
        username: req.session.account?.username,
    });
});

module.exports = router;
- 最後に、既存のコードを次のコード スニペットに置き換えて、users.js ルートを更新します。
/*
 * Copyright (c) Microsoft Corporation. All rights reserved.
 * Licensed under the MIT License.
 */

var express = require('express');
var router = express.Router();

var fetch = require('../fetch');

var { GRAPH_ME_ENDPOINT } = require('../authConfig');

// custom middleware to check auth state
function isAuthenticated(req, res, next) {
    if (!req.session.isAuthenticated) {
        return res.redirect('/auth/signin'); // redirect to sign-in route
    }

    next();
};

router.get('/id',
    isAuthenticated, // check if user is authenticated
    async function (req, res, next) {
        res.render('id', { idTokenClaims: req.session.account.idTokenClaims });
    }
);

router.get('/profile',
    isAuthenticated, // check if user is authenticated
    async function (req, res, next) {
        try {
            const graphResponse = await fetch(GRAPH_ME_ENDPOINT, req.session.accessToken);
            res.render('profile', { profile: graphResponse });
        } catch (error) {
            next(error);
        }
    }
);

module.exports = router;
Microsoft Graph API を呼び出すコードを追加する
プロジェクトのルートに fetch.js という名前のファイルを作成し、次のコードを追加します。
/*
 * Copyright (c) Microsoft Corporation. All rights reserved.
 * Licensed under the MIT License.
 */

var axios = require('axios');

/**
 * Attaches a given access token to a MS Graph API call
 * @param endpoint: REST API endpoint to call
 * @param accessToken: raw access token string
 */
async function fetch(endpoint, accessToken) {
    const options = {
        headers: {
            Authorization: `Bearer ${accessToken}`
        }
    };

    console.log(`request made to ${endpoint} at: ` + new Date().toString());

    try {
        const response = await axios.get(endpoint, options);
        return await response.data;
    } catch (error) {
        throw new Error(error);
    }
}

module.exports = fetch;
データを表示するためのビューを追加する
- views フォルダーで、既存のコードを次のように置き換えて、index.hbs ファイルを更新します。
<h1>{{title}}</h1>
{{#if isAuthenticated }}
<p>Hi {{username}}!</p>
<a href="/users/id">View ID token claims</a>
<br>
<a href="/auth/acquireToken">Acquire a token to call the Microsoft Graph API</a>
<br>
<a href="/auth/signout">Sign out</a>
{{else}}
<p>Welcome to {{title}}</p>
<a href="/auth/signin">Sign in</a>
{{/if}}
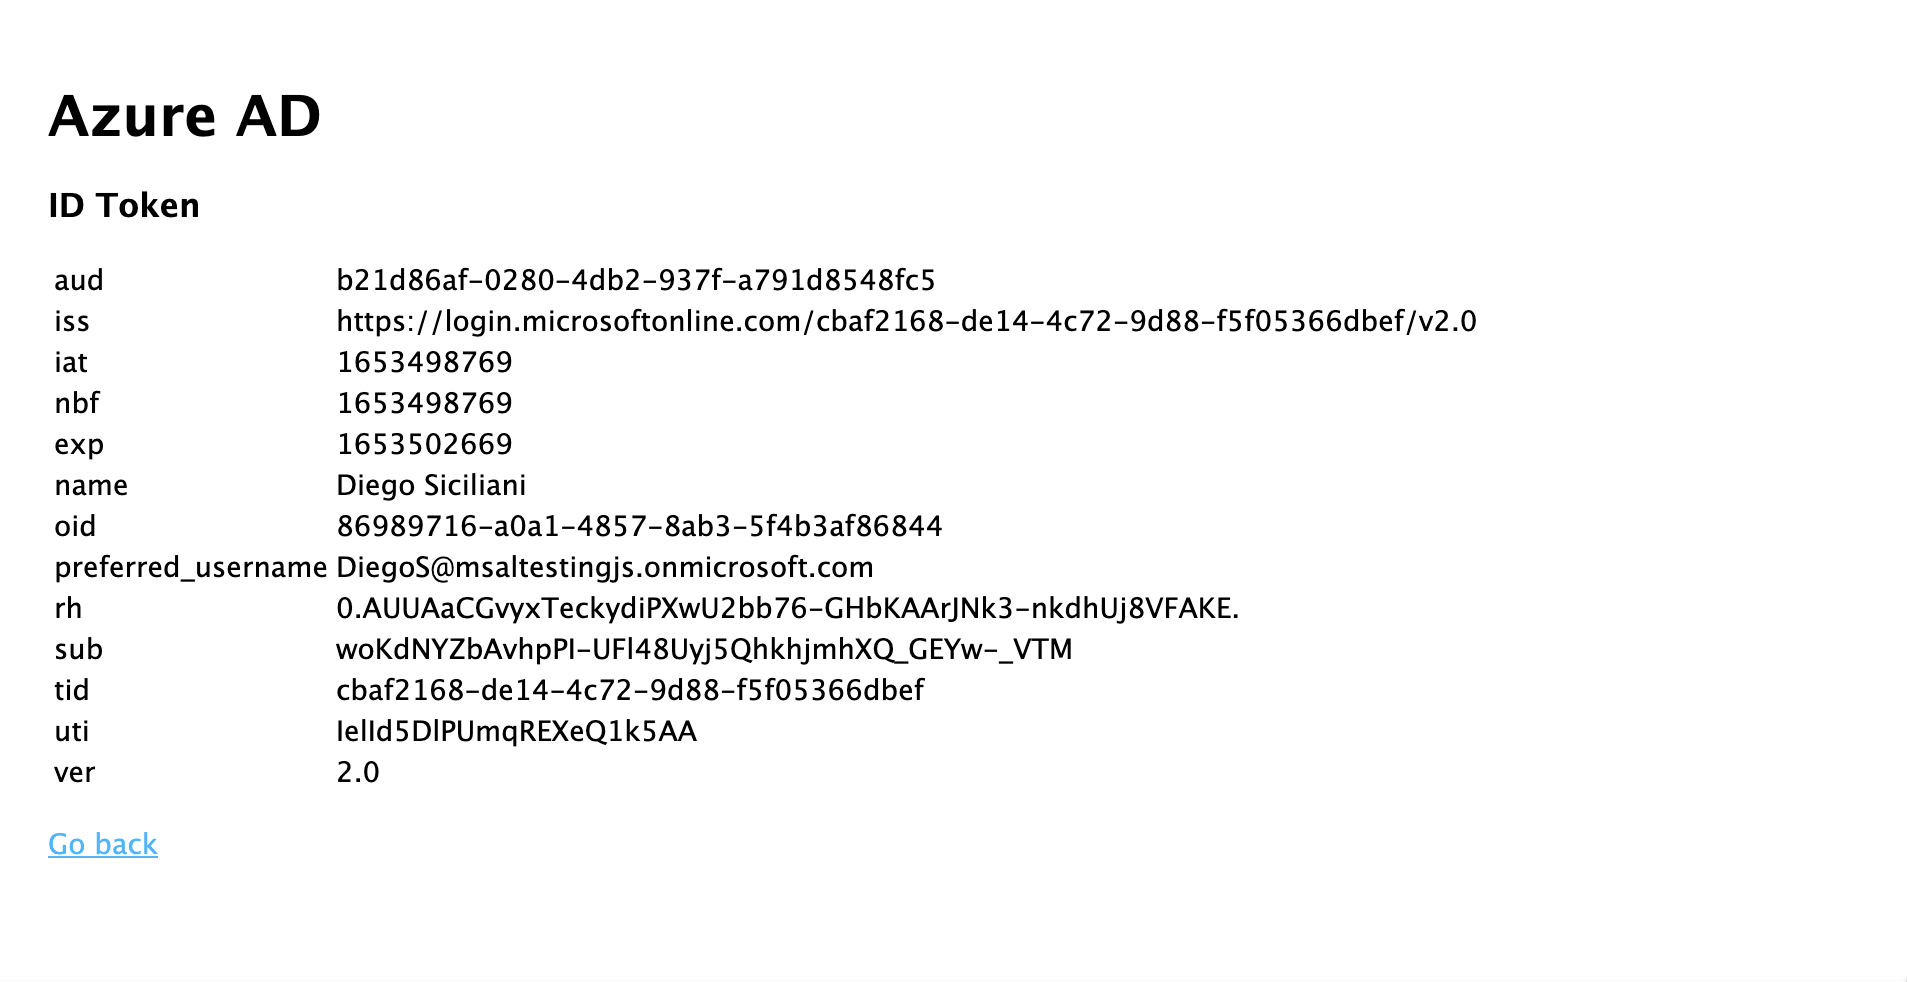
- 引き続き同じフォルダーに、ユーザーの ID トークンのコンテンツを表示するための id.hbs という名前の別のファイルを作成します。
<h1>Azure AD</h1>
<h3>ID Token</h3>
<table>
    <tbody>
        {{#each idTokenClaims}}
        <tr>
            <td>{{@key}}</td>
            <td>{{this}}</td>
        </tr>
        {{/each}}
    </tbody>
</table>
<br>
<a href="https://aka.ms/id-tokens" target="_blank">Learn about claims in this ID token</a>
<br>
<a href="/">Go back</a>
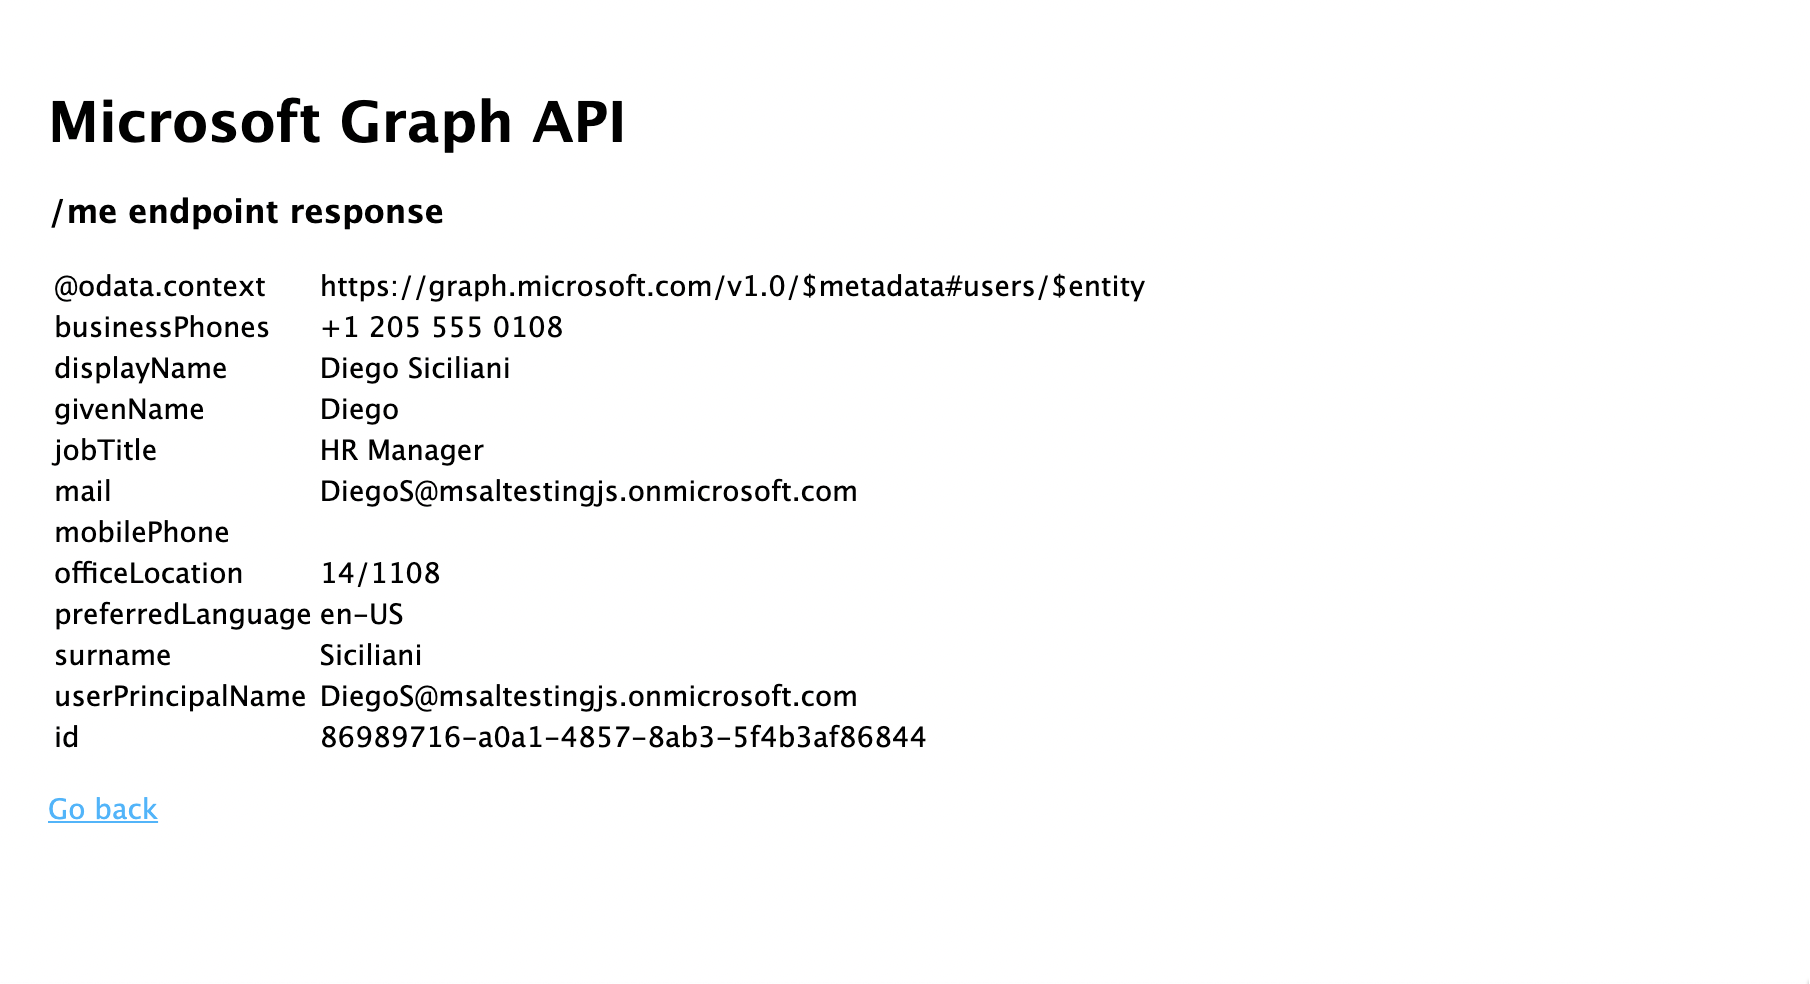
- 最後に、Microsoft Graph への呼び出しの結果を表示するための profile.hbs という名前の別のファイルを作成します。
<h1>Microsoft Graph API</h1>
<h3>/me endpoint response</h3>
<table>
    <tbody>
        {{#each profile}}
        <tr>
            <td>{{@key}}</td>
            <td>{{this}}</td>
        </tr>
        {{/each}}
    </tbody>
</table>
<br>
<a href="/">Go back</a>
ルーターを登録して状態管理を追加する
プロジェクト フォルダーのルートにある app.js ファイルで、先ほど作成したルートを登録し、express-session パッケージを使用して認証状態を追跡するためのセッション サポートを追加します。 既存のコードを次のコード スニペットに置き換えます。
/*
 * Copyright (c) Microsoft Corporation. All rights reserved.
 * Licensed under the MIT License.
 */

require('dotenv').config();

var path = require('path');
var express = require('express');
var session = require('express-session');
var createError = require('http-errors');
var cookieParser = require('cookie-parser');
var logger = require('morgan');

var indexRouter = require('./routes/index');
var usersRouter = require('./routes/users');
var authRouter = require('./routes/auth');

// initialize express
var app = express();

/**
 * Using express-session middleware for persistent user session. Be sure to
 * familiarize yourself with available options. Visit: https://www.npmjs.com/package/express-session
 */
 app.use(session({
    secret: process.env.EXPRESS_SESSION_SECRET,
    resave: false,
    saveUninitialized: false,
    cookie: {
        httpOnly: true,
        secure: false, // set this to true on production
    }
}));

// view engine setup
app.set('views', path.join(__dirname, 'views'));
app.set('view engine', 'hbs');

app.use(logger('dev'));
app.use(express.json());
app.use(cookieParser());
app.use(express.urlencoded({ extended: false }));
app.use(express.static(path.join(__dirname, 'public')));

app.use('/', indexRouter);
app.use('/users', usersRouter);
app.use('/auth', authRouter);

// catch 404 and forward to error handler
app.use(function (req, res, next) {
    next(createError(404));
});

// error handler
app.use(function (err, req, res, next) {
    // set locals, only providing error in development
    res.locals.message = err.message;
    res.locals.error = req.app.get('env') === 'development' ? err : {};

    // render the error page
    res.status(err.status || 500);
    res.render('error');
});

module.exports = app;
サインインのテストと Microsoft Graph の呼び出し
これでアプリケーションの作成が完了し、アプリの機能をテストする準備ができました。
- プロジェクト フォルダーのルート内から次のコマンドを実行して、Node.js コンソール アプリを起動します。
npm start
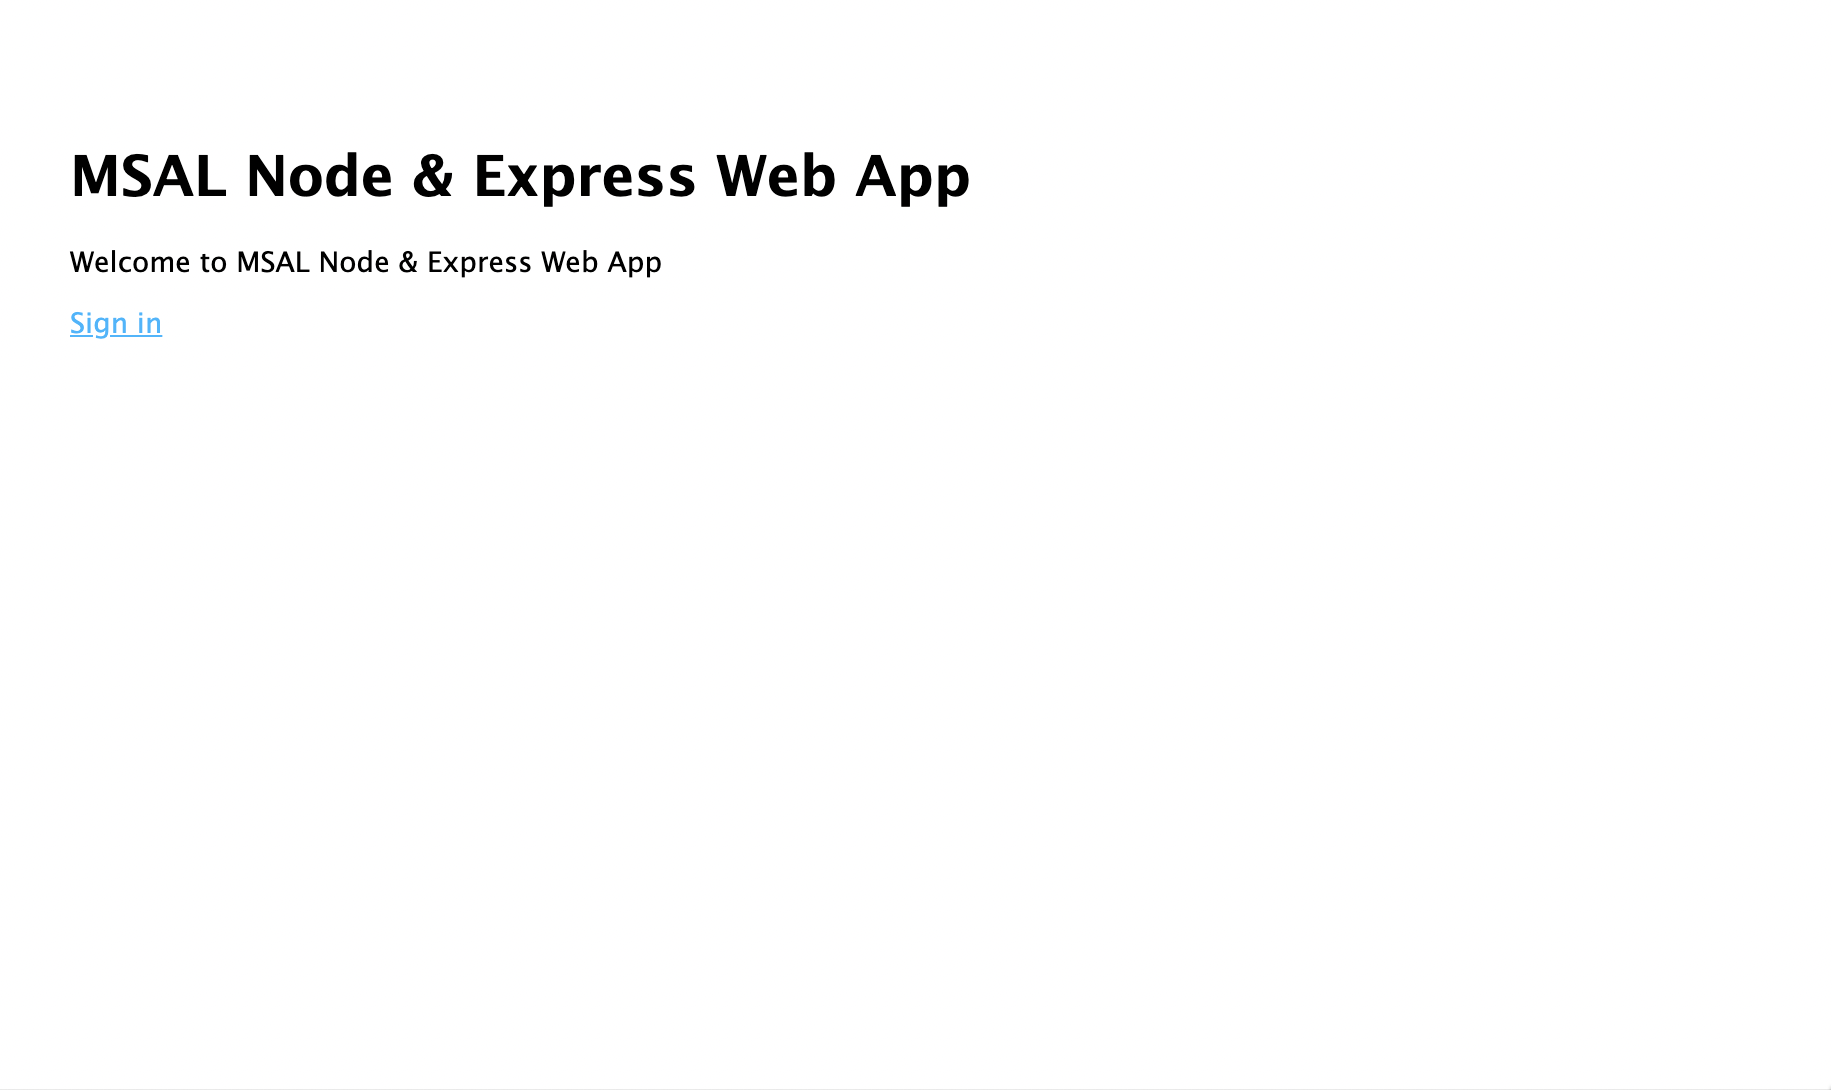
- ブラウザー ウィンドウを開き、
http://localhost:3000に移動します。 ウェルカム ページが表示されるはずです。
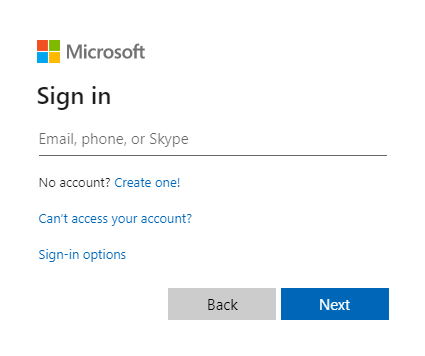
- [サインイン] リンクを選択します。 次のような Microsoft Entra サインイン画面が表示されるはずです。
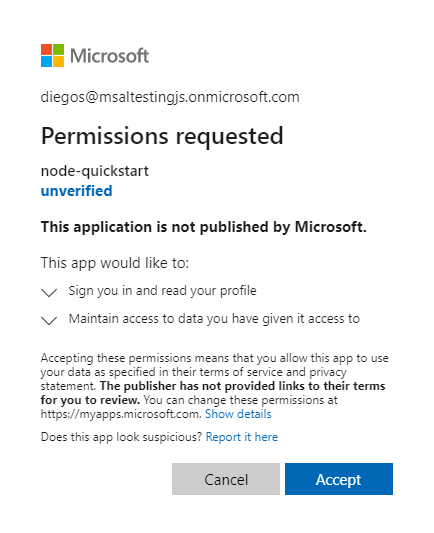
- 資格情報を入力すると、アプリのアクセス許可を承認するよう求める同意画面が表示されます。
- 同意すると、アプリケーションのホーム ページにリダイレクトされます。
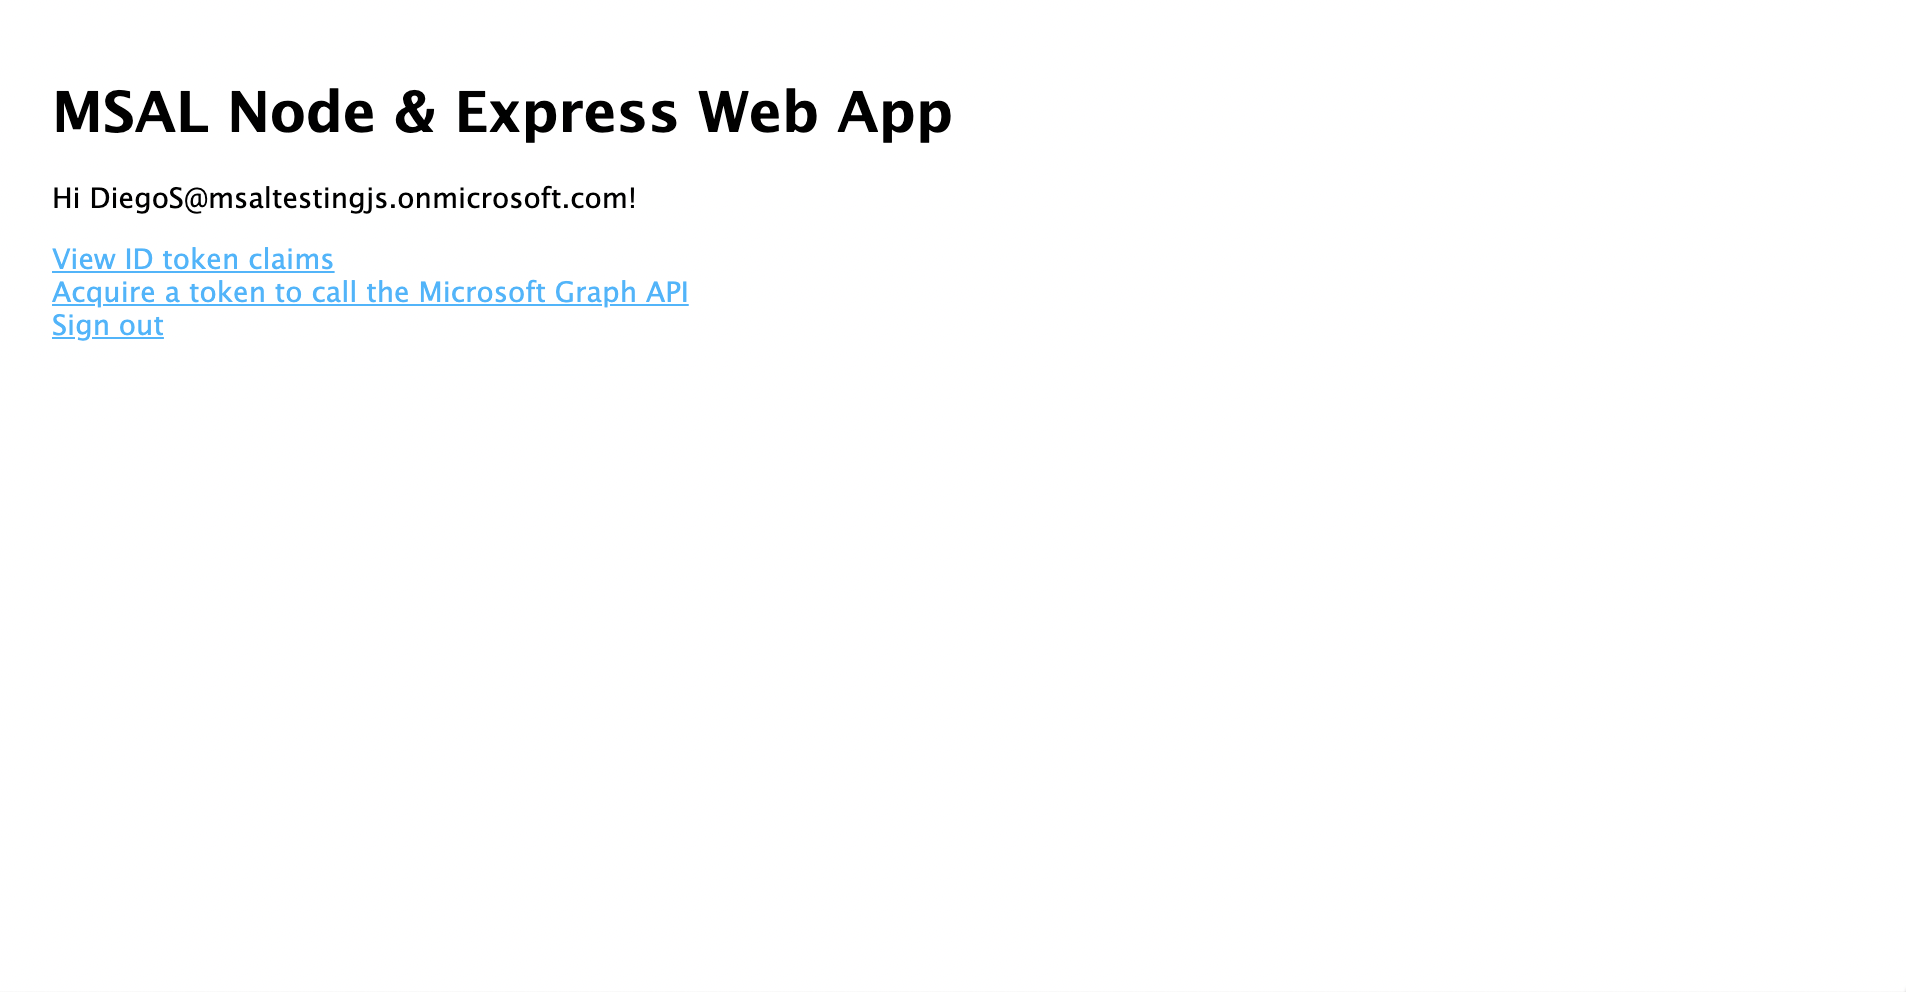
- サインインしているユーザーの ID トークンのコンテンツを表示するには、[View ID Token](ID トークンの表示) リンクを選択します。
- ホーム ページに戻り、[Acquire an access token and call the Microsoft Graph API](アクセス トークンを取得して Microsoft Graph API を呼び出す) リンクを選択します。 サインインしたユーザーの Microsoft Graph /me エンドポイントからの応答が表示されます。
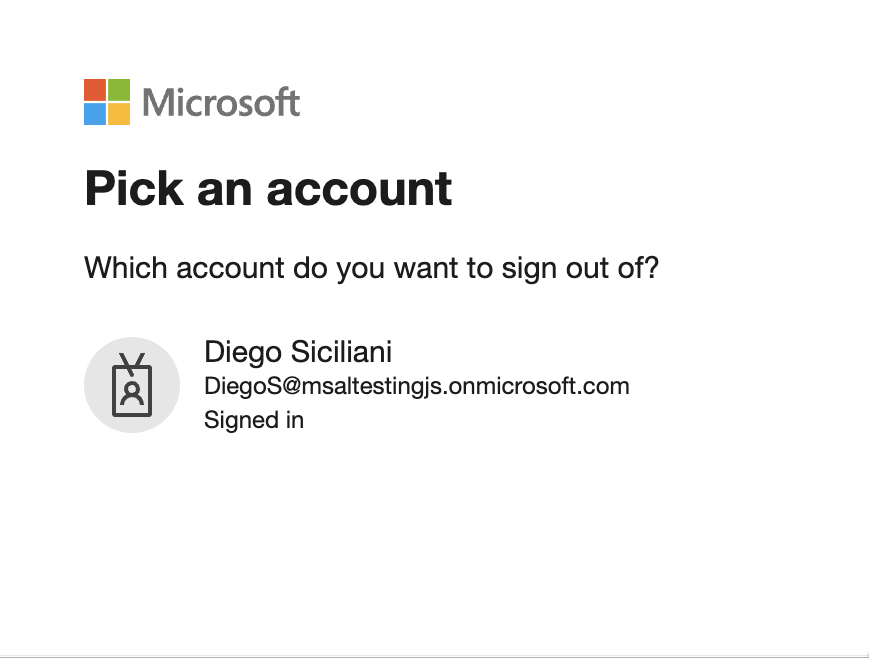
- ホーム ページに戻り、[サインアウト] リンクを選択します。 次のような Microsoft Entra サインアウト画面が表示されるはずです。
アプリケーションの動作
このチュートリアルでは、Azure portal で Microsoft Entra アプリの登録から取得したパラメーターを含む構成オブジェクト (msalConfig) を渡すことによって、MSAL Node ConfidentialClientApplication オブジェクトをインスタンス化しました。 作成した Web アプリでは、OpenID Connect プロトコルを使用してユーザーをサインインさせ、OAuth 2.0 承認コード フローを使用してアクセス トークンが取得されます。
次のステップ
Microsoft ID プラットフォームでの Node.js + Express Web アプリケーションの開発についてさらに詳しく知りたい場合は、複数のパートで構成される次のシナリオ シリーズを参照してください。