Azure Data Manager for Energy 上に OSDU 管理 UI をデプロイする
このガイドでは、Azure Data Manager for Energy (ADME) インスタンス上に OSDU 管理 UI をデプロイする方法について説明します。
OSDU 管理 UI を使用すると、プラットフォーム管理者は、接続先の Azure Data Manager for Energy データ パーティションを管理できます。 管理タスクには、エンタイトルメント (ユーザーとグループの管理)、法的タグ、スキーマ、参照データ、オブジェクトの表示、マップ上のオブジェクトの視覚化が含まれます。
前提条件
Visual Studio Code と Dev Containers をインストールします。 Linux または Linux 用 Windows サブシステム (WSL) を使用してローカル コンピューターから OSDU 管理 UI をデプロイできますが、ツールのバージョンや環境などの潜在的な競合を排除するために、開発コンテナーを使用することをお勧めします。
Microsoft Entra アプリ登録。
このアプリの登録は、Azure Data Manager for Energy インスタンスで使用されるアプリの登録と同じにすることができます。重要
管理者 UI が正常に機能するためには、アプリ登録に次の API アクセス許可が必要です。
管理者 UI に最初にログインすると、必要なアクセス許可が要求されます。 必要なアクセス許可を事前に付与することもできます。アプリ登録 API のアクセス許可に関するドキュメントを参照してください。
環境のセットアップ
ローカル コンピューターから競合を排除するために、Visual Studio Code で開発コンテナーを使用して OSDU 管理 UI をデプロイします。
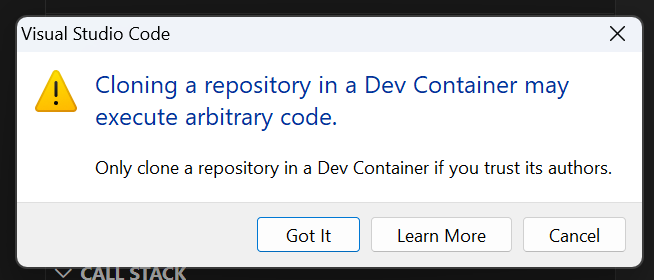
Remote - Containers | Openを選んで開発コンテナーを開き、OSDU Admin UI リポジトリをクローンします。クローン作成プロンプトを受け入れます。
コンテナー構成テンプレートの入力を求められたら、次のようにします。
- [Ubuntu] を選択します。
- 既定のバージョンを受け入れます。
- 追加の機能は追加しないでください。
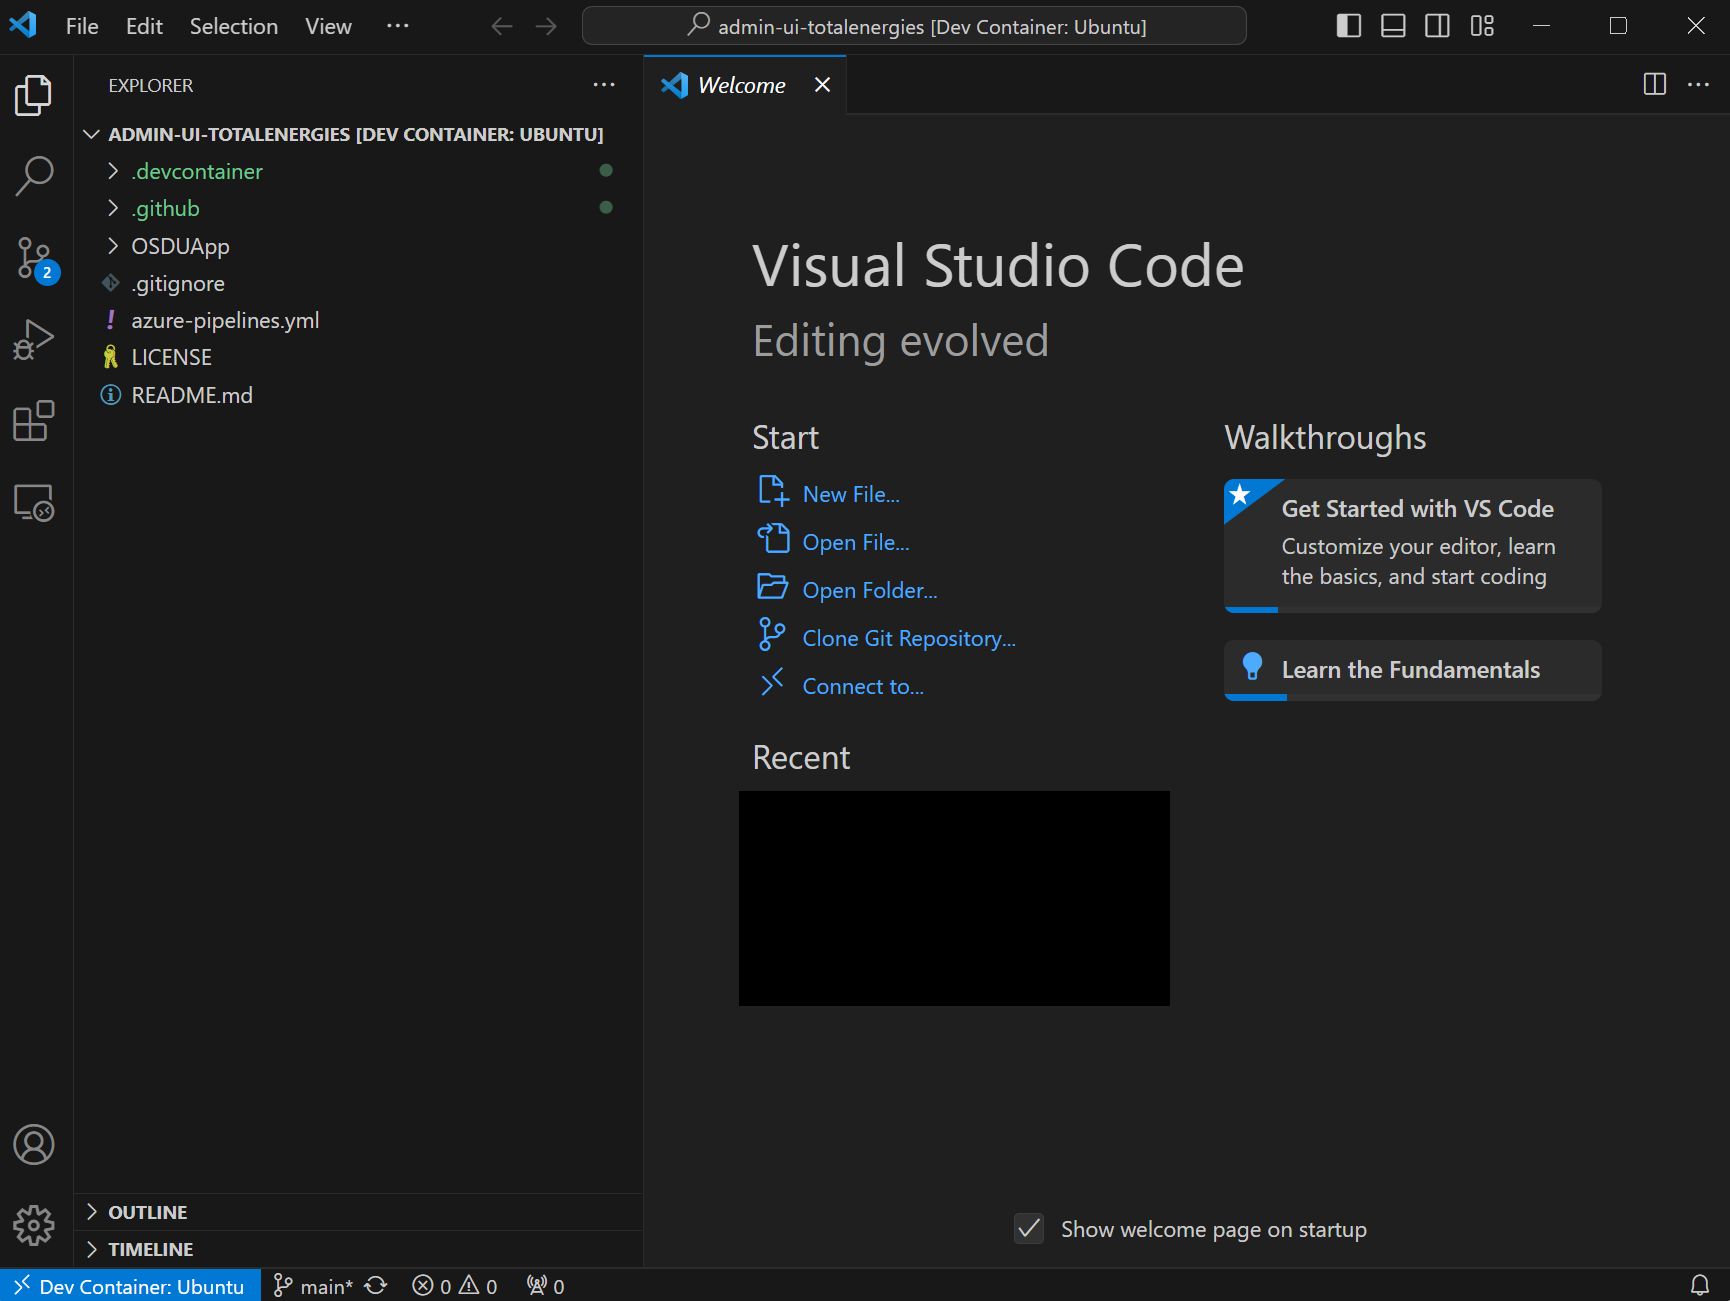
数分後に、devcontainer が実行されます。
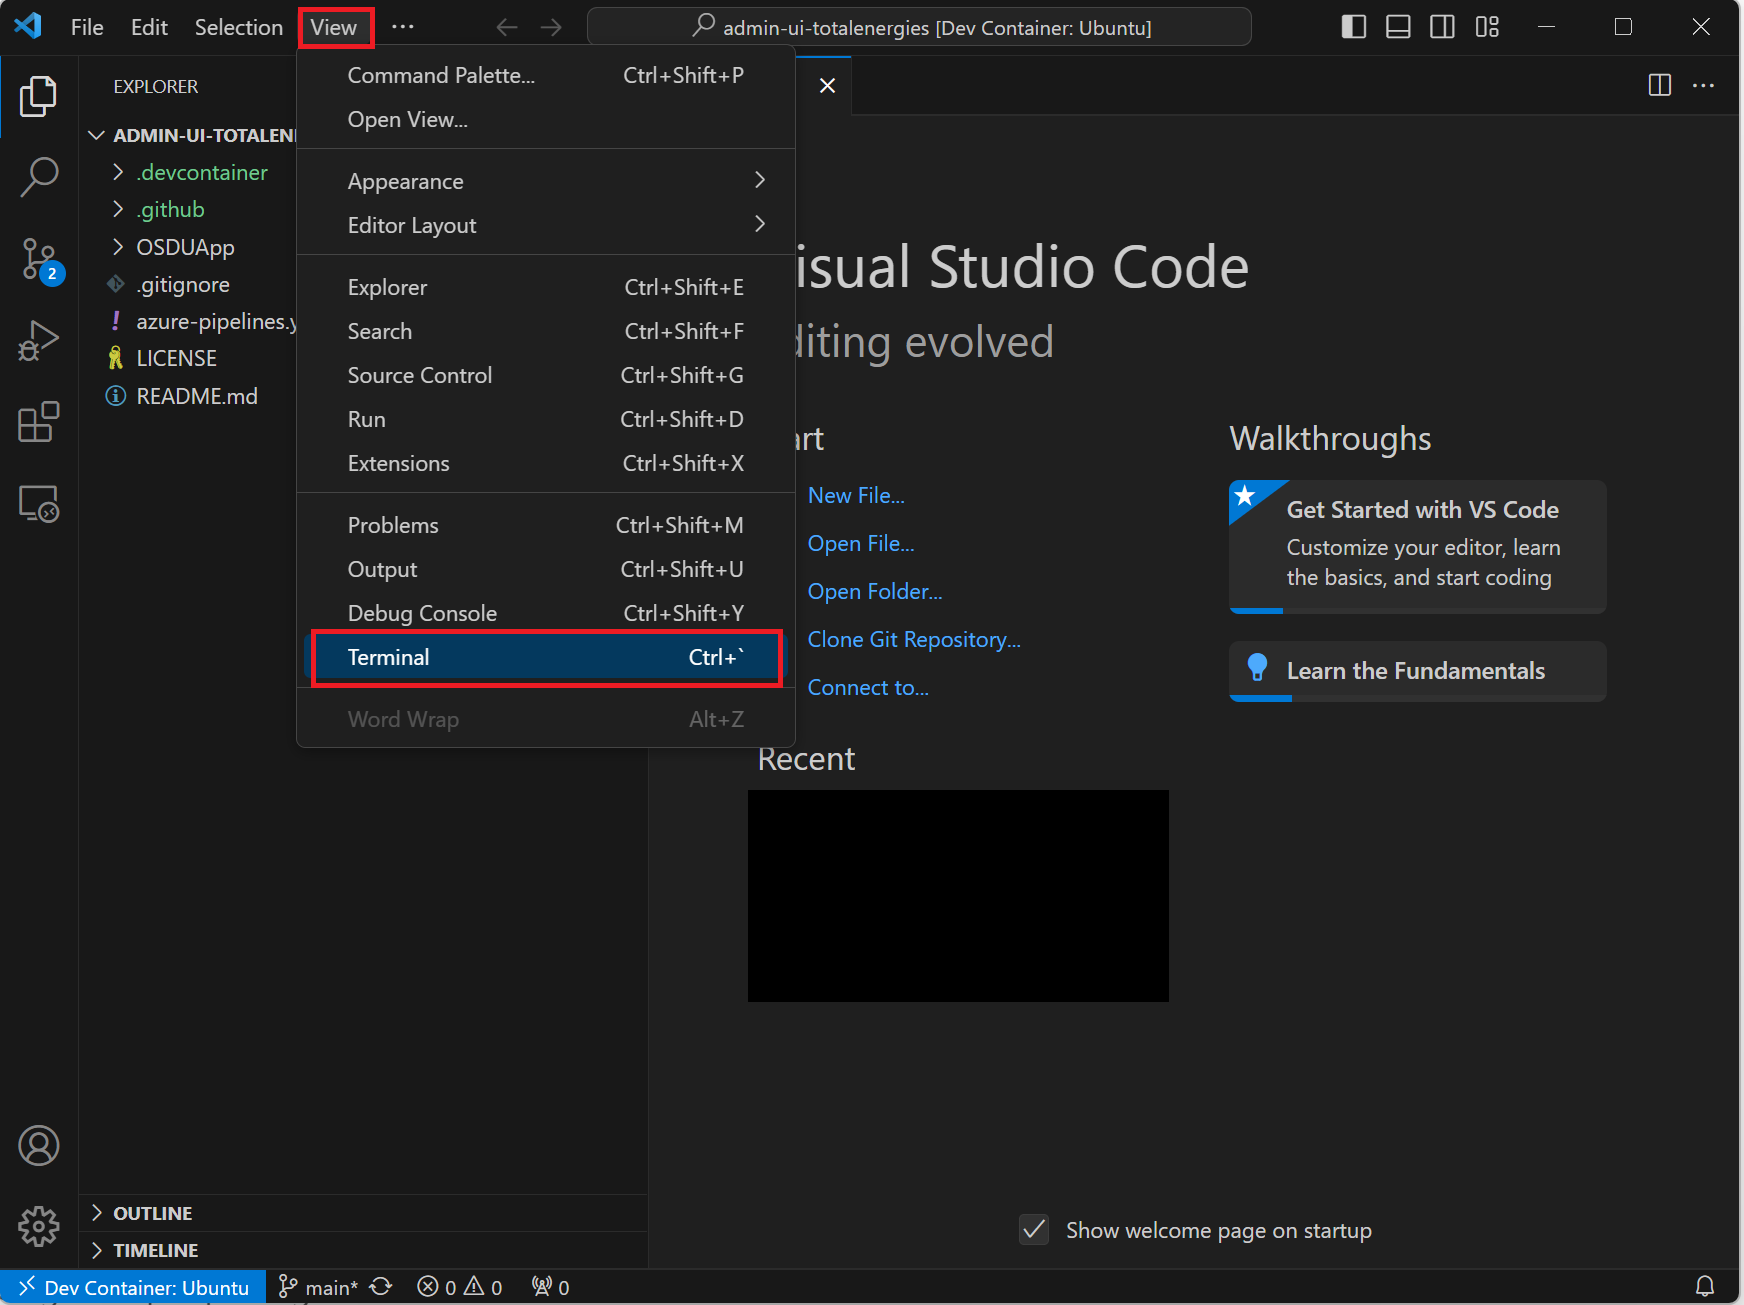
ターミナルを開きます。
Angular CLI、Azure CLI、npm、およびNode Version Manager (NVM) をインストールします。
curl -o- https://raw.githubusercontent.com/nvm-sh/nvm/v0.39.7/install.sh | bash && \
export NVM_DIR="$([ -z "${XDG_CONFIG_HOME-}" ] && printf %s "${HOME}/.nvm" || printf %s "${XDG_CONFIG_HOME}/nvm")"
[ -s "$NVM_DIR/nvm.sh" ] && \. "$NVM_DIR/nvm.sh" && \
nvm install 14.17.3 && \
export NG_CLI_ANALYTICS=false && \
npm install -g @angular/cli@13.3.9 && \
curl -sL https://aka.ms/InstallAzureCLIDeb | sudo bash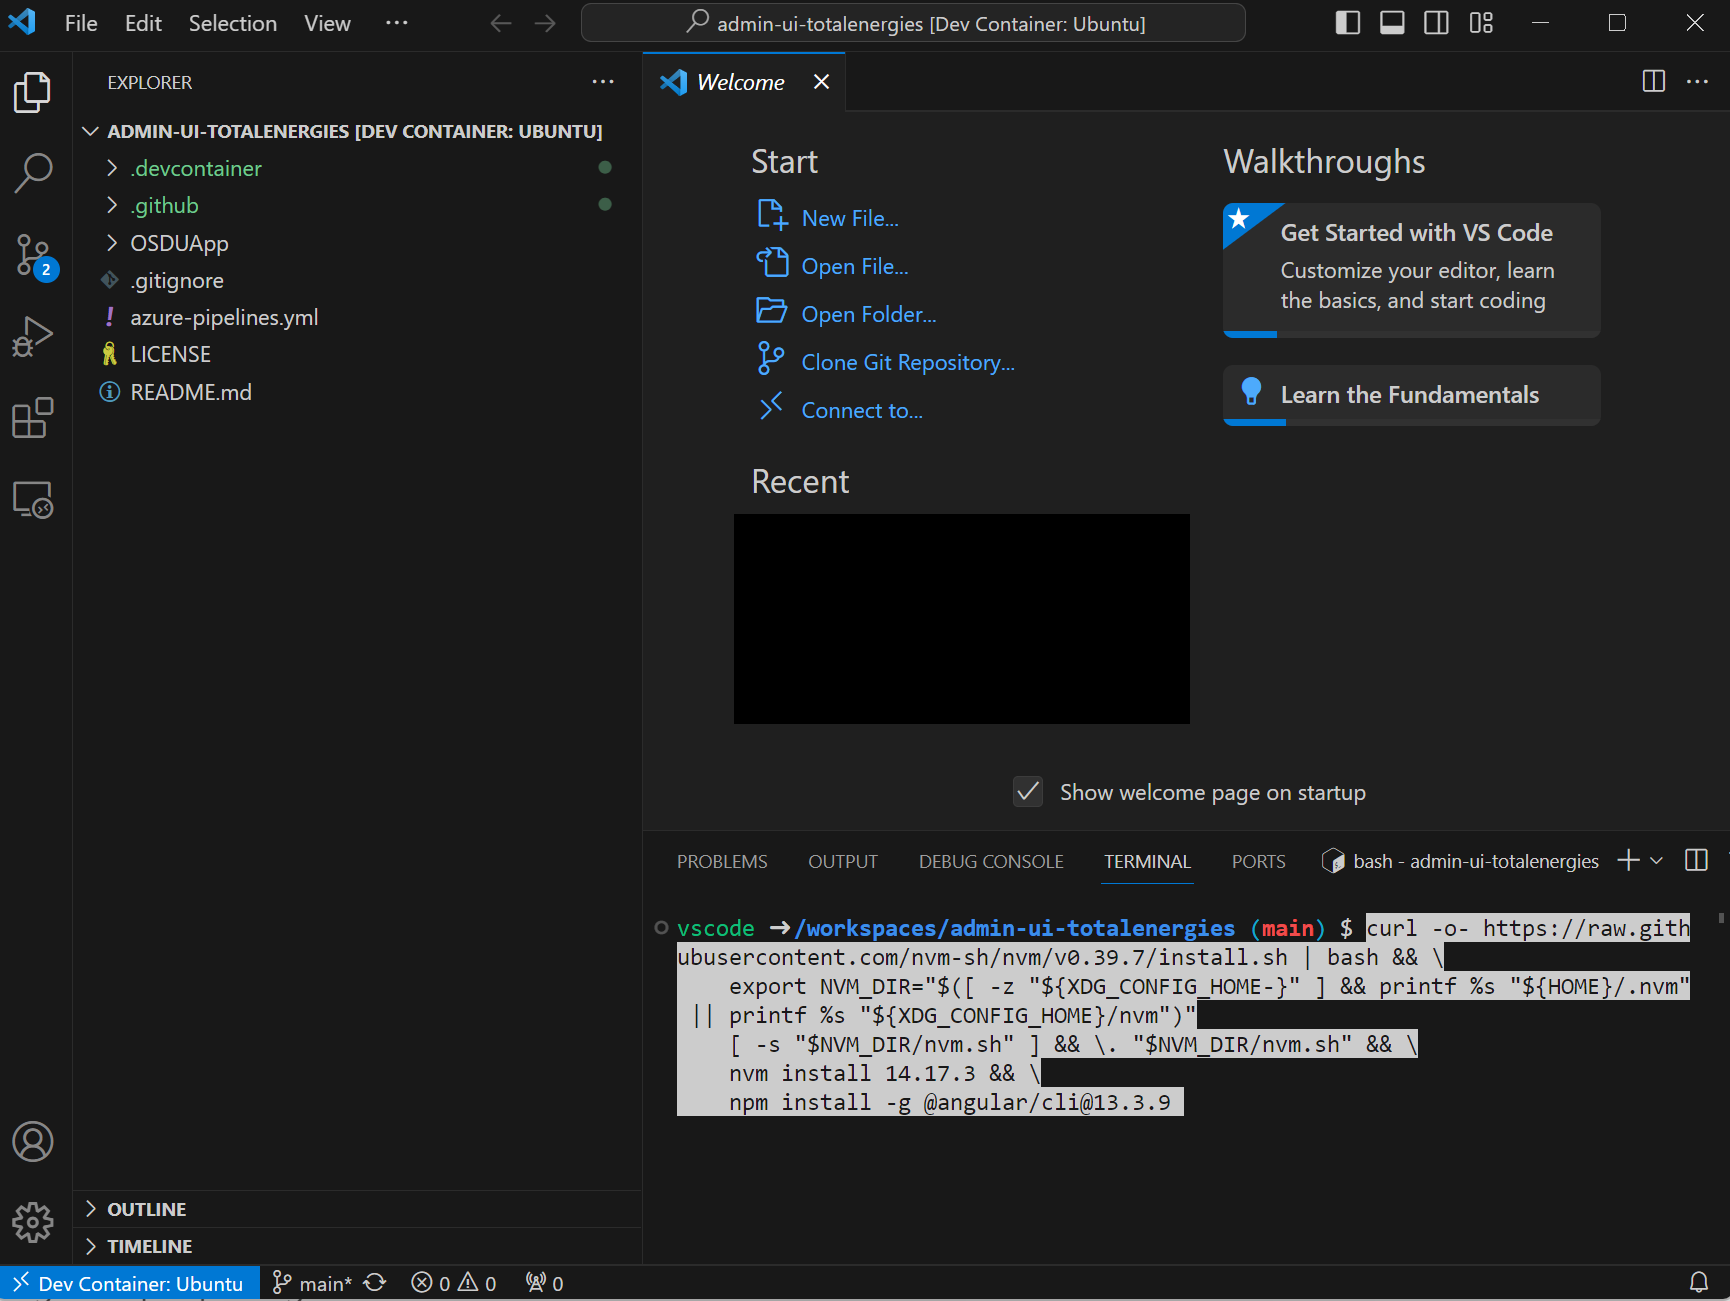
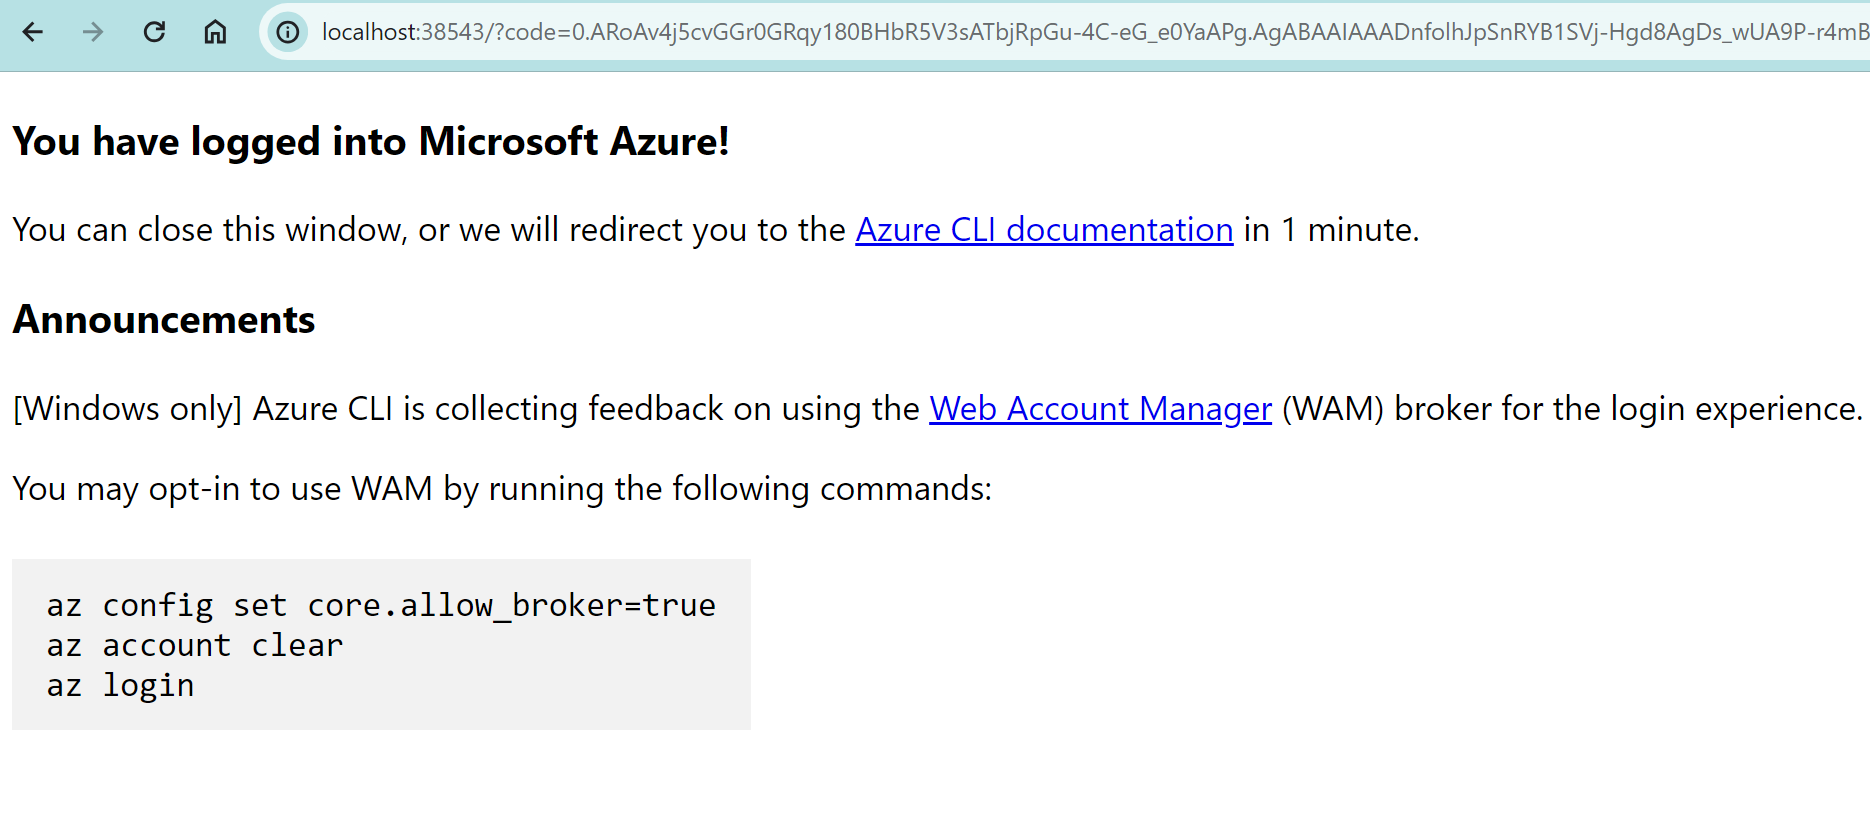
ターミナルでコマンドを実行して、Azure CLI にログインします。 サインイン画面が表示されます。
az loginサインイン画面が表示されます。 資格情報を入力し、成功したら、成功メッセージが表示されます。
正しいサブスクリプションを使っていることを検証します。
az account show必要に応じて、このコードを使用してサブスクリプションを変更します。
az account set --subscription <subscription-id>


環境変数を構成する
- ターミナルで必要な環境変数を入力します。
 export ADMINUI_CLIENT_ID="" ## App Registration to be used by OSDU Admin UI, usually the client ID used to provision ADME
 export WEBSITE_NAME="" ## Unique name of the static web app or storage account that will be generated. Storage account name must be between 3 and 24 characters in length and use numbers and lower-case letters only.
 export RESOURCE_GROUP="" ## Name of resource group
 export LOCATION="" ## Azure region to deploy to, i.e. "westeurope"
ストレージ アカウントをデプロイする
リソース グループを作成します。 リソース グループが既に存在する場合は、この手順をスキップします。
az group create \
    --name $RESOURCE_GROUP \
    --location $LOCATION
ストレージ アカウントを作成する。
az storage account create \
    --resource-group $RESOURCE_GROUP \
    --location $LOCATION \
    --name $WEBSITE_NAME \
    --sku Standard_LRS \
    --public-network-access Enabled \
    --allow-blob-public-access true
静的な Web サイトを構成します。
az storage blob service-properties update \
    --account-name $WEBSITE_NAME \
    --static-website \
    --404-document index.html \
    --index-document index.html
匿名アクセスを許可するように $web コンテナーのアクセス許可を設定します。
az storage container set-permission \
    --name '$web' \
    --account-name $WEBSITE_NAME \
    --public-access blob
アプリの登録にリダイレクト URI を追加します。
export REDIRECT_URI=$(az storage account show --resource-group $RESOURCE_GROUP --name $WEBSITE_NAME --query "primaryEndpoints.web") && \
echo "Redirect URL: $REDIRECT_URI" && \
echo "Add the redirect URI above to the following App Registration's Single-page Application (SPA) section: https://ms.portal.azure.com/#view/Microsoft_AAD_RegisteredApps/ApplicationMenuBlade/~/Authentication/appId/$ADMINUI_CLIENT_ID/isMSAApp~/false"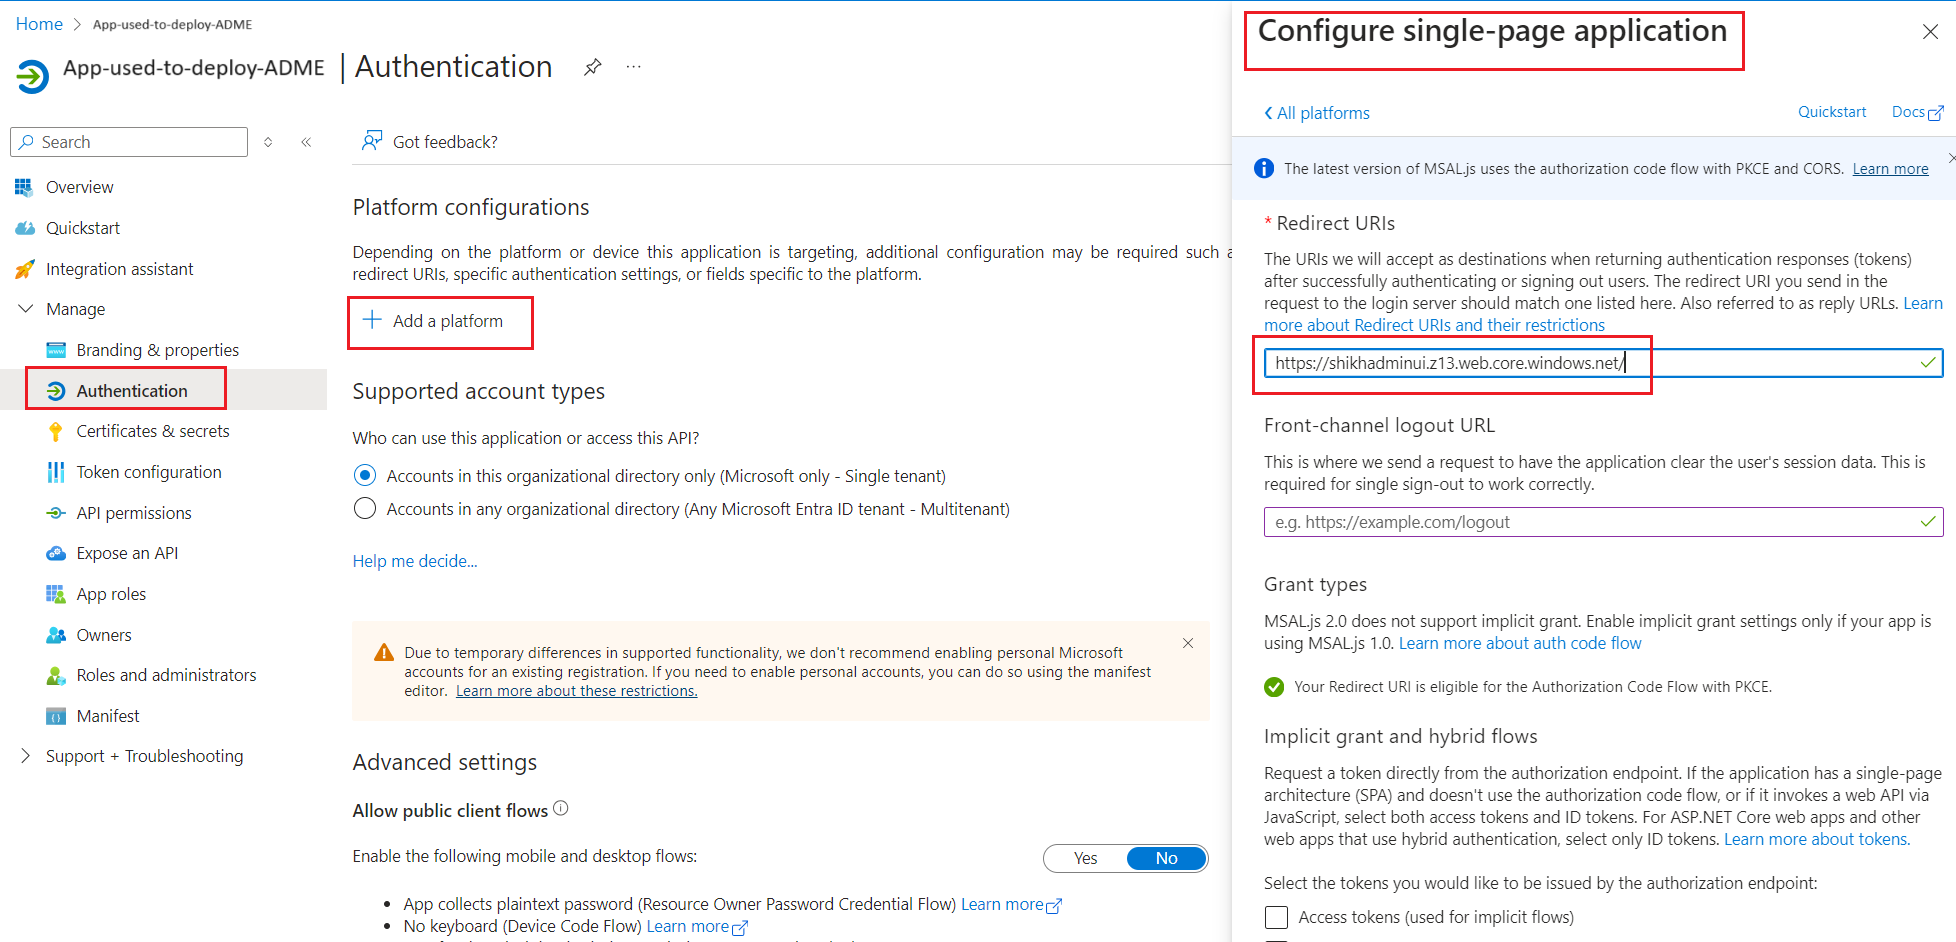

Web アプリをビルドしてデプロイする
OSDUAppフォルダーに移動します。cd OSDUApp/依存関係をインストールします。
npm install/src/config/config.jsonにある構成ファイル内のパラメーターを変更します。{ "mapboxKey": "key", // This is optional for the access token from Mapbox.com and used to visualize data on the map feature. ... "data_partition": "<adme_data_partition>", // ADME Data Partition ID (i.e. opendes) "idp": { ... "tenant_id": "<tenant_id>", // Entra ID tenant ID "client_id": "<client_id>", // App Registration ID to use for the admin UI, usually the same as the ADME App Registration ID, i.e. "6ee7e0d6-0641-4b29-a283-541c5d00655a" "redirect_uri": "<redirect_uri>", // This is the website URL ($REDIRECT_URI), i.e. "https://contoso.z1.web.core.windows.net" "scope": "<client_id>/.default" // Scope of the ADME instance, i.e. "6ee7e0d6-0641-4b29-a283-541c5d00655a/.default" }, "api_endpoints": { // Just replace contoso.energy.azure.com with your ADME_URL after removing https or wwww in all the API endpoints below. "entitlement_endpoint": "https://contoso.energy.azure.com/api/", "storage_endpoint": "https://contoso.energy.azure.com/api/", "search_endpoint": "https://contoso.energy.azure.com/api/", "legal_endpoint": "https://contoso.energy.azure.com/api/", "schema_endpoint": "https://contoso.energy.azure.com/api/", "osdu_connector_api_endpoint":"osdu_connector", // Optional. API endpoint of the OSDU Connector API* "file_endpoint": "https://contoso.energy.azure.com/api/", "graphAPI_endpoint": "https://graph.microsoft.com/v1.0/", "workflow_endpoint": "https://contoso.energy.azure.com/api/" } ... }Note
OSDU Connector API は、一部の API チェーン呼び出しとオブジェクトをラップする、コンシューマーと OSDU API の間のインターフェイスとして構築されています。 現在、それによってプロジェクトおよびシナリオ オブジェクトに対するすべての操作とアクションが管理されています。
Web UI をビルドします。
ng buildストレージ アカウントにビルドをアップロードします。
az storage blob upload-batch \
    --account-name $WEBSITE_NAME \
    --source ./dist/OSDUApp \
    --destination '$web' \
    --overwrite
Web サイトの URL をフェチします。
echo $REDIRECT_URIブラウザーで Web サイトの URL を開き、それが正しく動作しており、正しい Azure Data Manager for Energy インスタンスに接続されていることを確認します。
次のステップ
管理者 UI が正常に動作したら、次のことができます。
Azure Data Manager for Energy インスタンスにデータを取り込むこともできます。
関連情報
OSDU 管理 UI の詳細については、OSDU GitLab を参照してください。
その他のデプロイ方法 (Terraform または Azure DevOps CI/CD パイプライン) については、OSDU Admin UI DevOps に関するページを参照してください。