Azure DevOps supports both annotated and lightweight tags. Lightweight tags are a pointer to specific commit, while annotated tags contain more information such as the tagger, message, and date. You can create annotated tags using the web portal. You can create both lightweight and annotated tags from within Visual Studio. For more information on Git tags, see 2.6 Git Basics - Tagging from the Pro Git book.
This article provides an overview of working with Git tags in Azure DevOps and Visual Studio.
Important
The Tags view in Visual Studio was introduced in Visual Studio 2017 Update 6. If you are on versions earlier than this, you can view and create tags from the history and commit details views starting with Visual Studio 2015, but you won't be able to perform the operations in the Tags view as described in this article.
You can view tags in the Tags view and in the Commits view in the web portal.
View tags in the Tags view
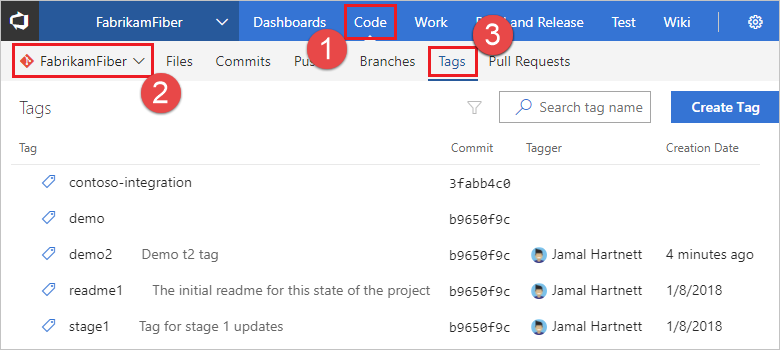
To view the tags in your repo, navigate to your project in the web portal, choose Code, select the desired repo, and choose Tags.
Annotated tags are displayed with a tag name, message, commit, tagger, and creation date. Lightweight tags are displayed with a tag name and commit.
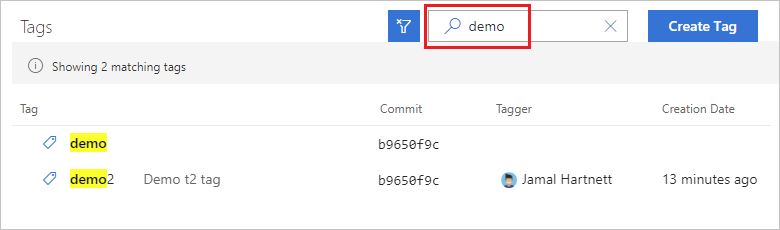
To filter the list of tags, type a search term into the Search tag name box and press Enter.
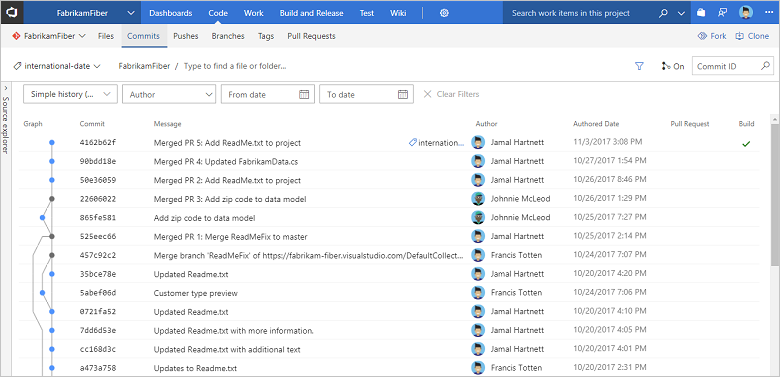
View tags in the Commits view
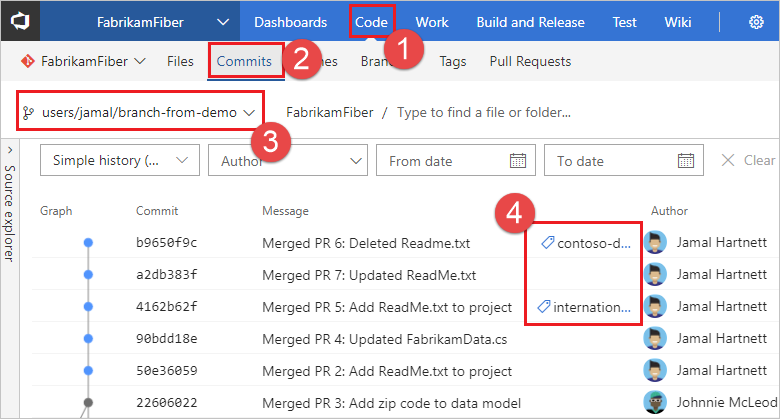
To view tags for a specific branch in the Commits view, navigate to your repo in the web portal, choose Code, Commits, and select your branch.
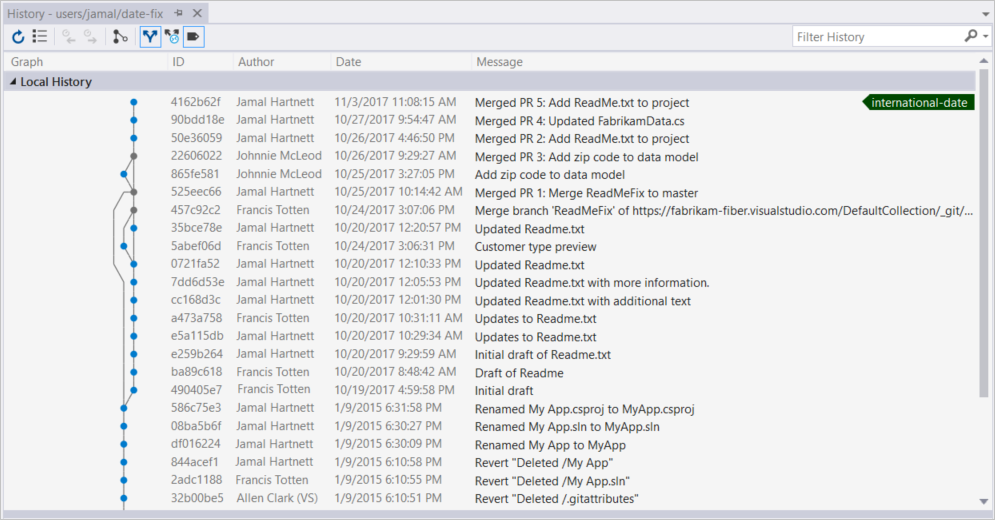
View tags in the History view
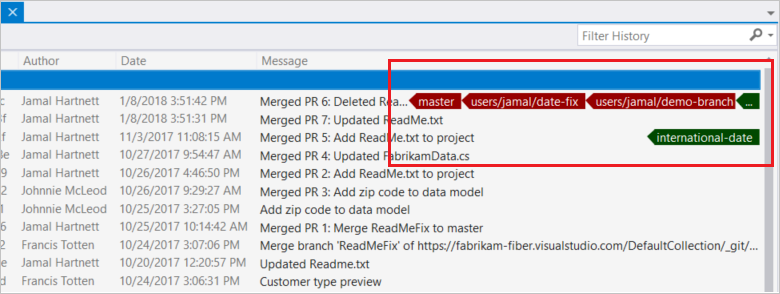
You can view tags in the History view.
From the Git menu in the menu bar, select Manage Branches.
Select a branch to view history.
The red shapes are branches, and the green shapes are tags.
View tags in the Tags view
Note
Visual Studio 2019 version 16.8 and later versions provide a new Git menu for managing the Git workflow with less context switching than Team Explorer. Procedures provided in this article under the Visual Studio tab provide information for using the Git experience as well as Team Explorer. To learn more, see Side-by-side comparison of Git and Team Explorer.
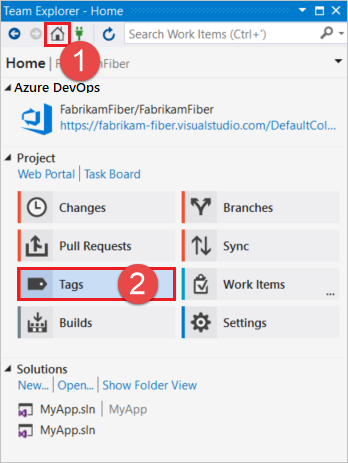
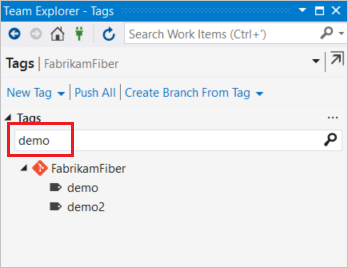
To view all tags in a repo, select Tags from the Home view.
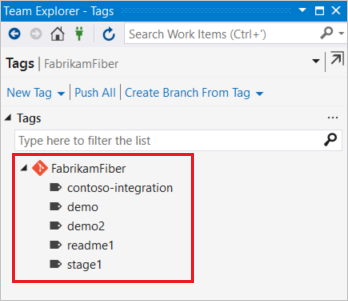
Tags are displayed under the currently connected repo name.
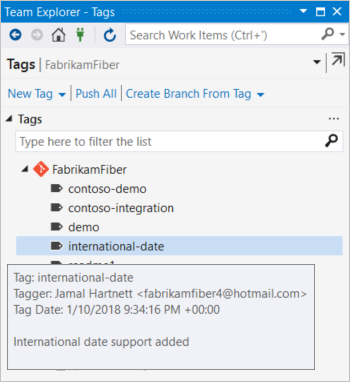
Annotated tags display a tooltip that contains the tag name, tagger, tag date, and message. Lightweight tags have only the tag name in the tooltip.
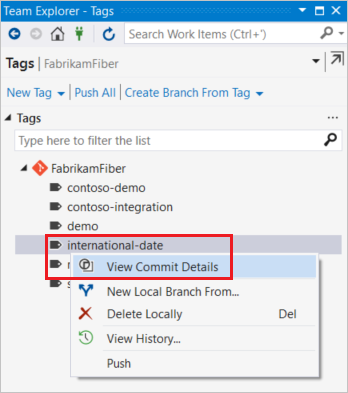
For more information about the tagged commit, right-click the tag and select View Commit Details.
To filter the list of tags, type a search term into the Type here to filter the list box.
To retrieve the current list of tags from the source repo, perform a fetch operation.
Tag names can't contain ASCII control characters, such as spaces, tildes, and colons. It's common practice to use lowercase characters and to separate words with a hyphen. Tag name length shouldn't exceed 250 ASCII characters. To avoid ambiguity between tag names and commit hashes, don't use tag names that consist of 40 hexadecimal characters. For more information on tag naming, see git-check-ref-format.
You can create annotated tags using the web portal from both the Tags view and the Commits view.
Important
You can only create annotated tags in the web portal or Visual Studio. To create a lightweight tag, you can use Git command line.
Create tags from the Tags view
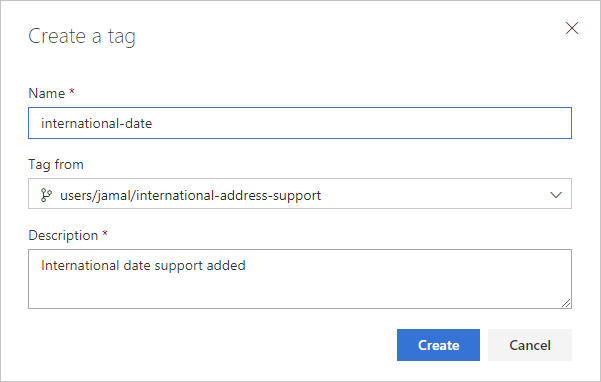
Select Create Tag from the Tags view in the web portal to create a new annotated tag.
Specify a Name, select the branch to Tag from, enter a Description (required since you are creating an annotated tag), and select Create.
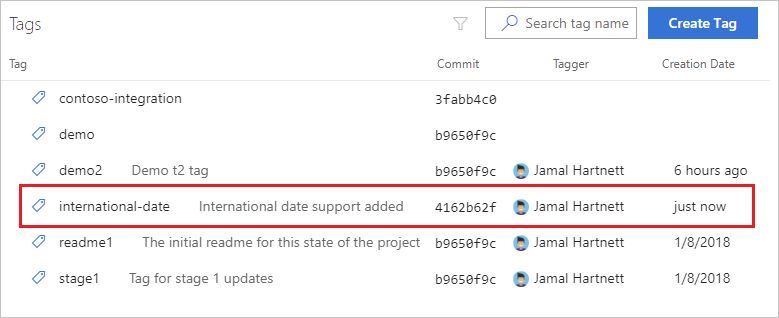
The new tag is displayed in the tag list.
Create tags from the Commits view
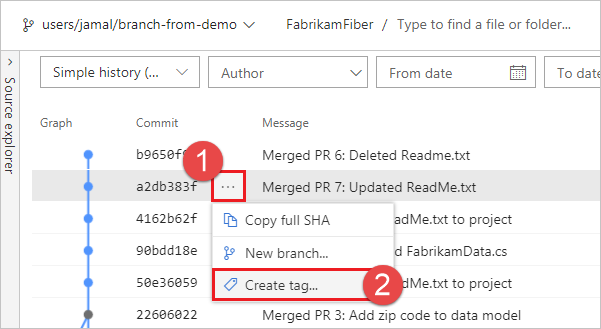
To create a tag directly from the commits view, right-click the desired tag and choose Create tag.
You can create both annotated and lightweight tags in Visual Studio from both the History view and the Tags view. To create an annotated tag, provide both a name and a message when creating the tag. To create a lightweight tag, omit the message and supply only a name.
Create tags from the History view
You can view tags in the History view.
From the Git menu in the menu bar, select Manage Branches.
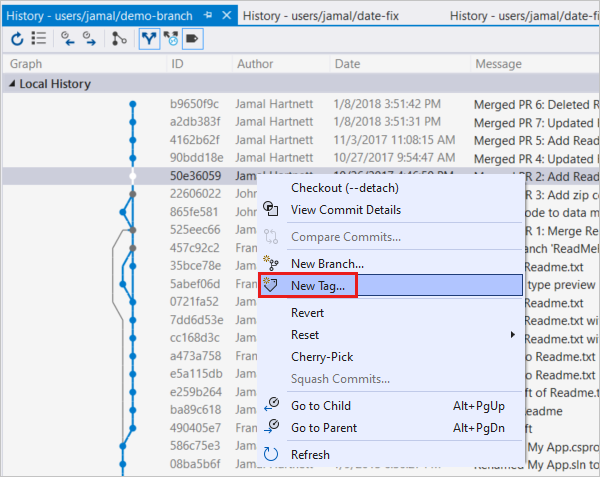
Select a branch to view history, right-click a commit, and select New Tag.
In the Create a new tag dialog, enter a Tag name only for a lightweight tag or a Tag name and Tag message for an annotated tag. Select Create.
Create tags from the Tags view
Note
Visual Studio 2019 version 16.8 and later versions provide a new Git menu for managing the Git workflow with less context switching than Team Explorer. Procedures provided in this article under the Visual Studio tab provide information for using the Git experience as well as Team Explorer. To learn more, see Side-by-side comparison of Git and Team Explorer.
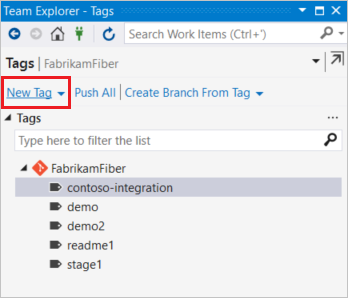
Select New Tag in the Tags view to create a new tag.
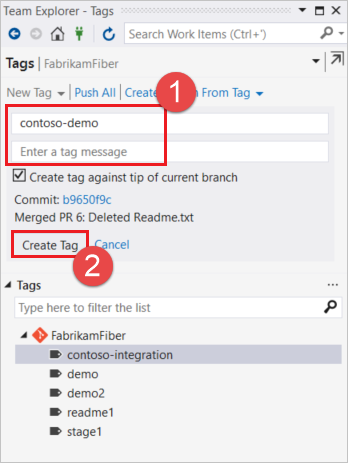
To create a tag against the tip of the current branch, specify a name in the Enter a tag name box, optionally provide a tag message, and select Create Tag.
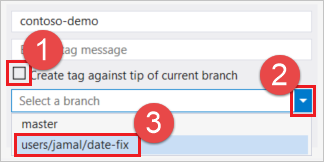
To select the branch to create the tag from, clear the Create tag against tip of current branch check box, and select a branch from the Select a branch drop-down.
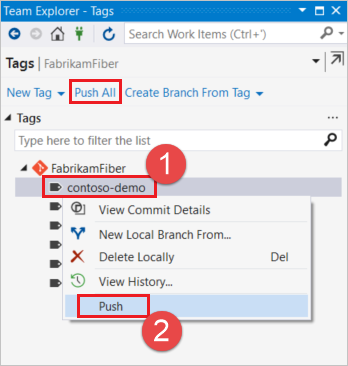
The new tag is created locally. Right-click the new tag and choose Push to push it to the remote repo. Select Push All to push all new local tags to the remote repo.
Delete tag
Important
Use caution when deleting tags from your repo. If the repo has been pulled, forked, or cloned by another user, the tag will still exist in their copy of the repo. You should only delete local tags, or if you are sure that the repo hasn't been pulled, cloned, or forked since you created your tag.
To delete a tag, you must have the Force Push permission at the Repository level or the All tags level (which inherits its permissions from the repository level if not explicitly set). Force push permissions for a tag are also automatically inherited by the tag creator.
The steps in this procedure show you how to delete a tag in the remote repo using the Azure DevOps Services web portal.
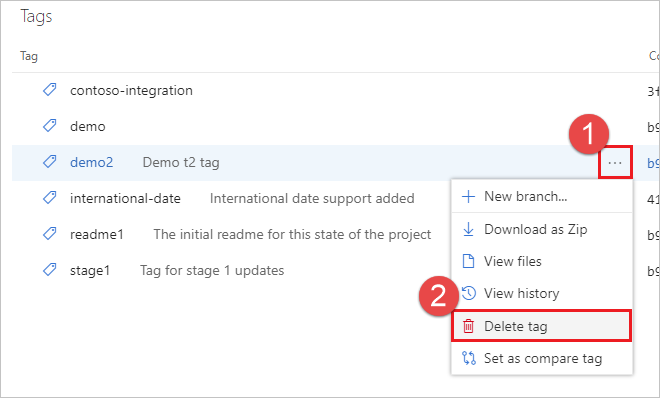
To delete a tag, select the ellipsis to the right of the tag name and choose Delete tag.
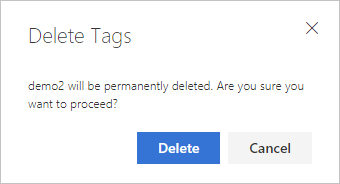
Select Delete to confirm.
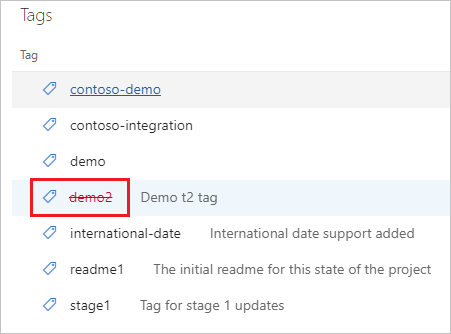
The tag is deleted, and won't be displayed the next time you navigate to the Tags view.
Note
Visual Studio 2019 version 16.8 and later versions provide a new Git menu for managing the Git workflow with less context switching than Team Explorer. Procedures provided in this article under the Visual Studio tab provide information for using the Git experience as well as Team Explorer. To learn more, see Side-by-side comparison of Git and Team Explorer.
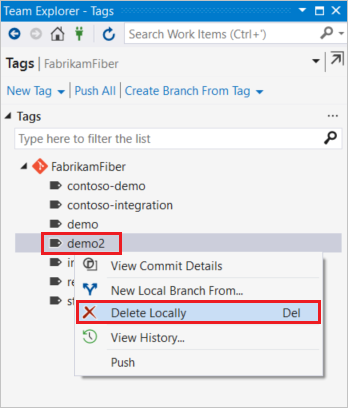
The steps in this procedure show you how to delete a tag in the local repo using Visual Studio 2019 Team Explorer.
Right-click the tag to delete and choose Delete Locally
Important
If your tag has already been pushed to the remote repo, you should not delete it. If the repo has been pulled, forked, or cloned by another user, the tag will still exist in their copy of the repo. You should only delete local tags.
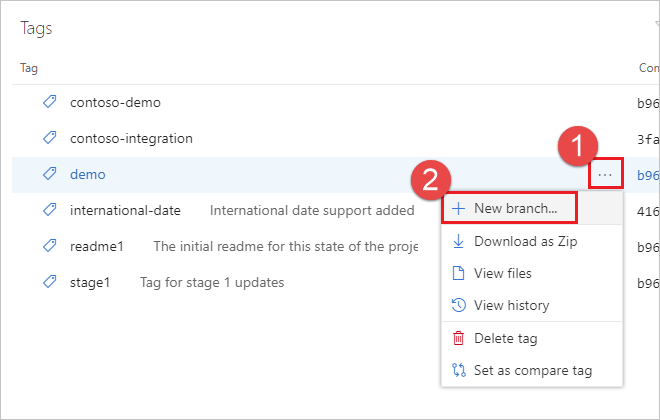
To create a branch from a tag, select the ellipsis to the right of the tag name and choose New branch.
Specify a Name, optionally select any Work items to link, and choose Create branch.
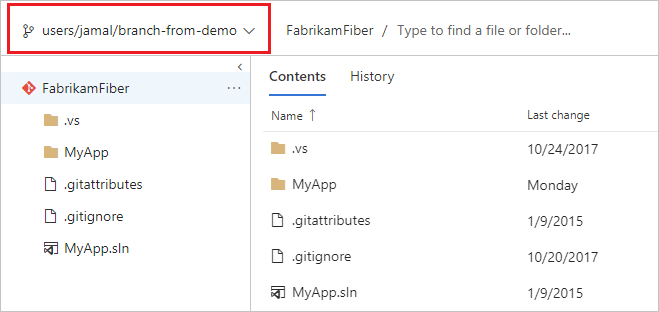
The branch is created and you are taken to the new branch in the web portal.
The steps in this procedure show you how to create a branch from a tag using Visual Studio 2019 Team Explorer. For Visual Studio 2019 using the Git menu or Visual Studio 2022, use the browser.
Note
Visual Studio 2019 version 16.8 and later versions provide a new Git menu for managing the Git workflow with less context switching than Team Explorer. Procedures provided in this article under the Visual Studio tab provide information for using the Git experience as well as Team Explorer. To learn more, see Side-by-side comparison of Git and Team Explorer.
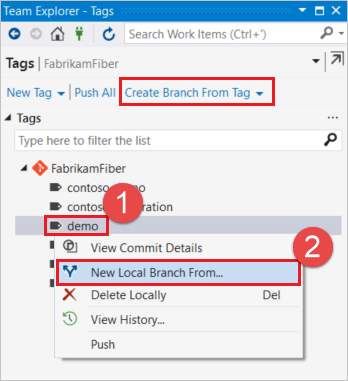
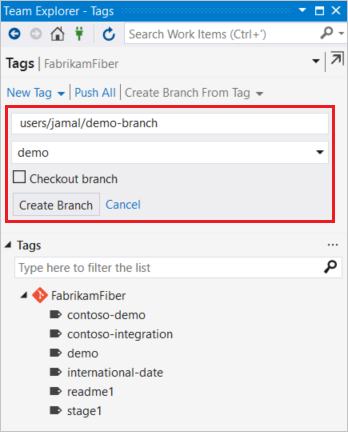
To create a branch from a tag, right-click the tag and choose New Local Branch From. You can also choose Create Branch From Tag.
Specify a branch name, verify the desired tag, and choose Create Branch. To check out the new branch after it is created, choose Checkout branch.
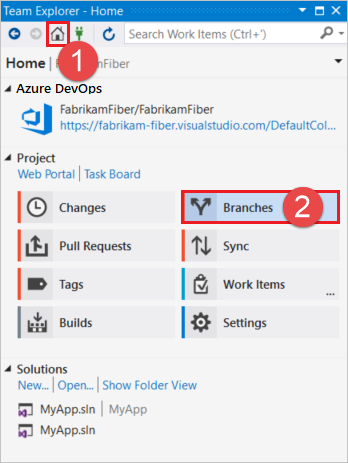
To view your newly created branch, select Branches from the Home view.
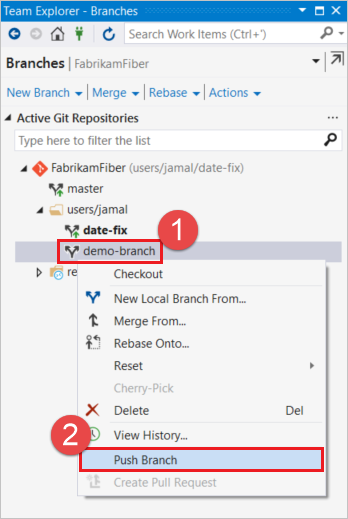
Note that your new branch is created locally. To push the branch, right-click it and choose Push Branch.
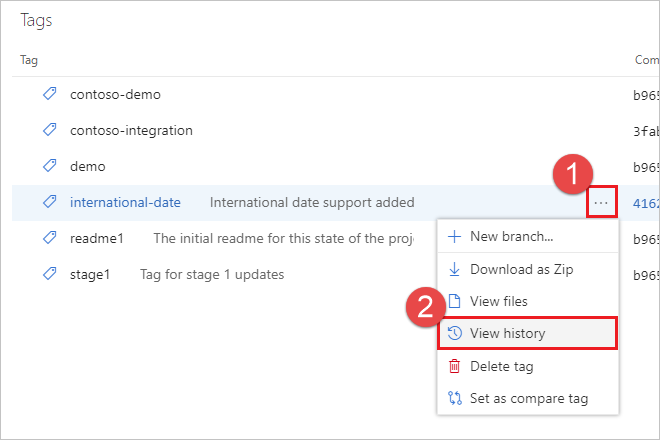
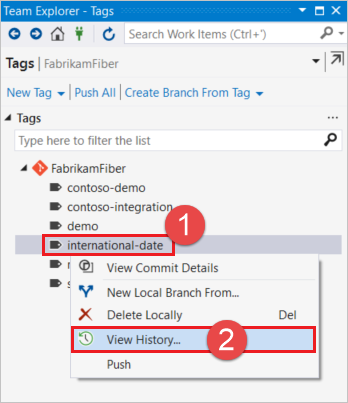
To view the history for a tag, select the ellipsis to the right of the tag name and choose View history.
You are taken to the commits view for the tag.
The steps in this procedure show you how to view tag history using Visual Studio 2019 Team Explorer. For Visual Studio 2019 using the Git menu or Visual Studio 2022, use the browser.
Note
Visual Studio 2019 version 16.8 and later versions provide a new Git menu for managing the Git workflow with less context switching than Team Explorer. Procedures provided in this article under the Visual Studio tab provide information for using the Git experience as well as Team Explorer. To learn more, see Side-by-side comparison of Git and Team Explorer.
To view the history for a tag, right-click the tag and choose View History.