Browse Git repositories and compare branches in Visual Studio
Applies to: ![]() Visual Studio
Visual Studio ![]() Visual Studio for Mac
Visual Studio for Mac
Note
This article applies to Visual Studio 2017. If you're looking for the latest Visual Studio documentation, see Visual Studio documentation. We recommend upgrading to the latest version of Visual Studio. Download it here
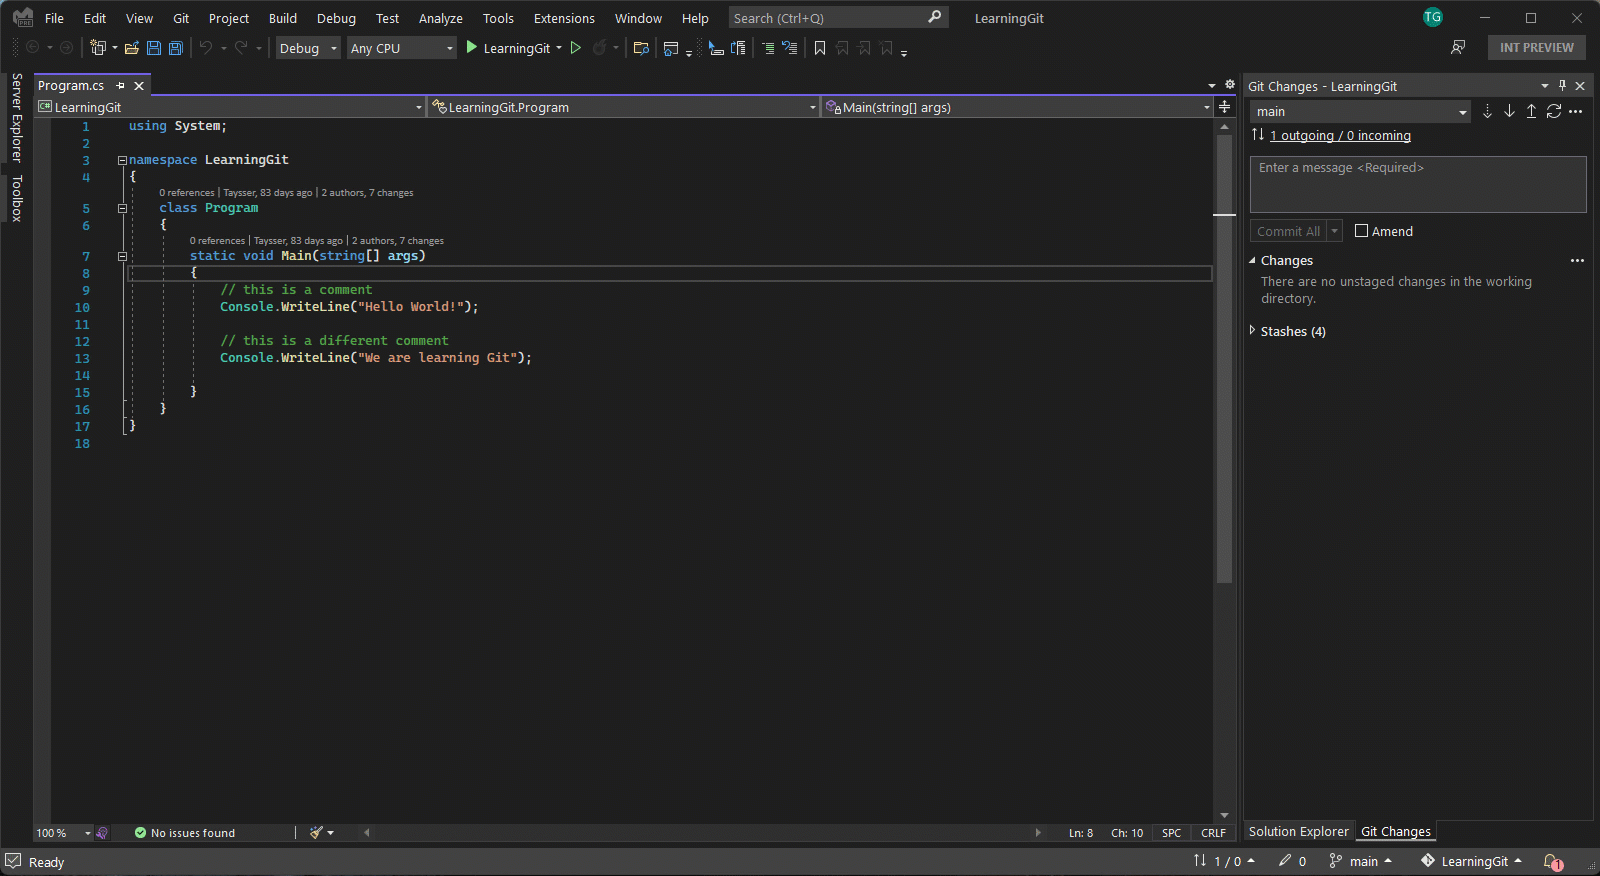
The Git Changes window provides a seamless way to interact with Git while coding without having to switch away from your code. But there are times when it makes more sense to focus on your Git repository. For example, you might need to get a good picture of what your team has been working on or maybe compare two commits to investigate a bug.
You can work remotely with the Git provider of your choice, such as GitHub or Azure DevOps.
Browse through local and remote branches
To get started, open the Git Repository window by selecting Git Repository on the View menu. You can also access the Git Repository window by selecting the outgoing/incoming links in the Git Changes window and on the status bar.

The Git Repository window contains three main sections, as numbered in the preceding screenshot:
Branches: Git empowers users to multitask and experiment with their code through branches. If you're working on multiple features at the same time or if you want to explore ideas without affecting your working code, branching can be helpful.
Graph: This section visualizes the state of your branch. It has three subsections:
- Incoming shows incoming commits that your team has been contributing.
- Outgoing shows your local commits that you still haven't pushed.
- Local History shows the rest of commits tracked by your local repository.
Commit: Selecting any commit in the Graph section opens its details. You can check the changes that a commit has introduced by selecting them, which shows a difference. For example, the previous screenshot shows the changes that one commit introduced to the Files.csproj file.
You can browse though any local or remote branch without having to switch your branch. When you find a commit that you want to focus on, select the Open in New Tab button to open the commit on a different tab.


Tip
To display your commit in full screen, detach your Commit tab and maximize the Commit window by using the Maximize button. You can also select your favorite diff configuration by selecting Diff Configuration (the gear icon).

Compare commits
To compare any two commits in your branch, use the Ctrl key to select the two commits that you want to compare. Then right-click one of them and select Compare Commits.


Tip
Similar to Commit Details, you can use the Open in New Tab button to open the comparison on a different tab or maximize it on the screen.
Create a branch from a commit
In Visual Studio, you can use the Git Graph pane in the Git Repository window to create branches from previous commits. To do so, right-click the commit you would like to create a new branch from, and then select New Branch.

Note
The equivalent command for this action is git branch <branchname> [<commit-id>].
Compare branches
Comparing branches provides an overview of differences between two branches which can be very helpful before creating a pull request, merging, or even deleting a branch.

To compare your currently checked out branch with other branches using Visual Studio, you can utilize the branch picker hosted in the status bar and the Git changes tool window to choose any local or remote branch to compare with. Right click the branch you are targeting and select Compare with Current Branch. Alternatively, you can utilize the branch list on the Git Repository window to access the same command.

Selecting Compare with Current Branch opens the compare branches experience where you can navigate the Changes list and select the file that you would like to compare.

Tip
If you prefer an inline diff, you can use the diff configuration options gear and switch to an inline diff view.

Checkout commits
Checking out a commit can be beneficial in multiple ways. For example, it allows you to go back to a previous point in your repository’s history where you can run or test your code. It can also be helpful if you would like to review code from a remote branch (a colleague’s branch, for example). That way you don’t need to create a local branch if you are not planning on contributing to it. In this case, you can just checkout the tip of the remote branch that you would like to review.

To checkout a previous commit in Visual Studio, open the Git Repository window, right click on the commit you would like to go back to and select checkout (–detach). Visual Studio shows a confirmation dialog explaining that by checking out a commit you will be in a detached HEAD state. Meaning that the HEAD of your repository is going to point directly to a commit instead of a branch.
Now that you are in a detached head state, feel free to run and test your code or even explore and commit changes. When you are done exploring and want to go back to your branch, you can choose to discard your changes by checking out an existing branch or choose to keep your changes by creating a new branch first.
Important
Commits created in a detached head state are not associated with any branch and may be garbage collected by Git after you checkout a branch. That is why to keep your changes, it is recommended to create a new branch before checking out a branch. For example, commits C5 and C6 will be garbage collected if we check out Main without creating a new branch.
 To learn more about the detached head state view the following Git documentation: Detached Head
Checking out the tip of a remote branch can be helpful if you would like to quickly review a pull request and evaluate the latest updates. To do that in Visual Studio, first make sure to fetch and get the latest updates from your remote repository. Then right click on the remote branch you would like to review and select Checkout Tip Commit.

Next steps
To continue your journey, see Manage Git repositories in Visual Studio.