Tutorial: Create a report server project
This tutorial is the first step in a six-step process that demonstrates how to create a SQL Server Reporting Services (SSRS) paginated report.
In this tutorial, you:
- Start a new report server project
- Create a Sales Orders report definition file (RDL)
Create a report server project
First, you create a report server project by using SSRS. The project you set up within Visual Studio serves as the development environment for your reporting solutions.
Note
SQL Server Data Tools (SSDT) is a Microsoft Visual Studio environment for creating business intelligence solutions. SSDT features the Report Designer authoring environment. In this environment, you can open, modify, preview, save, and deploy Reporting Services paginated report definitions. You can also use and modify shared data sources, shared datasets, and report parts.
Report parts are deprecated for all releases of SQL Server Reporting Services after SQL Server Reporting Services 2019. The report parts are no longer supported starting in SQL Server Reporting Services 2022 and Power BI Report Server.
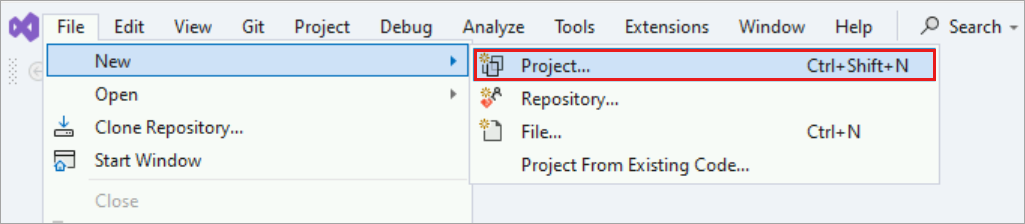
In Visual Studio (VS), select New > Project from the File menu.
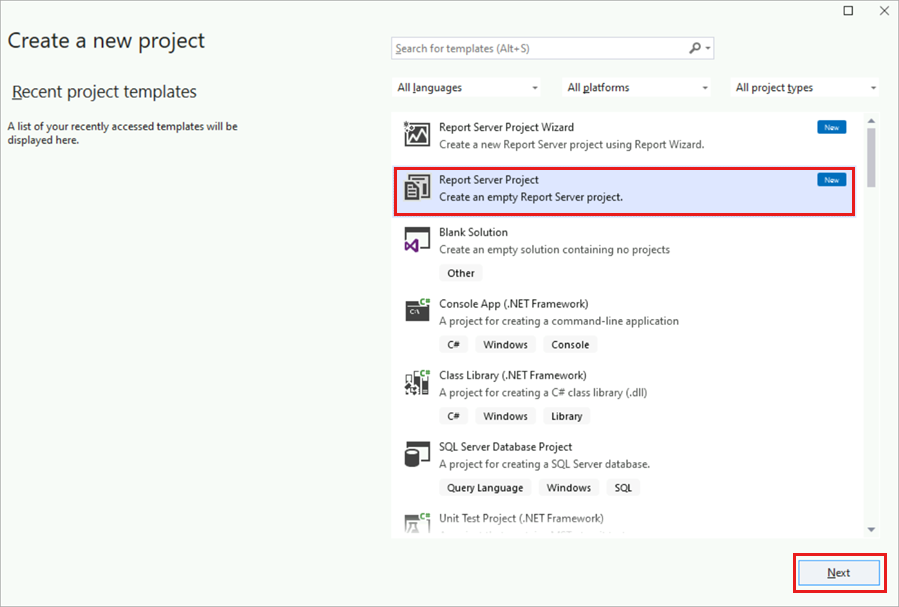
In the list of recently used templates, select Report Server Project, and then choose Next. You can also search for "Report Server Project".
Important
For VS, if you don't see Report Server Project in the template list, add the Report Designer by installing the SSDT workload.
- From the Tools menu, select Get Tools and Features....
- Select the SQL Server Data Tools from the workloads displayed.
If you don't see the Report Services objects in the center column, add the Reporting Services extensions.
- From the Extensions menu, select Manage extensions....
- Search for "Microsoft Reporting Services Projects" in the list of extensions.
- Select Install when you find that extension.
In Visual Studio 2019, if previous steps didn't work, try installing Microsoft Reporting Service Projects extension.
In the Project name box, enter "Tutorial" for the project name. By default, the Location box displays the path to the
Users\<username>\source\repos\folder. Report Designer creates a folder named Tutorial below this path and creates the Tutorial project. If the project doesn't belong to a Visual Studio solution, then Visual Studio creates a solution file (.sln).To create the project, select Create. The Tutorial project displays in the Solution Explorer pane on the right.
Create a report definition file (RDL)
Next, you create a report definition file (RDL). This process involves setting up the report within the project you created.
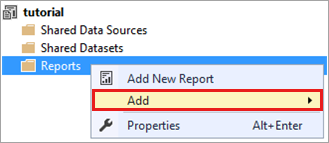
In the Solution Explorer pane, right-click the Reports folder. If you don't see the Solution Explorer pane, select View > Solution Explorer.
Select Add > New Item.
In the Add New Item window, select Report.
Enter "Sales Orders.rdl" into the Name box.
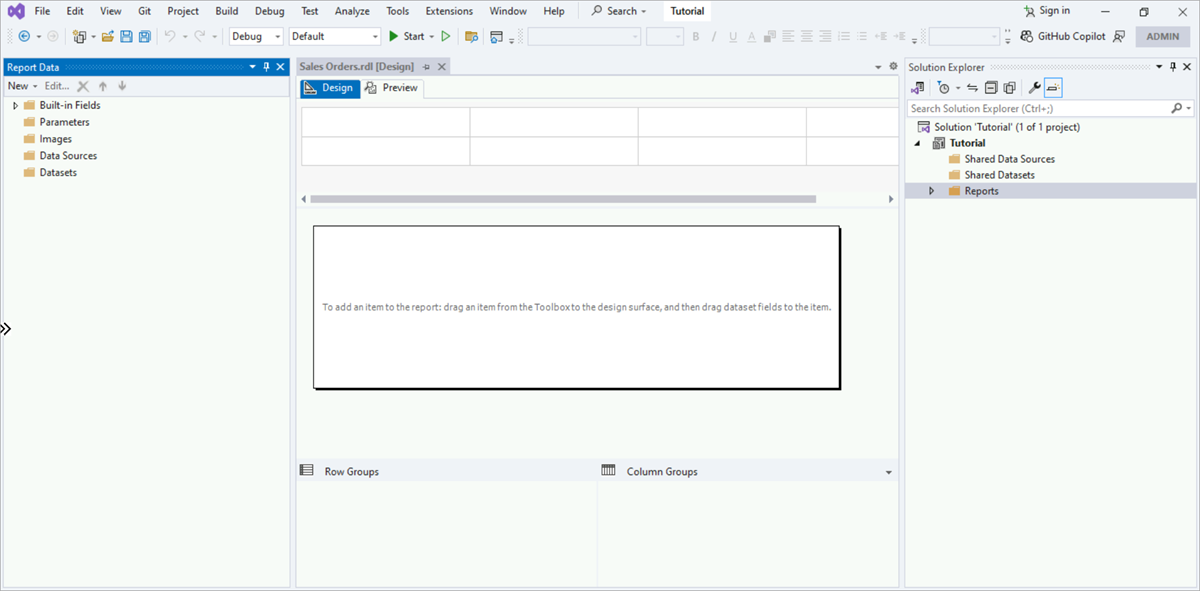
Select Add to complete the process. Report Designer opens and displays the Sales Orders report file in Design view.

Next step
フィードバック
以下は間もなく提供いたします。2024 年を通じて、コンテンツのフィードバック メカニズムとして GitHub の issue を段階的に廃止し、新しいフィードバック システムに置き換えます。 詳細については、「https://aka.ms/ContentUserFeedback」を参照してください。
フィードバックの送信と表示