演習 - ASP.NET Web アプリでセッション状態情報を格納する
ASP.NET Web アプリでは、数多くのセッション状態プロバイダーを使用できます。 Azure App Service で実行される Web アプリでは、Azure Cache for Redis プロバイダーを使用すると、多数の同時セッションをサポートするために必要なスケーラビリティとパフォーマンスを実現できます。 これは特に、同じセッションに対する要求が Web アプリの異なる複数のインスタンスに送信される場合に当てはまります。
この演習では、Azure Cache for Redis サービスのインスタンスを作成します。 次に、サンプルの Web アプリのセッション プロバイダーを、このキャッシュを使用するように構成します。 その後、アプリケーションがこのキャッシュを使用してセッション状態情報を格納することを確認します。
Azure Cache for Redis のインスタンスを作成する
右側の [Azure Cloud Shell] ウィンドウで、次のコマンドを実行して、作成する Azure Cache for Redis インスタンスの名前を含む PowerShell 変数を定義します。
$rediscachename = (-join($useralias, "-workshop-cache"))Azure Cache for Redis インスタンスを作成する。 このコマンドが完了するまで最大 15 分かかることがあります。
az redis create `
    --location $location `
    --name $rediscachename `
    --resource-group $resourcegroupname `
    --sku Basic `
    --vm-size c0
次のコマンドを実行して、キャッシュのプロビジョニング状態を確認します。 "成功しました" というメッセージが表示されるまで、このコマンドを 30 秒ごとに繰り返し実行します。
(Get-AzRedisCache `
    -ResourceGroupName $resourcegroupname `
    -Name $rediscachename).ProvisioningState
キャッシュのプライマリ アクセス キーを取得して、後で使用するために記録します。
$rediskey = (Get-AzRedisCacheKey `
    -Name $rediscachename `
    -ResourceGroup $resourcegroupname).PrimaryKey
Web アプリでセッション プロバイダーを構成する
Visual Studio に戻り、eShopLegacyWebForms ソリューションを編集します。
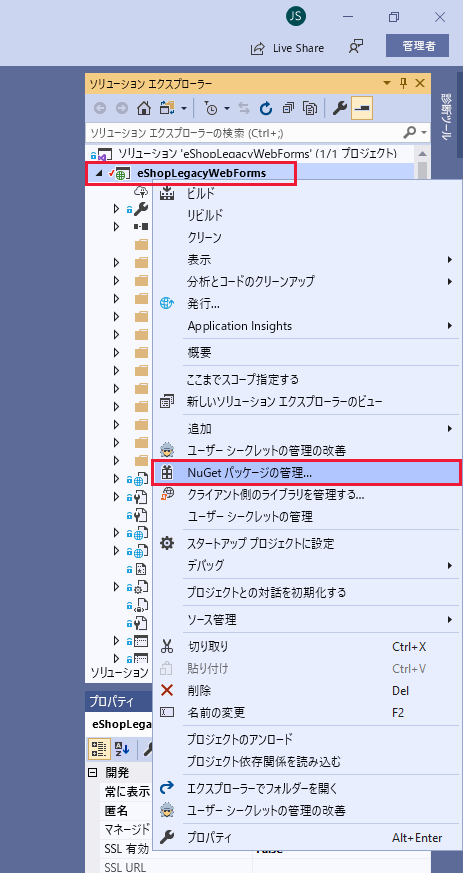
[ソリューション エクスプローラー] ウィンドウで、eShopLegacyWebForms プロジェクトを右クリックして、[NuGet パッケージの管理] を選択します。
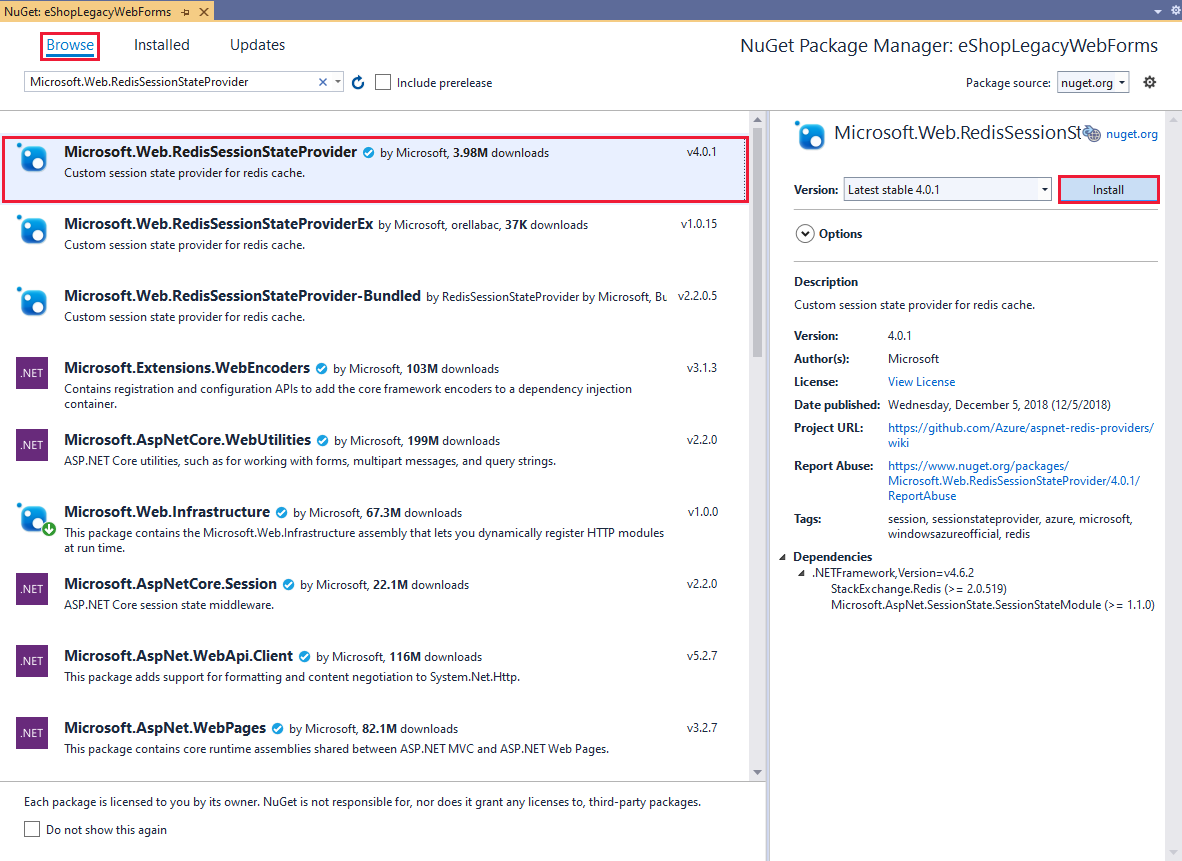
[NuGet パッケージ マネージャー] ウィンドウで、[参照] を選択します。 [検索] ボックスに「Microsoft.Web.RedisSessionStateProvider」と入力します。 Microsoft.Web.RedisSessionStateProvider パッケージを選択し、[インストール] を選択します。
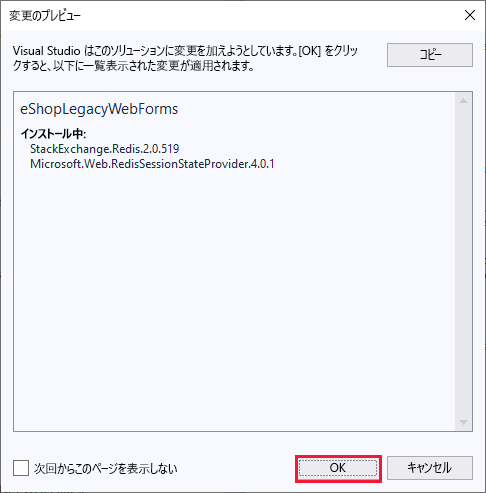
[変更のプレビュー] ウィンドウが表示されたら、[OK] を選択します。
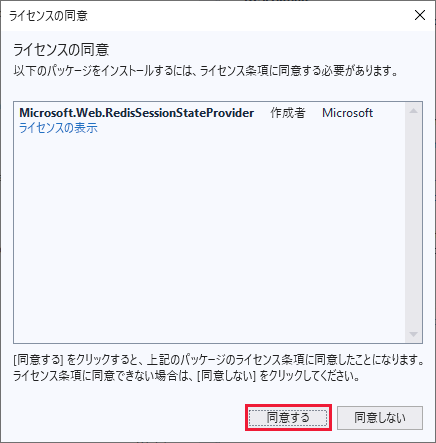
[ライセンスの同意] ウィンドウで、[同意する] を選択します。
[ソリューション エクスプローラー] ウィンドウで、Web.config ファイルを選択します。
web.config ファイルで、sessionState セクションを見つけます。 これは、次のような内容です。
<sessionState mode="Custom" customProvider="MySessionStateStore">
  <providers>
    <!-- For more details check https://github.com/Azure/aspnet-redis-providers/wiki -->
    <!-- Either use 'connectionString' OR 'settingsClassName' and 'settingsMethodName' OR use 'host','port','accessKey','ssl','connectionTimeoutInMilliseconds' and 'operationTimeoutInMilliseconds'. -->
    <!-- 'throwOnError','retryTimeoutInMilliseconds','databaseId' and 'applicationName' can be used with both options. -->
    <!--
      <add name="MySessionStateStore"
        host = "127.0.0.1" [String]
        port = "" [number]
        accessKey = "" [String]
        ssl = "false" [true|false]
        throwOnError = "true" [true|false]
        retryTimeoutInMilliseconds = "5000" [number]
        databaseId = "0" [number]
        applicationName = "" [String]
        connectionTimeoutInMilliseconds = "5000" [number]
        operationTimeoutInMilliseconds = "1000" [number]
        connectionString = "<Valid StackExchange.Redis connection string>" [String]
        settingsClassName = "<Assembly qualified class name that contains settings method specified below. Which basically return 'connectionString' value>" [String]
        settingsMethodName = "<Settings method should be defined in settingsClass. It should be public, static, does not take any parameters and should have a return type of 'String', which is basically 'connectionString' value.>" [String]
        loggingClassName = "<Assembly qualified class name that contains logging method specified below>" [String]
        loggingMethodName = "<Logging method should be defined in loggingClass. It should be public, static, does not take any parameters and should have a return type of System.IO.TextWriter.>" [String]
        redisSerializerType = "<Assembly qualified class name that implements Microsoft.Web.Redis.ISerializer>" [String]
      />
    -->
    <add name="MySessionStateStore" type="Microsoft.Web.Redis.RedisSessionStateProvider" host="" accessKey="" ssl="true" />
  </providers>
</sessionState>
コメント アウトされたコンテンツを削除し、MySessionStateStore のエントリを次のコードに示すように修正します。 <youralias> を $useralias PowerShell 変数の値で置き換えます。 <primarykey> を $rediskey PowerShell 変数の値で置き換えます。
<sessionState mode="Custom" customProvider="MySessionStateStore">
  <providers>
    <add name="MySessionStateStore"
         type="Microsoft.Web.Redis.RedisSessionStateProvider"
         host="<youralias>-workshop-cache.redis.cache.windows.net"
         accessKey="<primarykey>"
         ssl="true" />
  </providers>
</sessionState>
<system.web> セクションの先頭近くにある <sessionState mode="InProc" /> 要素を見つけて、コメントアウトします。
...
<system.web>
  <compilation debug="true" targetFramework="4.7.2" />
  <httpRuntime targetFramework="4.6.1" requestValidationMode="2.0" />
  <!--sessionState mode="InProc" /-->
  ...
</system.web>
Web アプリを Azure にデプロイする
[ソリューション エクスプローラー] ウィンドウで、Models フォルダーを展開し、Infrastructure フォルダーを展開して、dbo.catalog_brand_hilo.Sequence.sql ファイルを選択します。
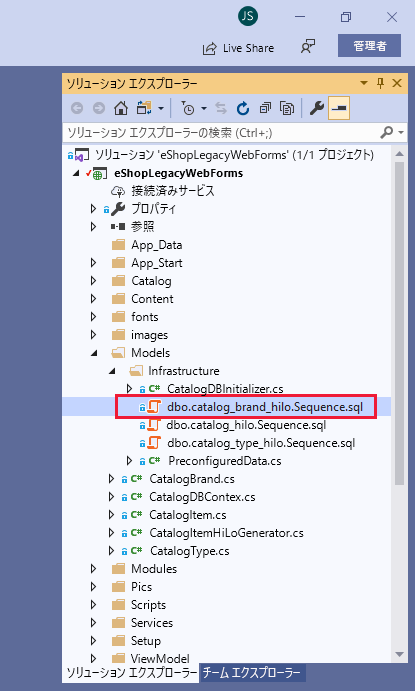
SQL ファイルで、ファイルの先頭にある USE ステートメントをコメント アウトします。
-- USE [Microsoft.eShopOnContainers.Services.CatalogDb]
/****** Object:  Sequence [dbo].[catalog_brand_hilo]    Script Date: 16/08/2017 11:21:49 ******/
CREATE SEQUENCE [dbo].[catalog_brand_hilo]
  AS [bigint]
  START WITH 1
  INCREMENT BY 10
  MINVALUE -9223372036854775808
  MAXVALUE 9223372036854775807
CACHE
dbo.catalog_hilo.Sequence.sql ファイルと dbo.catalog_type_hilo.Sequence.sql ファイルについて、手順 2 を繰り返します。 すべてのファイルを保存します。
Note
これらのファイル内のスクリプトは、データベースにデータがシードされるときに実行されます。 このシード処理は、アプリが新しいデータベースに対して初めて実行されるときに自動的に行われます。 コメント アウトしたステートメントは、アプリをローカルで実行する場合にのみ必要です。 Azure SQL Server データベースを使用してアプリを実行する場合は、使用するデータベースを、接続文字列の一部として指定します。
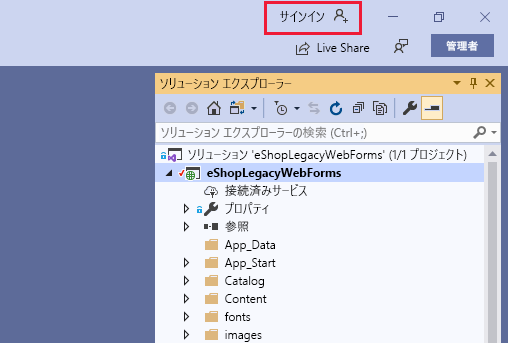
現在 Visual Studio で Azure アカウントにサインインしていない場合は、ツール バーの右上にある [サインイン] をクリックします。 指示に従ってサインインします。
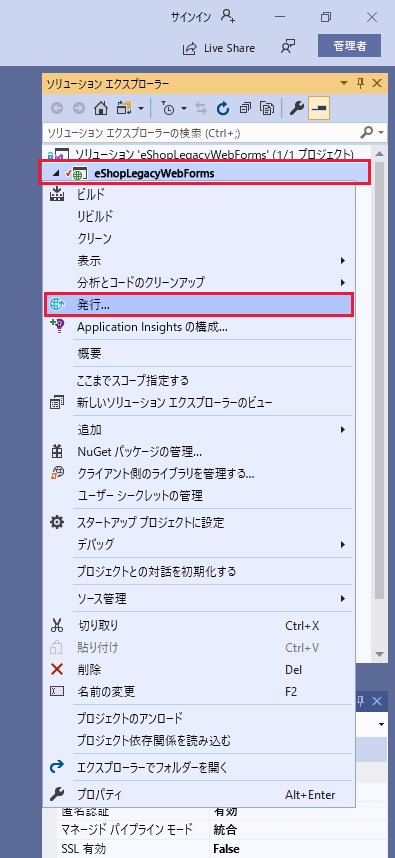
[ソリューション エクスプローラー] ウィンドウで、eShopLegacyWebForms プロジェクトを右クリックして、[発行] を選びます。
以前に Web アプリをデプロイして Azure SQL Database サーバーへの接続を構成していない場合は、次のサブ手順を実行します。 それ以外の場合は、手順 7 に進みます。
Azure PowerShell ウィンドウに戻ります。 次のコマンドを実行して、設定ユニットで作成した Azure SQL Database サーバーにコンピューターがアクセスできるようにします。 YourIPAddress を、お使いのコンピューターのパブリック IP アドレスに置き換えます。
New-AzSqlServerFirewallRule -ResourceGroupName $resourcegroupname -ServerName $servername -FirewallRuleName "AllowDesktop" -StartIpAddress YourIPAddress -EndIpAddress YourIPAddressNote
Cloud Shell を実行しているホストの IP アドレスではなく、必ずお使いのコンピューターの IP アドレスを指定してください。
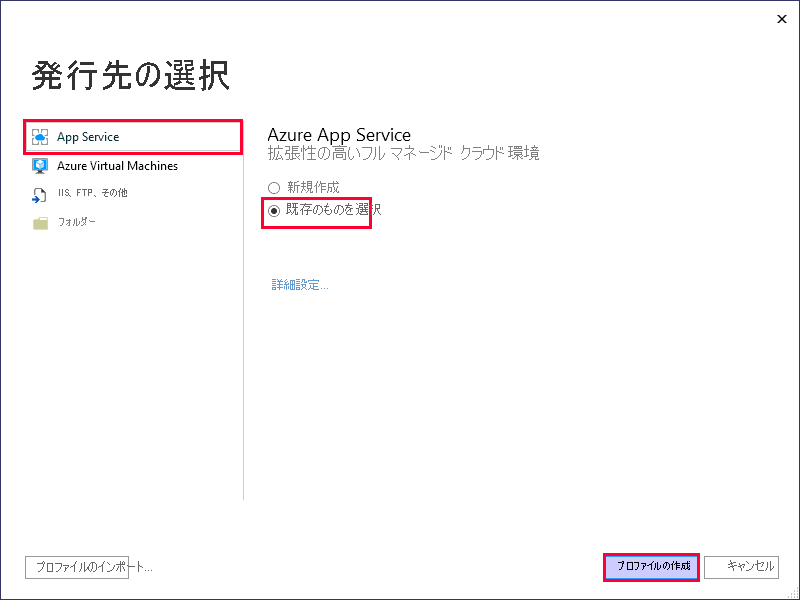
Visual Studio で [発行先を選択] ウィンドウに戻り、[Azure App Service]>[既存のものを選択]>[プロファイルの作成] を選びます。
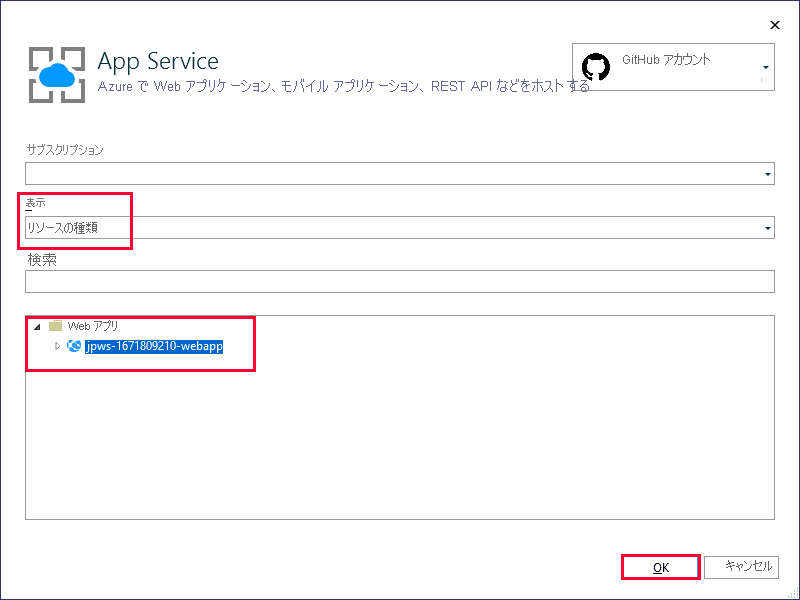
[App Service] ウィンドウで、自分の Azure サブスクリプションを選択します。 [表示] を [リソースの種類] に設定します。 [Web アプリ] を展開し、設定ユニットで作成した Azure Web アプリを選択して、[OK] を選択します。
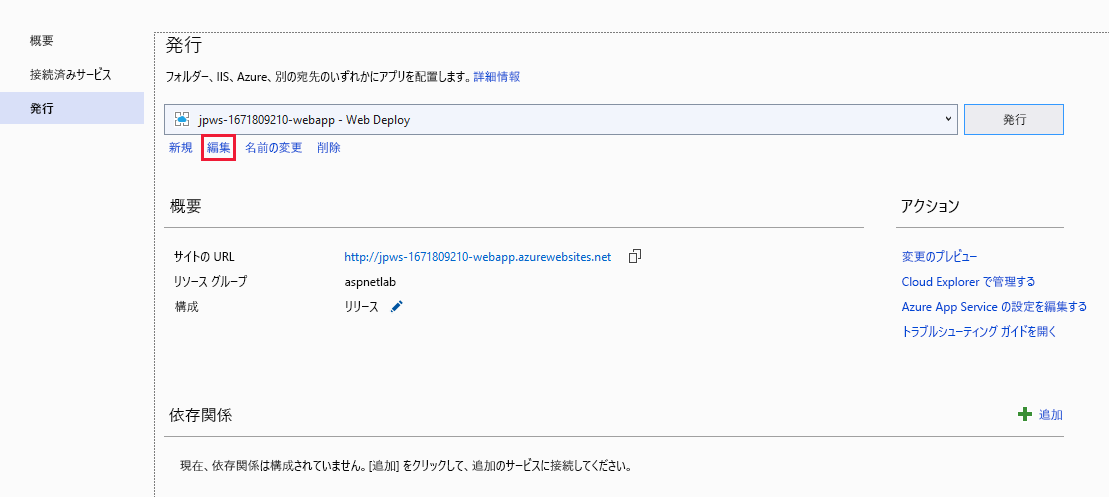
[発行] ページで、[編集] を選択します。
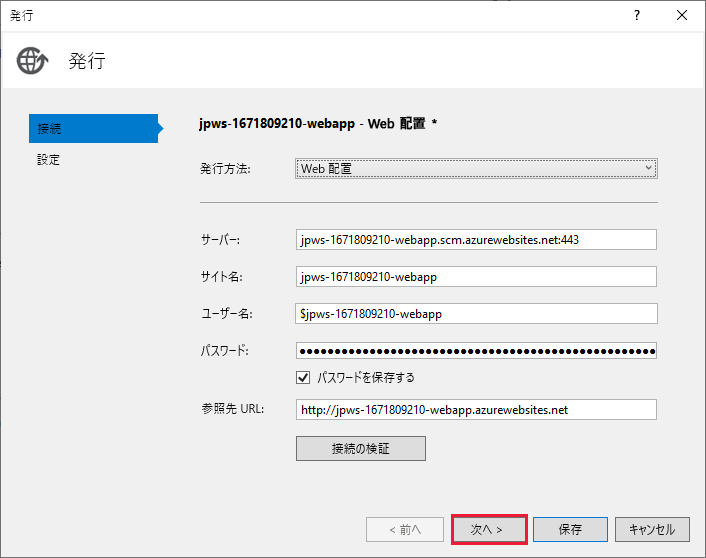
[発行] ダイアログ ボックスの [接続] ページで、[次へ] を選択します。
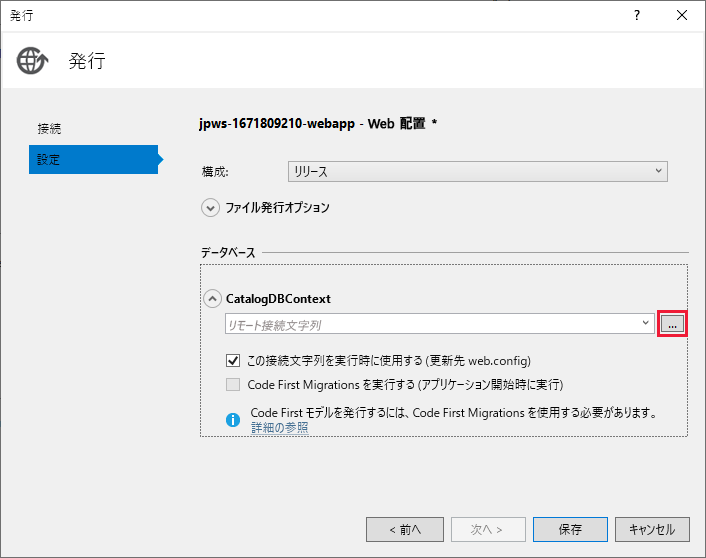
[設定] ページで、[リモート接続文字列] テキスト ボックスの横にある省略記号ボタン (...) を選びます。
[対象の接続文字列] ダイアログ ボックスで、次の表に示す値を指定し、[OK] を選びます。
フィールド 値 データ ソース Microsoft SQL Server (SqlClient) サーバー名 $servername PowerShell 変数の値を指定します。 テキスト .database.windows.net をサーバー名の末尾に追加します。 認証 SQL Server 認証 ユーザー名 $serveradminname PowerShell 変数の値を指定します。 パスワード $serveradminpassword PowerShell 変数の値を指定します。 パスワードを保存する オンにします。 データベース名の選択または入力 eShop 
[設定] ページに戻り、[この接続文字列を実行時に使う (更新先 web.config)] がまだオンになっていない場合はオンにして、[保存] を選びます。
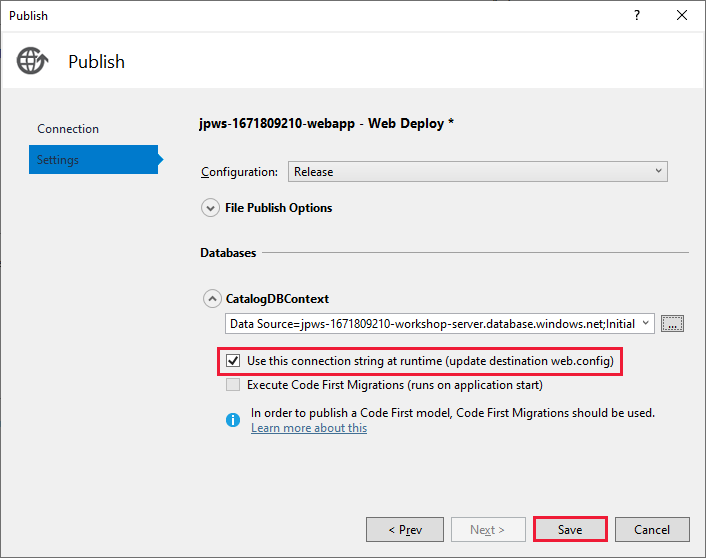
[発行] ページで [発行] を選択します。
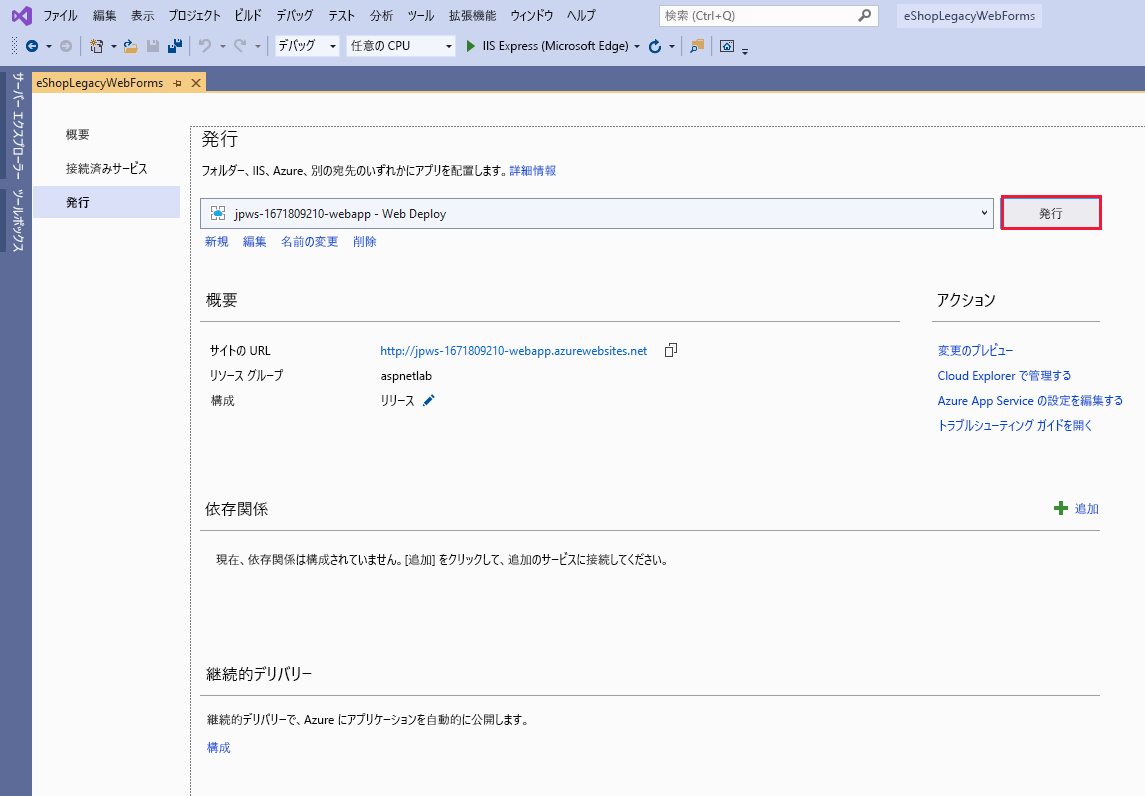
Web アプリがビルドされ、App Service にデプロイされるのを待ちます。 デプロイが完了すると、Web アプリが起動し、Visual Studio によって Web ブラウザーが開かれます。 ローカルで実行する場合は、Web サイトを参照して、Web アプリが前と同じように動作することを確認します。 ブラウザーで Web アプリのページを開いたままにしておきます。
キャッシュ アクティビティを表示する
Azure portal にサインインします。
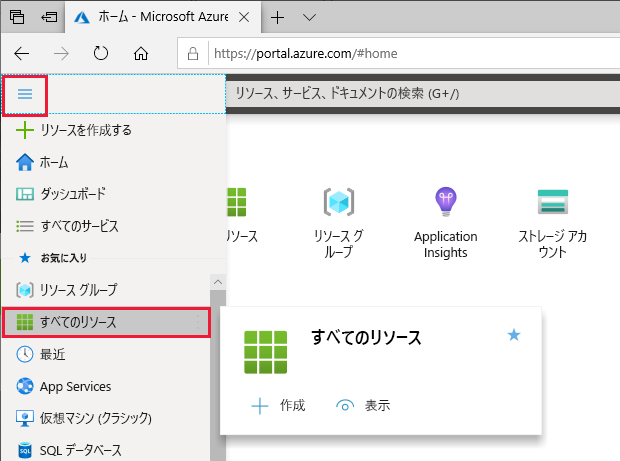
[ポータル メニューの表示] ボタンを選び、[すべてのリソース] を選びます。
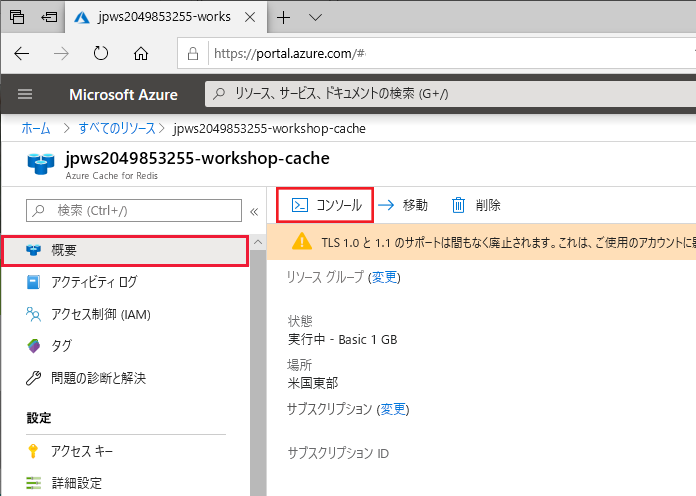
[すべてのリソース] ページで、先ほど作成した Azure Cache for Redis インスタンスを選択します。 <useralias>-workshop-cache という名前が与えられます。
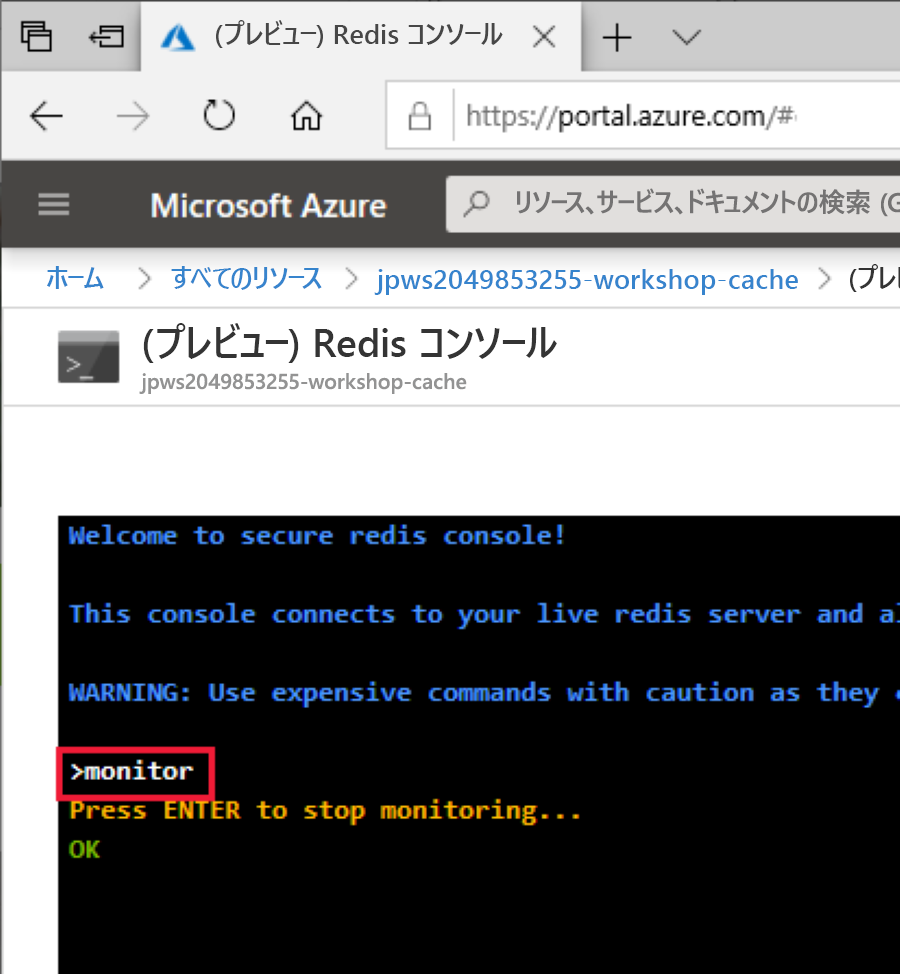
キャッシュの [概要] ペインで、[コンソール] を選択します。
[Redis コンソール] ウィンドウの > プロンプトで、「monitor」と入力し、Enter キーを押します。
Web アプリのブラウザー ウィンドウに戻り、製品の詳細を参照します。
Note
Redis の monitor コマンドは、このキャッシュを使用するすべての操作のパフォーマンスに影響するため、Web アプリの応答速度が通常より遅くなることがあります。 運用システムでは、monitor コマンドを使用しないでください。
キャッシュの [Redis コンソール] ウィンドウに戻ります。 製品の参照中に発生したキャッシュ アクティビティを示すメッセージが表示されます。 _Data および _Internal サフィックスを含むキーにより、セッション状態情報が識別されます。
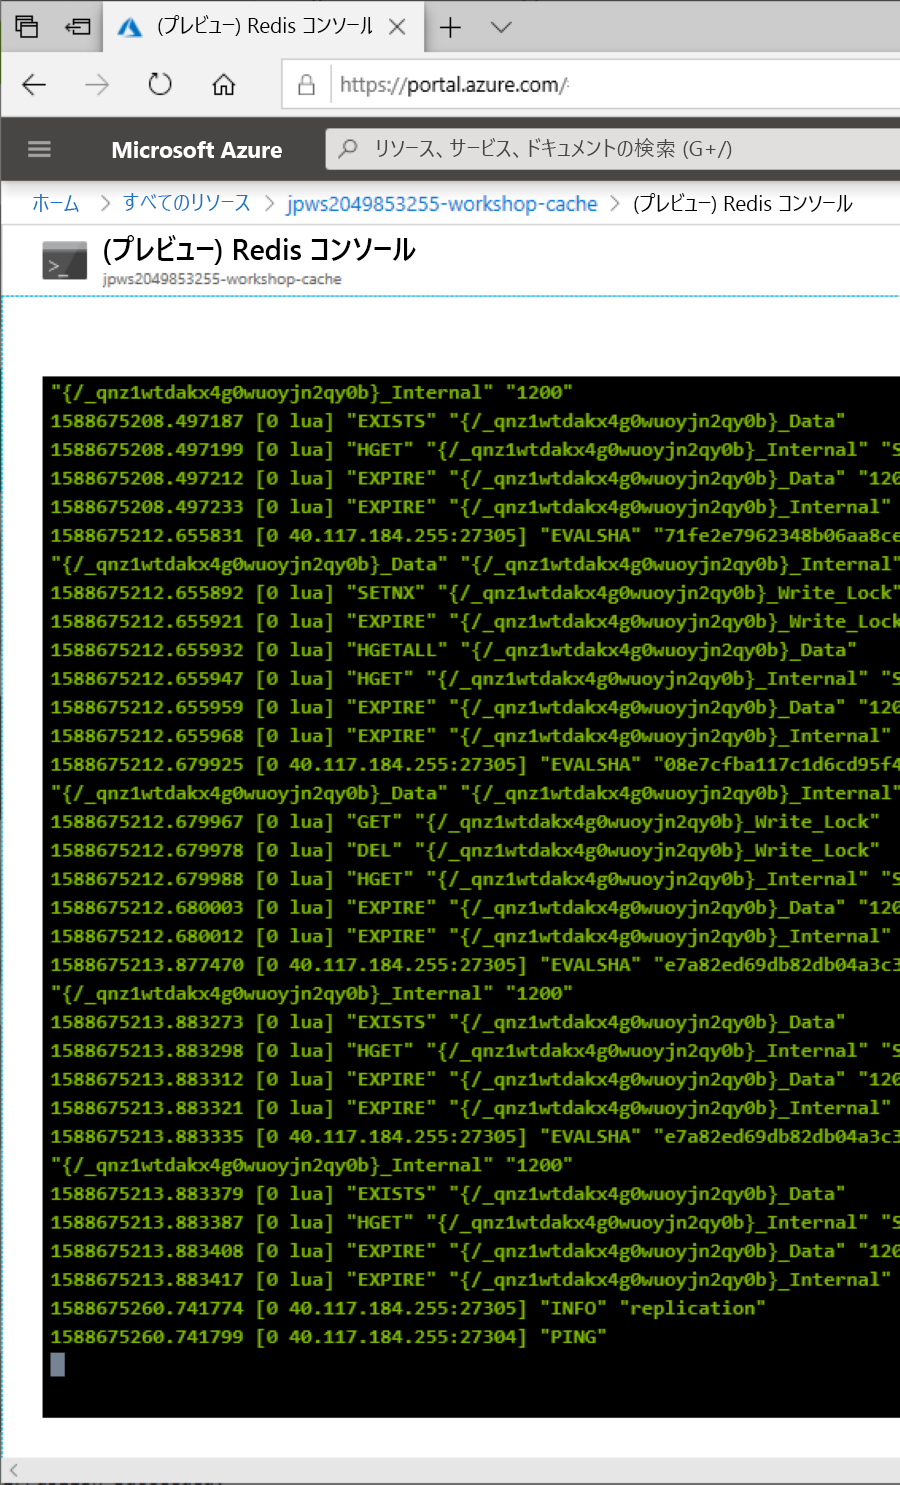
Enter キーを押して、監視アクティビティを停止します。