演習 - パラメーターとデコレーターを追加する
Note
初めてサンドボックスをアクティブ化して利用規約に同意すると、Microsoft アカウントが Microsoft Learn Sandbox という名前の新しい Azure ディレクトリに関連付けられます。 また、コンシェルジェ サブスクリプションという名前の特殊なサブスクリプションにも追加されます。
人事部アプリケーションの移行の一環として、Azure リソースをデプロイするための Bicep テンプレートを作成します。 この演習では、Azure App Service プラン、App Service アプリを作成します。 各パラメーターにデコレーターを適用して、常に予期される値が含まれるようにします。
プロセスの間に、次のタスクを実行します。
- パラメーターと変数を含む Bicep ファイルを作成します。
- デコレーターをパラメーターに追加します。
- テンプレートが有効であることを確認するために、デプロイをテストします。
この演習では、Visual Studio Code 用の Bicep 拡張機能を使用します。 この拡張機能を Visual Studio Code にインストールしてください。
パラメーターを使用して Bicep テンプレートを作成する
Visual Studio Code を開きます。
main.bicep という名前の新しいファイルを作成します。
Visual Studio Code によって Bicep ツールが読み込まれるように、空のファイルを保存します。
[ファイル]>[名前を付けて保存] を選択するか、Windows で Ctrl+S (macOS では ⌘+S) を選択できます。 ファイルを保存した場所を忘れないようにしてください。 たとえば、保存場所として、scripts フォルダーを作成することをお勧めします。
次の内容をファイルに追加します。 すぐにテンプレートをデプロイします。 コピーと貼り付けを行うのではなく、自分でコンテンツを入力することにより、Bicep ファイルの記述にツールがどのように役立つかを確認できます。
param environmentName string = 'dev'
param solutionName string = 'toyhr${uniqueString(resourceGroup().id)}'
param appServicePlanInstanceCount int = 1
param appServicePlanSku object = {
  name: 'F1'
  tier: 'Free'
}
param location string = 'eastus'

var appServicePlanName = '${environmentName}-${solutionName}-plan'
var appServiceAppName = '${environmentName}-${solutionName}-app'
ここではいくつかのパラメーターを作成し、型を組み合わせて使用しています。 各パラメーターの既定値を定義しています。 既定値には、文字列補間と
uniqueString()関数が含まれます。ヒント
uniqueString()関数は、グローバルに一意のリソース名を作成する場合に便利です。 同じリソース グループへのすべてのデプロイで同じ文字列が返されますが、別のリソース グループまたはサブスクリプションにデプロイする場合は異なります。また、Azure App Service プランと App Service アプリの名前を作成する変数も定義します。 これらの値には、指定したパラメーターの一部が含まれます。 パラメーター値は、デプロイを実行するユーザーがオーバーライドできますが、変数の値をオーバーライドすることはできません。
ヒント
locationパラメーターをwestus3に設定する必要があることを指定しています。 通常は、resourceGroup().locationプロパティを使用して、リソース グループと同じ場所にリソースを作成します。 ただし、Microsoft Learn サンドボックスを使用する場合は、リソース グループの場所と一致しない特定の Azure リージョンを使用する必要があります。Visual Studio Code の main.bicep ファイルで、ファイルの末尾に次のコードを追加します。
resource appServicePlan 'Microsoft.Web/serverfarms@2022-03-01' = {
  name: appServicePlanName
  location: location
  sku: {
    name: appServicePlanSku.name
    tier: appServicePlanSku.tier
    capacity: appServicePlanInstanceCount
  }
}

resource appServiceApp 'Microsoft.Web/sites@2022-03-01' = {
  name: appServiceAppName
  location: location
  properties: {
    serverFarmId: appServicePlan.id
    httpsOnly: true
  }
}
リソースには、定義したパラメーターの値が使用されていることに注意してください。
変更をファイルに保存します。
パラメーターの説明を追加する
Visual Studio Code の main.bicep ファイルで、前のタスクで作成したすべてのパラメーターの上に
@descriptionデコレーターを直接追加します。 パラメーターは、次の例のようになります。@description('The name of the environment. This must be dev, test, or prod.') param environmentName string = 'dev' @description('The unique name of the solution. This is used to ensure that resource names are unique.') param solutionName string = 'toyhr${uniqueString(resourceGroup().id)}' @description('The number of App Service plan instances.') param appServicePlanInstanceCount int = 1 @description('The name and tier of the App Service plan SKU.') param appServicePlanSku object = { name: 'F1' tier: 'Free' } @description('The Azure region into which the resources should be deployed.') param location string = 'eastus'変更をファイルに保存します。
入力値を制限する
玩具を扱う貴社では、dev、test、prod という 3 つに環境に HR アプリケーションをデプロイします。 この 3 つの値だけを許可するように environmentName パラメーターを制限します。
Visual Studio Code の main.bicep ファイルで、
environmentNameパラメーターを探します。 その@descriptionデコレーターの下に@allowedデコレーターを挿入します。 完了すると、パラメーターは次の例のようになります。@description('The name of the environment. This must be dev, test, or prod.') @allowed([ 'dev' 'test' 'prod' ]) param environmentName string = 'dev'environmentNameパラメーターのパラメーター値を、dev、test、prodのみ制限していることに注意してください。 今後さらに環境が追加される場合は、このリストを更新する必要があります。変更をファイルに保存します。
入力の長さを制限する
solutionName パラメーターは、リソースの名前を生成するために使用されています。 最小長 5 文字、最大長 30 文字を適用したいとします。
Visual Studio Code の main.bicep ファイルで、
solutionNameパラメーターを探します。 その@descriptionデコレーターの下に@minLengthデコレーターと@maxLengthデコレーターを追加します。 完了すると、パラメーターは次の例のようになります。@description('The unique name of the solution. This is used to ensure that resource names are unique.') @minLength(5) @maxLength(30) param solutionName string = 'toyhr${uniqueString(resourceGroup().id)}'変更をファイルに保存します。
数値を制限する
次に、appServicePlanInstanceCount パラメーターで 1 から 10 の範囲の値のみを許可します。
Visual Studio Code の main.bicep ファイルで、
appServicePlanInstanceCountパラメーターを探します。 その@descriptionデコレーターの下に@minValueデコレーターと@maxValueデコレーターを追加します。 完了すると、パラメーターは次の例のようになります。@description('The number of App Service plan instances.') @minValue(1) @maxValue(10) param appServicePlanInstanceCount int = 1変更をファイルに保存します。
Bicep ファイルを確認する
上記のすべての変更を完了すると、Bicep ファイルは次の例のようになります。
@description('The name of the environment. This must be dev, test, or prod.')
@allowed([
  'dev'
  'test'
  'prod'
])
param environmentName string = 'dev'
@description('The unique name of the solution. This is used to ensure that resource names are unique.')
@minLength(5)
@maxLength(30)
param solutionName string = 'toyhr${uniqueString(resourceGroup().id)}'
@description('The number of App Service plan instances.')
@minValue(1)
@maxValue(10)
param appServicePlanInstanceCount int = 1
@description('The name and tier of the App Service plan SKU.')
param appServicePlanSku object = {
name: 'F1'
tier: 'Free'
}
@description('The Azure region into which the resources should be deployed.')
param location string = 'eastus'
var appServicePlanName = '${environmentName}-${solutionName}-plan'
var appServiceAppName = '${environmentName}-${solutionName}-app'
resource appServicePlan 'Microsoft.Web/serverfarms@2022-03-01' = {
name: appServicePlanName
location: location
sku: {
name: appServicePlanSku.name
tier: appServicePlanSku.tier
capacity: appServicePlanInstanceCount
}
}
resource appServiceApp 'Microsoft.Web/sites@2022-03-01' = {
name: appServiceAppName
location: location
properties: {
serverFarmId: appServicePlan.id
httpsOnly: true
}
}
そうでない場合は、例をコピーするか、例に合わせてテンプレートを調整します。
Bicep テンプレートを Azure にデプロイする
このテンプレートを Azure にデプロイするには、Visual Studio Code ターミナルから Azure アカウントにサインインする必要があります。 Azure CLI がインストールされていることを確認し、サンドボックスのアクティブ化に使用したのと同じアカウントでサインインします。
[ターミナル] メニューで、[新しいターミナル] を選択します。 通常、ターミナル ウィンドウは画面の下半分に表示されます。
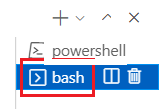
ターミナル ウィンドウの右側に表示されるシェルが Bash の場合、正しいシェルが開いているので、次のセクションに進むことができます。

Bash 以外のシェルが表示された場合は、シェルのドロップダウン矢印を選び、[Git Bash] を選びます。
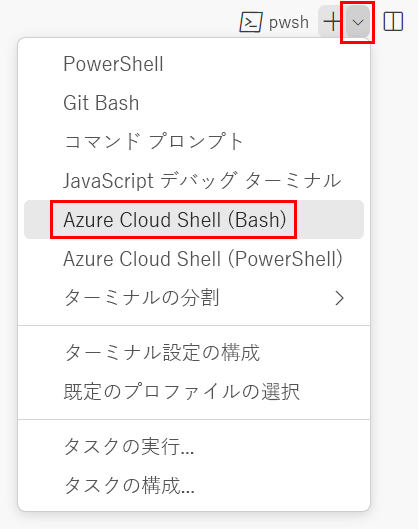
ターミナル シェルの一覧で、Bash を選択します。
ターミナルで、テンプレートを保存したディレクトリに移動します。 たとえば、それをテンプレート フォルダーに保存した場合、次のコマンドを使用します。
cd templates
Bicep をインストールする
次のコマンドを実行して、最新バージョンの Bicep がインストールされていることを確認します。
az bicep install && az bicep upgrade
Azure へのサインイン
Visual Studio Code ターミナルで、次のコマンドを実行して Azure にサインインします。
az login開いたブラウザーで、Azure アカウントにサインインします。
Visual Studio Code ターミナルには、このアカウントに関連付けられているサブスクリプションの一覧が表示されます。
このセッションで実行するすべての Azure CLI コマンドに対して、既定のサブスクリプションを設定します。
az account set --subscription "Concierge Subscription"注意
最近、複数のサンドボックスを使用した場合、ターミナルに、"コンシェルジェ サブスクリプション" の複数のインスタンスが表示される場合があります。 その場合は、次の 2 つのステップを使用して、1 つを既定のサブスクリプションとして設定します。 上記のコマンドが正常に実行され、1 つの "コンシェルジェ サブスクリプション" のみがリストされたら、次の 2 つのステップをスキップします。
コンシェルジェ サブスクリプションの ID を取得します。
 az account list \
   --refresh \
   --query "[?contains(name, 'Concierge Subscription')].id" \
   --output table
サブスクリプション ID を使用して、既定のサブスクリプションを設定します。 {your subscription ID} を最新のコンシェルジェ サブスクリプション ID に置き換えます。
az account set --subscription {your subscription ID}
既定のリソース グループを設定する
Azure CLI を使用する場合は、既定のリソース グループを設定し、この演習の残りの Azure CLI コマンドでパラメーターを省略できます。 サンドボックス環境で自分用に作成されたリソース グループに、既定値を設定します。
az configure --defaults group="<rgn>[sandbox resource group name]</rgn>"
Azure CLI を使用してテンプレートを Azure にデプロイする
Visual Studio Code のターミナルから次のコードを実行して、Bicep テンプレートを Azure にデプロイします。 パラメーターには既定値が指定されているので、パラメーター値を指定する必要はありません。 このプロセスは、完了までに 1、2 分かかることがあります。その後、デプロイが成功したことがわかります。
az deployment group create --template-file main.bicep
ターミナルに Running... が表示されます。
このテンプレートを Azure にデプロイするには、Visual Studio Code ターミナルから Azure アカウントにサインインします。 Azure PowerShell をインストールしたことを確認し、サンドボックスをアクティブ化したのと同じアカウントにサインインします。
[ターミナル] メニューで、[新しいターミナル] を選択します。 通常、ターミナル ウィンドウは画面の下半分に表示されます。
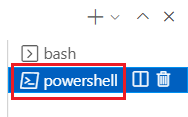
ターミナル ウィンドウの右側に表示されるシェルが powershell または pwsh の場合、正しいシェルが開いているので、次のセクションに進むことができます。

Powershell または pwsh 以外のシェルが表示される場合は、シェルのドロップダウン矢印を選び、[PowerShell] を選びます。
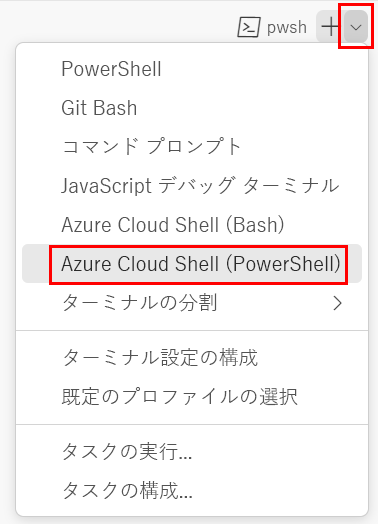
ターミナル シェルの一覧で、Powershell または pwsh を選択します。
ターミナルで、テンプレートを保存したディレクトリに移動します。 たとえば、それをテンプレート フォルダーに保存した場合、次のコマンドを使用します。
Set-Location -Path templates
Bicep CLI のインストール
Azure PowerShell で Bicep を使用するには、Bicep CLI をインストールします。
Azure PowerShell を使用して Azure にサインインする
Visual Studio Code ターミナルで、次のコマンドを実行します。
Connect-AzAccountブラウザーが開き、Azure アカウントにサインインできるようになります。
Azure にサインインすると、ターミナルに、このアカウントに関連付けられているサブスクリプションの一覧が表示されます。
サンドボックスをアクティブにした場合は、"コンシェルジェ サブスクリプション" という名前のサブスクリプションが表示されます。 演習の残りの部分では、これを使用します。
このセッションで実行するすべての Azure PowerShell コマンドについて既定のサブスクリプションを設定します。
$context = Get-AzSubscription -SubscriptionName 'Concierge Subscription'
Set-AzContext $context
注意
最近、複数のサンドボックスを使用した場合、ターミナルに、"コンシェルジェ サブスクリプション" の複数のインスタンスが表示される場合があります。 その場合は、次の 2 つのステップを使用して、1 つを既定のサブスクリプションとして設定します。 上記のコマンドが正常に実行され、1 つの "コンシェルジェ サブスクリプション" のみがリストされたら、次の 2 つのステップをスキップします。
サブスクリプション ID を取得します。 次のコマンドを実行すると、ご使用のサブスクリプションとその ID が一覧表示されます。
Concierge Subscriptionを探して、2 番目の列から ID をコピーします。 これは、cf49fbbc-217c-4eb6-9eb5-a6a6c68295a0のように表示されます。Get-AzSubscriptionアクティブなサブスクリプションを "コンシェルジェ サブスクリプション" に変更します。 必ず、"{ご使用のサブスクリプションの ID}" を、コピーした ID に置き換えてください。
$context = Get-AzSubscription -SubscriptionId {Your subscription ID}
Set-AzContext $context
既定のリソース グループを設定する
この演習では、既定のリソース グループを設定し、残りの Azure PowerShell コマンドからパラメーターを省略できます。 サンドボックス環境で自分用に作成されたリソース グループに、この既定値を設定します。
Set-AzDefault -ResourceGroupName <rgn>[sandbox resource group name]</rgn>
PowerShell を使用してテンプレートを Azure にデプロイする
ターミナルで、以下の Azure PowerShell コマンドを使用して Azure にテンプレートをデプロイします。 パラメーターには既定値が指定されているので、パラメーター値を指定する必要はありません。 このプロセスが完了するまでに 1、2 分かかることがあります。その後、デプロイが成功したことがわかります。
New-AzResourceGroupDeployment -TemplateFile main.bicep
デプロイを確認する
Azure portal にアクセスして、サンドボックス サブスクリプション内にいることを確認します。
- それには、ページの右上隅にある自分のアバターを選択します。
- [ディレクトリの切り替え] を選択します。 リストで、[Microsoft Learn サンドボックス] ディレクトリを選択します。
左側のパネルで、[リソース グループ] を選択します。
[サンドボックス リソース グループ名] を選択します。[概要] に、1 つのデプロイが成功したことが表示されます。
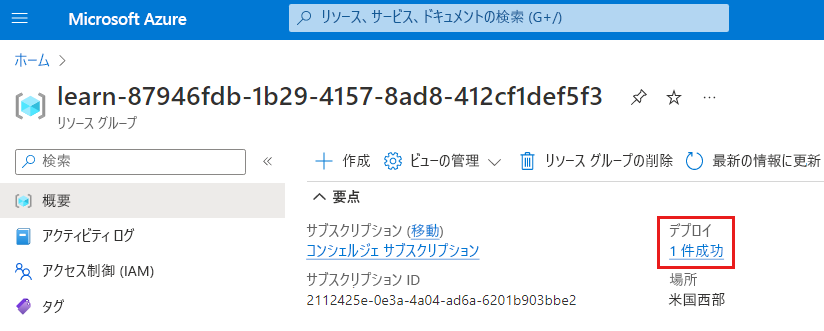
[1 Succeeded] (1 件の成功) を選択して、デプロイの詳細を確認します。
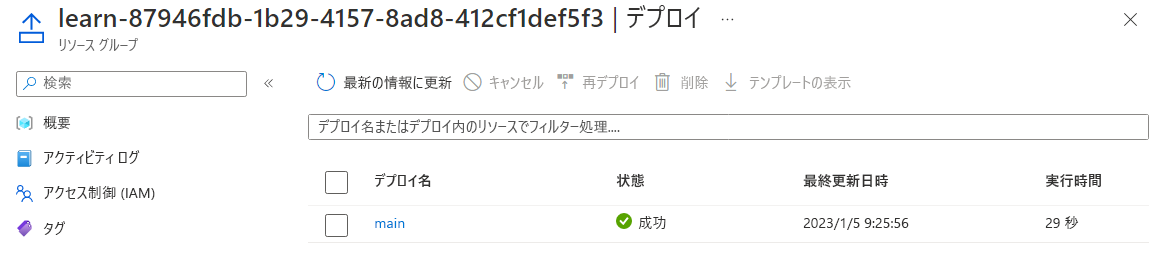
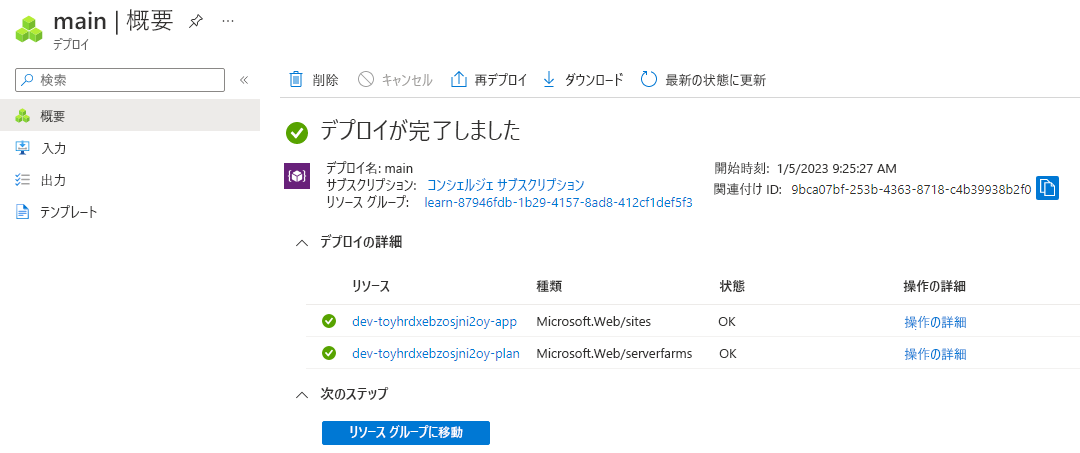
main というデプロイを選択して、デプロイされているリソースを確認し、次に [デプロイの詳細] を選択して展開します。 この例では、App Service プランとアプリがあります。
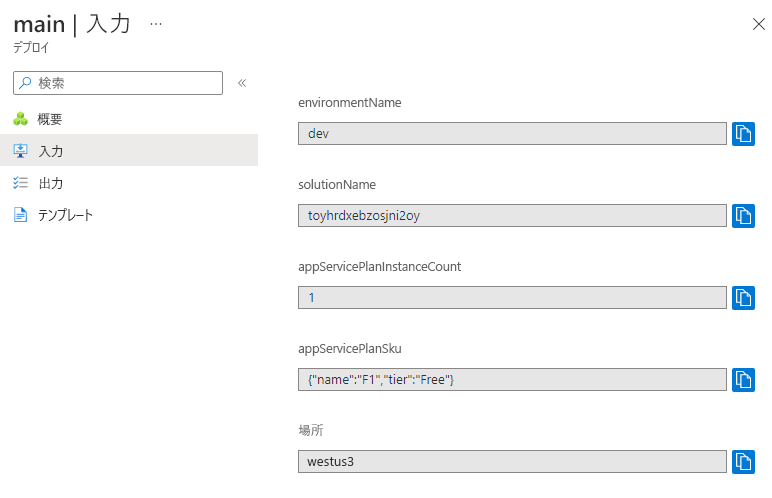
左側のメニューで、[入力] を選択します。
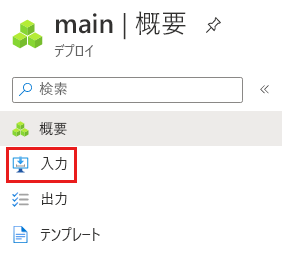
パラメーターとその値が一覧表示されることがわかります。
ブラウザーでページを開いたままにします。 デプロイは後でもう一度確認します。