ADMT 3.2: Interforest Migration - Part 1
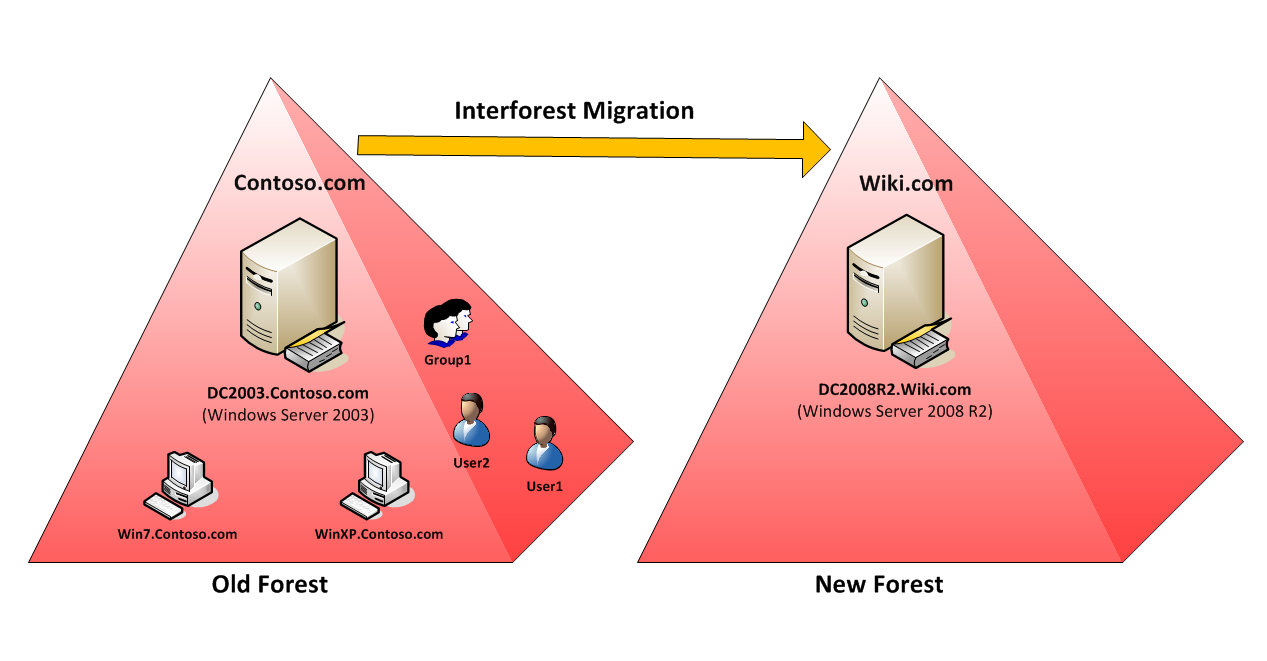
Scenario
In this case, a single forest domain (Contoso.com) that uses a Windows Server 2003 Domain Controller (DC2003) and in this domain, I have two user account (User1 & User2) and two computer account (WinXP & Win7).
Create a new single forest domain (Wiki.com) that uses a Windows Server 2008 R2 Domain Controller (DC2008R2), then I use ADMT 3.2 and migrate accounts to new forest.
Software Requirements
SQL Server
SQL Server 2005 SP4 Express Edition. you can download from here:
ADMT
Active Directory Migration Tool (ADMT) 3.2, you can download from here: Active Directory Migration Tool version 3.2
PES
Password Export Server (PES), you can download from here:
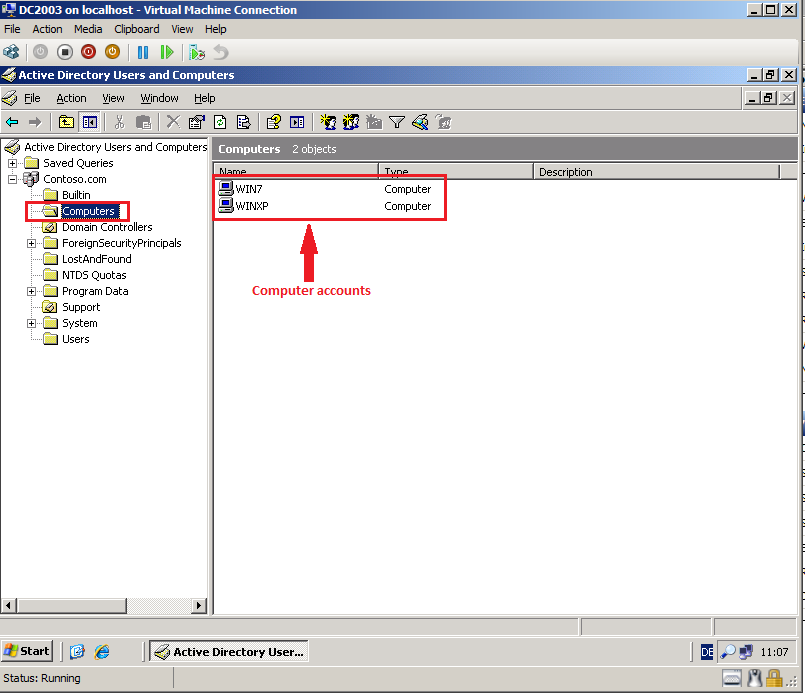
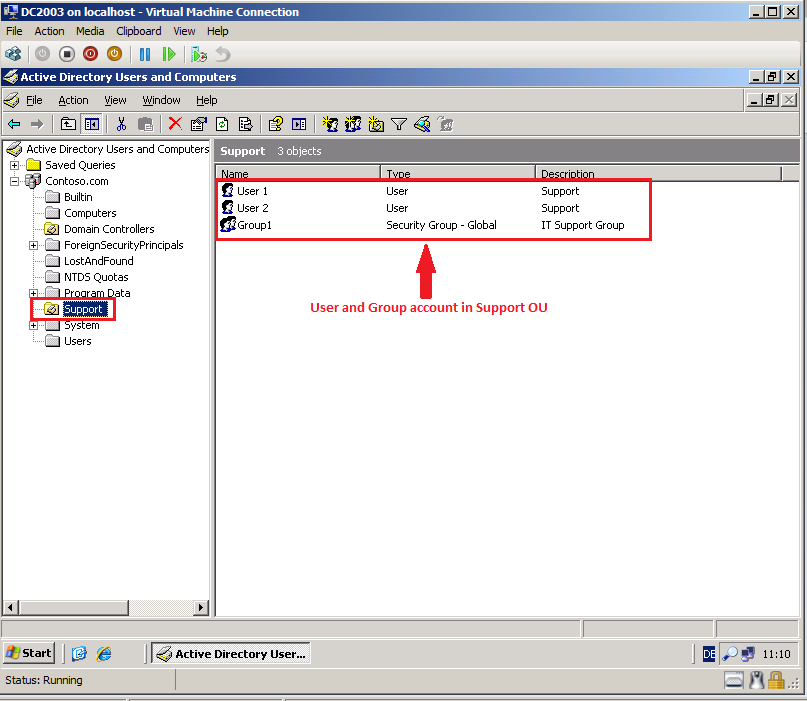
Review Contoso.com Users, Groups and Computer
Computer accounts
User and Group accounts in Support Organization Unit:
Creating first domain in a new forest by installing DC 2008 R2
Now, we create first domain (Wiki.com) in new forest by installing first Windows Server 2008 R2 Domain Controller.
Before installing Domain Controller, set static IP Address on Windows Server 2008 R2.
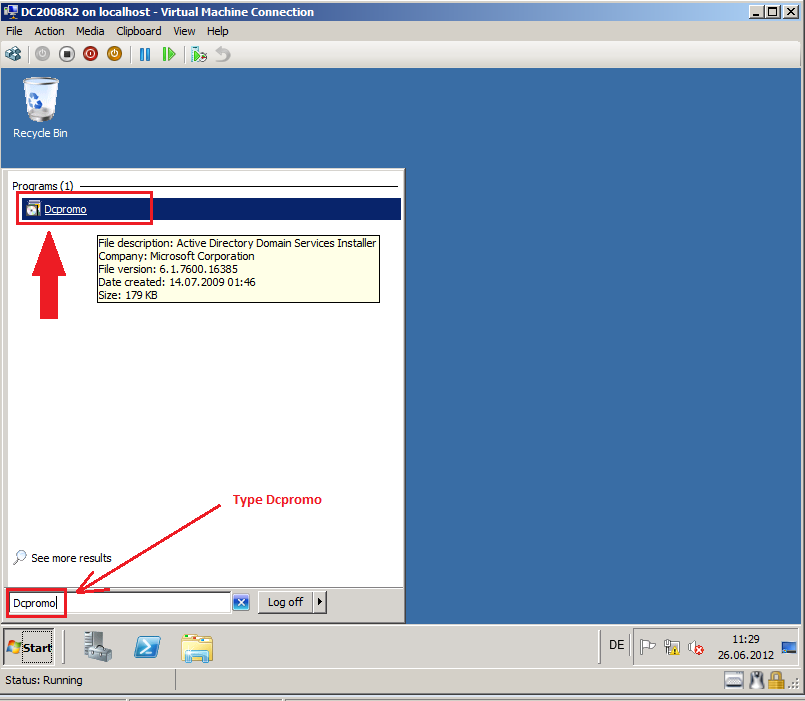
Start the Active Directory Domain Services Installation Wizard by clicking Start, typing Dcpromo in the Search box, and press Enter.
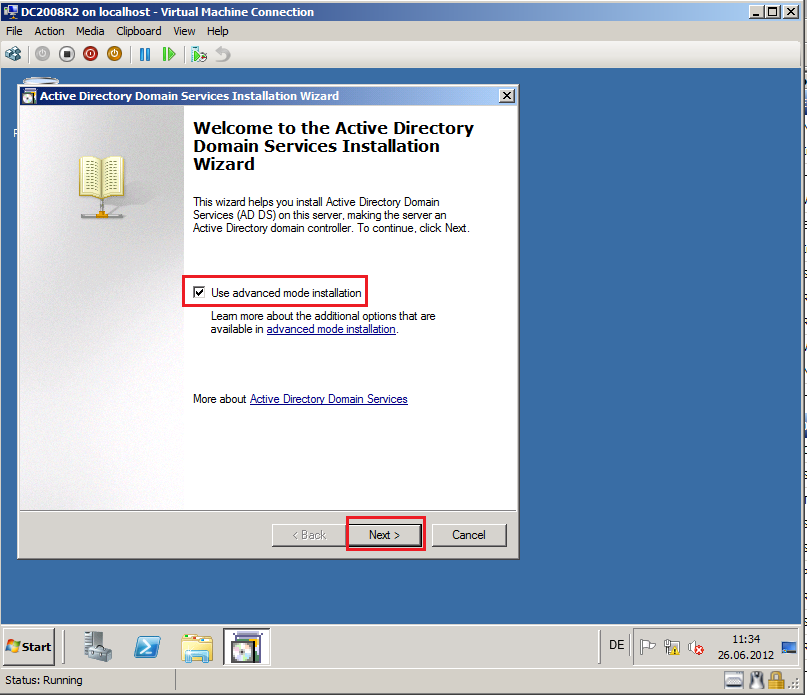
On the Active Directory Domain Services Installation Wizard page, select Use advanced mode installation, then click Next to continue.
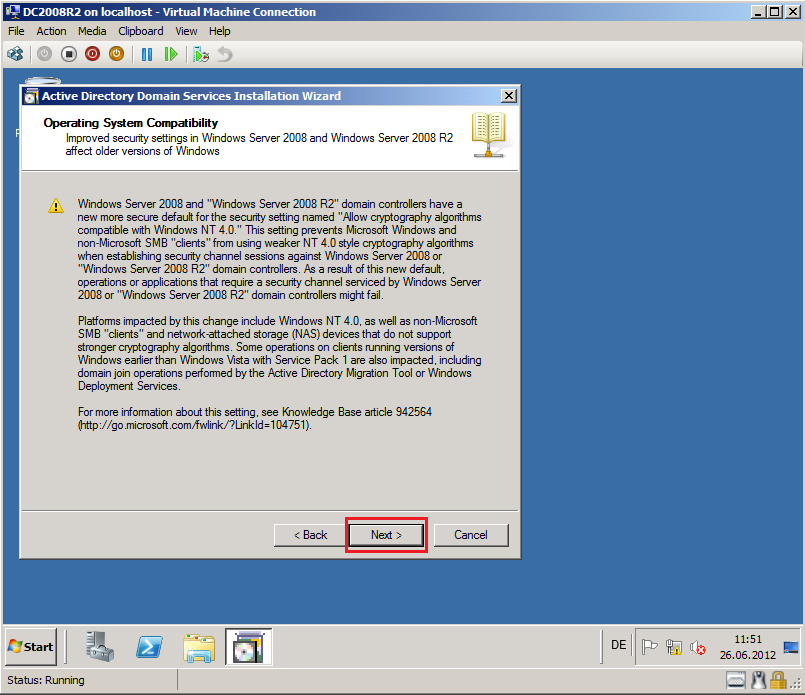
On the Operating System Compatibility page, read warning about the default security settings for Windows Server 2008 domain controllers and then click Next to continue.
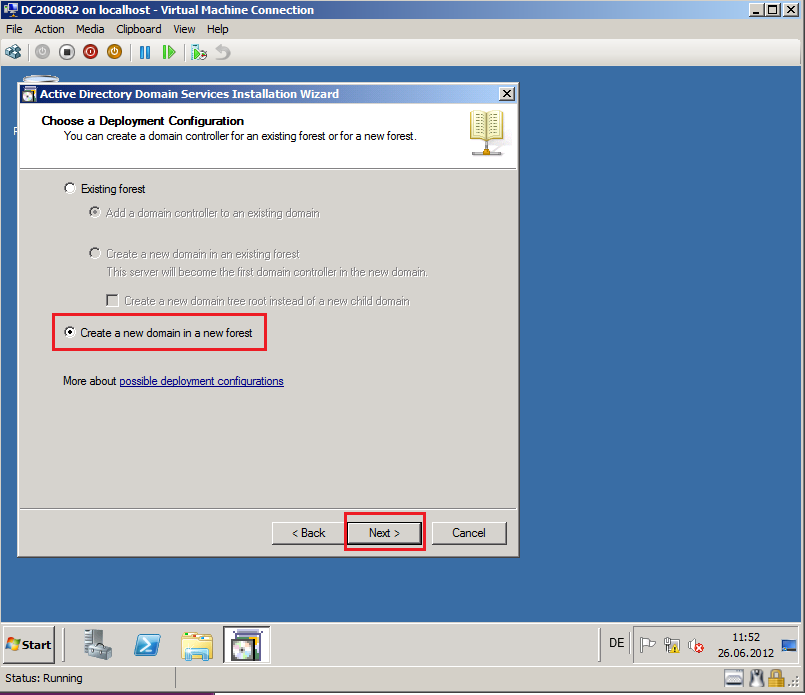
On the Choose a Deployment Configuration page, select Create a new domain in a new forest, then click Next to continue.
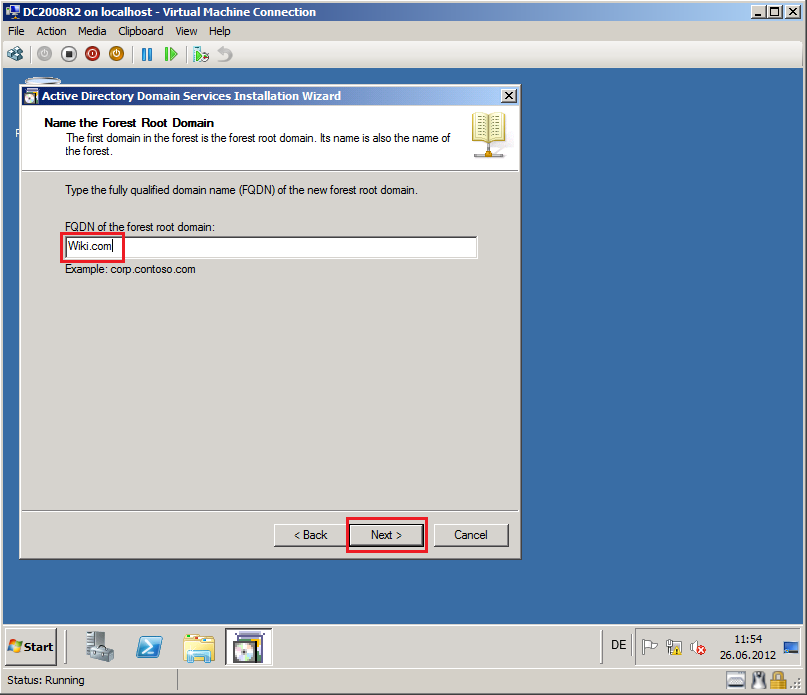
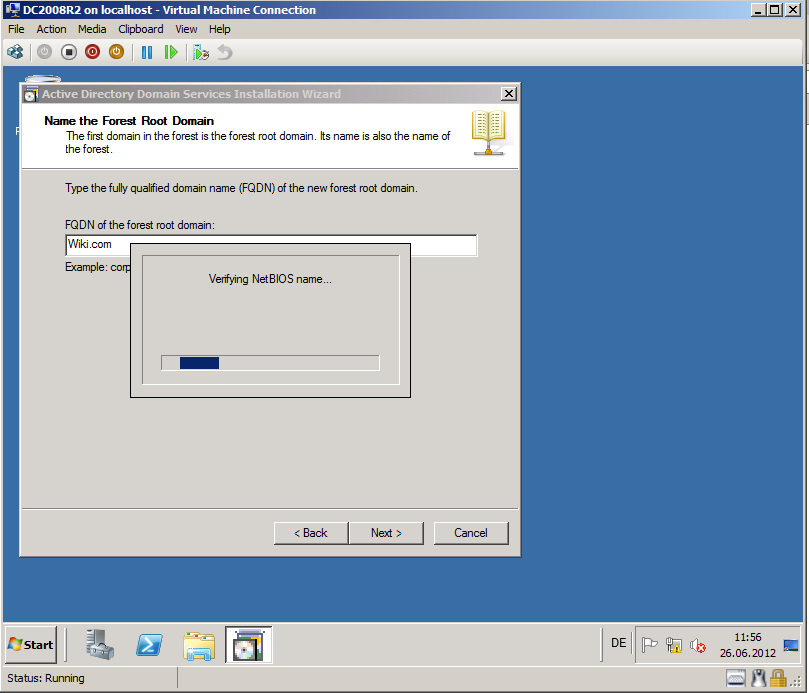
On the Name the Forest Root Domain page, type the full DNS name for the first domain in new forest (in my case is Wiki.com), and then click Next to continue.
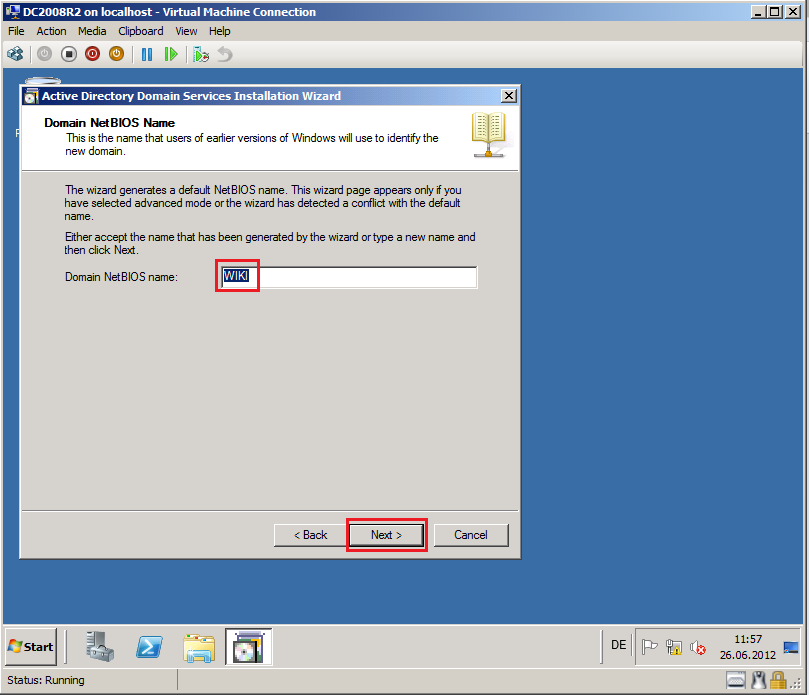
On the Domain NetBIOS Name page, set the NetBIOS name for domain (in my case is Wiki), and then click Next to continue.
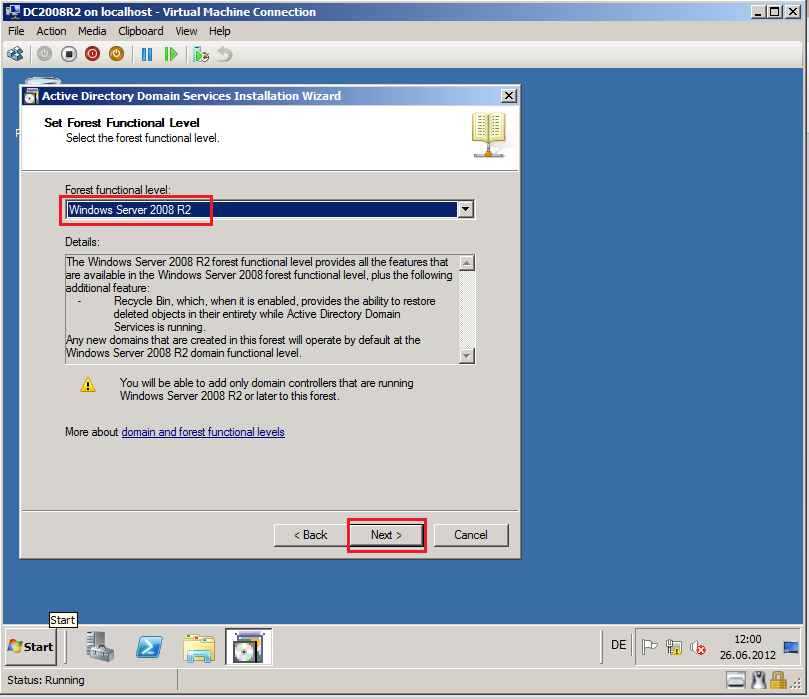
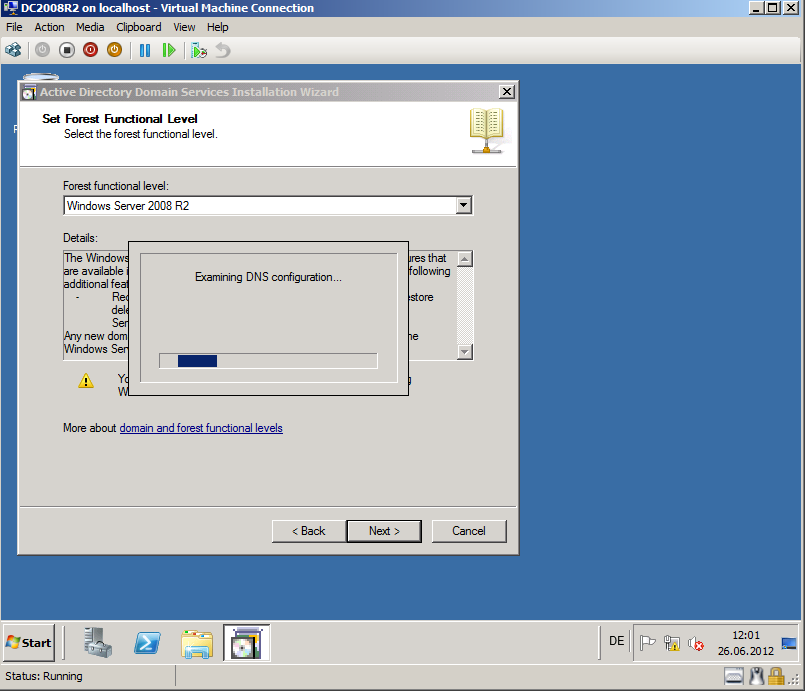
On the Set Forest Functional Level page, choose the functional level for the new Active Directory forest (in my case is Windows Server 2008 R2), then click Next to continue.
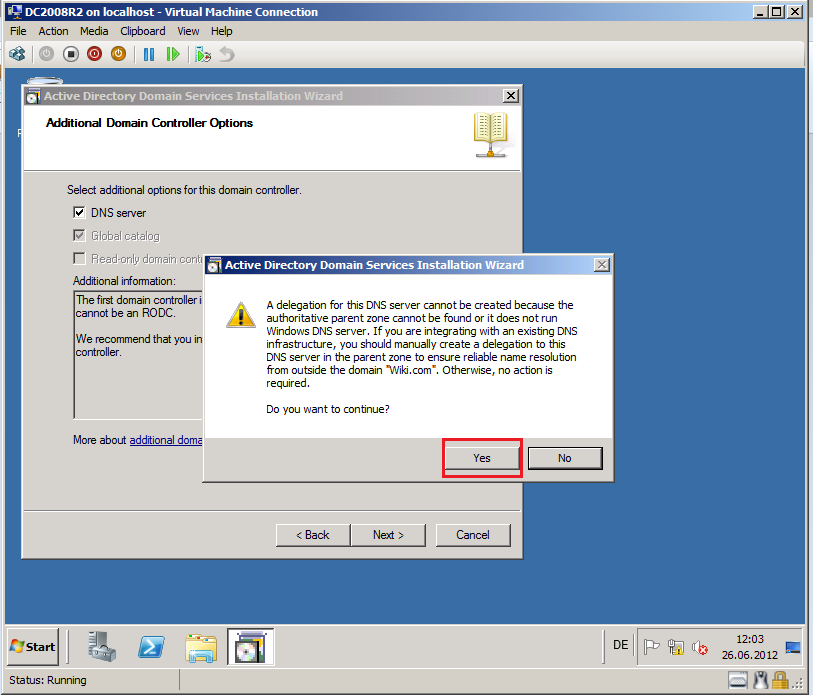
On the Additional Domain Controller Options page, select DNS Server check box, and then click Next to continue.

The wizard attempts to register a delegation for the DNS server with an authoritative parent zone, click Yes to continue.
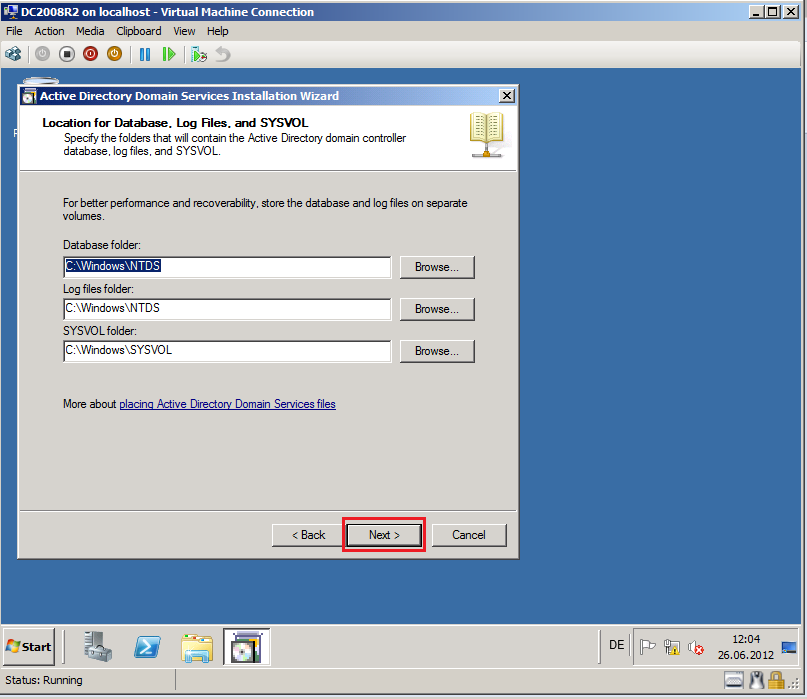
On the Location for Database, Log Files, and SYSVOL page, click Next to continue.
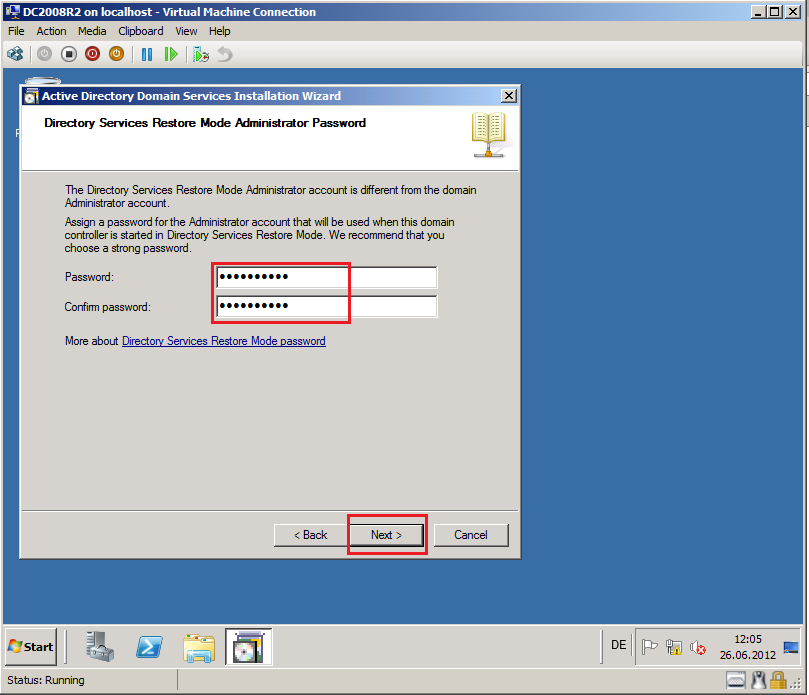
On the Directory Services Restore Mode Administrator Password page, type and confirm the password, and then click Next to continue.
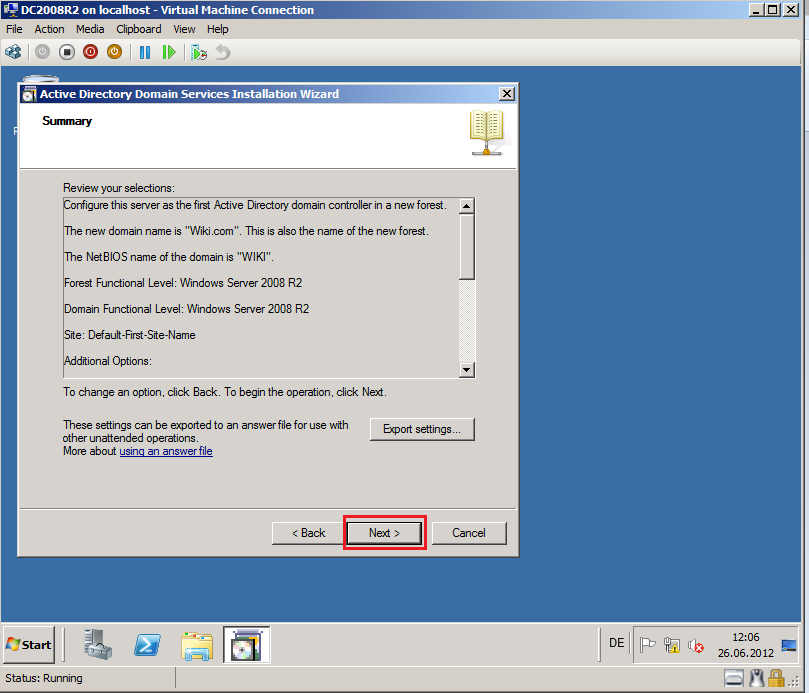
On the Summary page, review the installation options, and then click Next to continue.
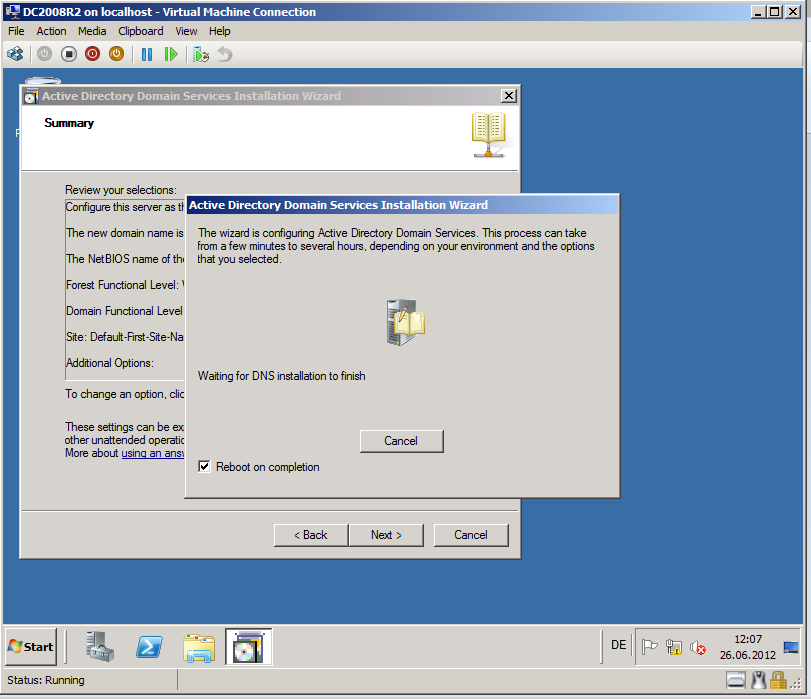
Select Reboot on completion check box, when the wizard finishes configuring Active Directory, restarts the computer.
After restarting, press CTRL + Alt + Del keys to logon on Domain Controller.
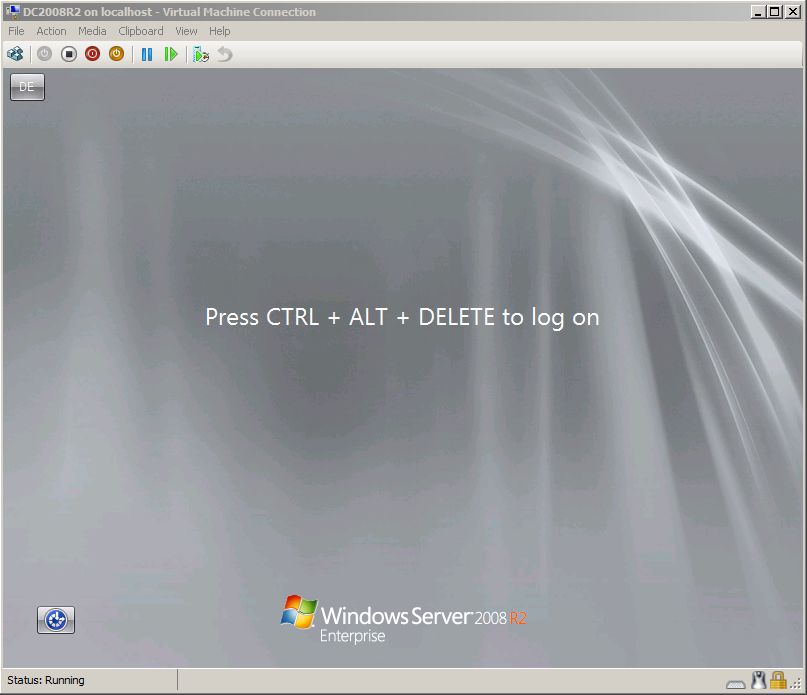
Type your Administrator Password and press Enter.

Verifying, Configuring and testing DNS Server after installation
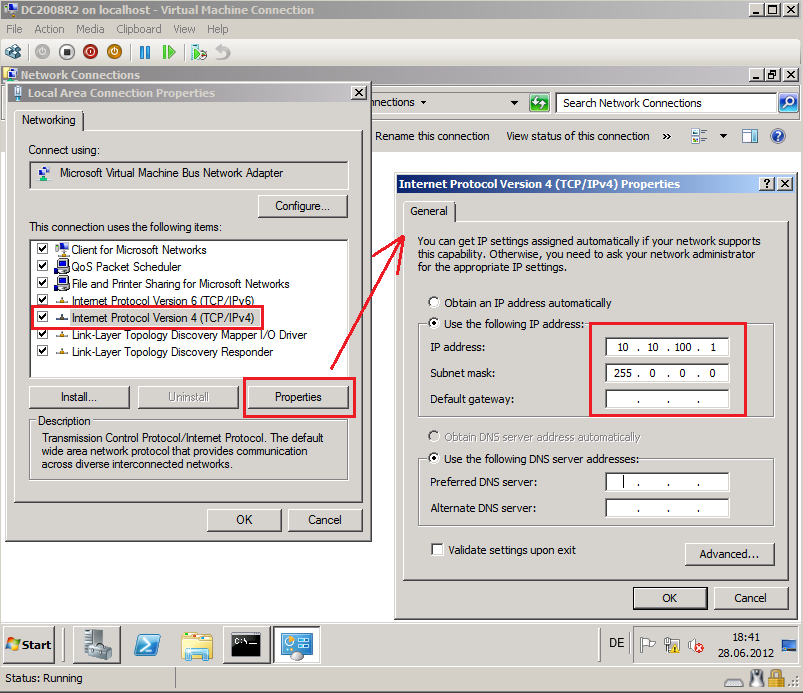
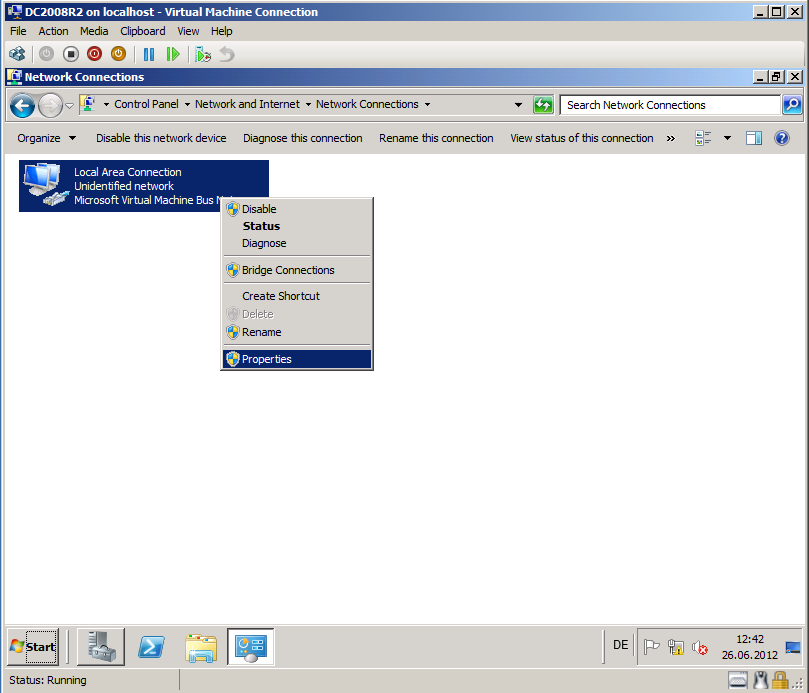
After logon, go to Network Connections, right click on NIC, select Properties.
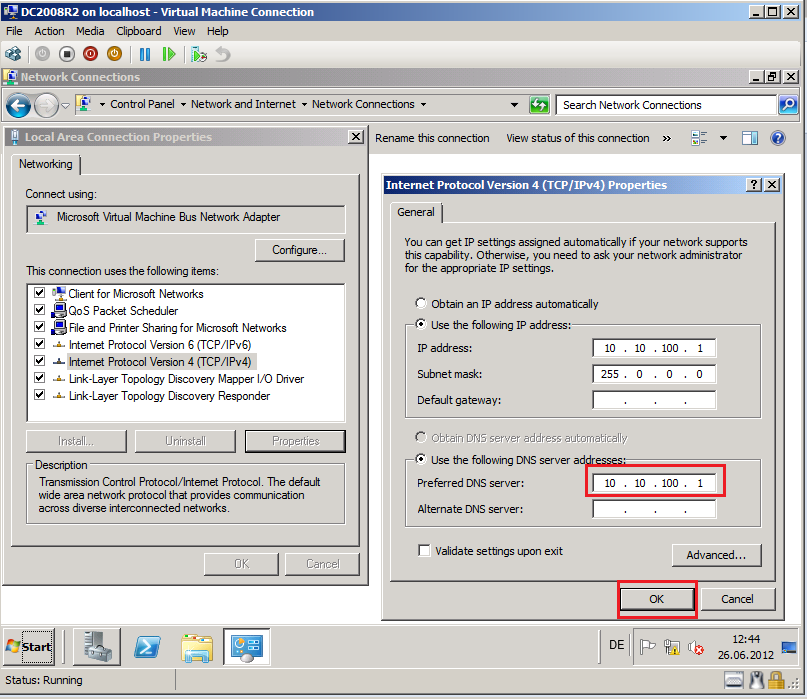
Select Internet Protocol Version 4 (TCP/IPv4), click Properties. Remove 127.0.0.1 from DNS Client (Preferred DNS server).
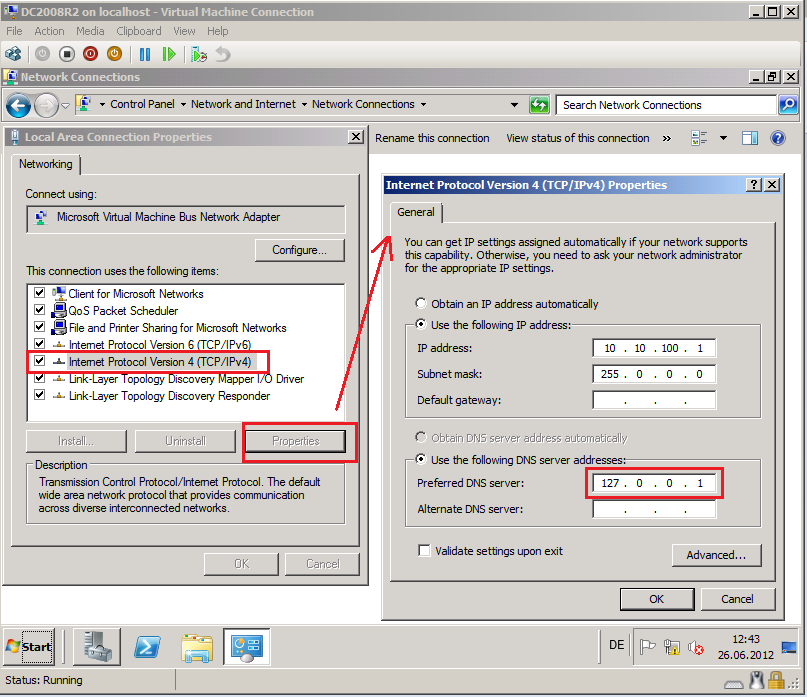
Set DNS server IP Address on DNS Client (in my case is 10.10.100.1) and then click OK.
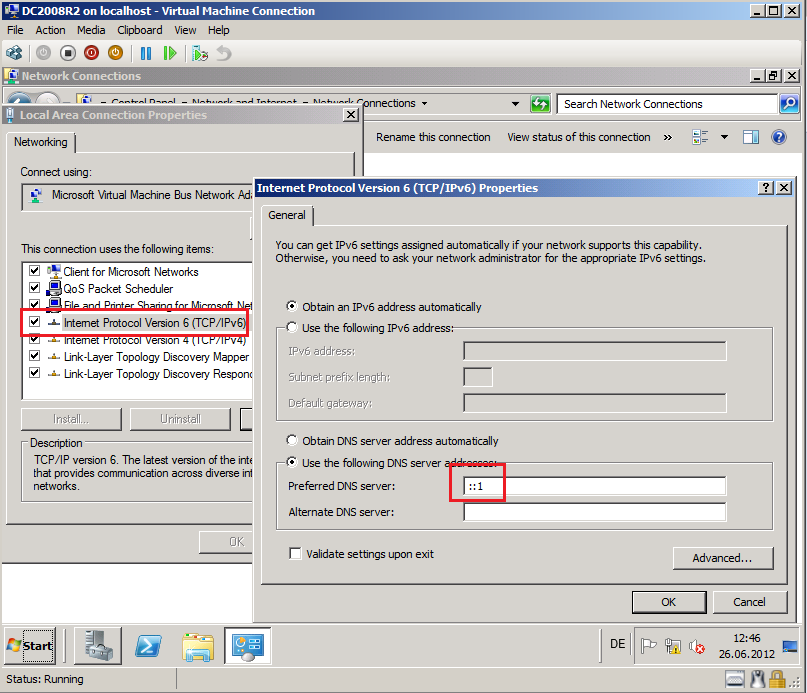
Select Internet Protocol Version 6 (TCP/IPv6), click Properties. Remove ::1 (::1 is 127.0.0.1) from DNS Client (Preferred DNS server).
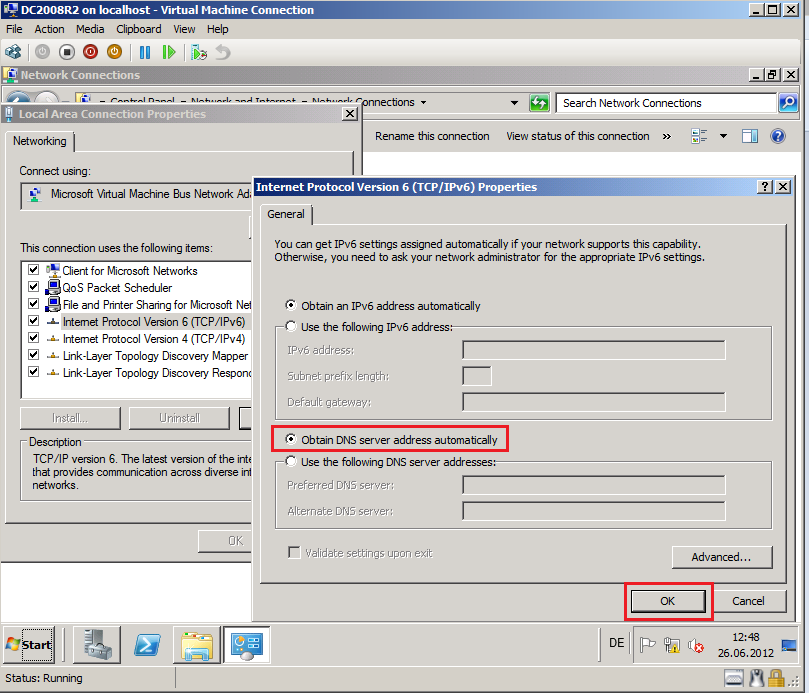
Set IPv6 DNS Client on Obtain DNS server address automatically, then click OK.
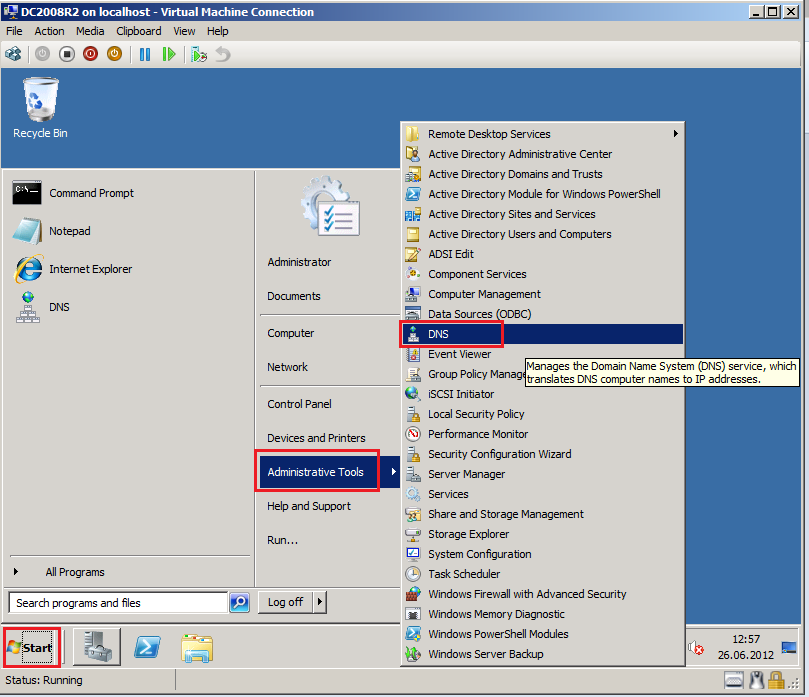
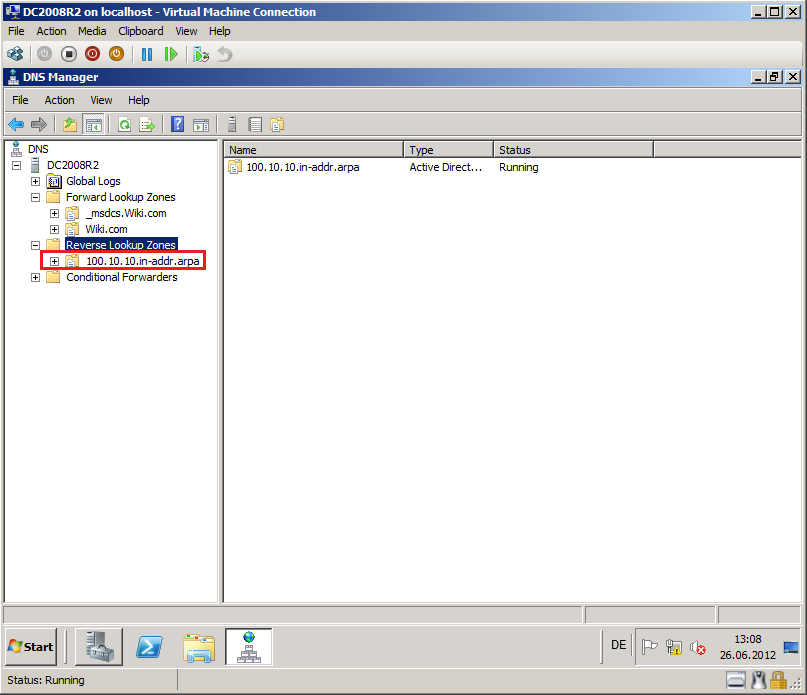
We need to create new Reverse Lookup Zones. Click Start, Administrative Tools, DNS and open DNS console.
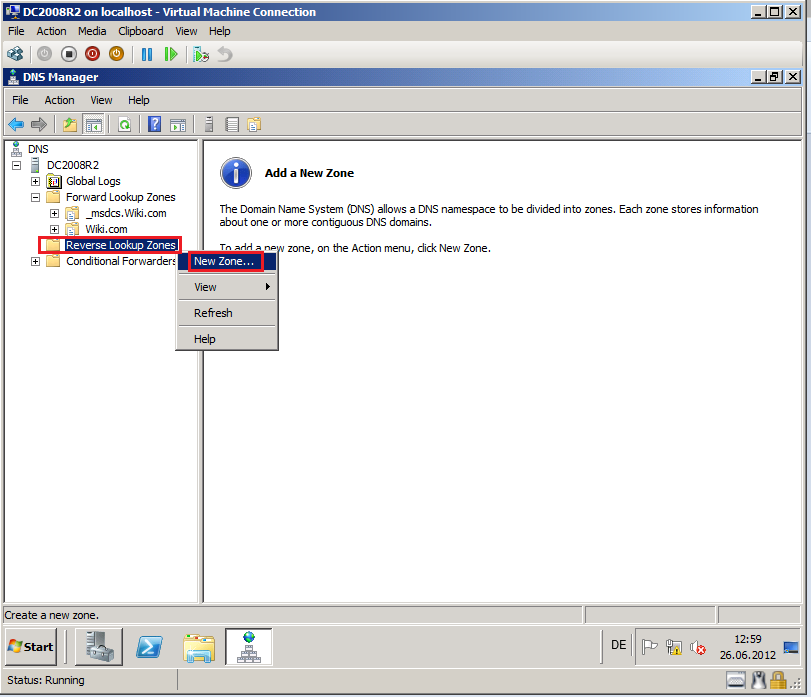
Right click on Reverse Lookup Zones, click New Zones.
On the Welcome to the New Zone Wizard page, click Next to continue.

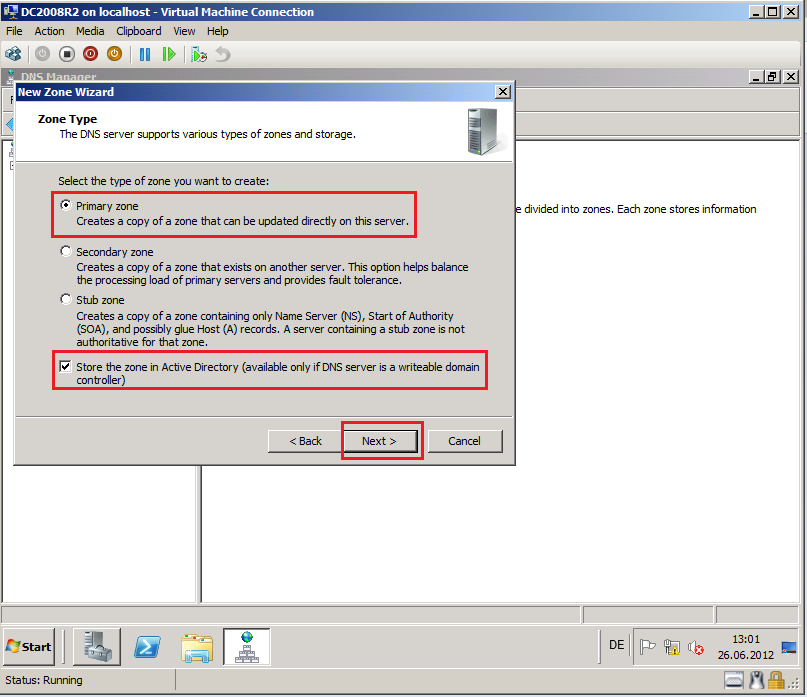
On the Zone Type page, select Primary zone, then select Store the zone in Active Directory (available only if DNS server is a writeable domain controller) check box and then click Next to continue.
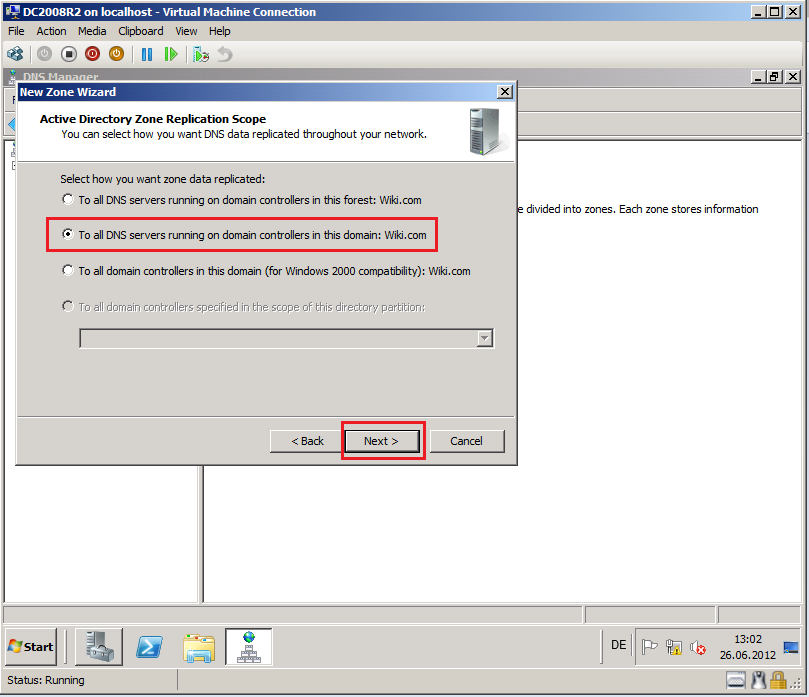
On the Active Directory Zone Replication Scope page, select To all DNS servers running on domain controllers in the this domain: Wiki.com, and the click Next to continue.
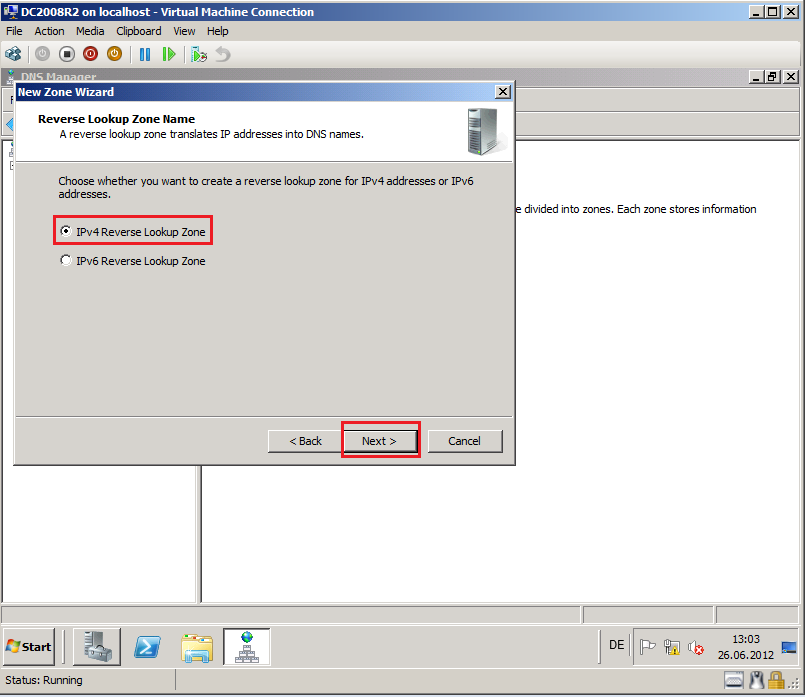
On the first Reverse Lookup Zone Name page, select IPv4 Reverse Lookup Zone, and then click Next to continue.
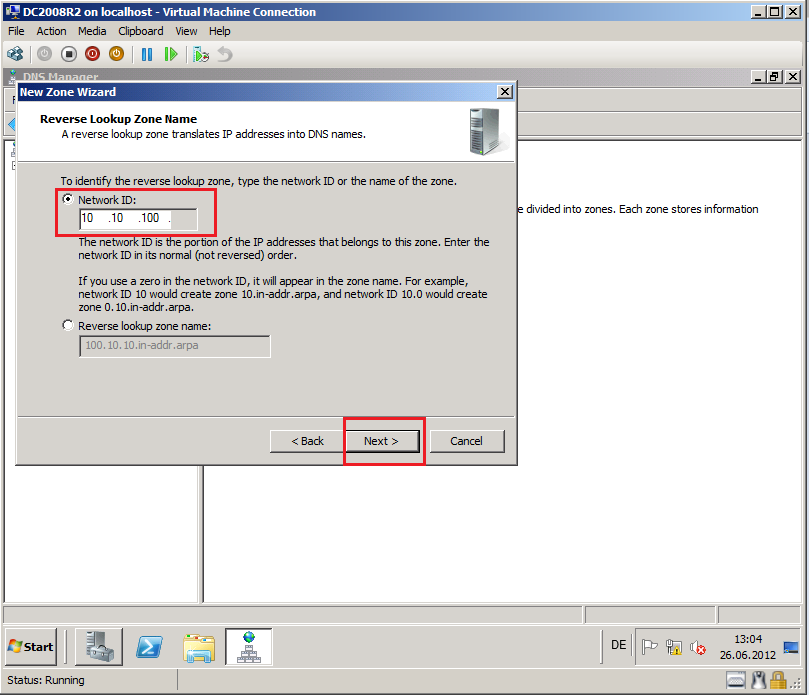
On the second Reverse Lookup Zone Name page, Type your Network ID (in my case is 10.10.100), then click Next to continue.
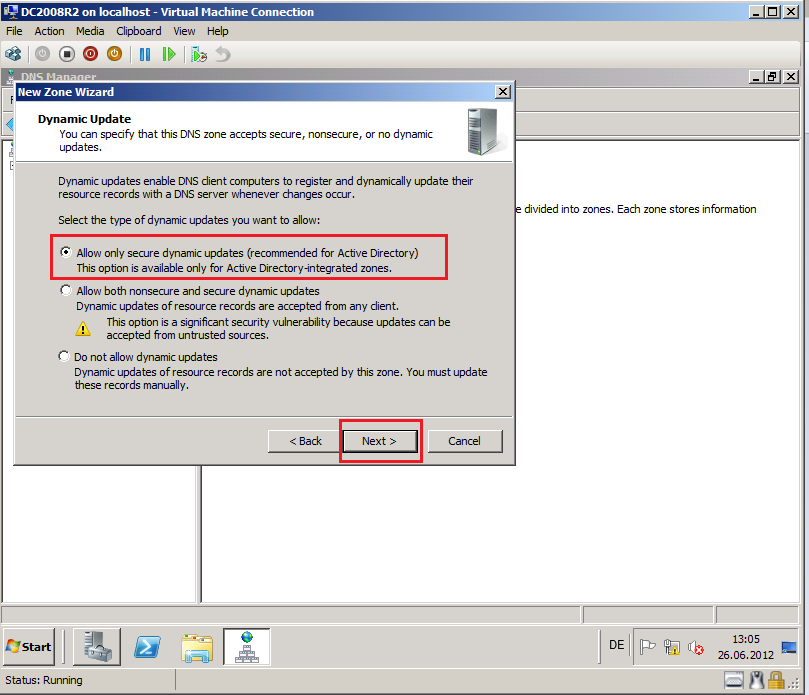
On the Dynamic Update page, select Allow only secure dynamic update (recommended for Active Directory), and then click Next to continue.
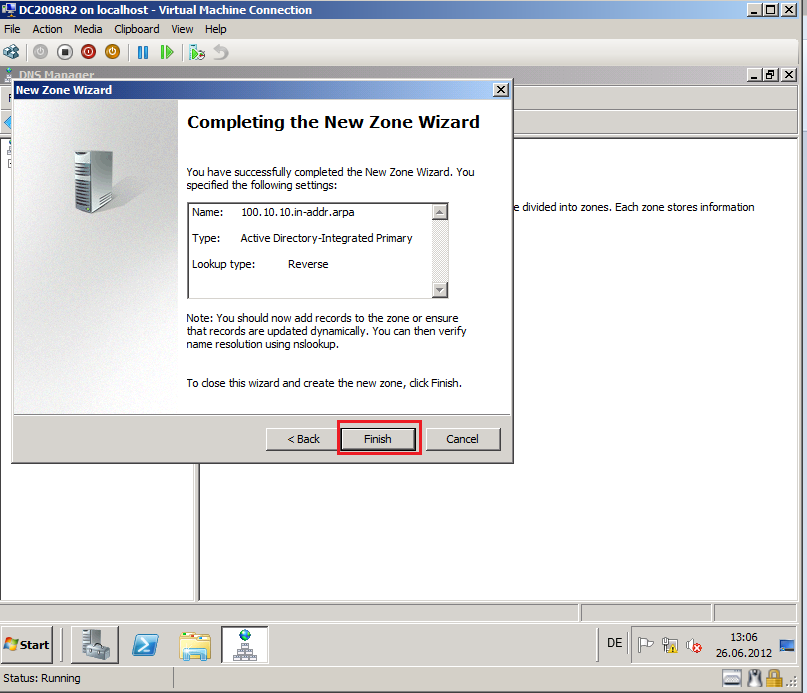
On the Completing the New Zone Wizard page, click Finish.
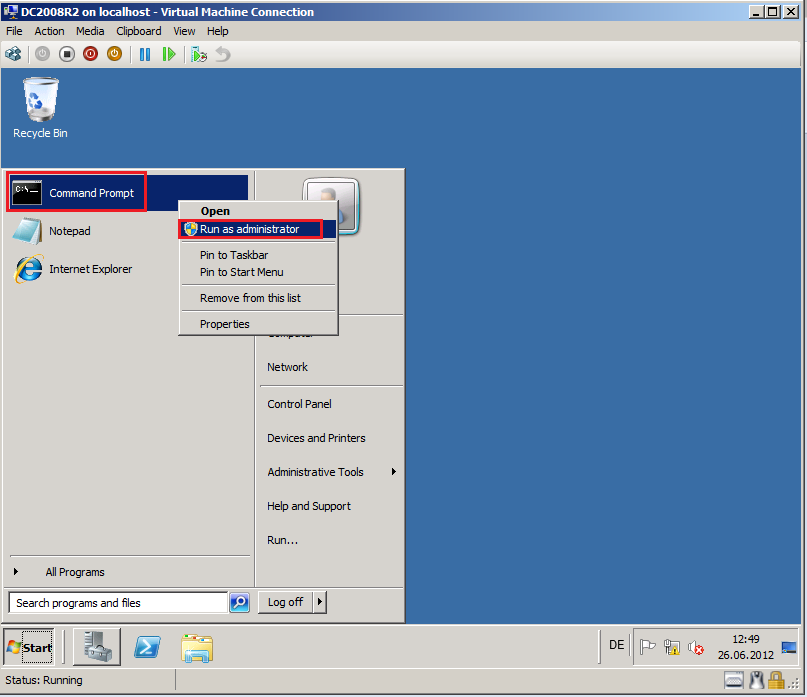
Now, select Start, right click on Command Prompt and click Run as administrator.
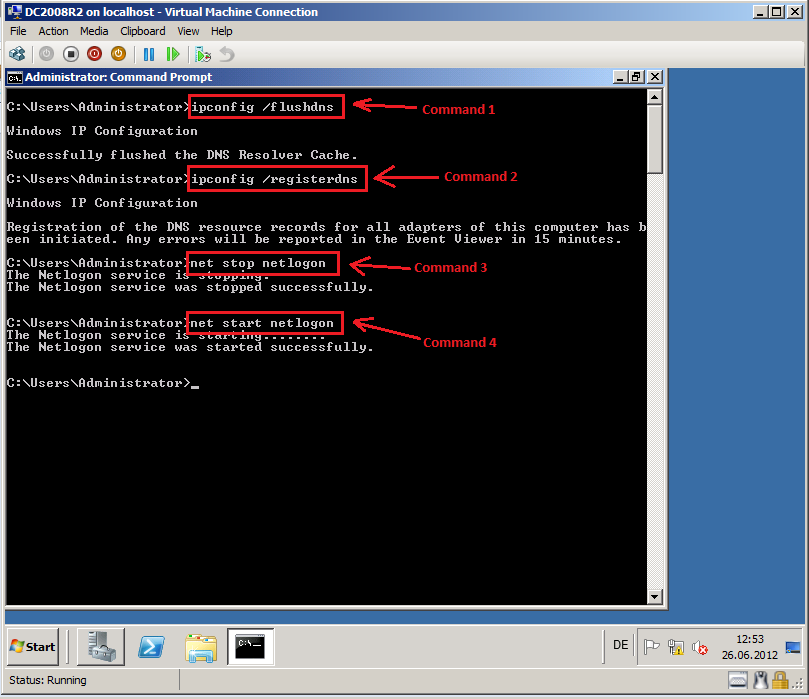
Run this commands:
ipconfig /flushdns

ipconfig /registerdns

net stop netlogon

net start netlogon
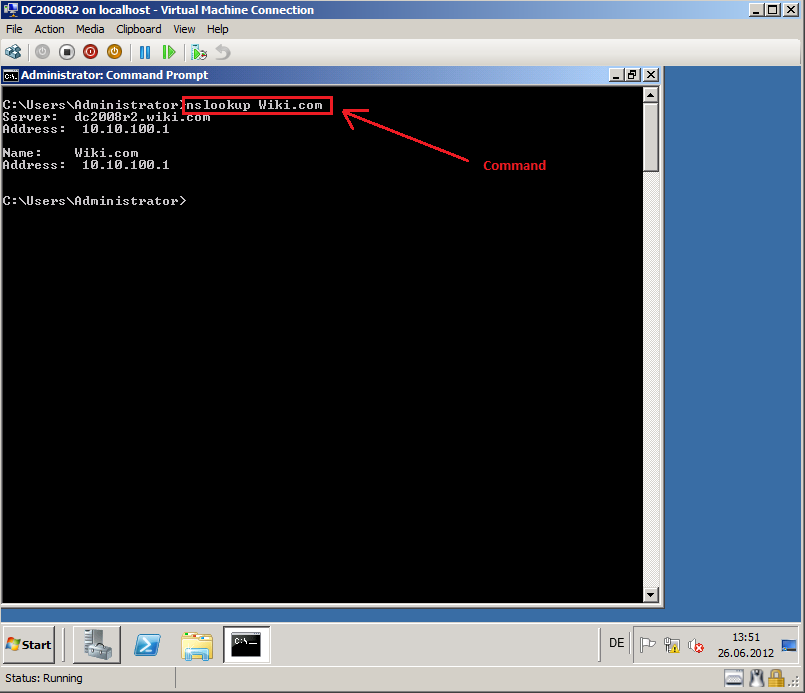
Now, run this command to check DNS server name resolution:
nslookup Wiki.com
See Also
Article Collection
Translated to Farsi