Deep Dive into Resource Plans for Project Server 2013
Deep Dive into Project Server 2013 Resource Plan
The resource plan for forecasting is a tool for estimating the amount of a project in the very early stages project initiation. In fact, during the early phase of the proposal, the resource plan is used to layout any possible resources that may be required. It is very rough estimate. For example, your early guess estimate may say something like, needs a few months of a business analyst time, six months of a project manager, three months of a software developer, one month of database administrator and two months of a tester.
The first step in using a resource plan, is to first create a project in PWA. The project (really a proposal at this point in time), needs a project name and estimate start date. The estimate date probably needs to be out 6 months or a year, because nothing happens right away. Once that is complete, you will have something like below. The Project tab shows the “Resource Plan” in the ribbon.
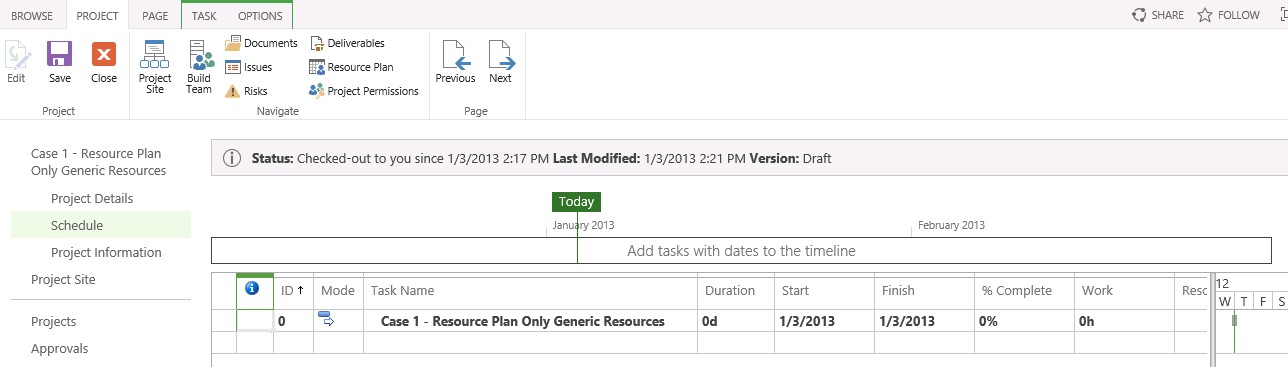
Click the resource plan button on ribbon for the following screen.

Save: Obviously the button to save your resource plan.
Publish: This may not be obvious, but the resource plan cannot be seen by other or the portfolio analysis until it is published. Once your resource plan is complete, be sure to publish and have the “Calculate from: Resource Plan” selected.
Close: Closes the resource plan and checks your work back in.
Build Team: Use this button to add generic or real resources to resource plan. It’s best to start off with generic resources but some organizations really want real people. It’s really not a good idea when the proposal is in such an early state.
Edit Details: Allows the portfolio analyst to select a resource and edit the details of the resource. I find it useful to see details about the resource. For example, you may be interested in seeing the resource Cost Code or timesheet manager.
Calculate from: This tells the portfolio analysis to use the resource estimate from either the “resource plan”, the “project plan” or “project plan until”. The setting of this property is not obvious. Basically during the portfolio analysis process, the portfolio analysis engine needs to determine if resource load should use the “resource plan” or “project schedule”. In the early phase of estimation, the resource plan has the rough estimate, however as the project scope is further defined, and the resource estimate is more accurate in the project schedule. It is at this point, the setting needs to be change to use the “Project Plan”.
For rolling estimates, you may have parts of the project in execution and resource plan for other phases. In this scenario, the “Project plan until” option allows the portfolio to split the resource estimate between the project plan and resource plan.
Date Range: Defines how large the estimation period is for the resource plan. Six months is always a good starting point for building most projects. However, it really depends on the project life cycle and your project scope.
View: Resource Plans is the only one out-of-box. Additional views can be created in the “Manage Views” under the “Server Settings”
Work Units: The available chooses are “Days”, “Hours” or “Full-time Equivalent”. This is mostly the prevalence that the PMO or portfolio analyst likes to use. I like using “Hours”, because I think it provides a closer estimate.
Timescale: The available options are “Days”, “Weeks”, “Months”, “Quarters” or “Years”. This again is mostly a preference on how much detail you want to work with. I prefer working in months, however from a higher view of all the company’s proposals, a quarter or year timescale may work best. A better decision as to which to use can be made once you have done a few proposals.
Export to Excel: Once you have entered some estimates in the resource plan, you can then export into an Excel spreadsheet.
Print: It prints your resource plan. What else can I say about this?
Resource Availability: Allows portfolio analyst to look at the resource availability from this page.
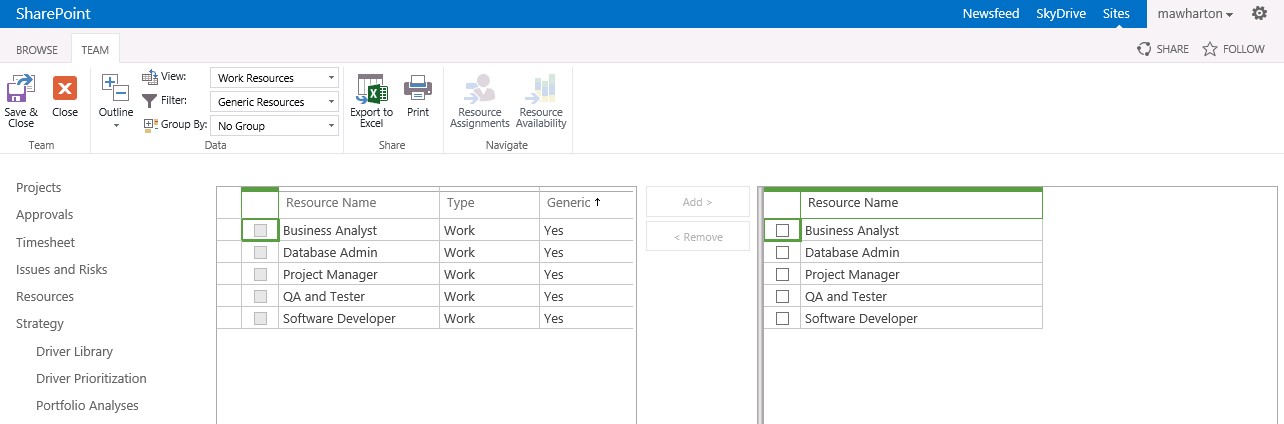
The next step in creating a resource plan is to “Build Team”. It’s best to use generic resources, however it can be done using real people. Filter the view based on “Generic Resources”. Select the resources by checking the name and clicking “Add” to move the resources to build your team. Then “Save & Close” to return back to the resource plan.
Once the team is built, the portfolio analyst or proposal review can start forecasting the amount of effort for the proposal.

In the example above, I have loaded hours for each month generic resource. Notice that the resource load have different peaks and valleys, because the resource involvement in the project will vary during the different stages.
Also notice, that the “Calculate from” shows “Resource Plan”. The default is “Project Plan”, however using a proposal workflow (or sample workflow), the resource plan is develop prior to any WBS or deliverables have been defined.
Finally, the resource plan should be publish, because when this action occurs the plan is ready for others to consider it.
Summary: The resource plan is a 1000 foot view of what the resources may be for a project. It is before major deliverables have been defined. It is a SWAG (Scientific Wide Ass Guess). It’s not expected to be exact and provides room for raising or lowering the estimated effort. The key take away from this plan, is that it provide input to the Portfolio engine when the portfolio analyst or PMO start evaluating proposals. The reason plan indicates the resource load estimate should either come from the resource plan or the project schedule or perhaps both.
Later I will discuss some other ways to create the resource estimate by using a project schedule.