ADMT 3.2: Interforest Migration - Part 2
Creating Trust Relationship
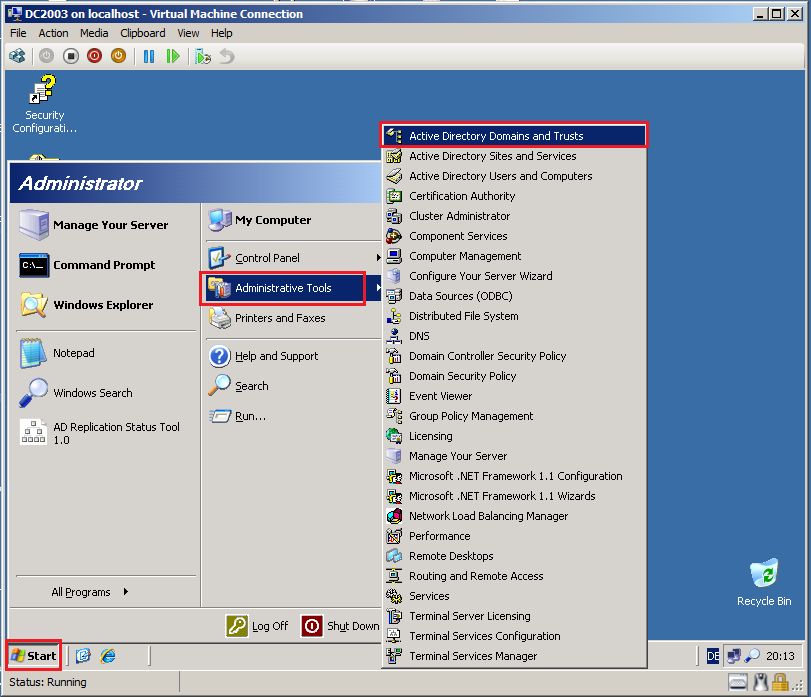
Click Start, then Administrative Tool, open Active Directory Domains and Trusts.
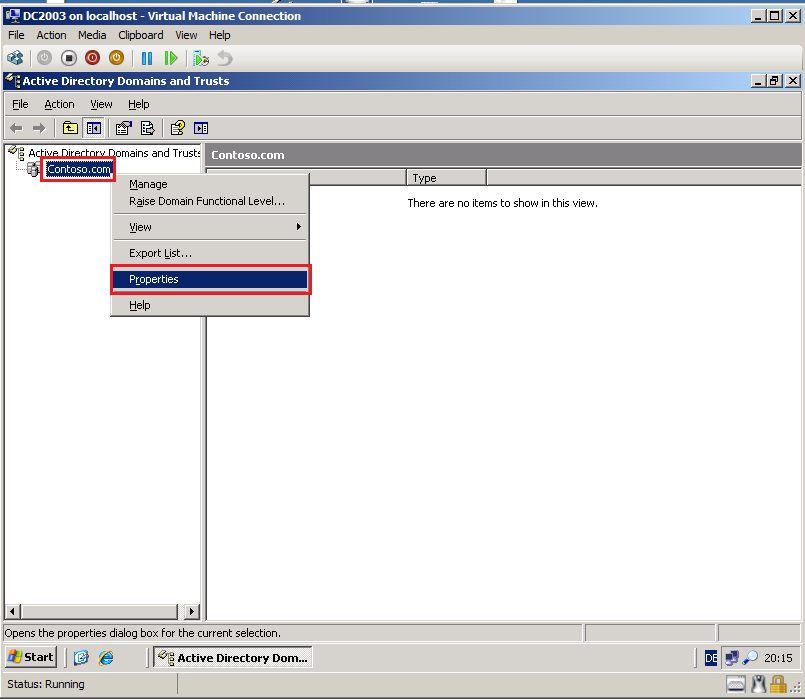
Right click on the domain (Contoso.com), then click Properties.
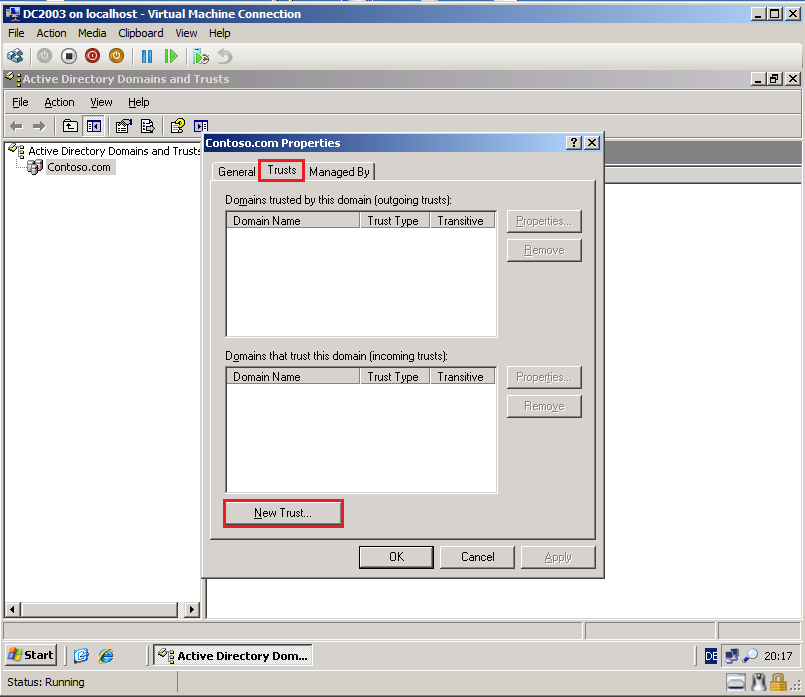
Click Trusts tab, then select New Trust.
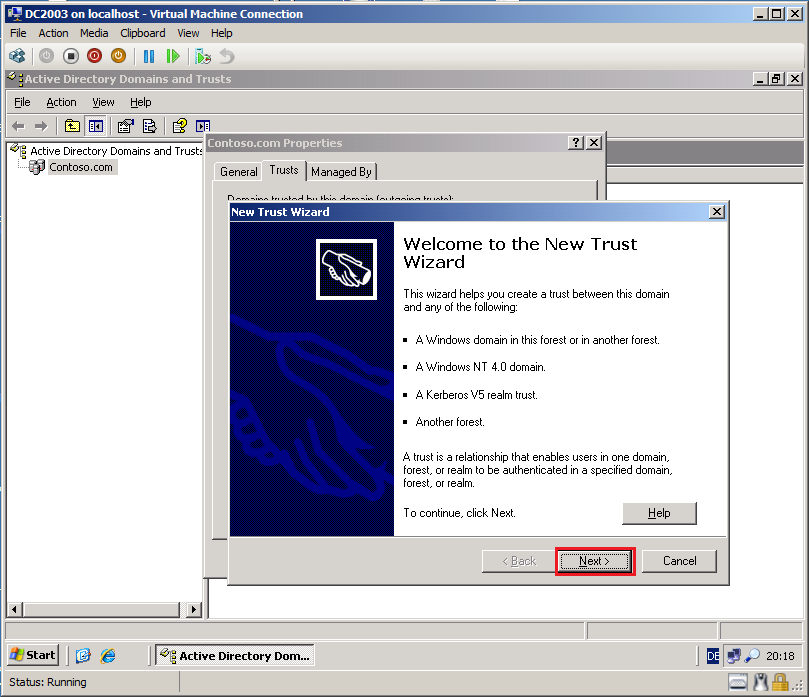
On the Welcome to the New trust Wizard page, click Next.
On the Trust Name page, write target DNS domain name (Wiki.com), then click Next.

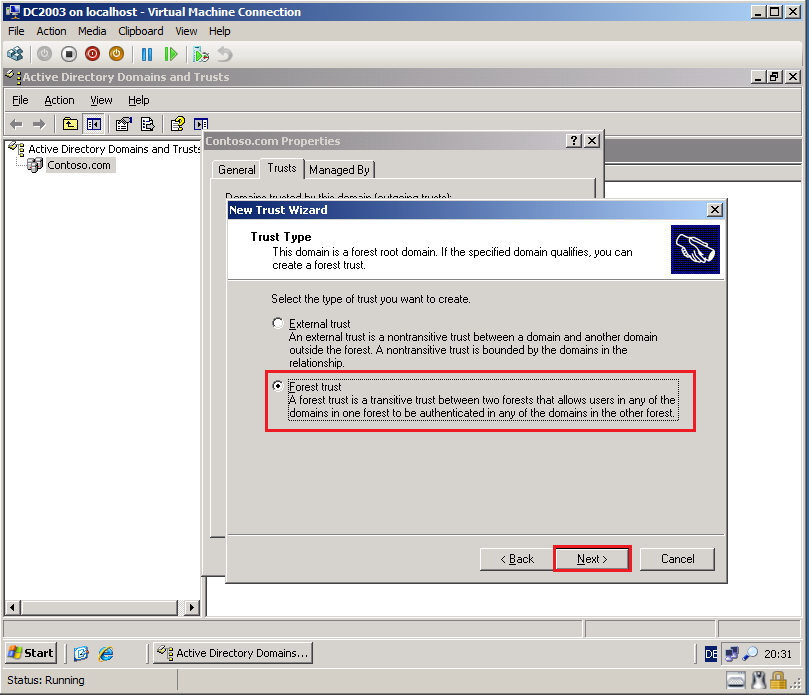
On the Trust Type page, select Forest trust, then click Next.
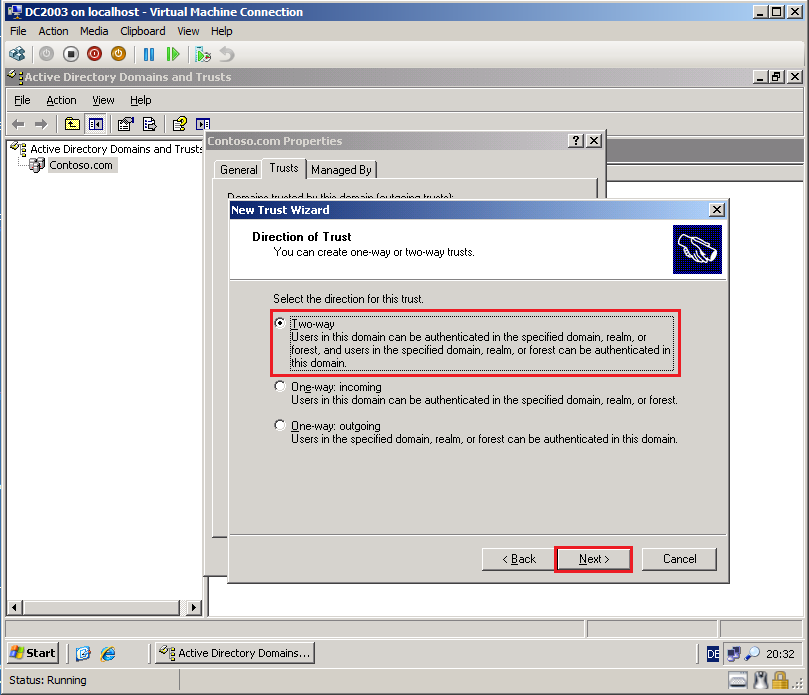
On the Direction of Trust page, select Two-way, then click Next.
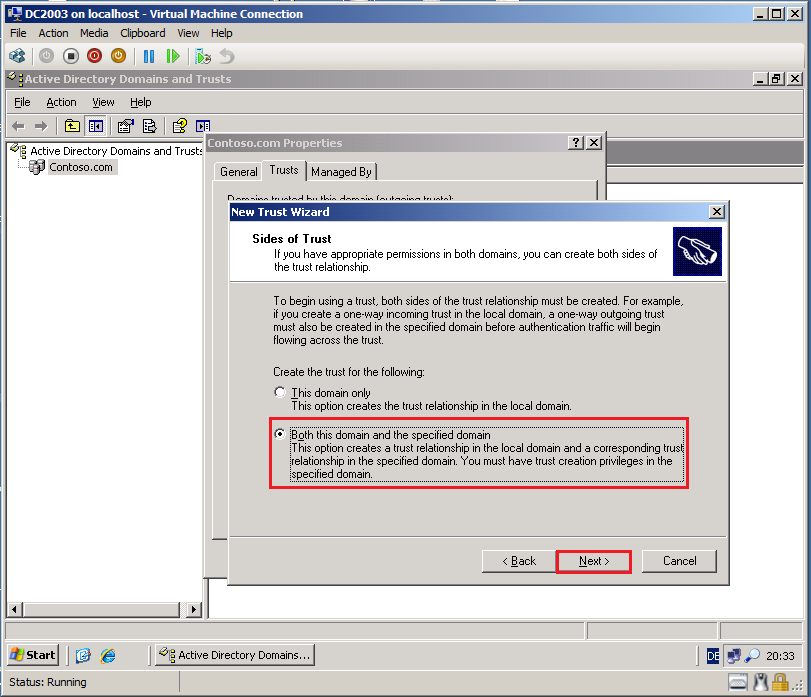
On the Sides of Trust page, select Both this domain and the specified domain, then click Next.
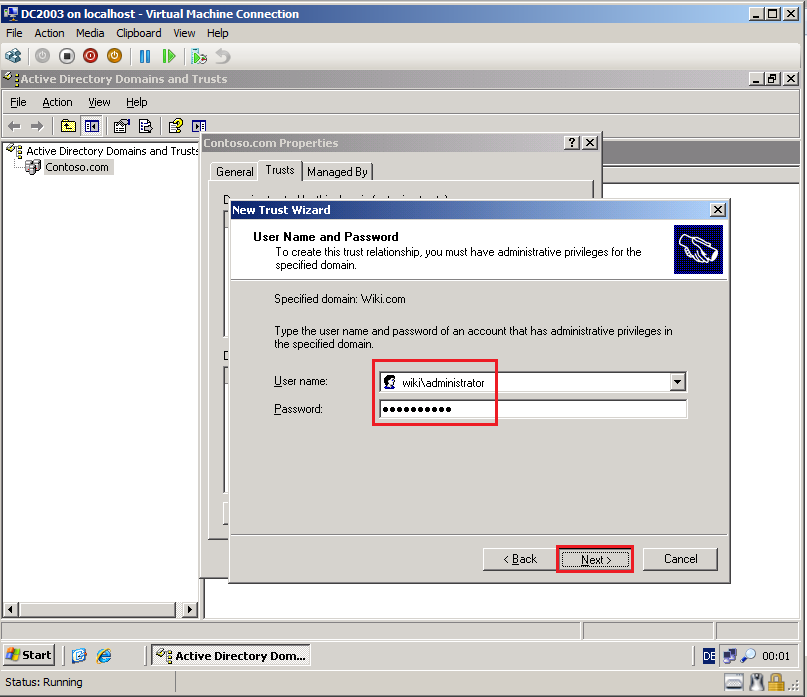
On the User Name and Password page, write domain administrator credentials for the target domain (Wiki.com).
On the Outgoing Trust Authentication Level-Local Forest page, select Forest-wide authentication, then click Next.
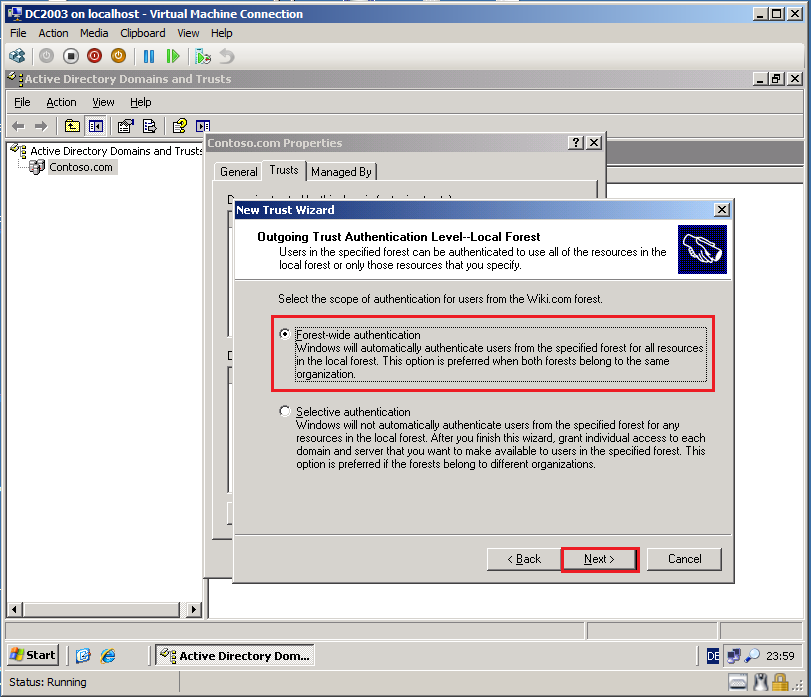
On the Outgoing Trust Authentication Level-Specified Forest page, select Forest-wide authentication, then click Next.

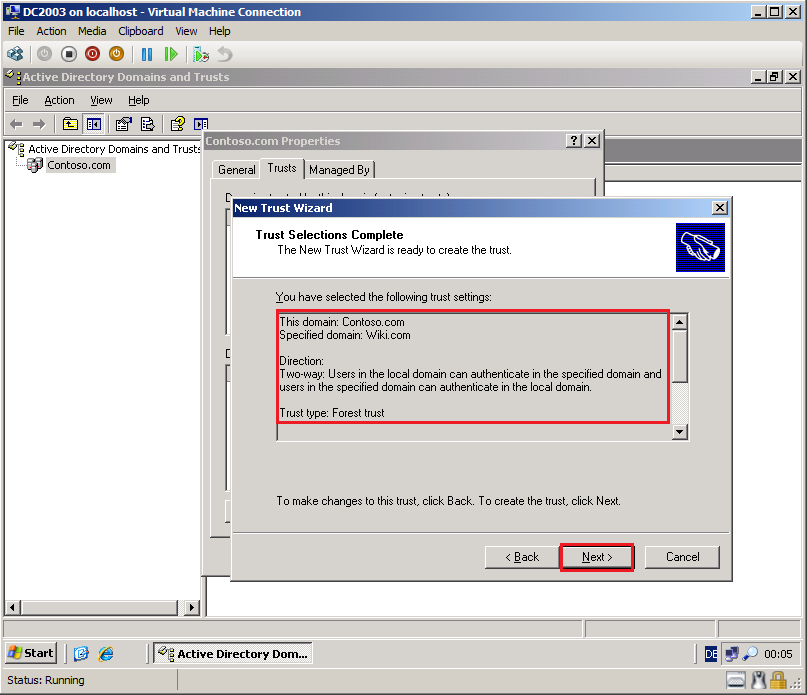
On the Trust Selections Complete page, review your settings, then click Next.
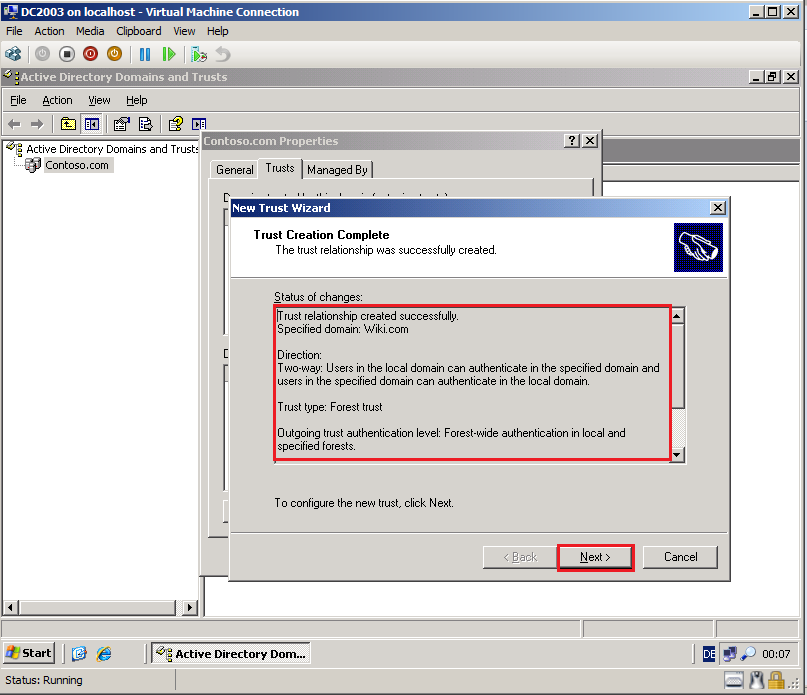
On the Trust Creation Complete page, review your settings, then click Next.
On the Confirm Outgoing Trust page, select Yes, confirm the outgoing trust, then click Next.

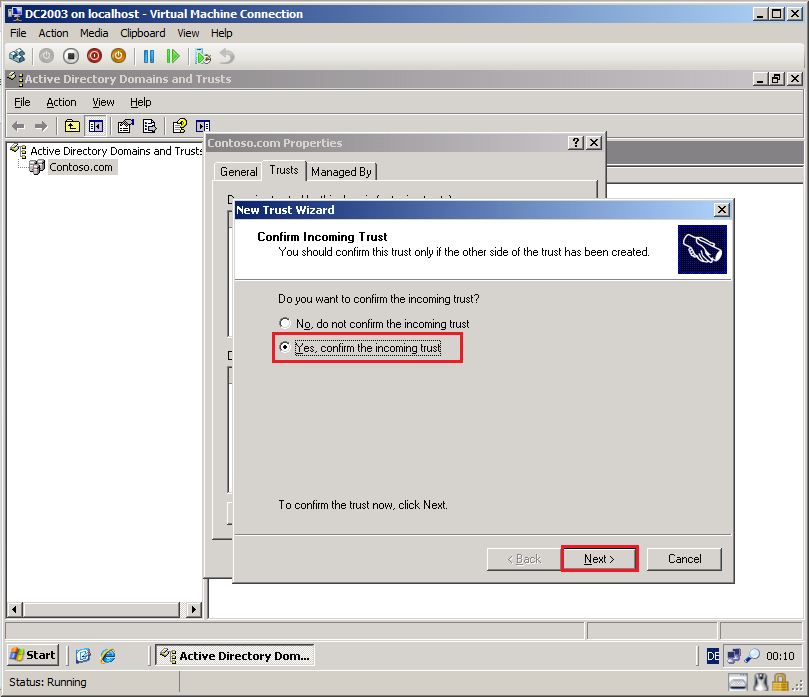
On the Confirm Incoming Trust page, select Yes, confirm the incoming trust, then click Next.
On the Completing the New Trust Wizard, click Finish.

Click OK to close Properties page.
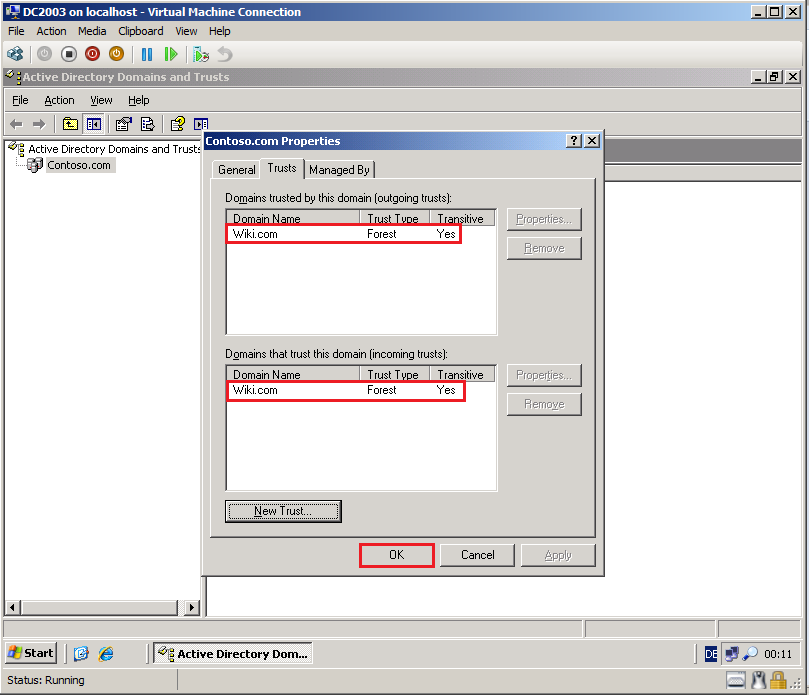
Now, we need to validate Trust Relationship on Windows Server 2008 R2 Domain Controller (Wiki.com).
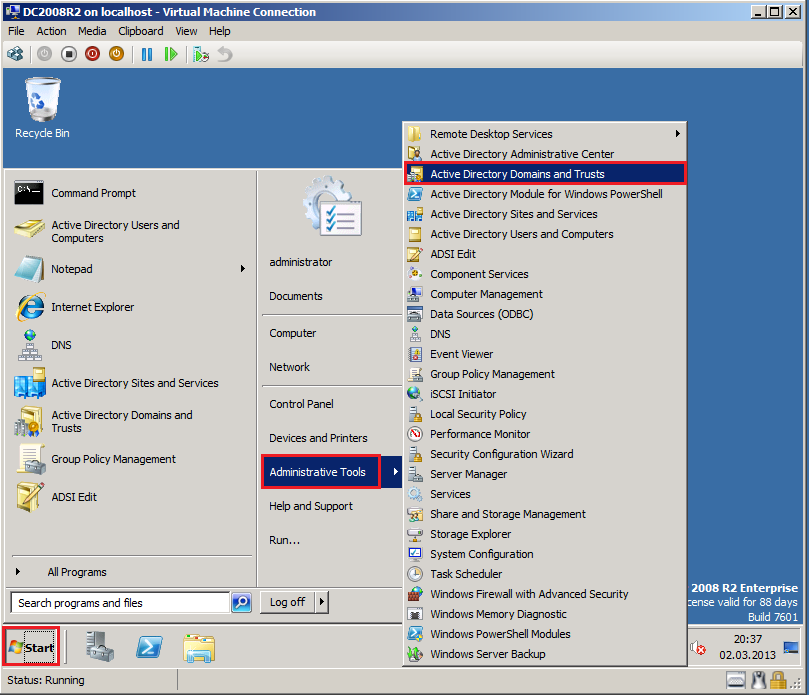
Click Start, then Administrative Tool, open Active Directory Domains and Trusts.
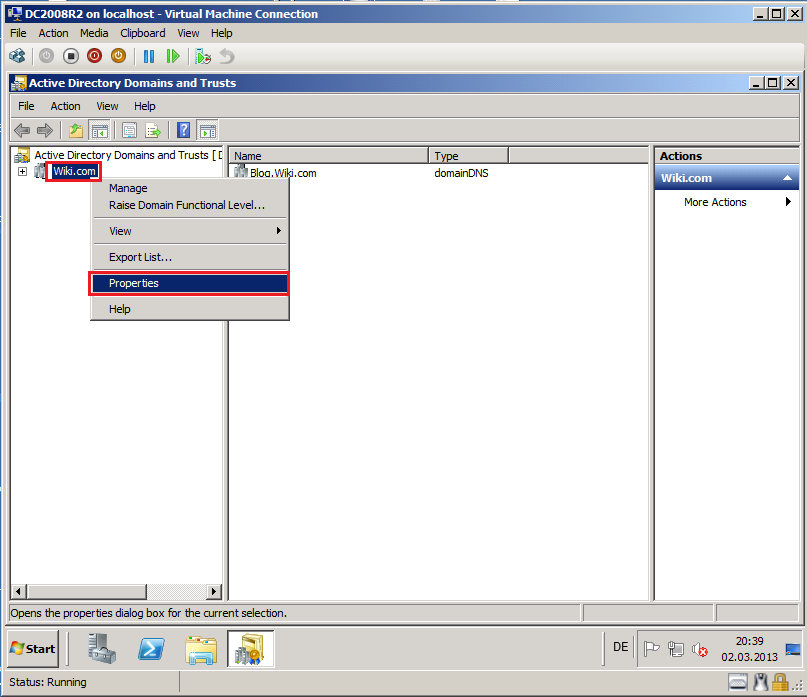
Right click on the domain (Wiki.com), then click Properties.
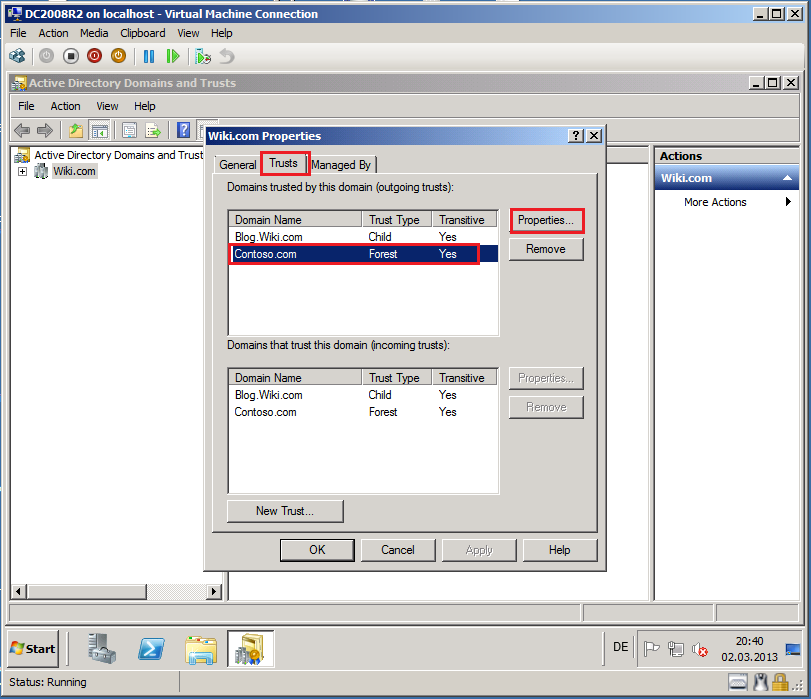
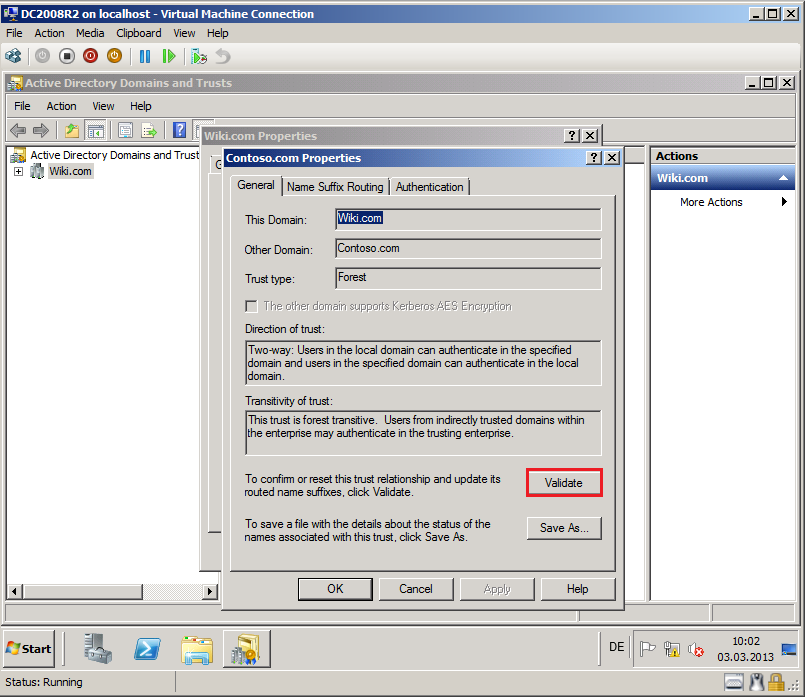
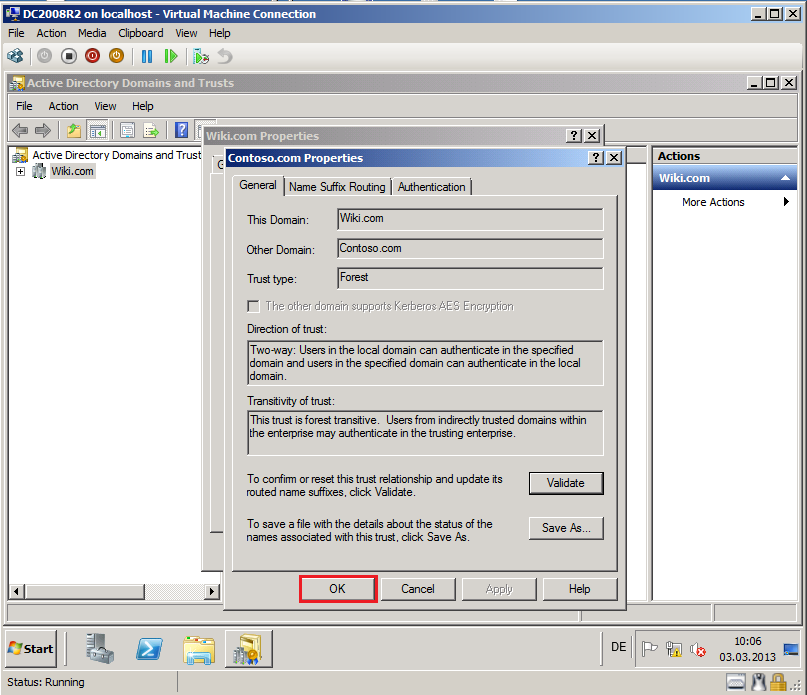
Click Trusts tab, select target domain (Contoso.com) in Domains trusted by this domain (outgoing trusts) box, then click Properties.
On General tab, click Validate.

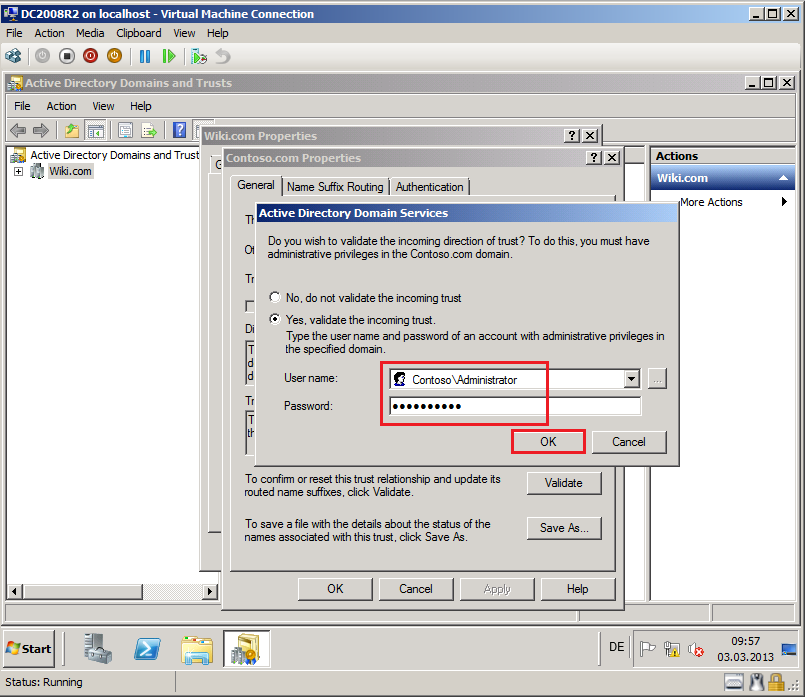
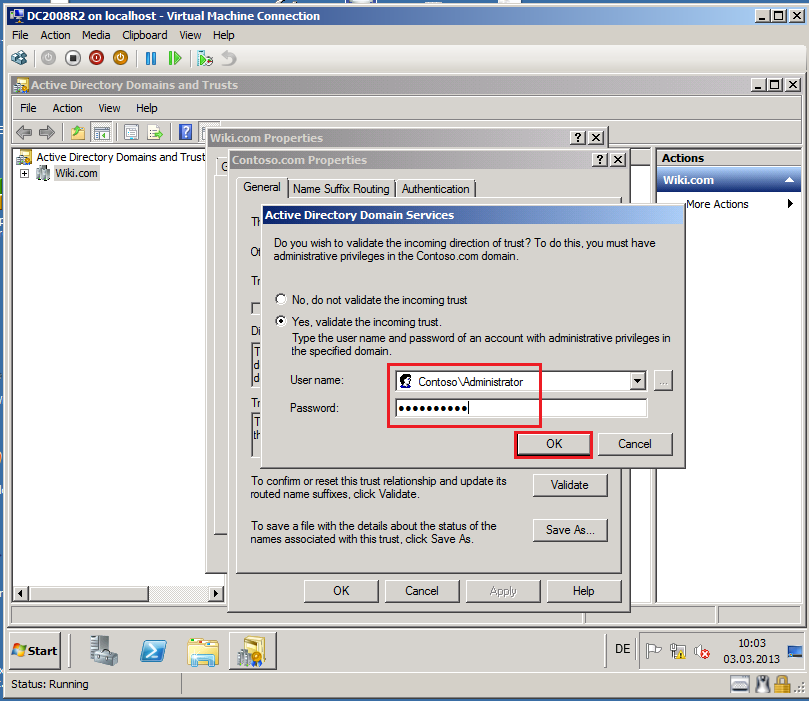
Select Yes, validate the incoming trust. Write domain administrator credentials for the source domain (Contoso.com), then click OK.
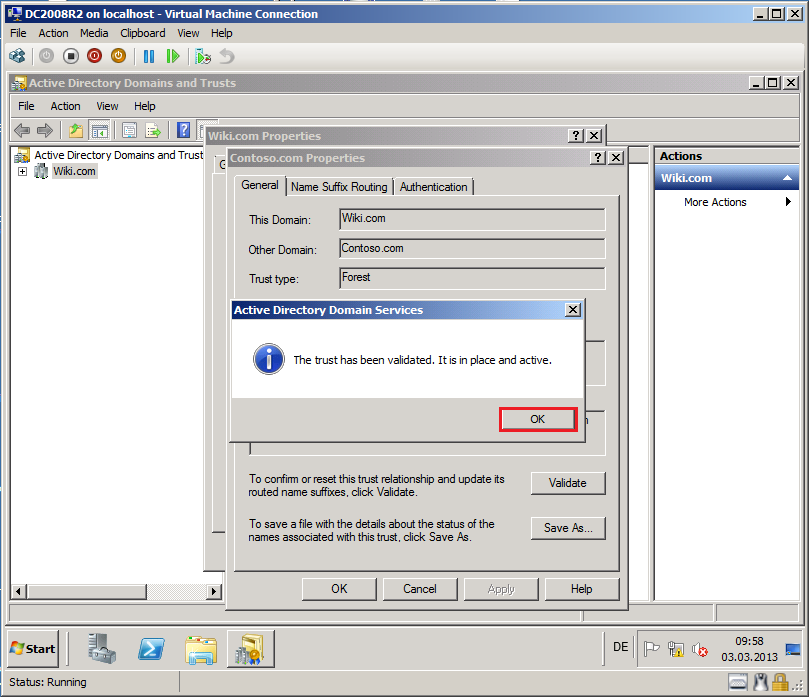
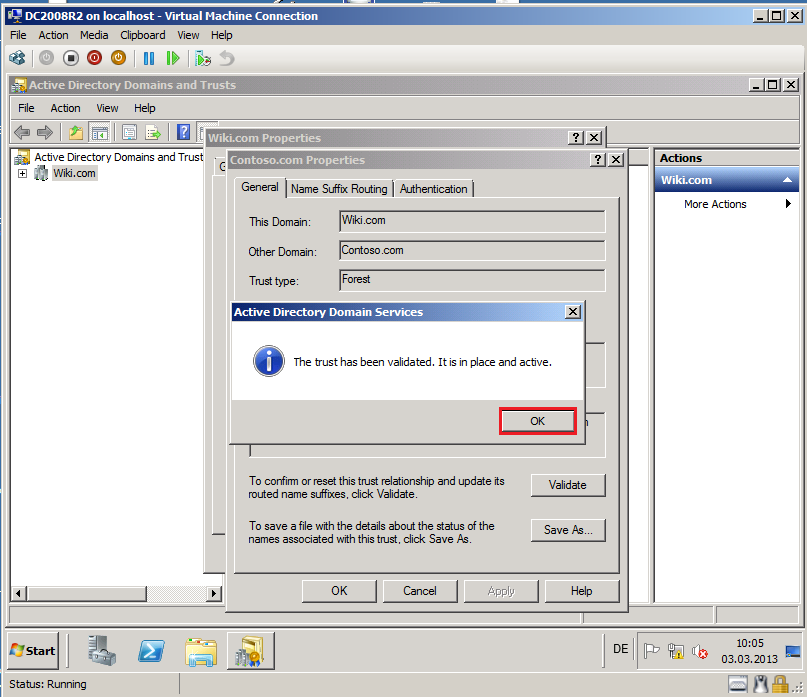
Now, you can see The trust has been validated. It is in place and active. Click OK.
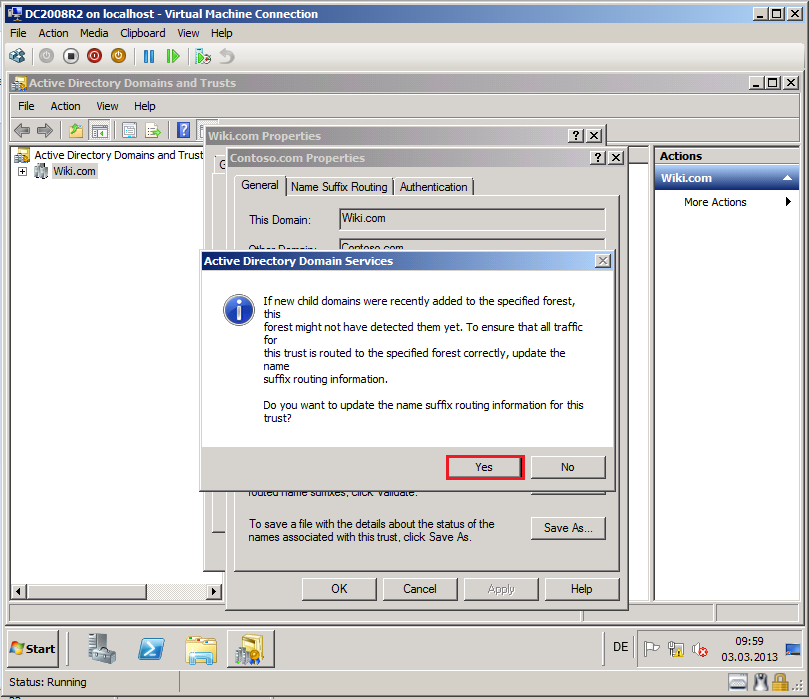
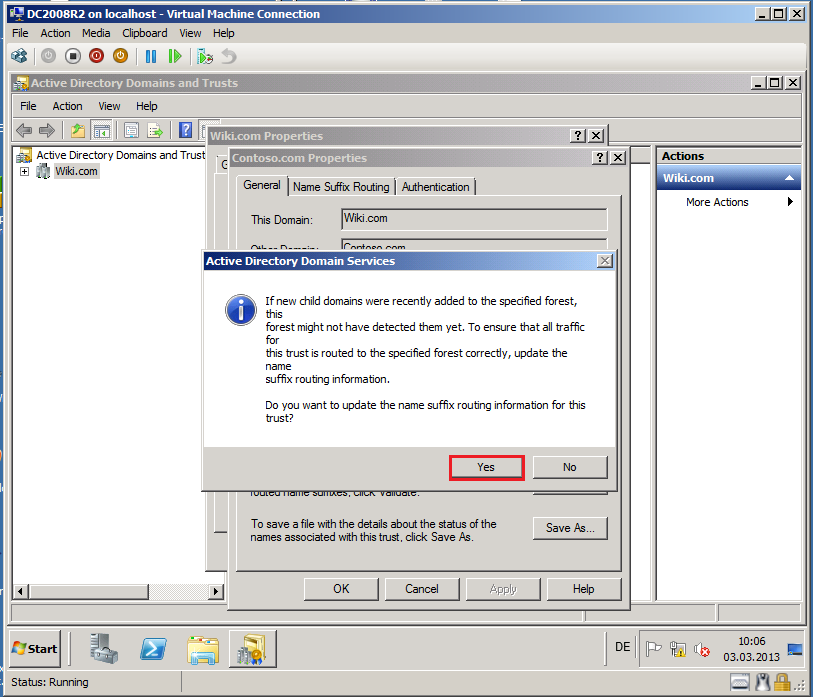
Now, you see information about update the name suffix routing, click Yes.
Click OK and close Properties page.

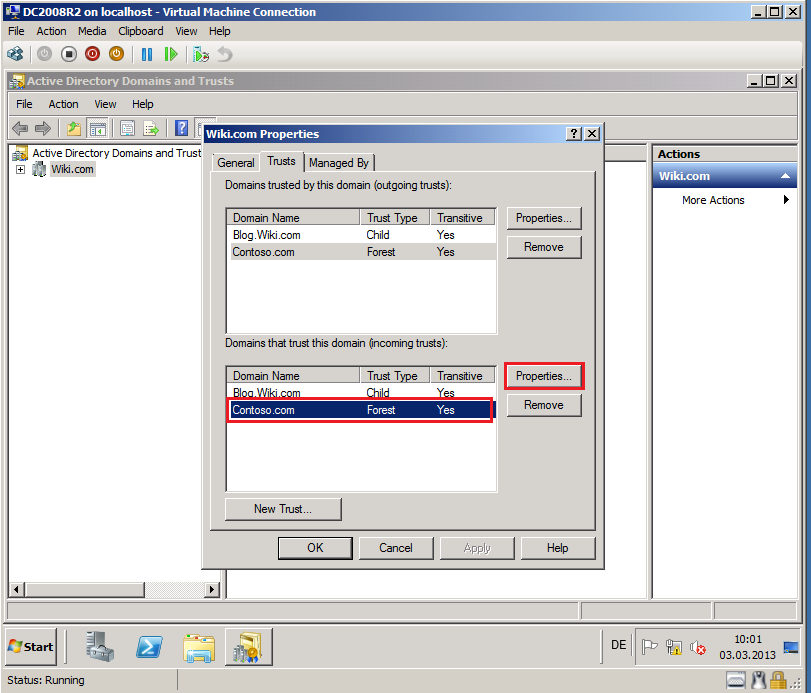
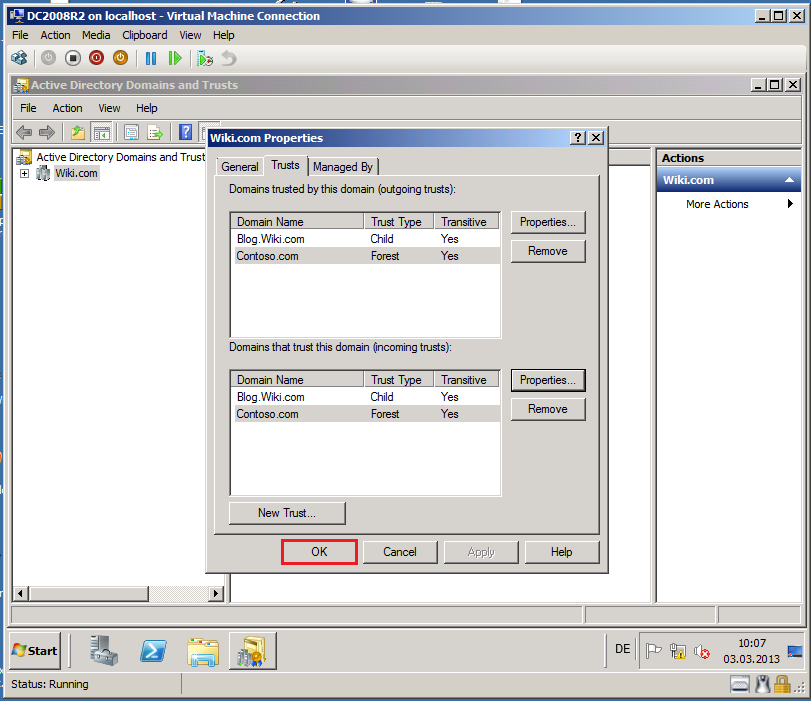
Click Trusts tab, select target domain (Contoso.com) in Domains trusted by this domain (incoming trusts) box, then click Properties.
On General tab, click Validate.
Select Yes, validate the incoming trust. Write domain administrator credentials for the source domain (Contoso.com), then click OK.
Now, you can see The trust has been validated. It is in place and active. Click OK.
Now, you see information about update the name suffix routing, click Yes.
Click OK and close Properties page.
Click OK and close Wiki.com Properties page.
Configuration DNS Suffix Search List
Now, we need clients from domains should be able to resolve FQDNs from the other. We use GPO and set DNS Suffix search List for clients.
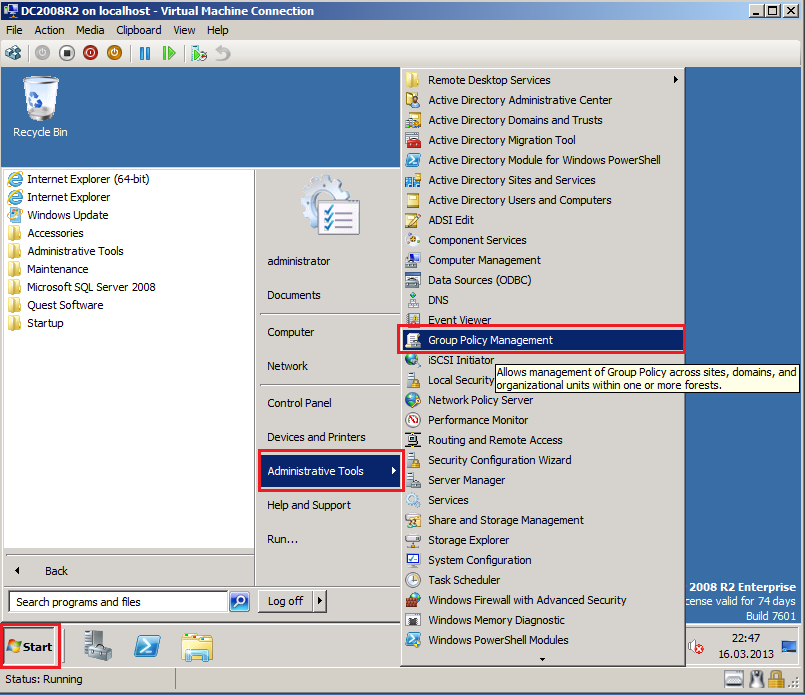
On DC2008R2 domain controller in Wiki.com, click Start, Administrative Tools, then click Group Policy Management.
Because I used TestLAB, I use Default Domain Policy. Please, for Real Scenario, create new GPO.
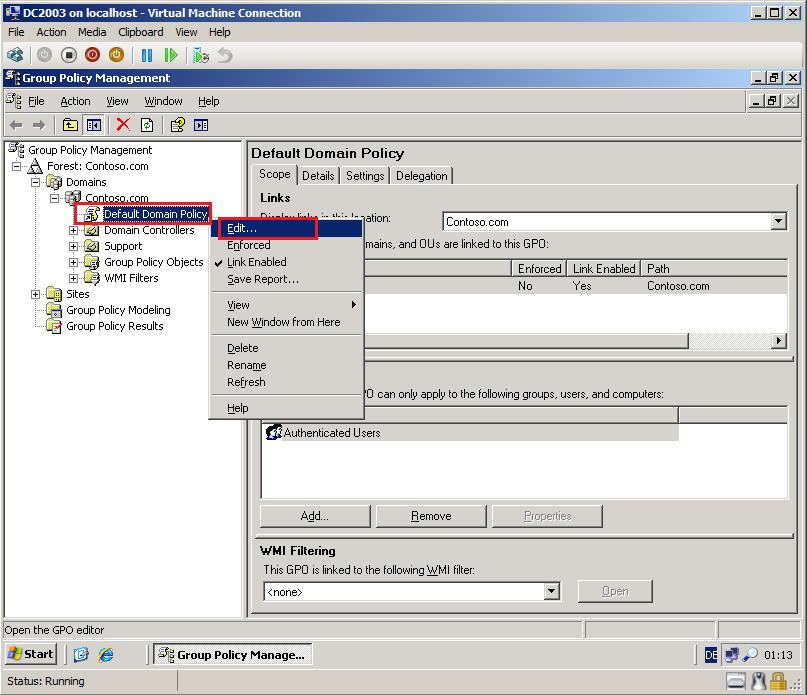
Right click on Default Domain Policy, then click Edit.
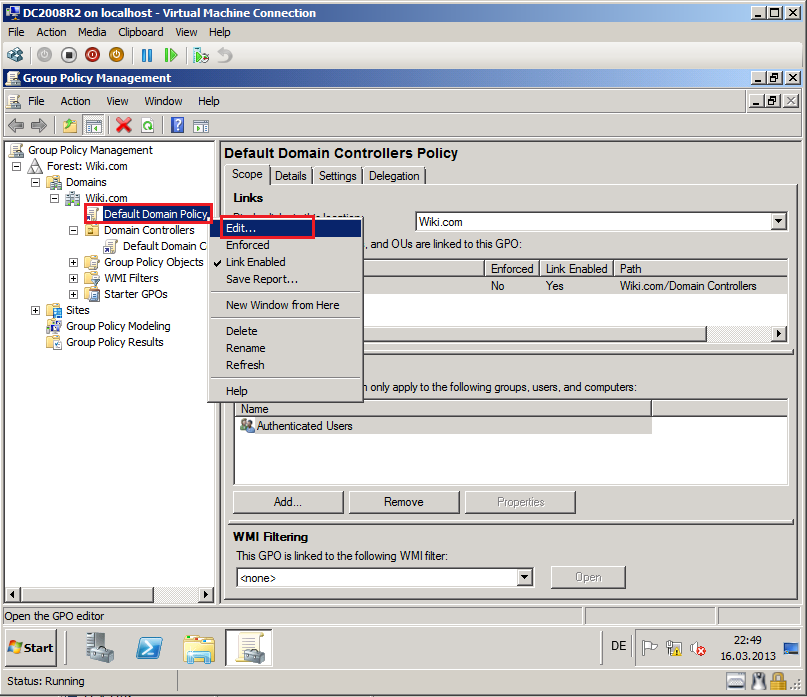
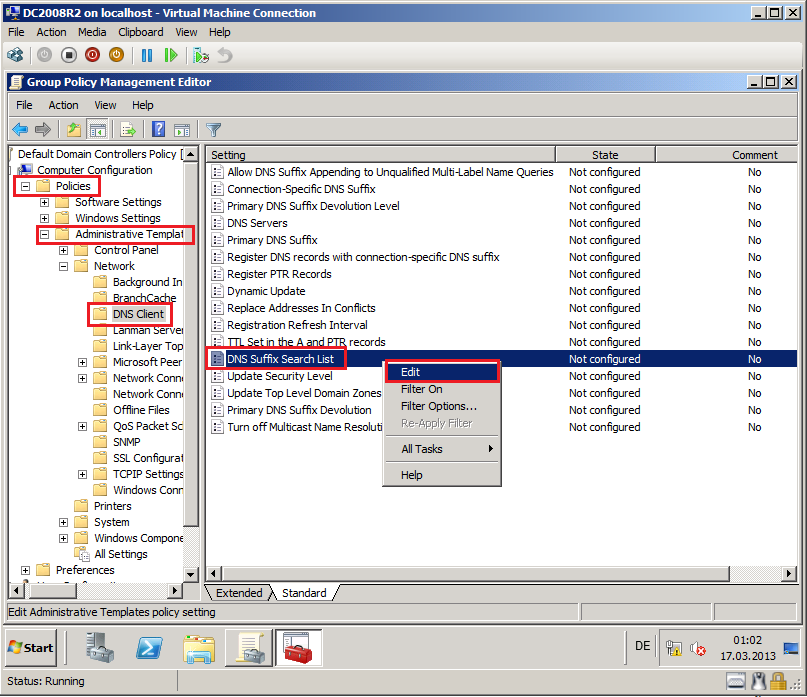
In Group Policy Management Editor, go to Computer Configuration\Policies\Administrative Templates\Network\DNS Client. Right click DNS Suffix Search List, and then click Edit.
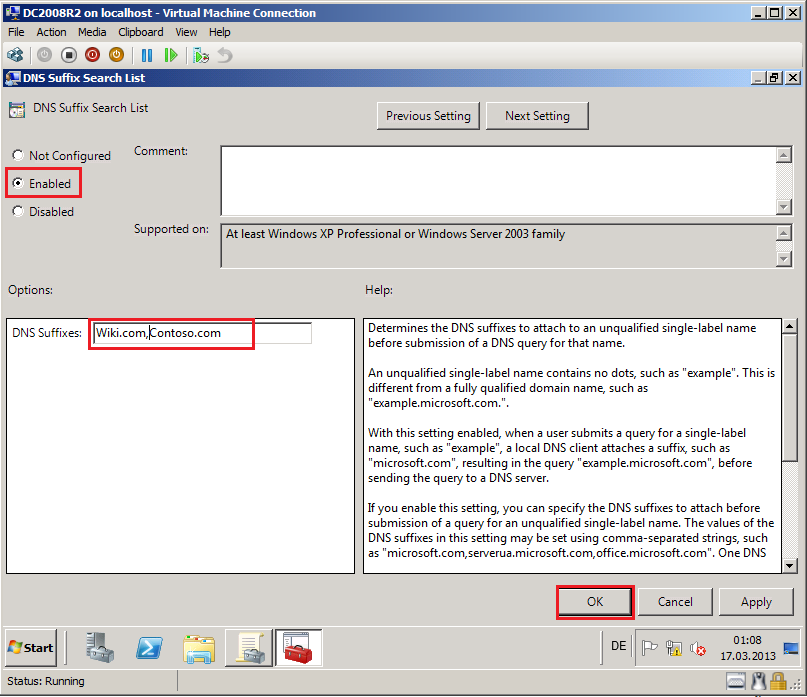
On the DNS Suffix Search List Properties page, select Enabled. In the DNS Suffixes box, type the Wiki.com,Contoso.com, then click OK.
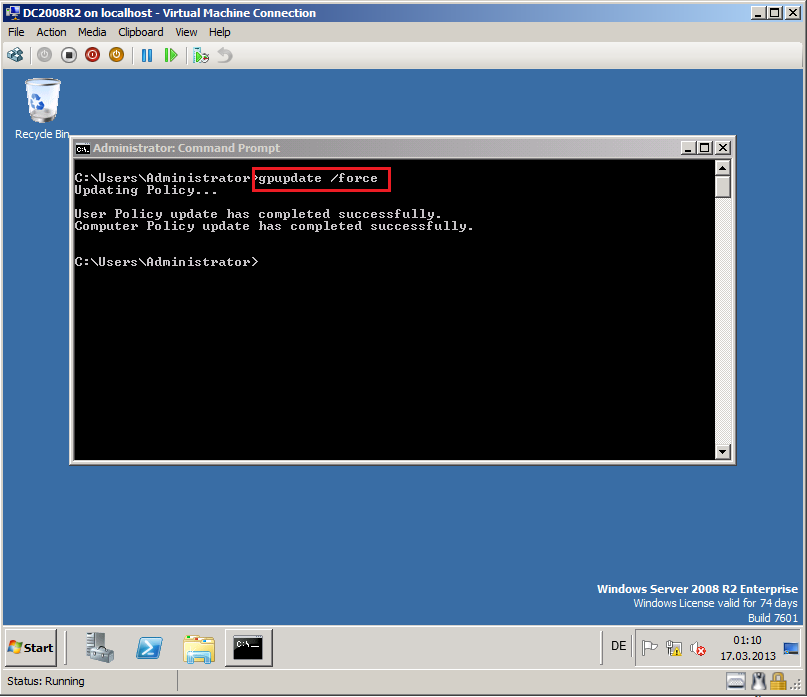
Close all, open Command prompt and run GPUPDATE /force command.
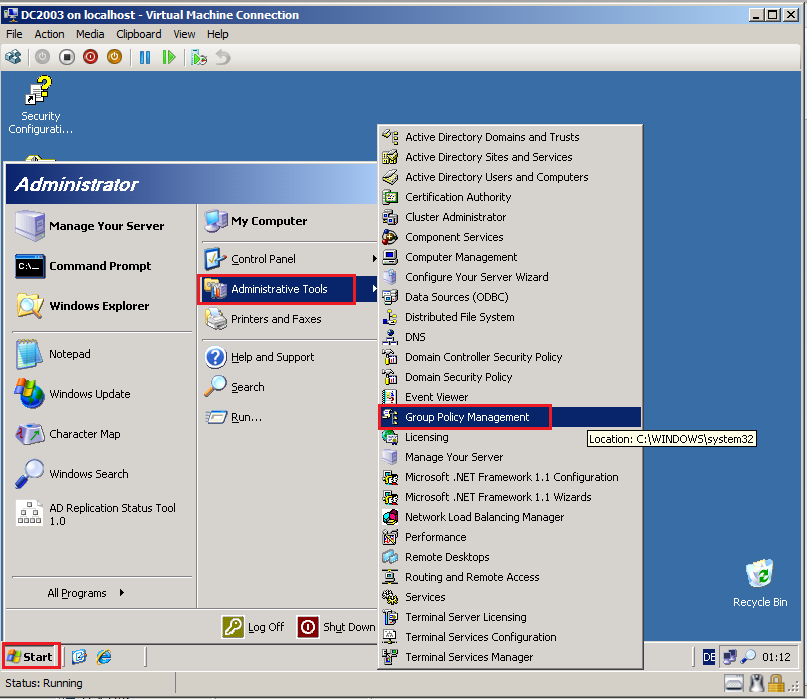
On DC2003 domain controller in Contoso.com, click Start, Administrative Tools, then click Group Policy Management.
Again, because I used TestLAB, I use Default Domain Policy. Please, for Real Scenario, create new GPO.
Right click on Default Domain Policy, then click Edit.
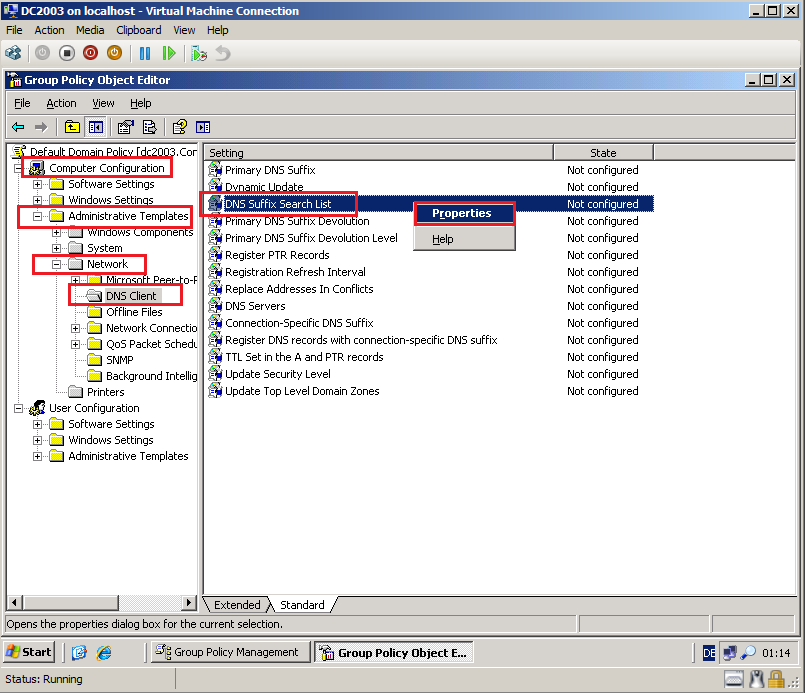
In Group Policy Object Editor, go to Computer Configuration\Administrative Templates\Network\DNS Client. Right click DNS Suffix Search List, and then click Properties.
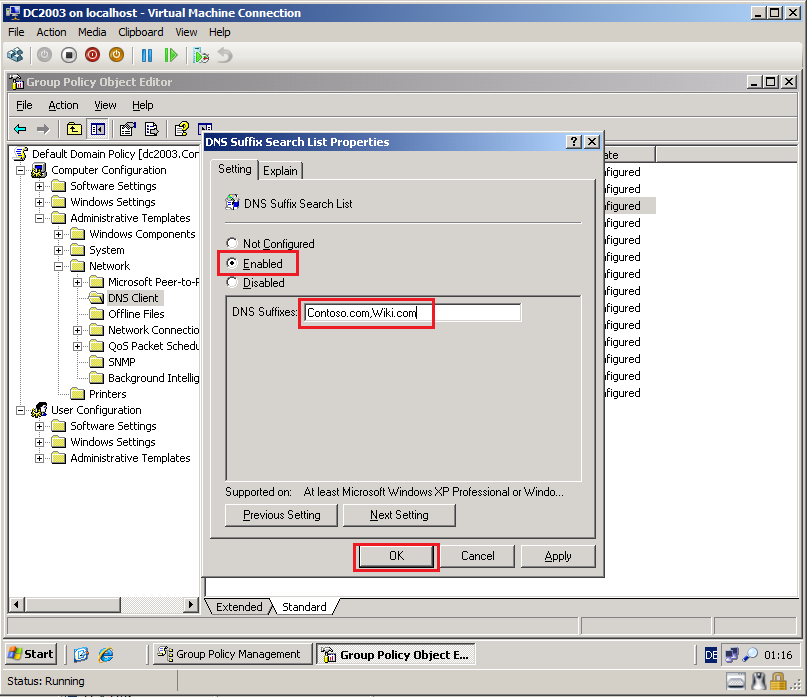
On the DNS Suffix Search List Properties page, select Enabled. In the DNS Suffixes box, type the Contoso.com,Wiki.com, then click OK.
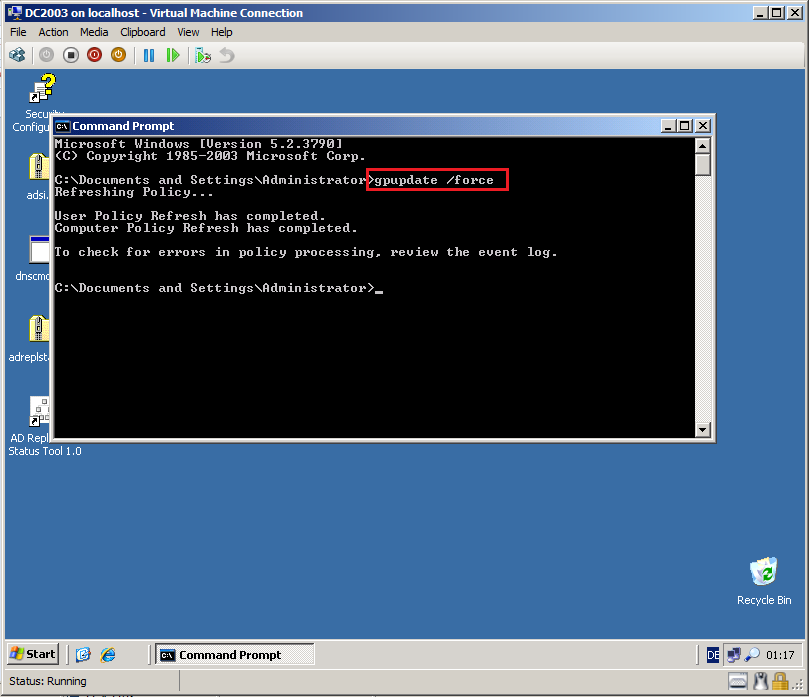
Close all, open Command prompt and run GPUPDATE /force command.
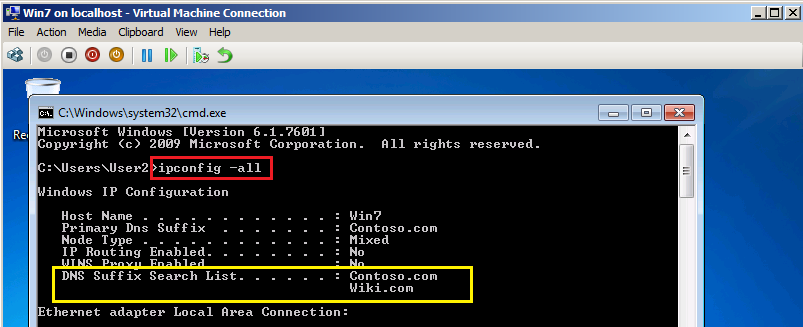
Now, we test GPO configuration on Win7 client. Close all, open Command prompt and run IPCONFIG /ALL command.
You can show, Contoso.com & Wiki.com in DNS Suffix Search List.
Installing SQL Express
ADMT v3.2 requires a preconfigured instance of SQL Server for its underlying data store. You should use SQL Server Express. When you use one of the following versions of SQL Server Express, ADMT installation enforces the following service pack requirements:
- SQL Server 2005 Express must be installed with Service Pack 3 (SP3) or later.
- SQL Server 2008 Express must be installed with Service Pack 1 (SP1) or later.
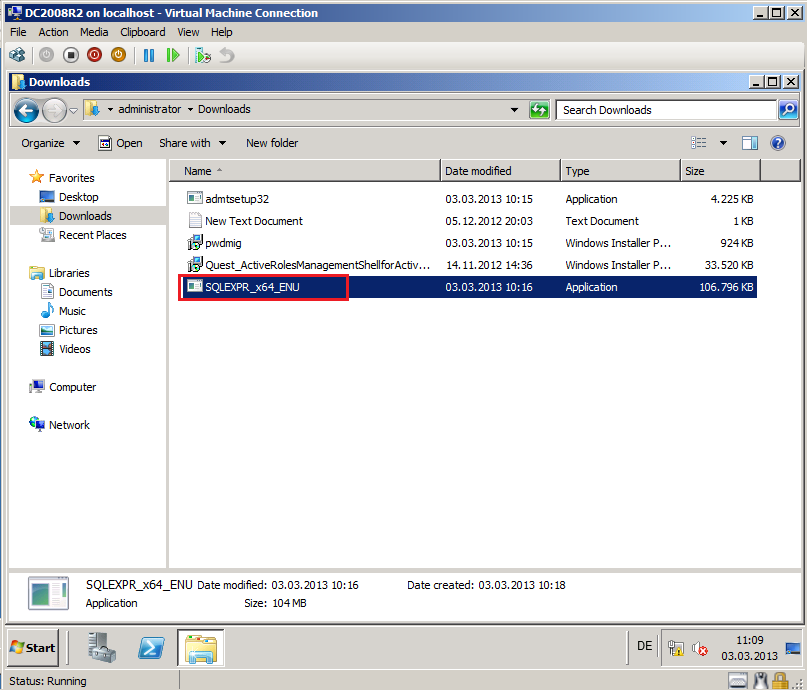
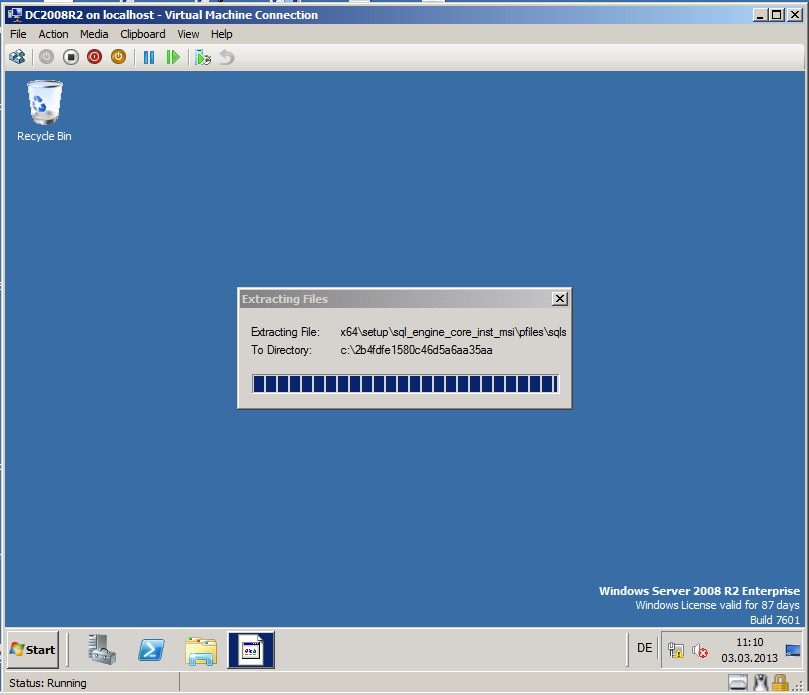
Double click on SQLEXPR_x64_ENU.exe and run application.
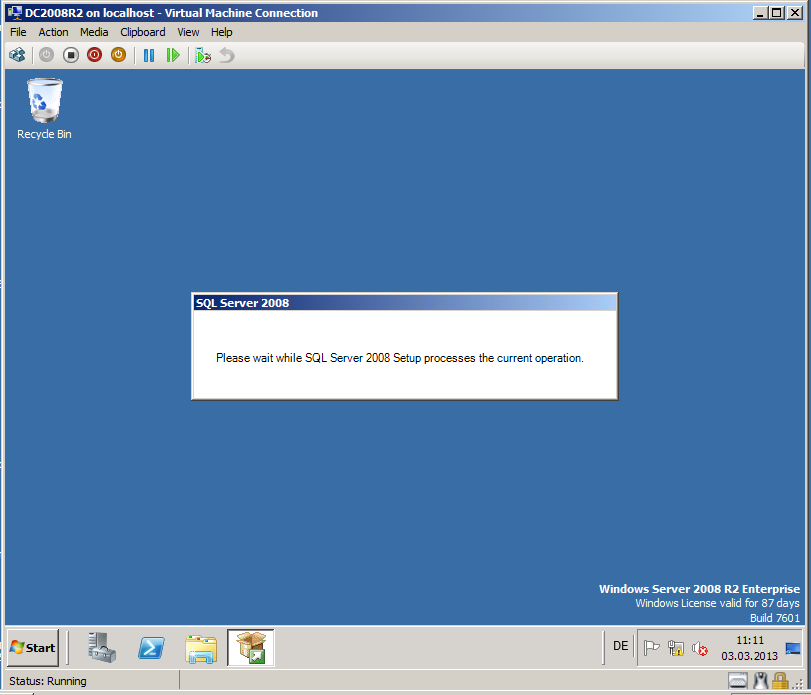
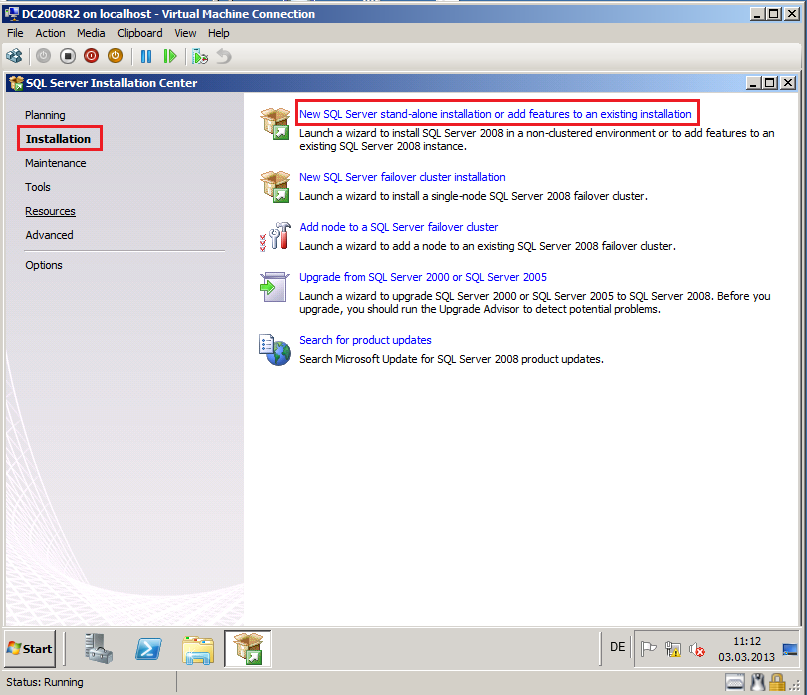
On right panel, click Installation, then on left side click New SQL Server stand-alone installation or add features to an existing installation.

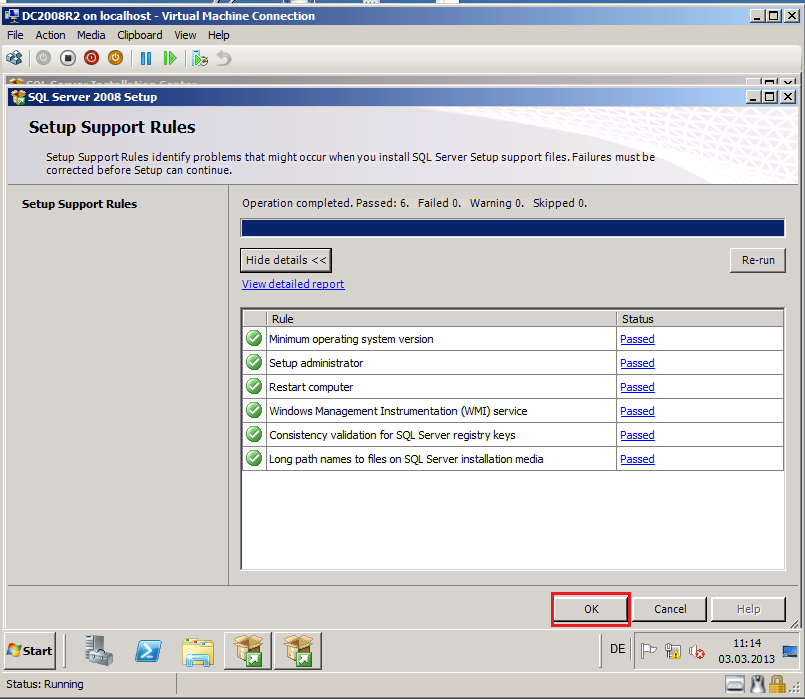
On the Setup Support Rules page, click OK.
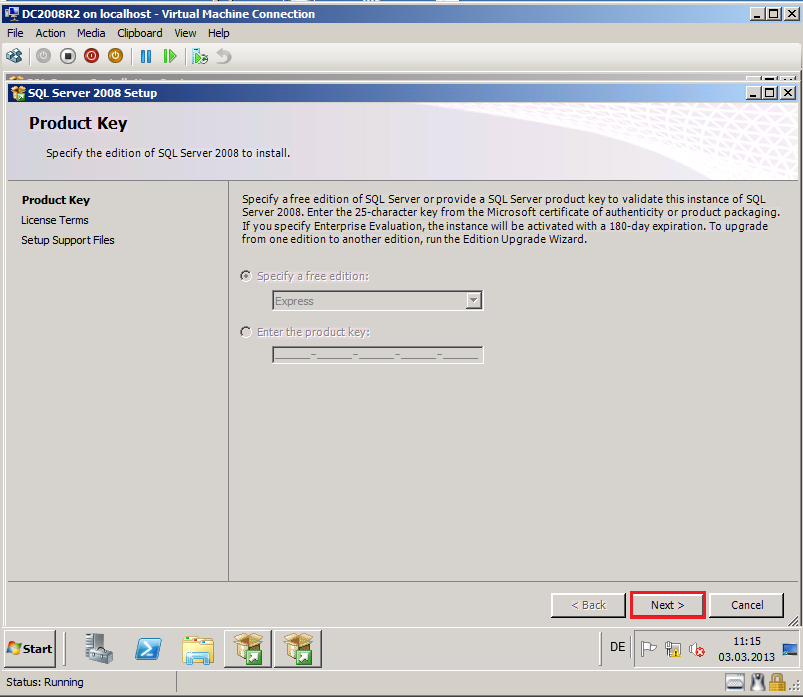
On the Product Key page, click Next.
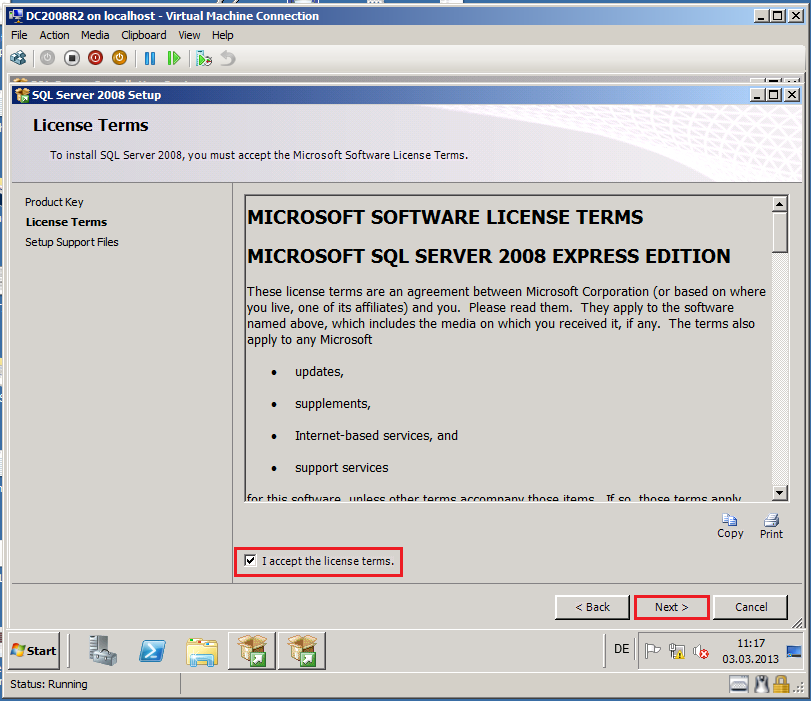
On the License Terms page, select I accept the license terms box, then click Next.
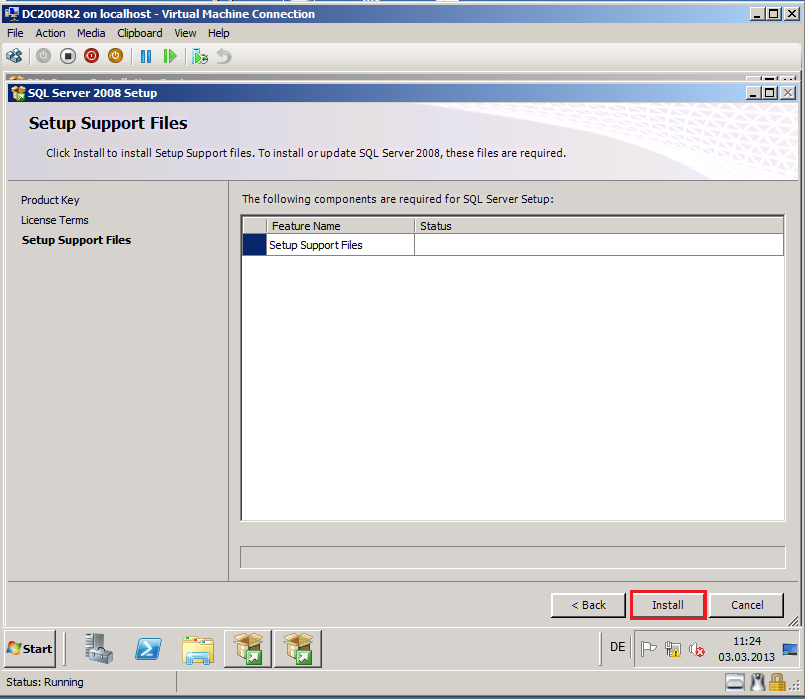
On the Setup Support Files page, click Install.
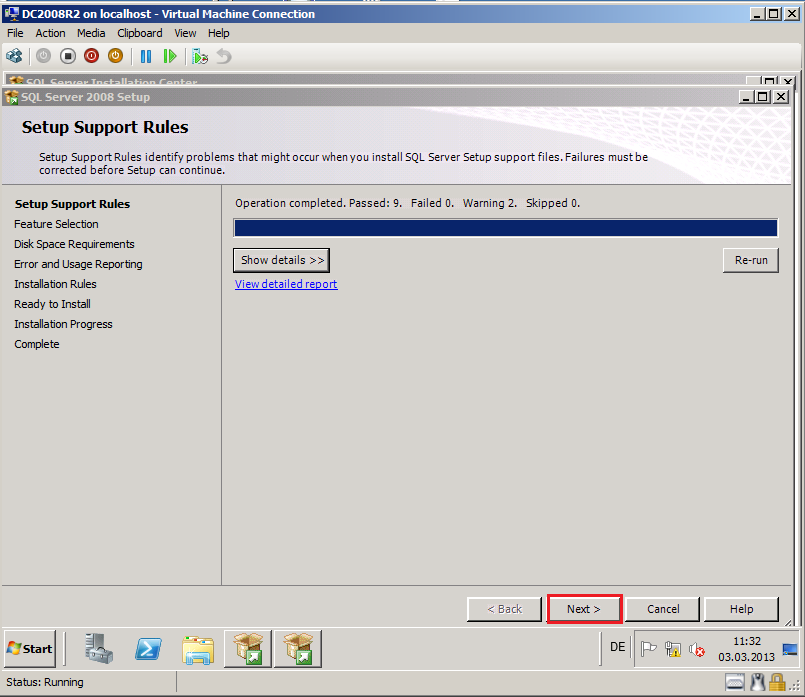
On the Setup Support Rules page, click Next.
On the Feature Selection page, select Database Engine Service, then click Next.

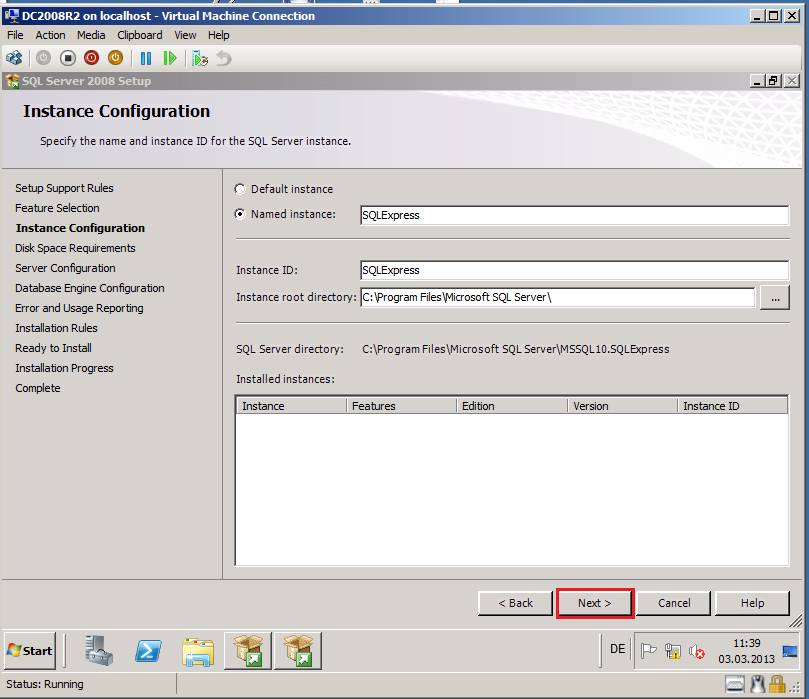
On the Instance Configuration page, accept default names and setting, click Next.
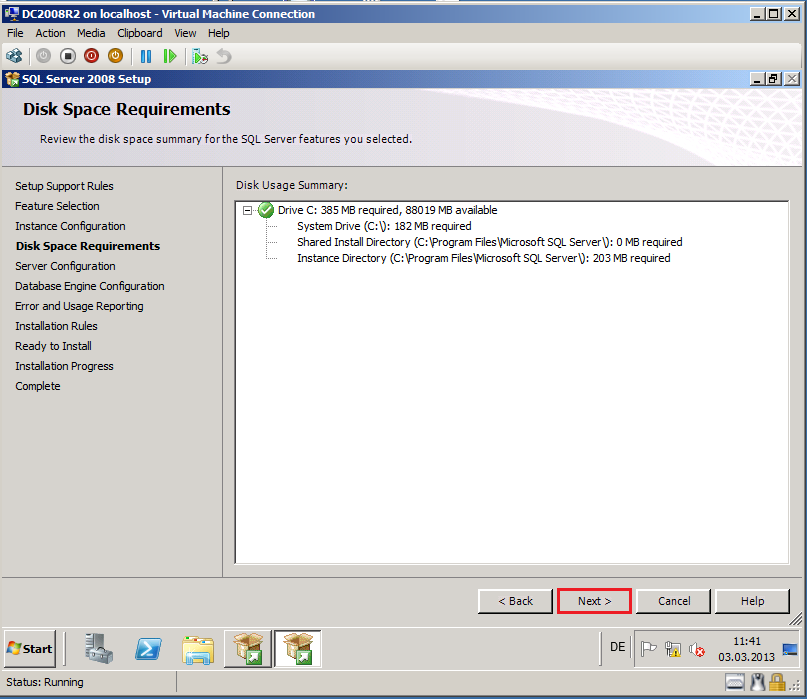
On the Disk Space Requirements page, click Next.
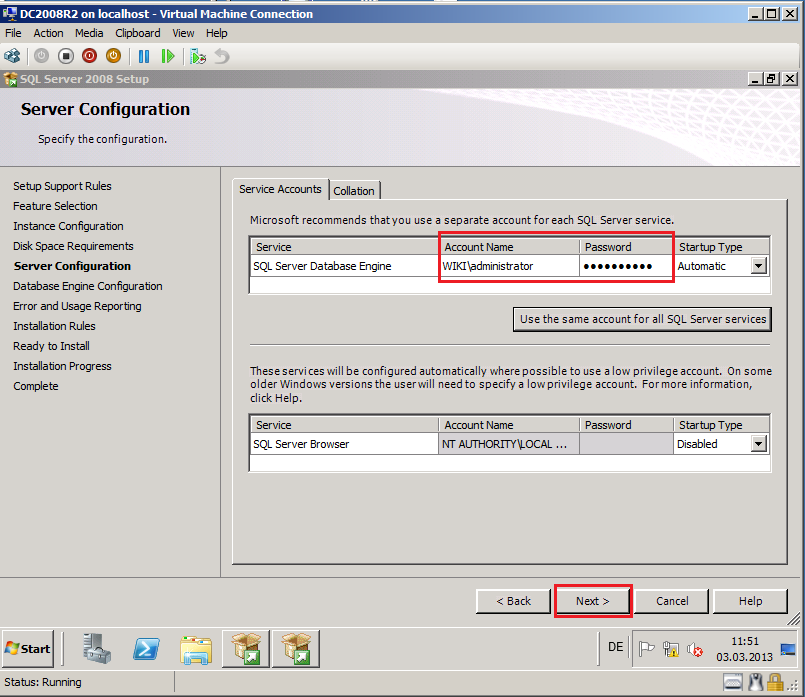
On the Server Configuration page for SQL Server Service, use your ADMT Service Account (because is my TestLAB, I used Wiki\administrator account), then click Next.
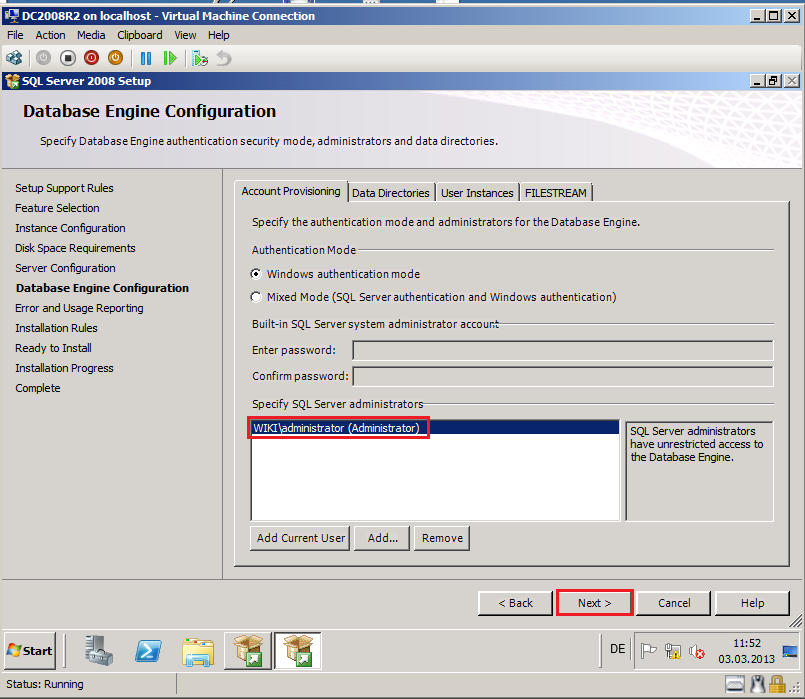
On Database Engine Configuration page, select Windows authentication Mode, then in Specify SQL Server administrators add Wiki\Administrator account. Click Next.
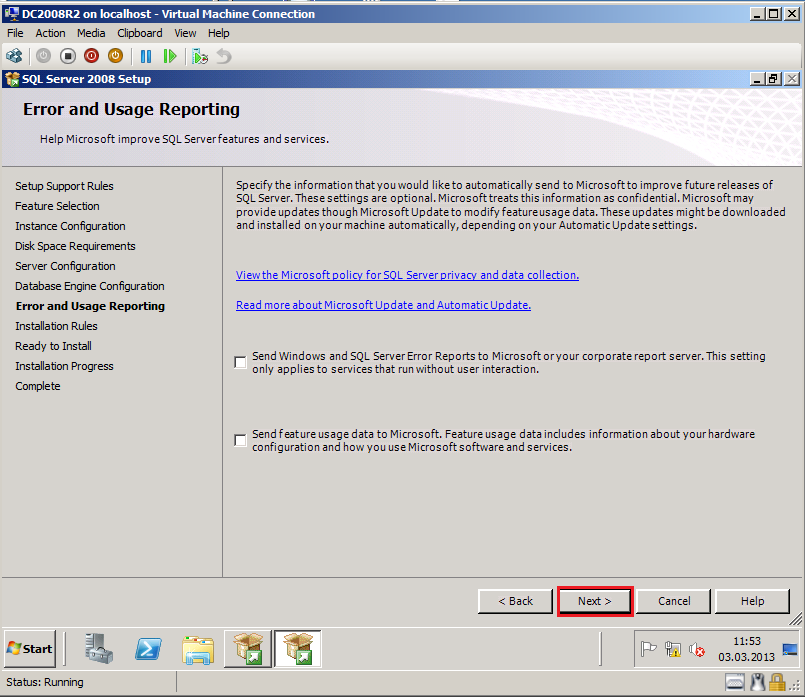
On Error and Usage Reporting page, click Next.
On Installation Rules page, click Next.

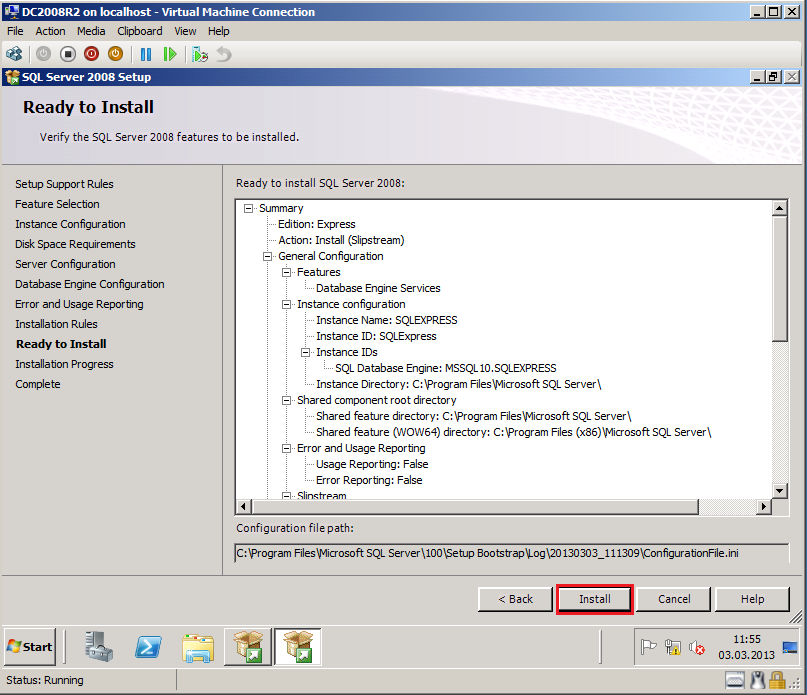
On Ready to Install page, click Install.
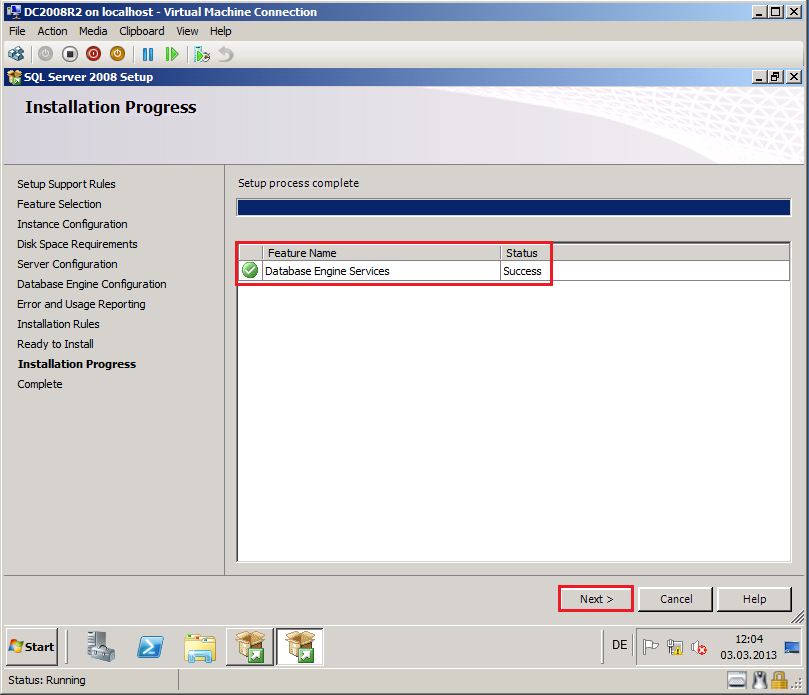
On Installation Progress page, click Next.
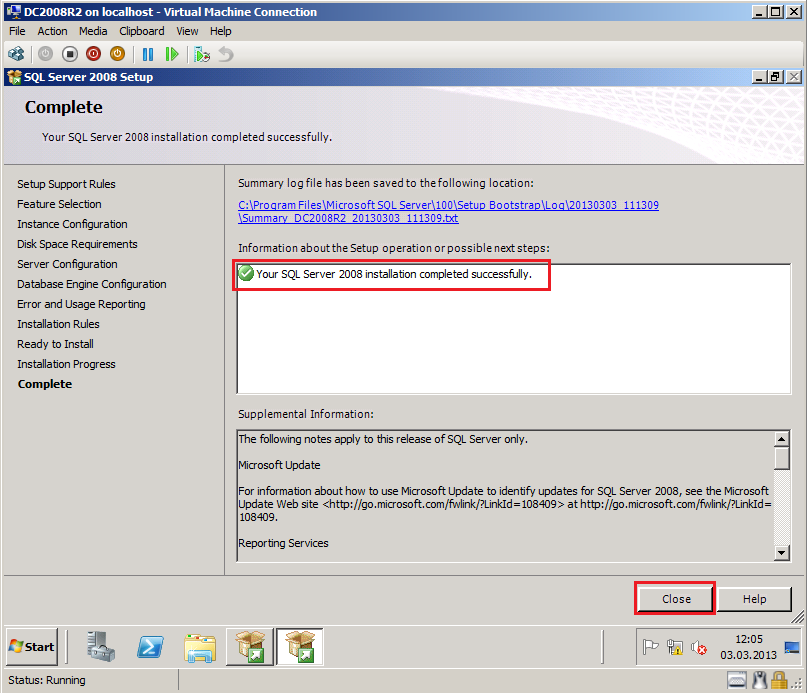
On Complete page, click Close.
Installing ADMT 3.2
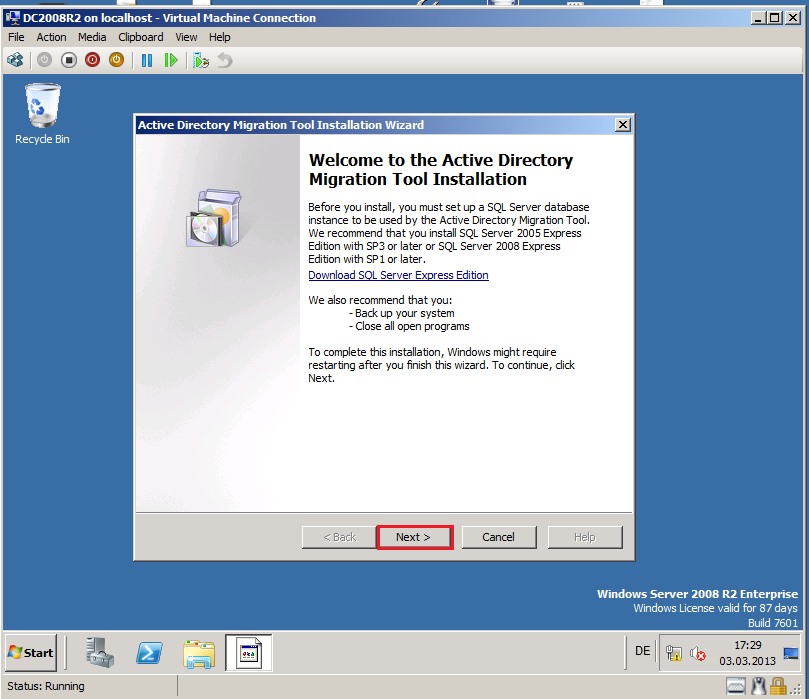
Now, we install ADMT 3.2 on target domain (Wiki.com). Keep in mind, You can install ADMT 3.2 only on Windows 2008 R2 servers.
On Welcome to the Active Directory Migration Tool Installation page, click Next.
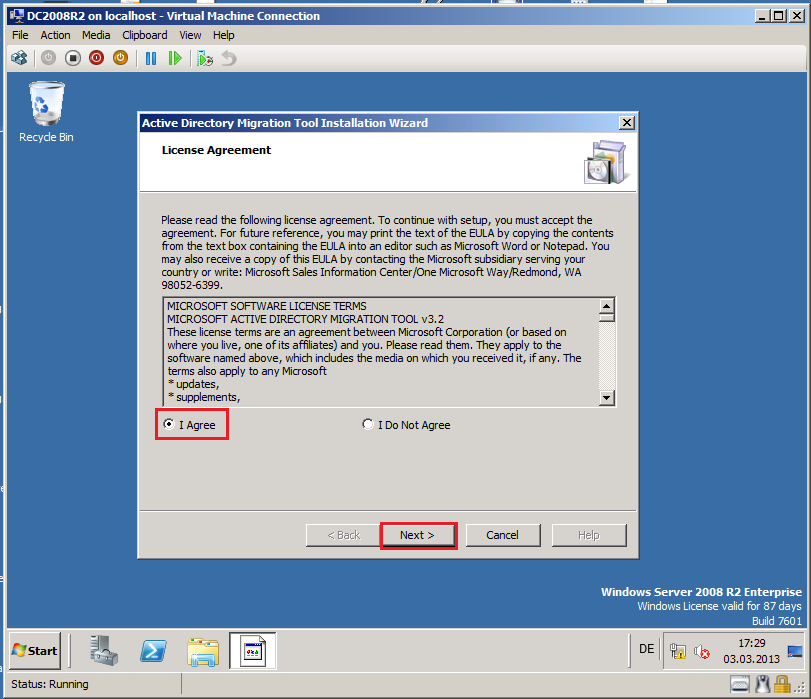
On License Agreement page, select I Agree, then click Next.
On Customer Experience Improvement Program page, click Next.

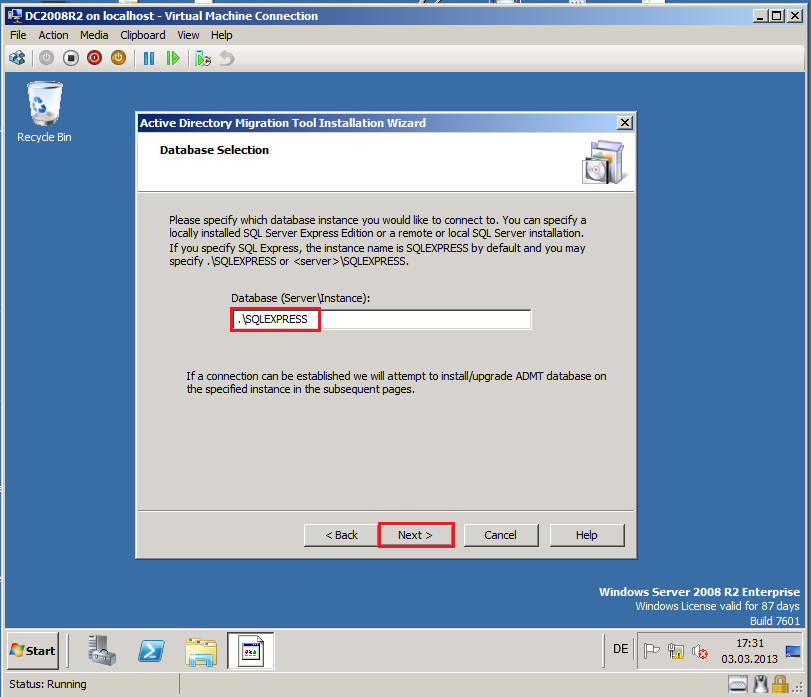
On Database Selection page, in Database write your SQL Database Instance, my instance is .\SQLEXPRESS, then click Next.

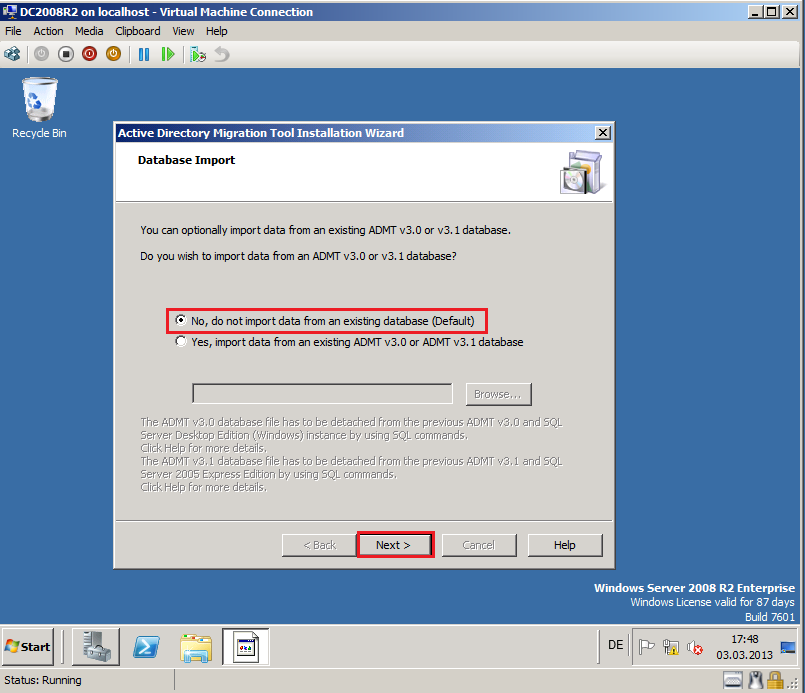
On Database Import page, select No, do not import data from an existing database (Default), then click Next.
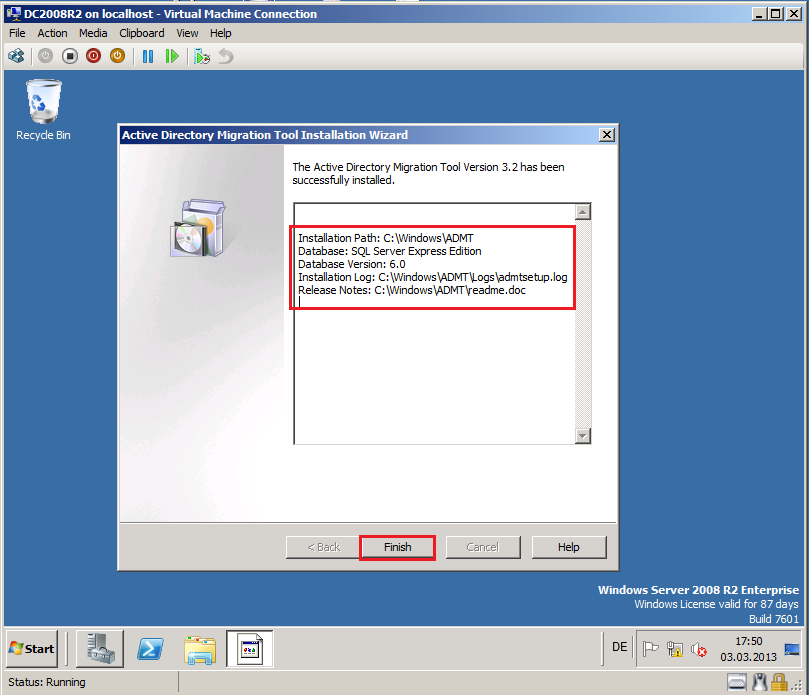
Review information, then click Finish.
ADMT error: Unable to check for failed actions. :DBManager.IManageDB.1
When installing Active Directory Migration Tool (ADMT) 3.2 on a Windows Server 2008 R2 domain controller and using SQL Express 2008 with SP1 and SQL 2008 Cumulative Update 4, the installation completes without errors. However, the dialog "Active Directory Migration Tool Installation Wizard" is blank when the install is finished.
![]()
When then attempting to run the ADMT console, you receive error:
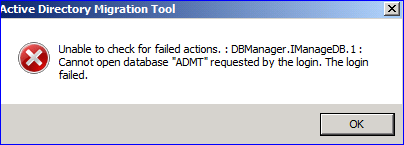
The MMC console then displays:
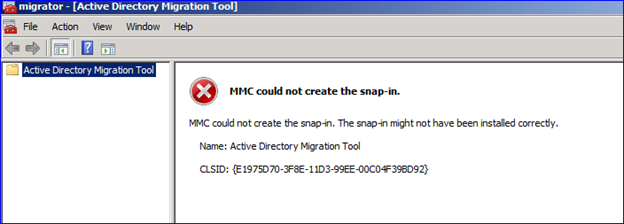
There is a code defect in how ADMT interoperates with SQL Express 2008 SP1 on domain controllers resulting in the "SQLServerMSSQLUser$ComputerName$InstanceName" group not being created. This group is required by ADMT to configure specific permissions during the ADMT install and allows the ADMT database to be created in the SQL instance. ADMT expects the group to be present, which leads to the blank dialog and an incomplete installation.
Resolution:
ADMT 3.2: Common Installation Issues
You can find Common Installation Issues about ADMT 3.2 in this link:
ADMT 3.2: Common Installation Issues - NedPyle [MSFT]
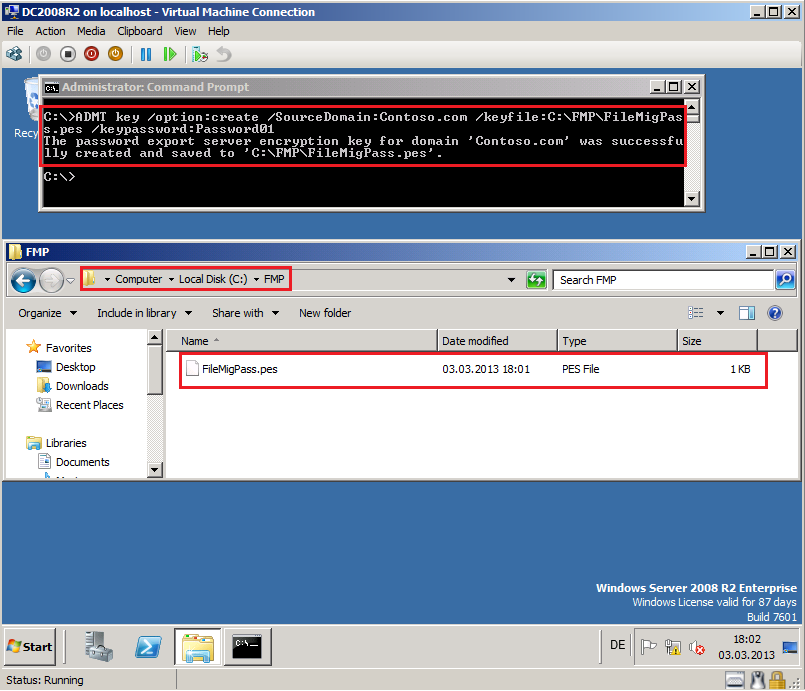
Creating Encryption Key
Before you install ADMT Password Migration DLL onto domain controller in the source domain (Contoso.com), you need to create an encryption key from the domain controller running ADMT in the target domain (Wiki.com). Run command prompt with admin privilege and type:
ADMT Key /Option:Create /SourceDomain:Contoso.com /KeyFile:C:\FMP\FileMigPass.pes /KeyPassword:Password01
ADMT Migration Account
In this article, I did not create ADMT Service Account, because I used my TestLAB and for ADMT service account, I used target domain administrator account (Wiki\Administrator). Please, for ADMT Service Account in Real Scenario, use Santhosh Sivarajan - MVP article:
ADMT Service Account - Permission and Configuration
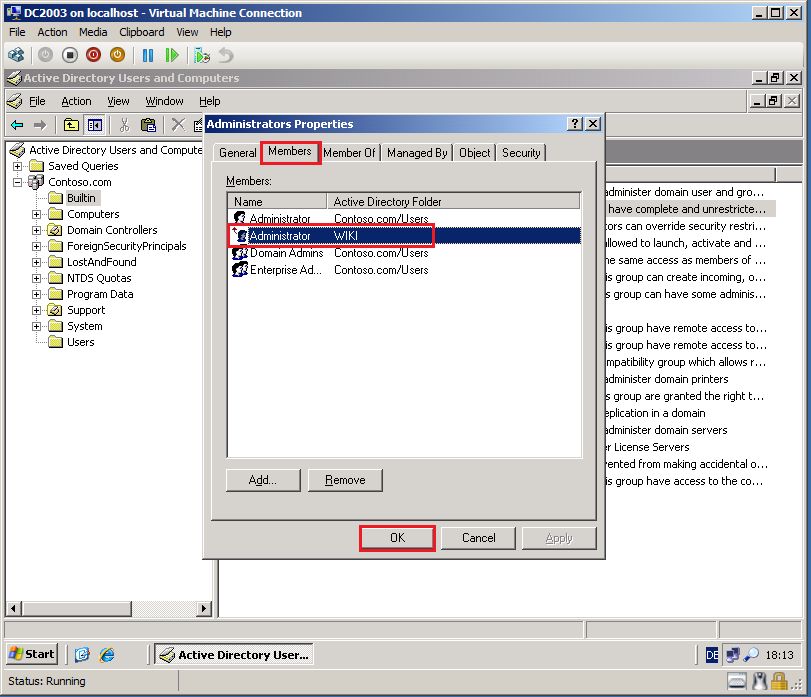
On DC2003 in Contoso.com, click Start, Administrative Tools, then select Active Directory Users and Computers.
In left panel, select Bultin, then in right panel right click on Administrators group, select Properties.
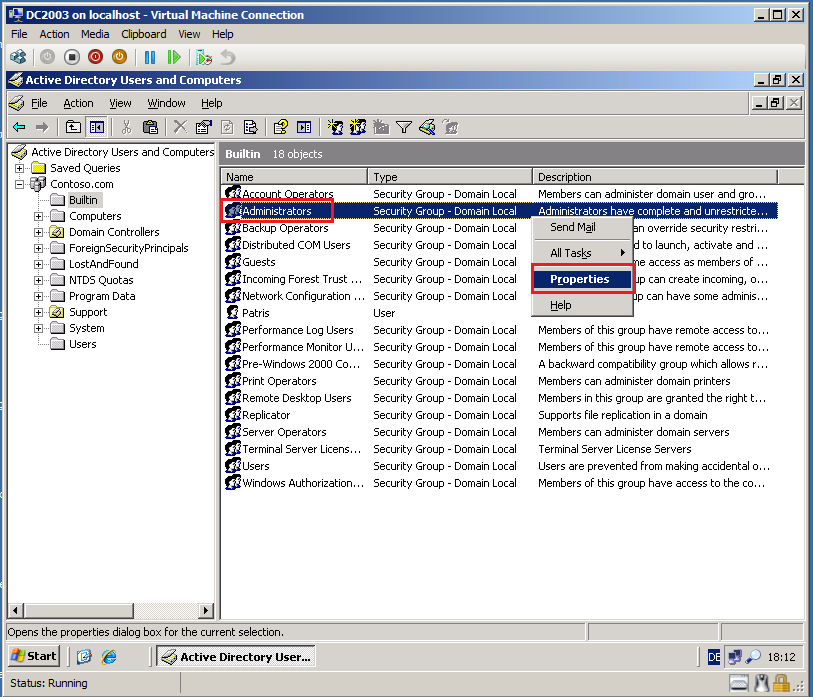
Select Members tab, click Add and add Wiki\Administrator account to this group.
Keep in mind, the ADMT Migration Account that you use to migrate Clients and Member Servers must have Local Administrator rights on Clients and Member Servers in the the source domain (Contoso.com). You can use Group Policy (Restricted Groups).
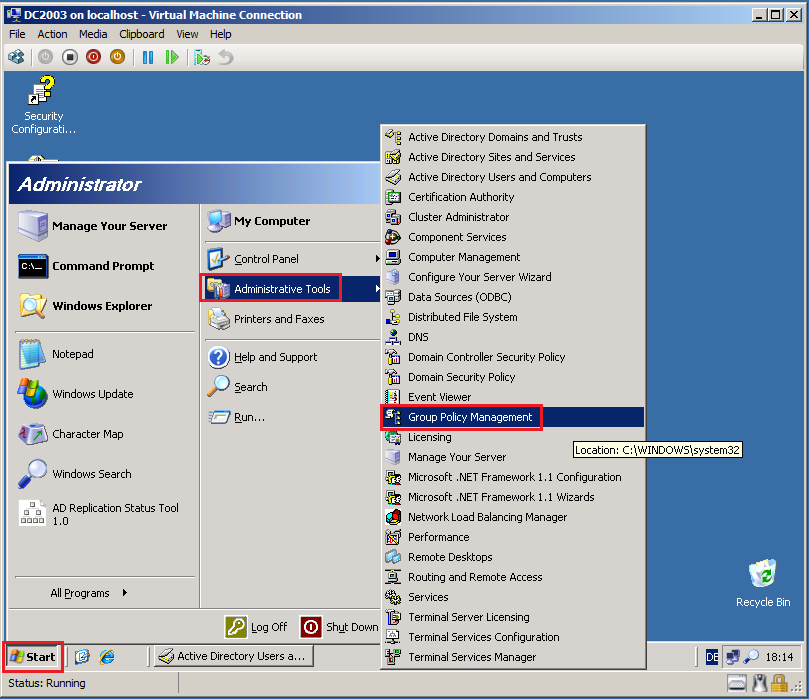
Click Start, Administrative Tools, then click Group Policy Management.
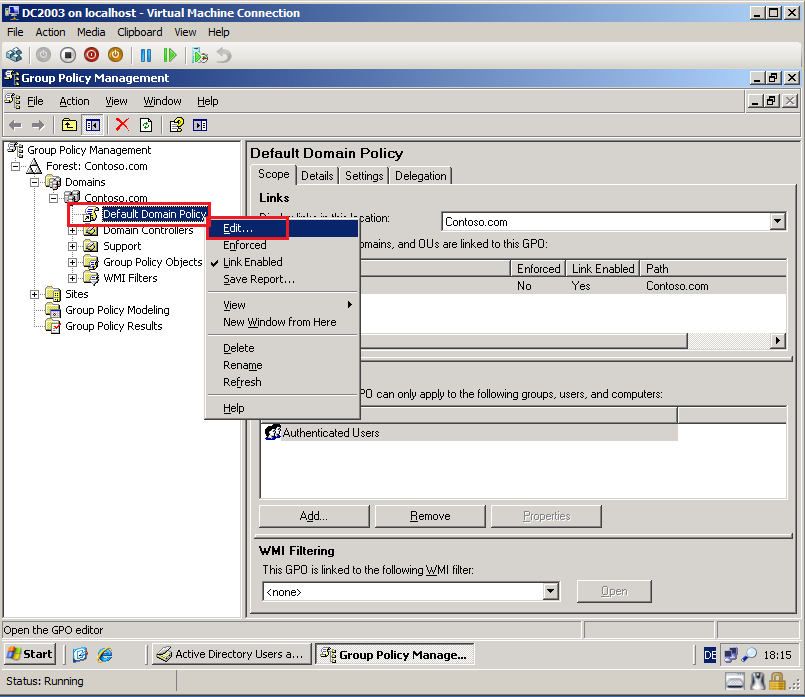
Again, because I used TestLAB, I use Default Domain Policy. Please, for Real Scenario, create new GPO.
On left panel, right click on Default Domain Policy, then click Edit.
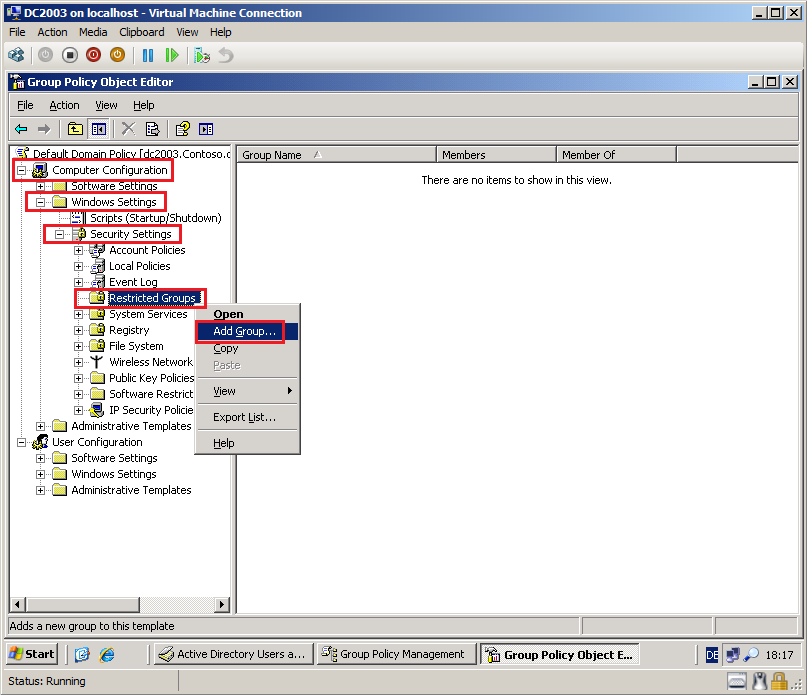
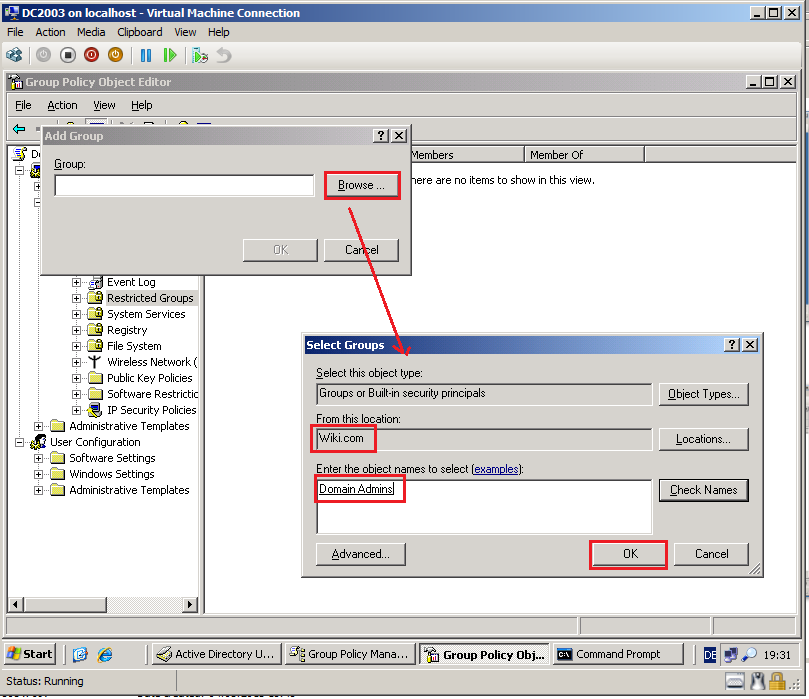
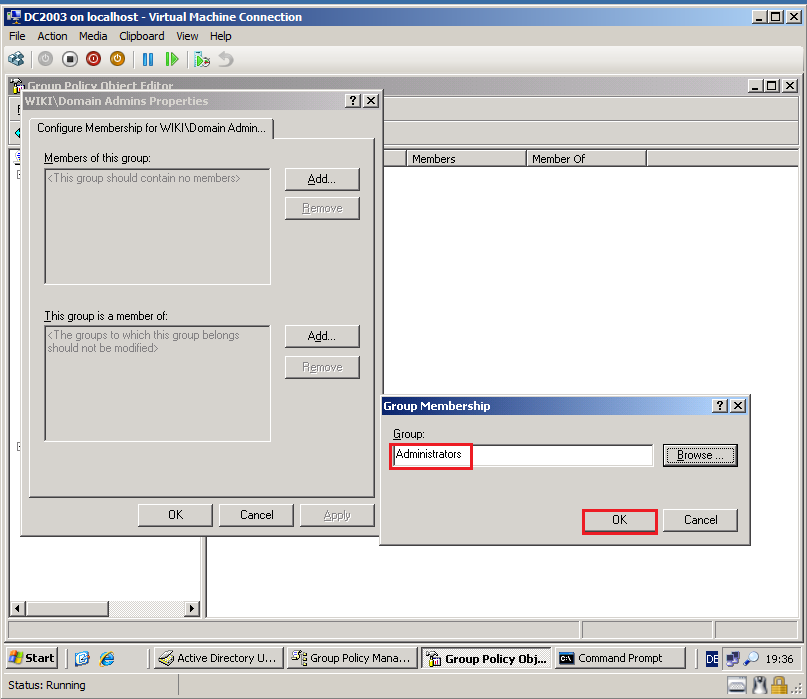
Go to Computer Configuration\Windows Settings\Security Settings\Restricted Groups, right click on Restricted Groups, click Add Group.
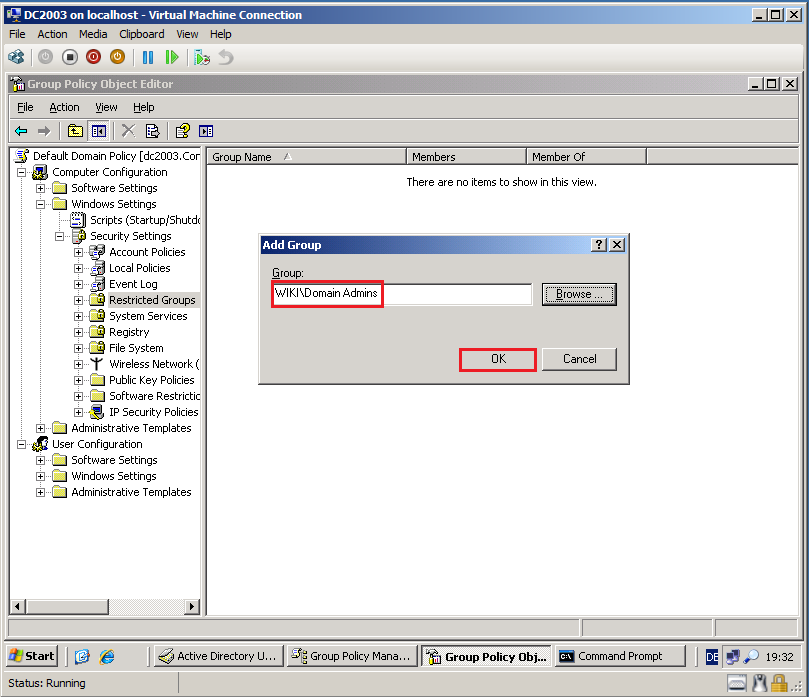
Select Browse, then add Wiki\Domain Admins group. Click OK.
Click OK.
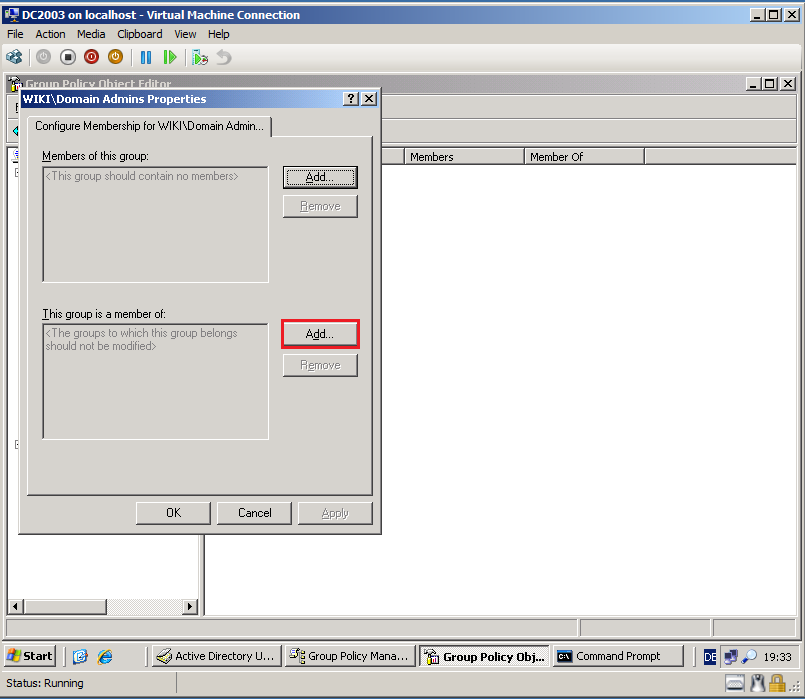
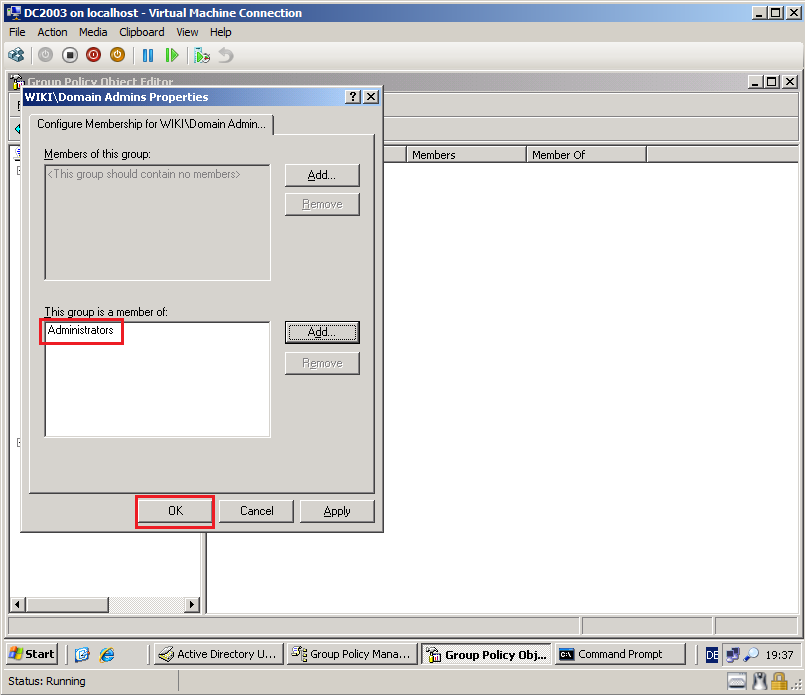
On This group is a member of panel, select Add.
Select Browse, then add Contoso\Administrators group. Click OK.
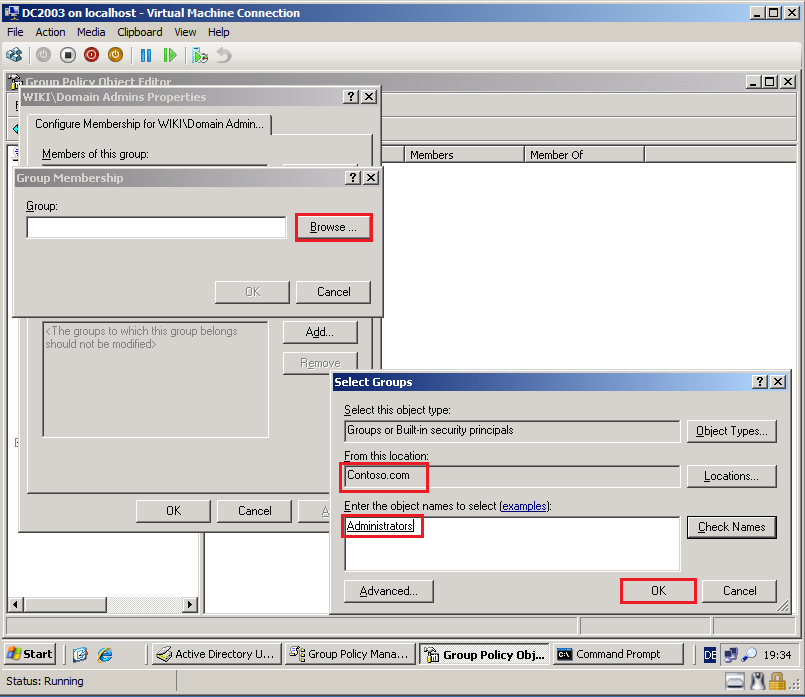
Click OK.
Click OK.
Close Group Policy Object Editor.

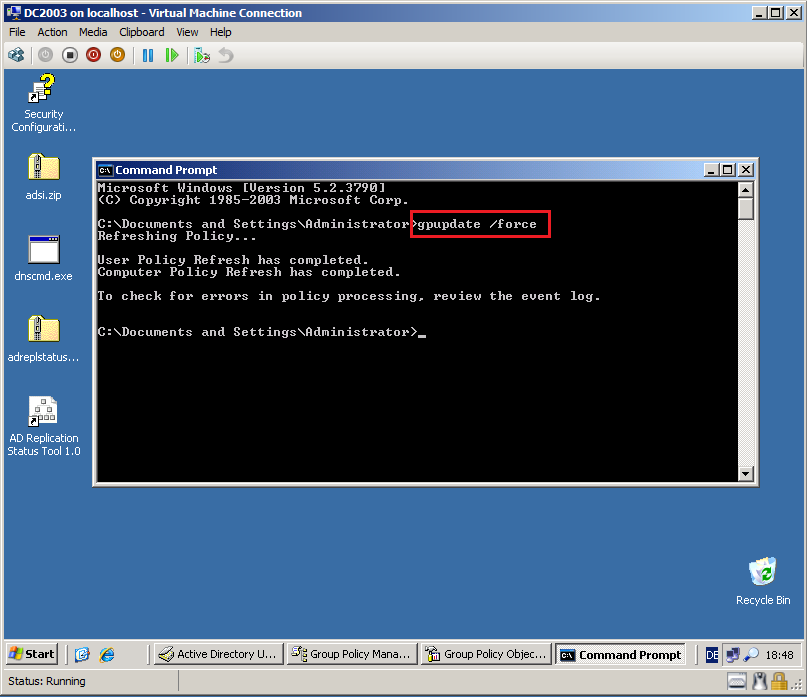
Open Command Prompt and run this command:
GPUPDATE /FORCE
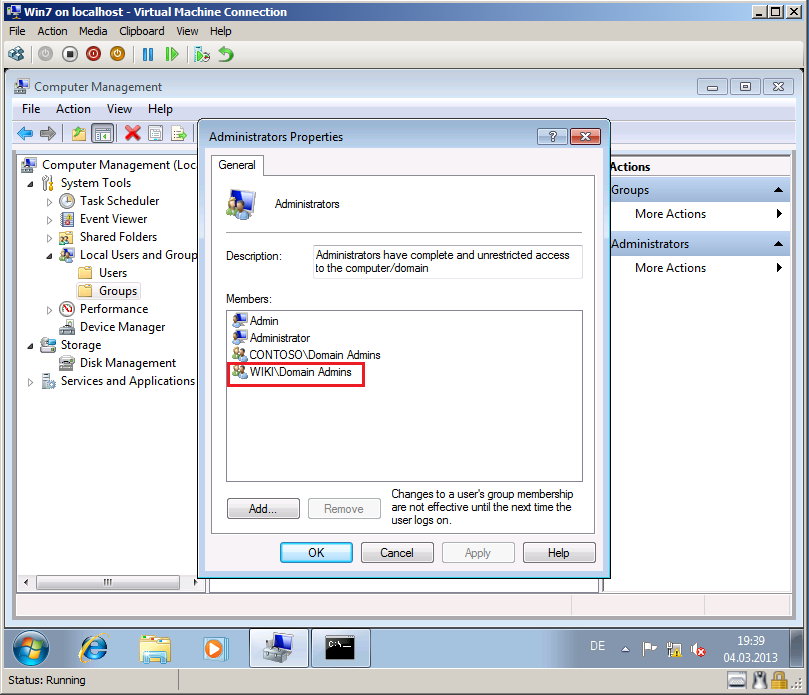
Now, we check GPO configuration on Win7 client. As you see, Wiki\Domain Admins is Local Administrator on Win7.
Installing ADMT Password Migration DLL
Before you migrate passwords, you will need to install the ADMT Password Migration DLL onto domain controller in the source domain (Contoso.com).
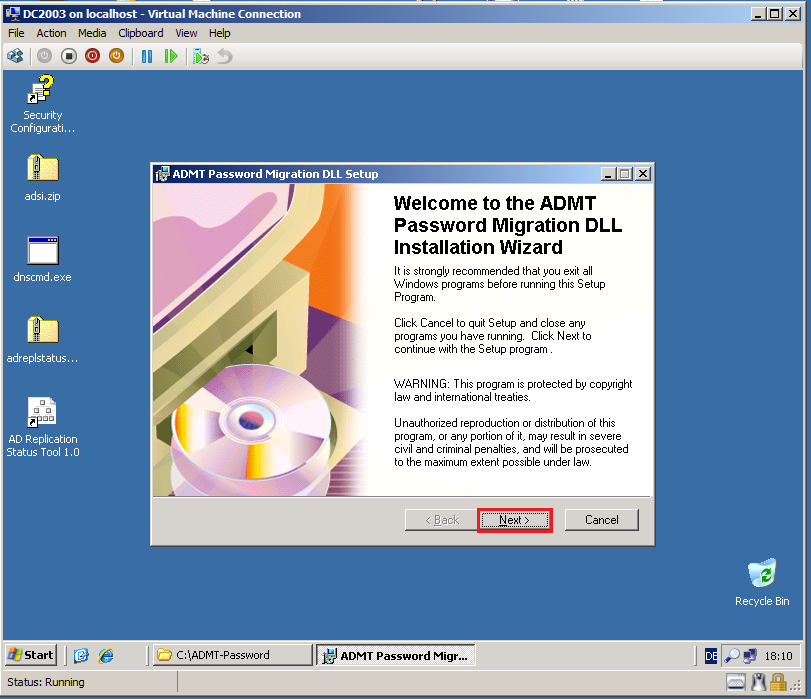
On Welcome to the ADMT Password Migration DLL Installation Wizard page, click Next.
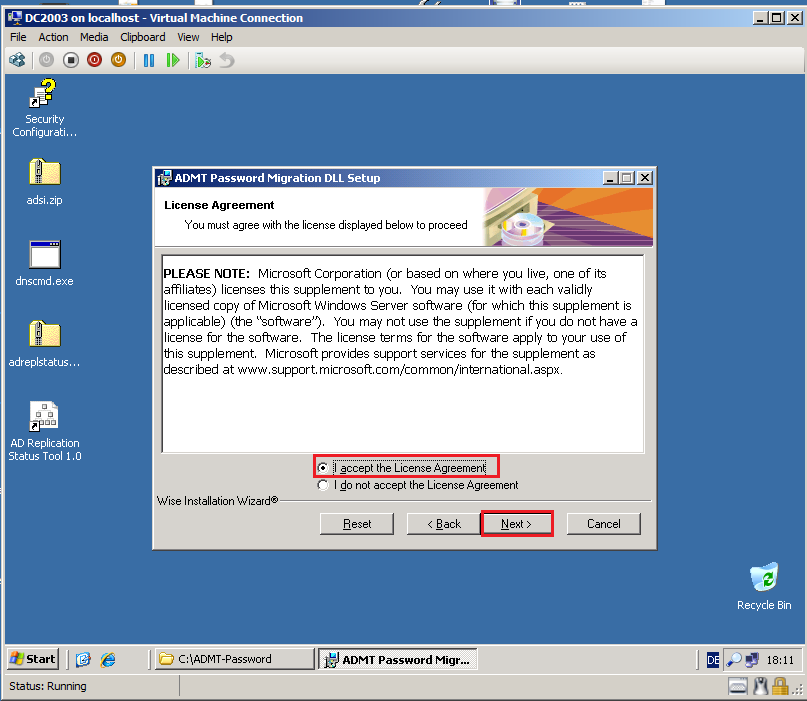
On License Agreement page, select I accept License Agreement, then click Next.
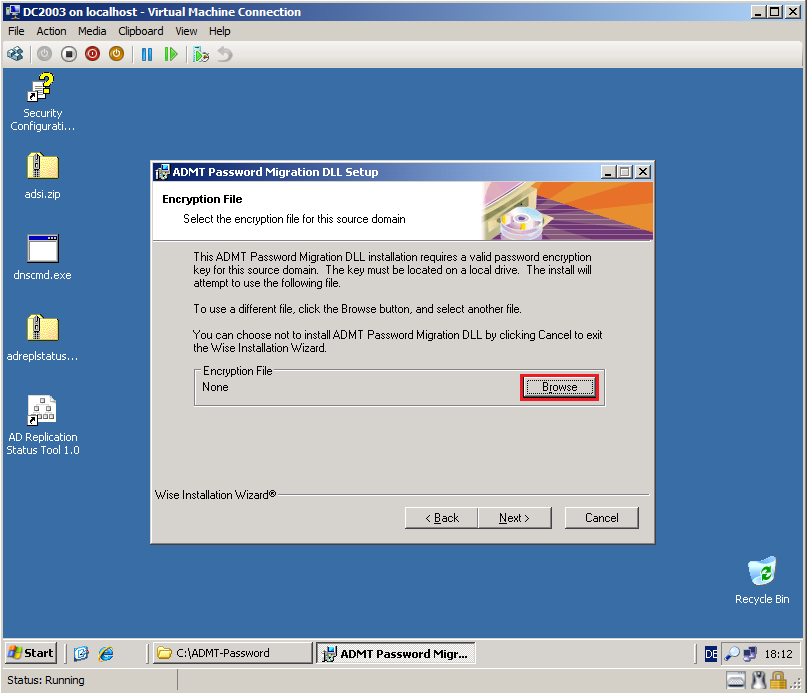
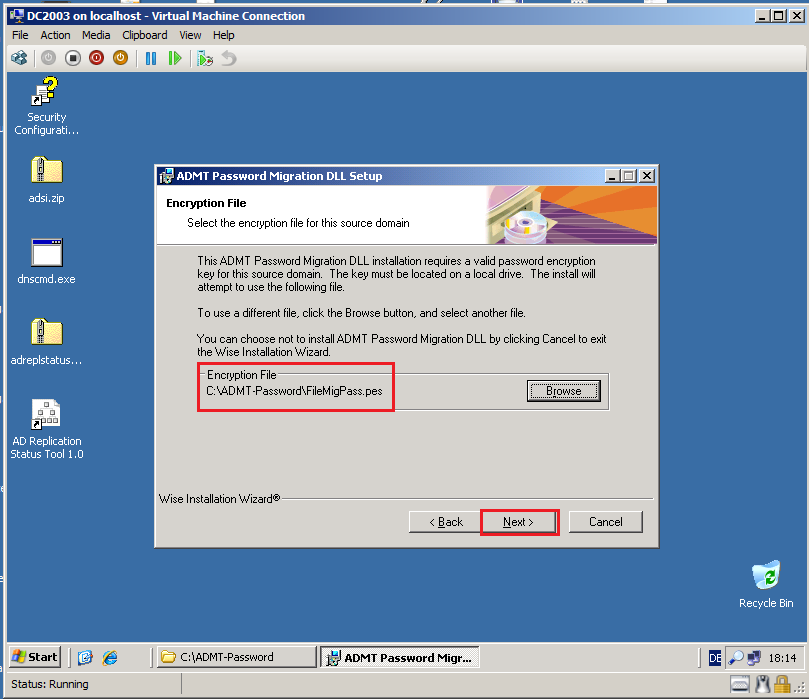
Select Browse, choose the key file (FileMigPass.pes) you created on the ADMT machine (DC2008R2).

Click Next.
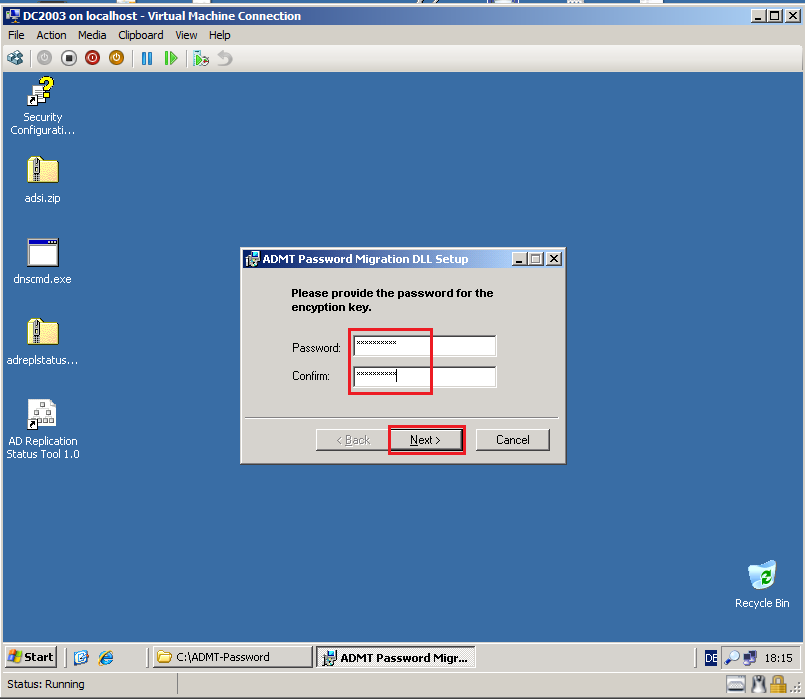
Write the password you used when creating the key file (FileMigPass.pes), then click Next.
On Start Installation page, click Next.

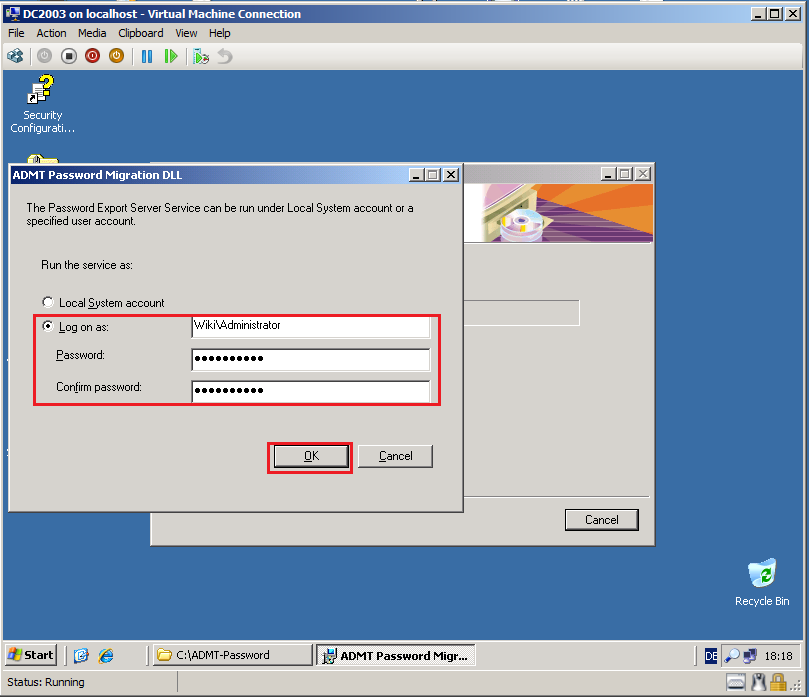
Run the PES service as an ADMT account in the target domain (Wiki.com), in my case (Wiki\Administrator). Click OK.
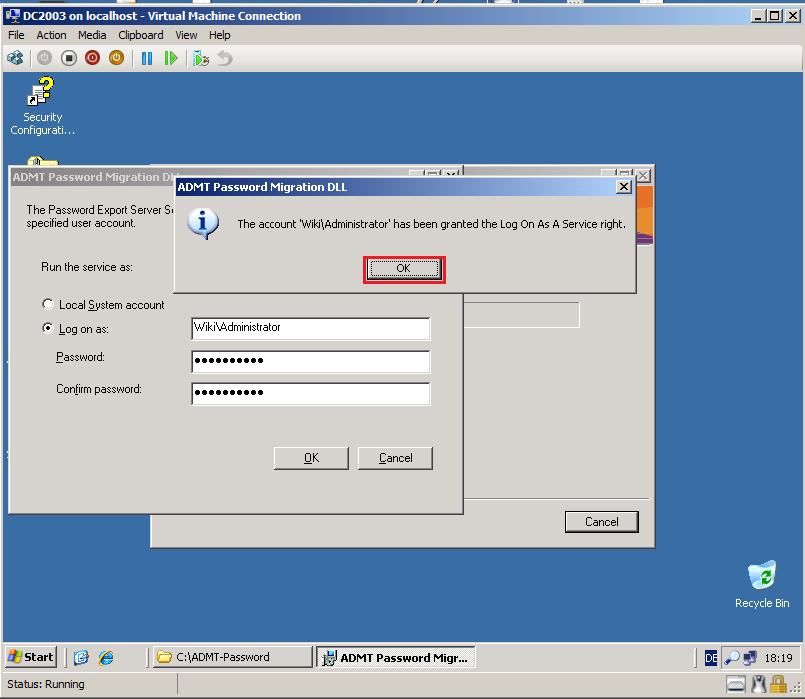
Click OK.
The installation is complete, Click Finish.
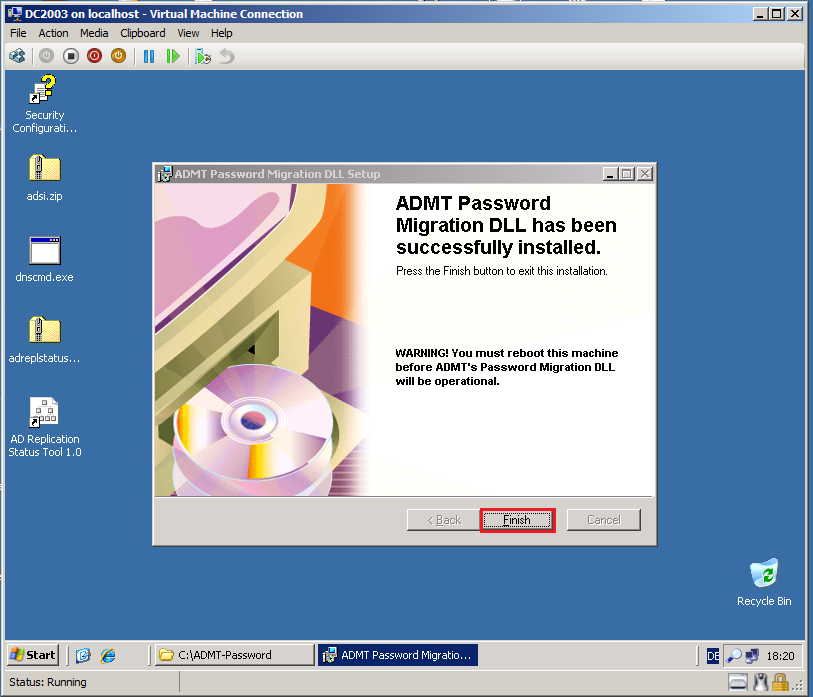
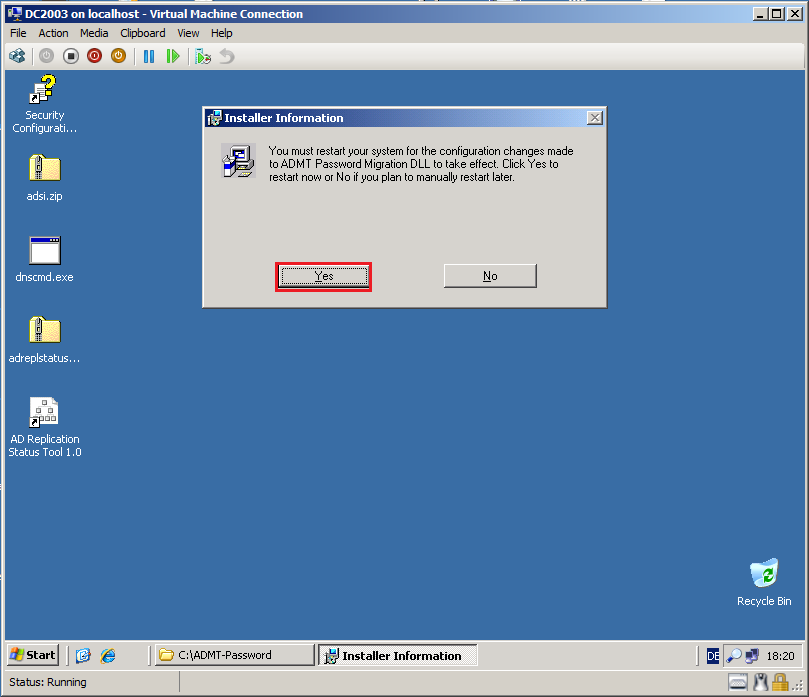
You will need to restart the domain controller. Click Yes.
Starting Password Export Server Service
After restarting domain controller, you will need to manually start the Password Export Server Services.
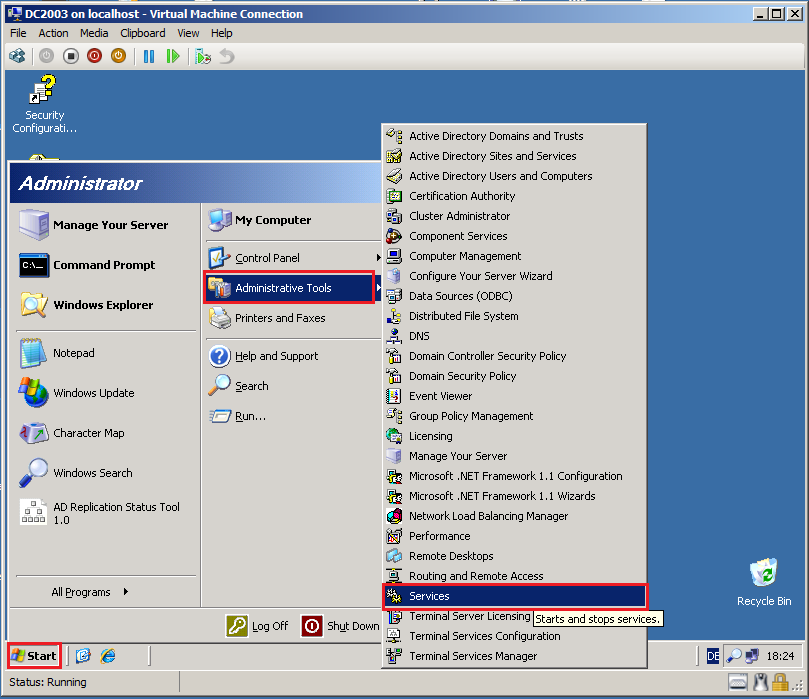
Click Start, Administrative Tools, then click Services.
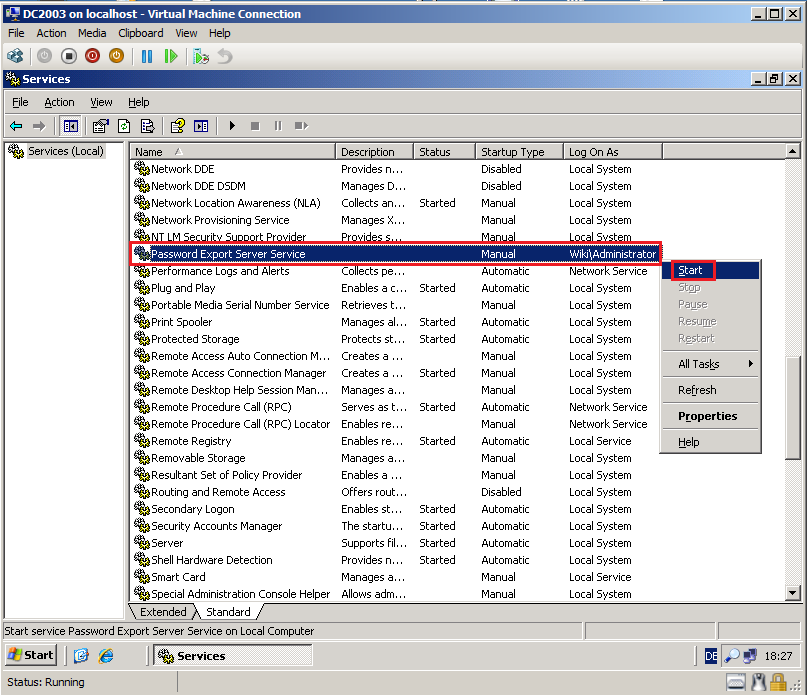
Right click on Password Export Server Services, then click Start.
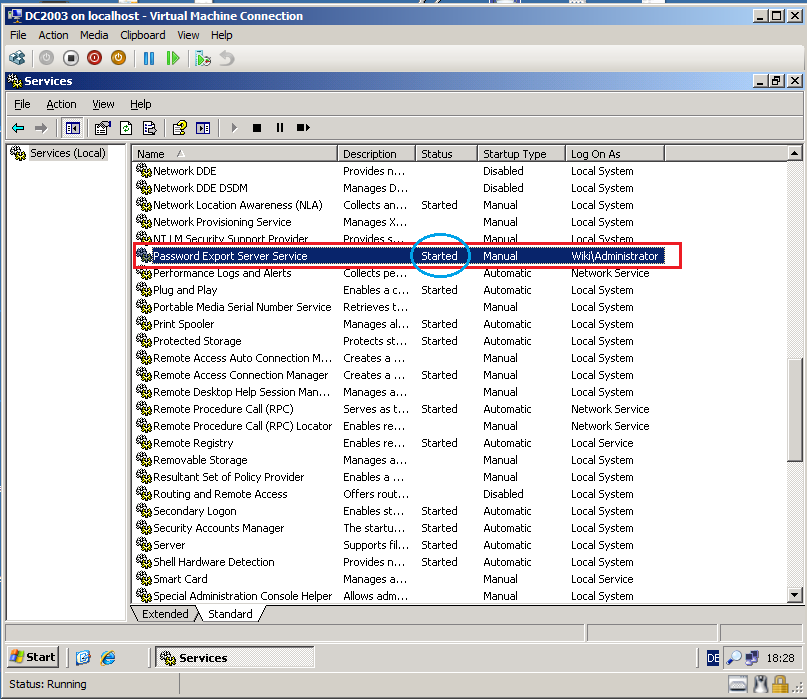
Now, the Password Export Server Services started.
See Also
Article Collection
Translated to Farsi