DiskShadow with VolumeMountPoints Exchange 2007 & Exchange 2010
Introduction:
Most of you are aware about the DiskShadow utility and its use with Microsoft Exchange 2007 and Exchange 2010. While this is one of the best tools to troubleshoot the backup related issues and Exchange VSS Writers, there seems to be a lot of confusion about running this tool in Volume Mount point scenarios.
What is DiskShadow?
DiskShadow.exe is a tool that exposes the functionality offered by the Volume Shadow Copy Service (VSS). By default, DiskShadow uses an interactive command interpreter similar to that of DiskRAID or DiskPart. DiskShadow also includes a scriptable mode.
Use of DiskShadow: Troubleshooting backup related issues in Microsoft Exchange 2007 and Exchange 2010.
In the below article I would be discussing scenarios covering the DiskShadow utility in Volume Mount Points Scenarios as this is more challenging than having normal drives on the Server.
Firstly we will list the Volume mount points present on the Exchange Server. We need to run the below command to provide us the output.
- In Command Prompt just type in MountVol
You would see the output as below:
Fig [A]:
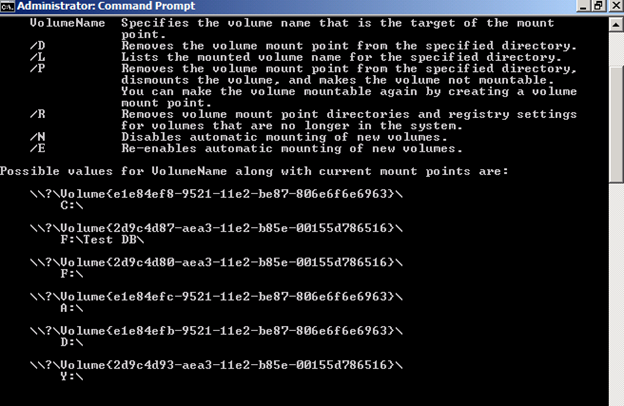
Fig [B]:
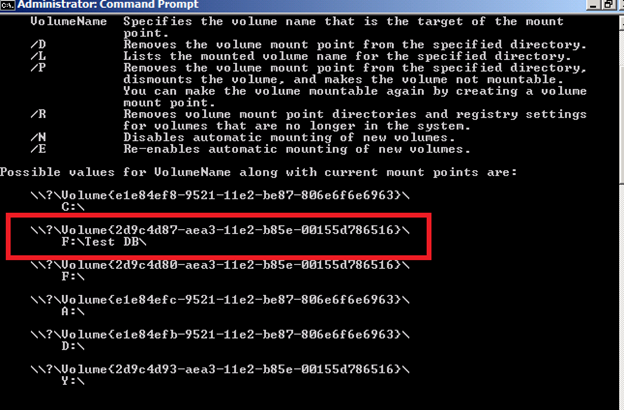
In the article I would be discussing scenario where the Volume mount point is set to F:\Test DB\ and which contains the Exchange Database and log files.

This Volume mount point will be hosting the log files & database for one of the Microsoft Exchange 2010 Database.
In the below screen shot I have added the Guid of the Volume mount point, So that I only backup the desired database.

If you look at the script and pay attention to the highlighted part it is actually the Guid of the Exchange Database & log files Folder on the Volume mount point. This Guid is actually needed for the DiskShadow to perform the backup against this Database and log files.
Note: You can add multiple guids for the different Databases and log files as per the requirement.
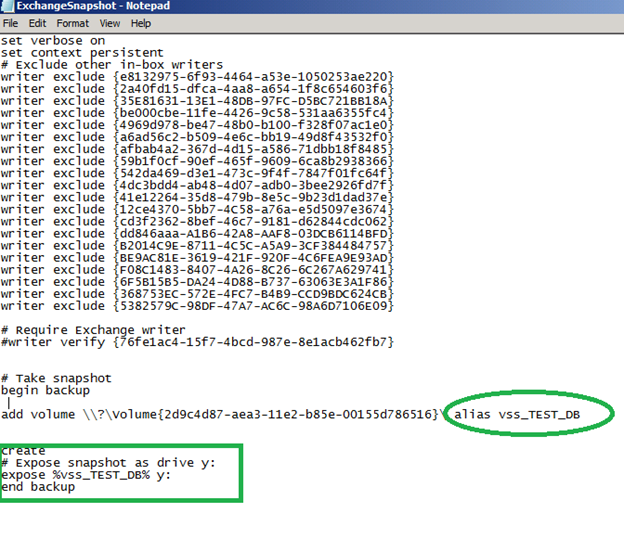
Important Note: In the above figure I have highlighted the name of the alias that you are specifying for the Volume mount point folder. This alias should be same otherwise the script would not be able to create shadow copy for the folder and would eventually not expose the drive letter.
Running the DiskShadow:
Open up the command prompt and type the following command: DiskShadow /s “location of the script file” /l “path of drive”

Switches used:
- /S: this switch is responsible for specifying the script file location.
- /L: this switch is responsible for creation of the log file when the DiskShadow is run.

If the DiskShadow has ran successfully you should see the following message.
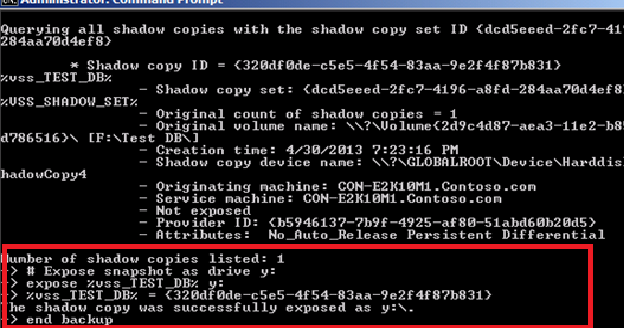
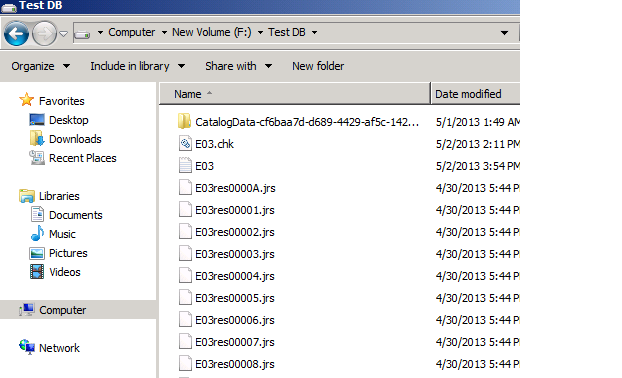
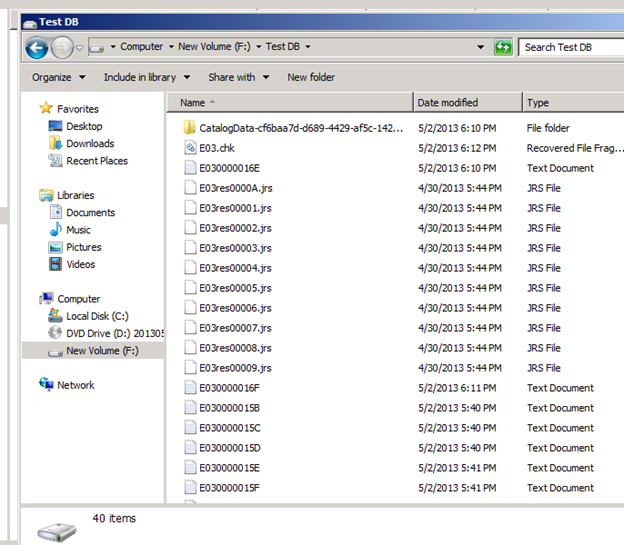
Earlier the Database folder had around 340 items in it. Now since the backup is successful it reduced to 40 items since the log files were purged.
Fig: Before DiskShadow was run.
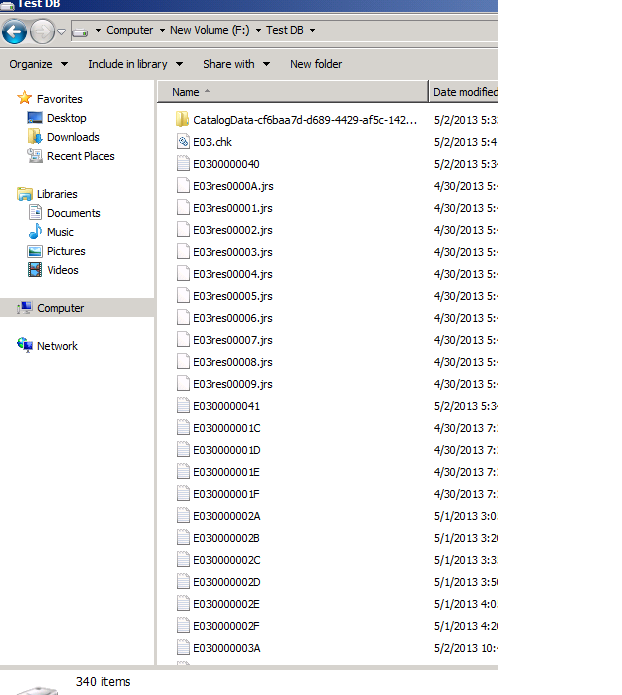
Fig: After Disk Shadow was run
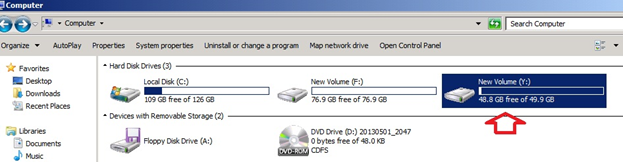
How does the DiskShadow copy look like?
Similar to the other drives. Look at the below figure:
You can delete the DiskShadow copy created by running the below command.
In command prompt type in: diskshadow

Next run the command: delete shadows all

I hope this piece of information will be of some help to all of you. Please let me know if you have any questions or additional information that we can cover up to make the article more informative!
Siddhesh Dalvi