Office 365 and Active Directory Synchronization
Exercise: We have both inside domain structure and mail service on Office 365. We want that inside users can access mail service on Office 365 by the same User name and password. As we mentioned above we want to do that without AD FS.
In this exercise I use two virtual machine and Trial Office 365.
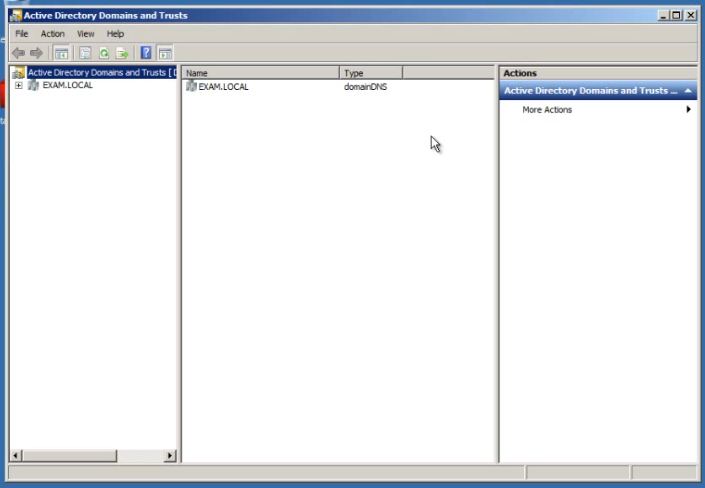
1. VM- Domain Controller | EXAM.LOCAL
2. VM- TMG, same time Sync Server
3. Trial Office 365- KHIRDALAN.ONMICROSOFT.COM
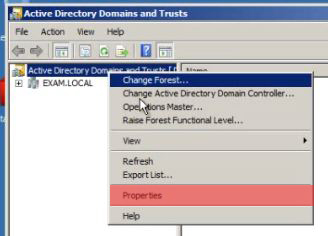
First of all, we open “Active Directory Domain and Trusts” window. Here in “UPN Suffixes” we type domain that we use in Office 365.
The we right click on “Active Directory Domain and Trusts” and go to “Properties”.
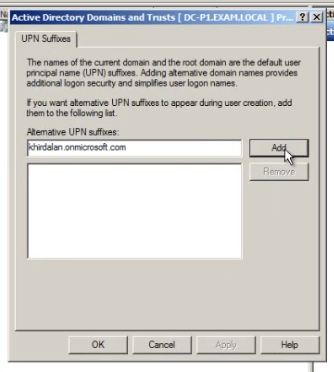
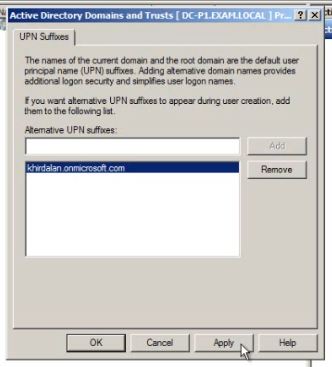
Now “UPN Suffixes” window is coming. We need just this one. We insert our Office 365 domain here.
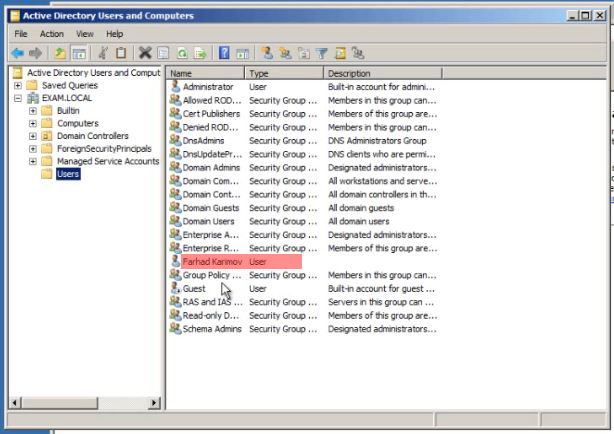
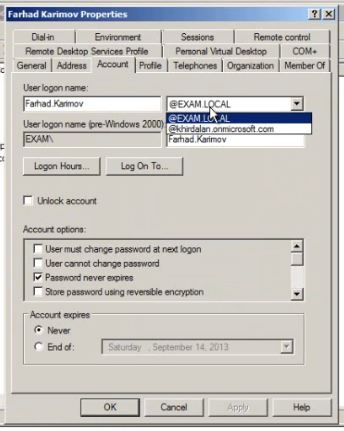
For example, we open user named “Farhad Karimov” in “Active Directory Users and Computers” and enters its properties. Then we navigate to “Account” TAB and rename domain.
Then we go to Office 365.
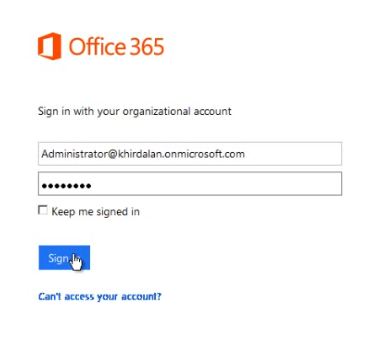
Then Admin centre of Office 365 welcomes us as below.

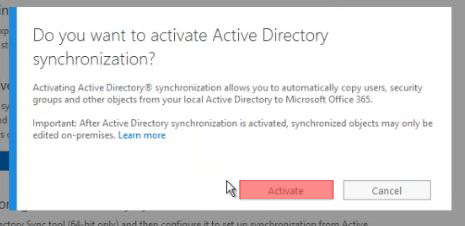
Then we go to “Users and Groups” and in the right pane we click on “SET UP” button in front of “Active Directory Synchronization”. After that a new windows will pop up. Here we activate this function of Office 365.
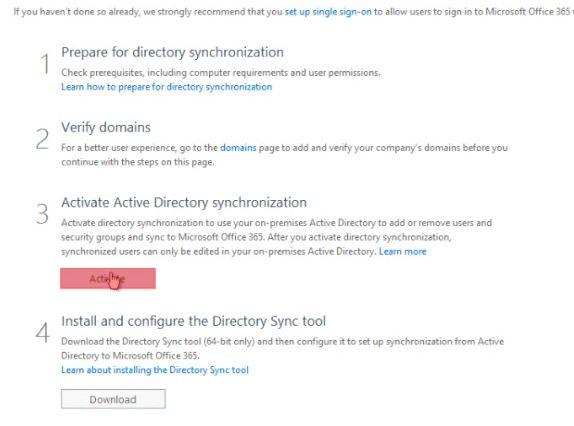
Now we have to install Directory Sync Tool in our server**.** For this purpose we click on “Download” button in the window above.
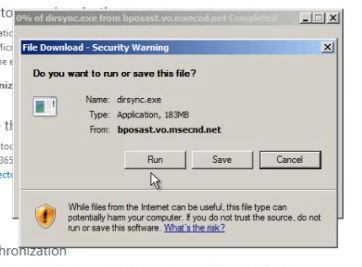
As you see the tool is downloaded where we selected.
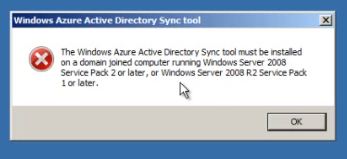
I didn’t mention at the beginning of topic, I would like to underline that for installing “Synch tool” you must have at least Windows Server 2008 SP2 or Windows Server 2008 R2 SP1. If you don’t have you will come across with this error message.
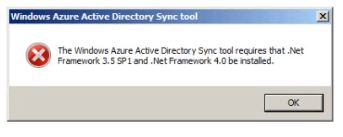
Another requirement is you must have at least .Net Framework 3.5 SP1 or .Net Framework 4.0 on your server. Despite this, you will get this error message.
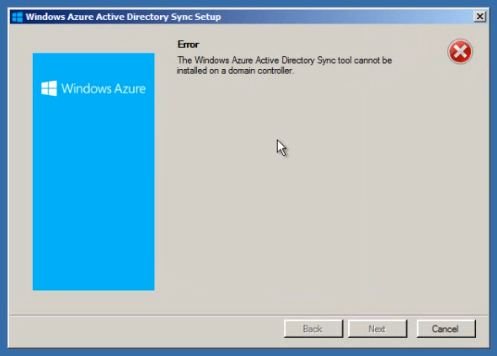
Another issue that you have to take into consideration is you cannot install this tool on server that domain controller already installed. Despite this, you will get this error message.
Generally, Microsoft advises to set up this tool on another server. Cause of test environment I set up on TMG 2010. Of course, in real you have to adhere some security issues.
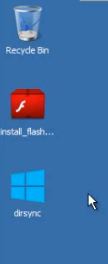
Then we click on installed tool and wait for a moment.
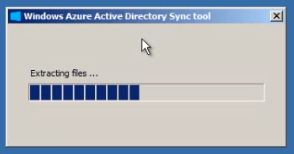
After a while following window will pop up.
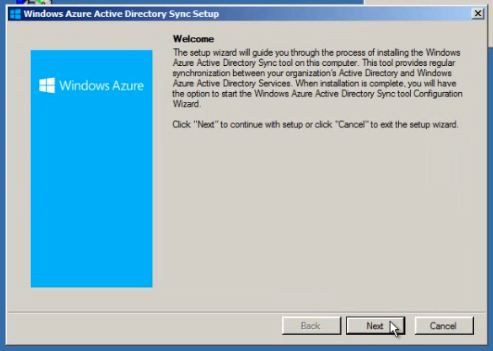
Now we continue by clickin on “Next” button.
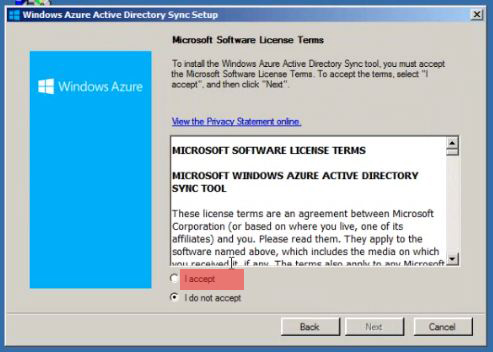
After reading the terms we accept and continue.
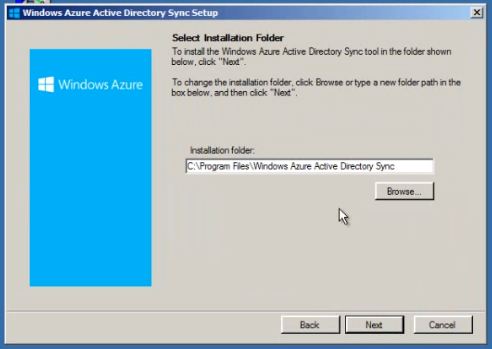
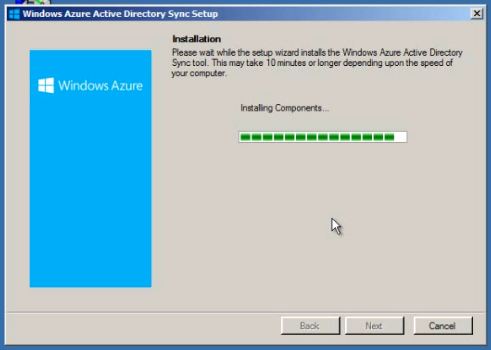
Window above shows us where tool will be installed. We continue without changes and wait for to complete installation.
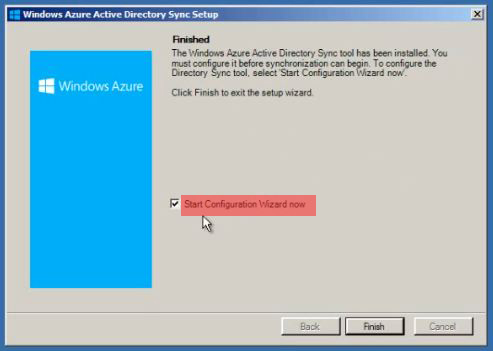
After installation completed information message will appear. Now we uncheck the mark and restart the server. We unchecked because we will customize it later.
After restarting server we click on application icon on desktop.
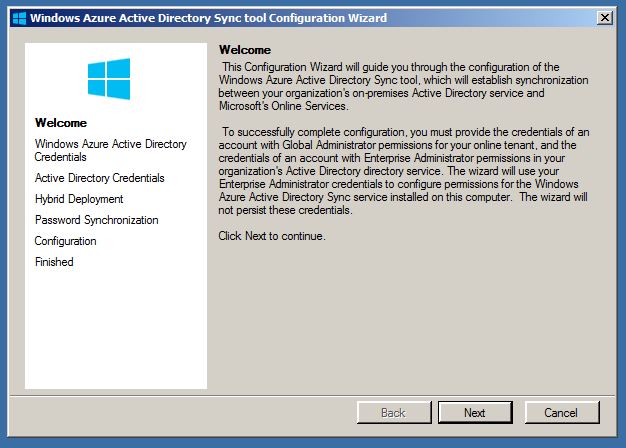
A customization window will welcome us. Now we continue by clicking on “Next” button.
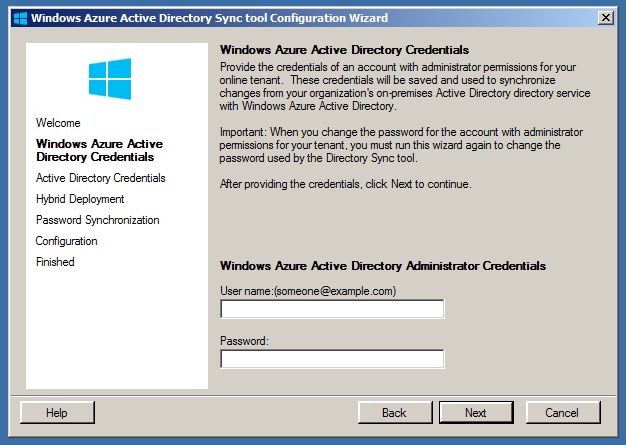
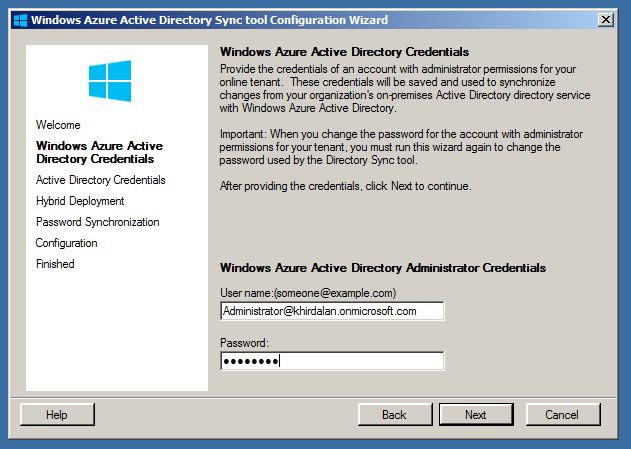
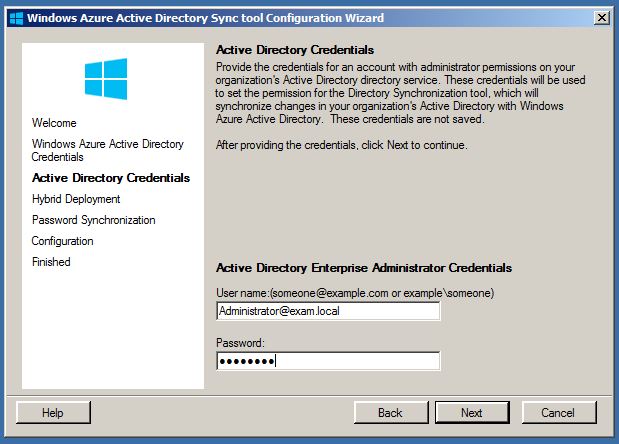
In the next window we enter administrator account that we use in Office 365 with administrator privileges and go on by clicking “Next” button.
Then we enter credentials of administrator that we use in inside domain.
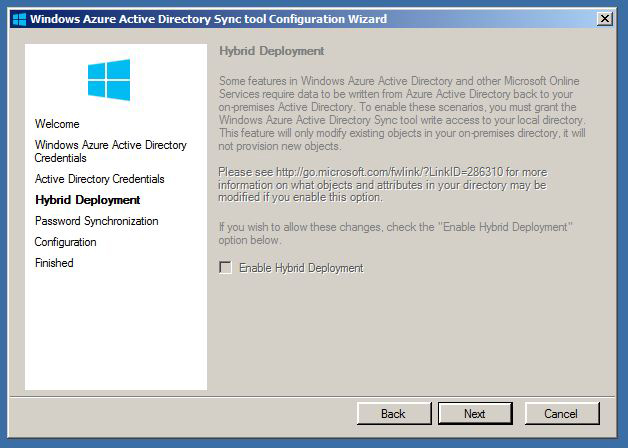
As you see next window is not active. Here we continue by clicking on “Next” button.
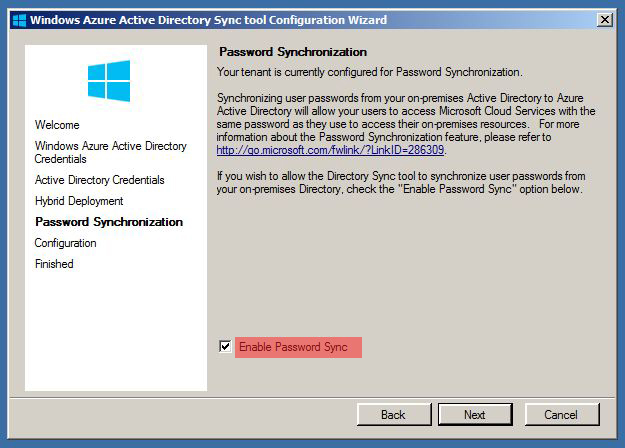
In the next window we exactly check “Enable Password Sync” button. Because, we want to use inside domain passwords in Office 365 simultaneously.
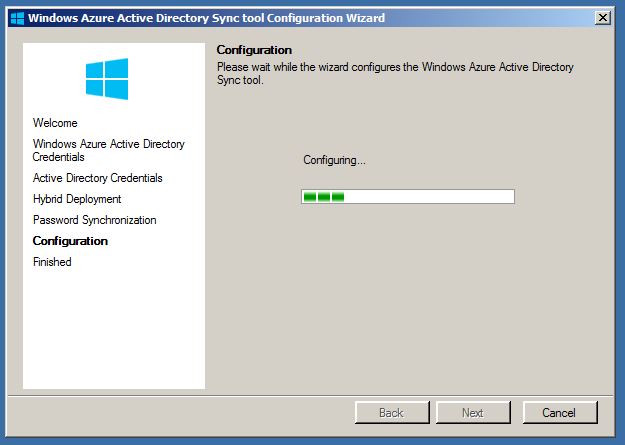
Then we wait for completing configuration.

After configuration completed we check the mark in the next window. Now we can synchronize users in Active Directory with Office 365. But I don’t check it. Because, I want to show you later how to do that by Powershell.
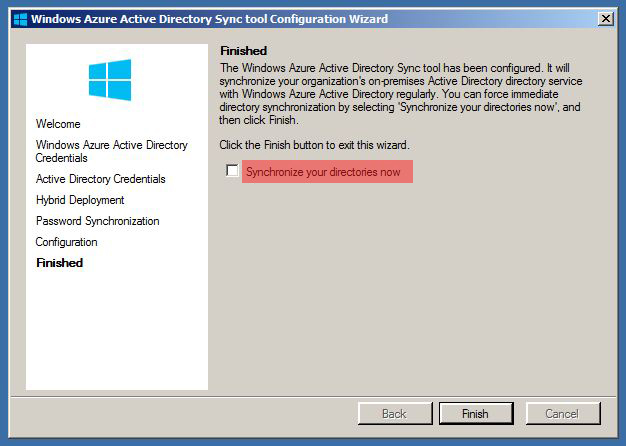
We complete configuration by clicking “Finish” button.
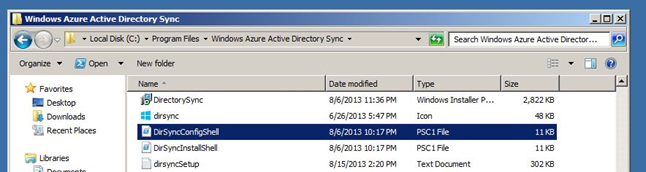
Normally users in Active Directory synchronize with Office 365 within 72 hours. Of course, we cannot wait so long. For this purpose we do this by doing some Powershell commands. First of all I want to mention that in application folder Powershell script is exists. Using this script we will synchronize manually.
For this we go to “C:\Program Files\Windows Azure Active Directory Sync\ path.

Now we click on following script:
DirSyncConfigShell.psc1
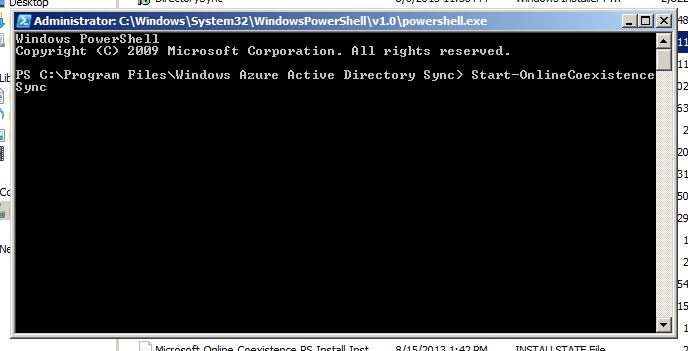
Then we type following command on the next window.
Start-OnlineCoexistenceSync
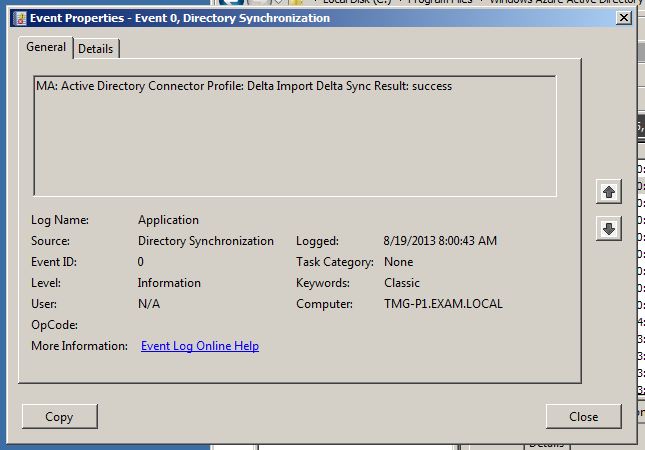
For being sure that synchronization completed succesfully we go to ”Event Viewer” and take notice of logs**.**
Now we go to Office 365 again and be sure that accounts we created in Active Directory also exist in Office 365.

As you see information about synchronization with Active Directory is shown in front of it.
Now let’s access to Office 365 with this account. To check we really can access or not.
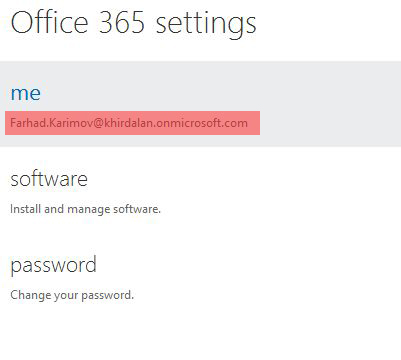
As you see in the picture above I could access Office 365 successfully. Now in this way I can synchronize other accounts with Office 365.
Other Languages
This article is also available in the following articles: