Documenting Use Cases using Visio Professional
Introduction
Software analysis, design & documentation is an integral part of any software developer. All developers are called on to do this at some stage in their career. The quality of such documentation is often much more obvious to managers/influencers than code quality. Developers need to carry out their own analysis & design their solutions. In order to get feedback from stakeholders / from peers, it is necessary to "communicate" your "design" & this is where UML comes in.
Documenting your designs in UML using Visio Professional is particularly useful!
Choosing the Right Template
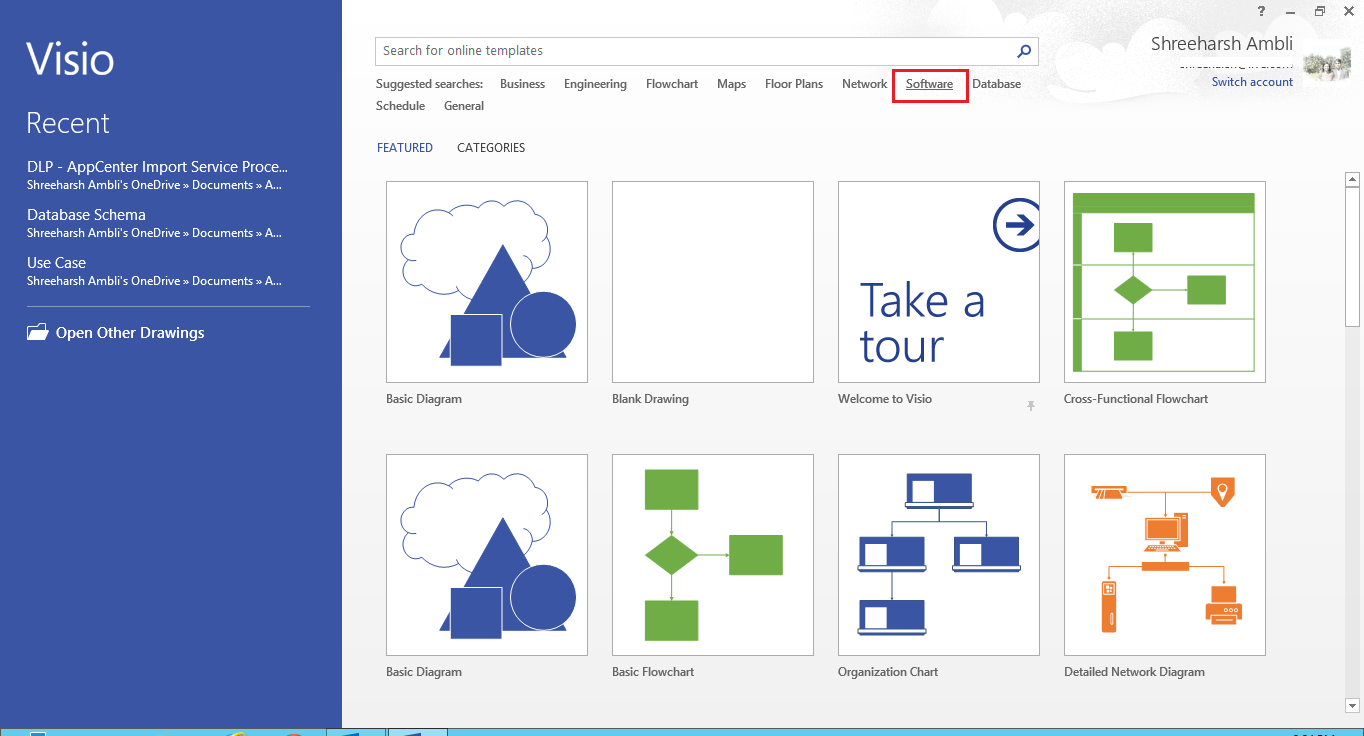
Let's start off with the right template to work with Use Cases. On the start page, click on the Software category:
Next, choose the UML Use Case template:
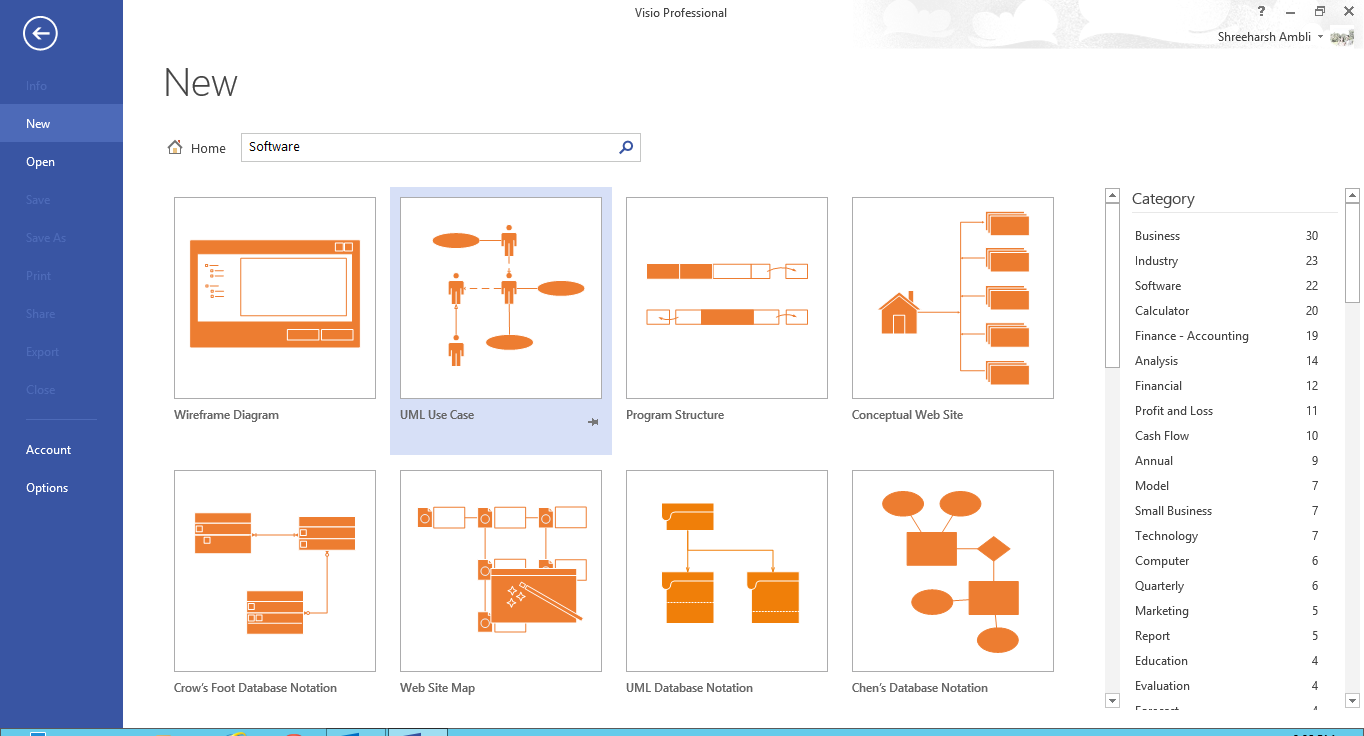
Your new empty Use Case is now created:

Adding an Actor
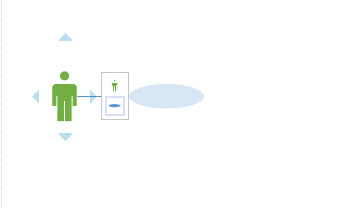
To add a new Actor, simply drag & drop! Make sure you leverage Visio alignment hints/gridlines to make your job easier:

You can double-click on the actor to start adding a label:

Adding a Use Case
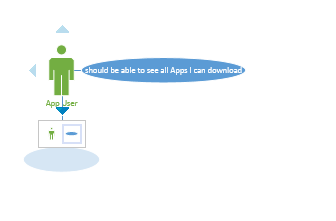
You can either drag & drop as before else use a shortcut as illustrated below (simply hover over the Actor to see shortcut actions):
Once you have added a Use Case, simply start typing its description, Visio will zoom into edit mode (click anywhere else to go back to normal mode):

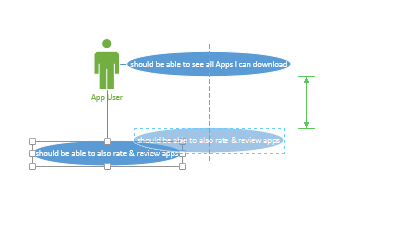
To add another Use Case, simply follow the same process and make visual / alignment adjustments (again make sure you leverage Visio's positioning/ hinting/gridlines):
Easy Formatting using Visio Features
You can also use various options available on the ribbon to easily align your Use Cases, etc:
