Customize SharePoint ribbon tabs and UI
Introduction
This article target to SharePoint developers and architects. You will get to know the customizing SharePoint OOTB ribbon’s look and tabs as you want.
This solution will provide the adding custom tabs for the SharePoint welcome page, I meant home page of your portal and adding tabs for document libraries too.
Customizing Ribbon tabs and their UI
Add a new tab in the home page
Step1: Create an empty SharePoint project in Visual studio
Step2: In the SharePoint Customization Wizard, select Deploy as a Sandbox solution and click finish.
Step3: Create a new future. Please follow the ways to create a new feature.
Solution Explorerà right click Feature à select Add Feature
Step4: Create a new element.xml. Follow the below steps to create a new element.xml
Right click on project solution à Add à New Item à select Empty Element
Step5: Add a new tab in the SP site home page. The below code snippet helps to add a tab.
<CustomAction
Id="Ribbon.NewTabs"
Location="CommandUI.Ribbon">
<CommandUIExtension>
<CommandUIDefinitions>
<CommandUIDefinition
Location="Ribbon.Tabs._children">
<Tab
Id="Ribbon.CustomTbDashboard"
Title="CMS Dashboard"
Description=""
Sequence="501">
<Scaling
Id="Ribbon.CustomTbDashboard.Scaling">
<MaxSize
Id="Ribbon.CustomTbDashboard.MaxSize"
GroupId="Ribbon.CustomTbDashboard.CustomGroupExample"
Size="OneLargeTwoMedium" Sequence="1"/>
<Scale
Id="Ribbon.CustomTbDashboard.Scaling.CustomTabScaling"
GroupId="Ribbon.CustomTbDashboard.CustomGroupExample"
Size="OneLargeTwoMedium" Sequence="2"/>
</Scaling>
<Groups Id="Ribbon.CustomTbDashboard.Groups">
<Group
Id="Ribbon.CustomTbDashboard.CustomGroupExample"
Description="CMS Group"
Sequence="52"
Template="Ribbon.Templates.CustomTemplateExample">
<Controls Id="Ribbon.CustomTbDashboard.CustomGroupExample.Controls">
<Button
Id="Ribbon.CustomTbDashboard.CustomGroupExample.CMS"
Command="CustomTabExample.CMS"
Sequence="15"
Description="CMS"
LabelText="CMS"
TemplateAlias="btnCMS"
Image16by16="/_layouts/images/yourproject/images/Ribbon/Dashboard.png"
Image32by32="/_layouts/images/yourproject/images/Ribbon/Dashboard.png"
/>
</Controls>
</Group>
</Groups>
</Tab>
</CommandUIDefinition>
<CommandUIDefinition Location="Ribbon.Templates._children">
<GroupTemplate Id="Ribbon.Templates.CustomTemplateExample">
<Layout
Title="OneLargeTwoMedium"
LayoutTitle="OneLargeTwoMedium">
<Section Alignment="Top" Type="OneRow">
<Row>
<ControlRef DisplayMode="Large" TemplateAlias="btnCMS" />
</Row>
</Section>
</Layout>
</GroupTemplate>
</CommandUIDefinition>
</CommandUIDefinitions>
<CommandUIHandlers>
<CommandUIHandler
Command="CustomTabExample.CMS"
CommandAction="javascript:window.open('/Pages/Sample.aspx')" />
</CommandUIExtension>
</CustomAction>
Step6: Right clicks on project solution, select properties and under SharePoint, changes the Active Deployment Configuration to No Activation.
Step7: Open SP central Administration, under System Setting click on Manage service on server link, start the Microsoft SharePoint Foundation Sandboxed Code Service.
Step8: Open VS 2010, just clicks on the project solution and press the F4 hey, change the site URL where do you want to deploy this feature. The press F5 key, by doing this feature will be deployed to the mentioned site collection.
Step9: Open site collection, Site Action à Site Setting à Under Site Collection Administration, click site collection feature link à Click your feature Active button.
Step10: Create the user control and include the Microsoft.Web.CommandUI as a reference. Copy the below code snippet to make visible your tab
protected override void OnPreRender(EventArgs e)
{
SPRibbon ribbon = SPRibbon.GetCurrent(this.Page);
if (ribbon != null)
{
if (!ribbon.IsTabAvailable("Ribbon.CustomTbDashboard"))
{
ribbon.MakeTabAvailable("Ribbon.CustomTbDashboard");
}
}
}
Customize the Ribbon background
The below css classes use to modify the Ribbon top and bottom back ground.
body #s4-ribboncont{
padding-left: 0px;
background-image:none;
}
/* Globally set all the background colors to transparent and remove background images / borders */
#s4-ribbonrow
{
background:url('/_layouts/images/yourproject/images/ribbon-top.png') no-repeat left top !important;
border-width:0px;
width:950px !important;
margin:0 auto !important;
}
.ms-cui-groupSeparator {border-right:0px solid #E7E7E8 !important; }
.ms-cui-topBar2{border-width:0px;}
.ms-cui-tabBody{
background:url('/_layouts/images/yourproject/images/ribbon-bottom.png')
no-repeat !important;
padding-bottom:2px;
position:relative;
top:-3px;
border:0px solid #898d92 !important; height:96px;
}
.s4-ribbonrowhidetitle{
height:inherit !important;
}
/* After globally turning off borders.. turn back on the separators for the large icons*/
.ms-cui-groupSeparator {
border-right:1px solid #5CB3FF !important; }
.ms-cui-cg-t-i{
color:white;
font-weight:bold;
}
.ribbon-wrapper{
position:relative;
}
Show ribbon tabs in the home page by C#
If users want to make out the ribbon with your changes by default in the home page, compile your web part with the following code snippet. Include this webpart in your welcome page's master file
protected void Page_Load(object sender, EventArgs e)
{
SPWeb web = null;
SPSecurity.RunWithElevatedPrivileges(delegate
{
web = SPContext.Current.Web.Site.OpenWeb();
});
EnableRibbon(web);
}
private static void EnableRibbon(SPWeb web)
{
web.AllowUnsafeUpdates = true;
// using (SPWeb newWeb = parentWeb.Webs.Add(title, title, string.Empty, parentWeb.Language,webTemplate, false, false))
//{
// Show Ribbon by default
web.AllProperties["__DisplayShowHideRibbonActionId"] = false.ToString();
web.Update();
//web.Dispose();
// web.Close();
}
}
Reference links
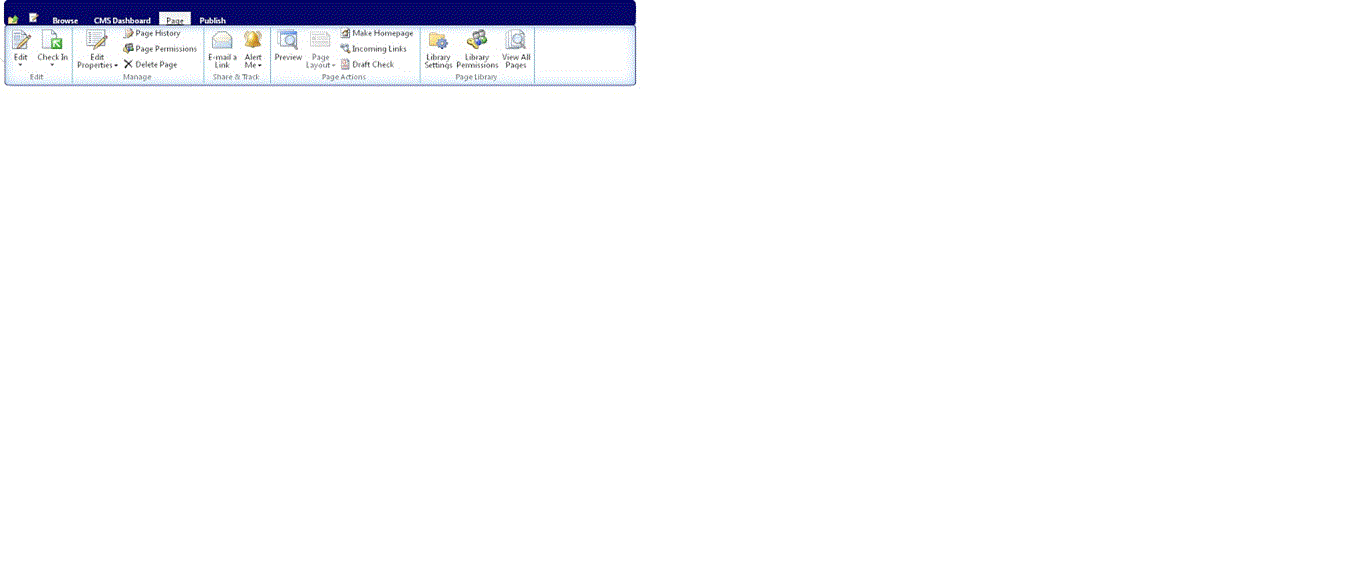
Final Look of the Ribbon
After you have implemented my solution, the final ribbon looks like this