Deploying web services with BizTalk Deployment Framework
https://msdnshared.blob.core.windows.net/media/2016/08/0841.NinjaAwardTinySilver.pngSilver Award Winner
Introduction
The BizTalk Deployment Framework (BTDF) is a very powerful tool for creating MSI’s to deploy your BizTalk applications. One of the main advantages is the ability to deploy all related artifacts along with your BizTalk application. Here we will show how you can include your web services into your MSI for deployment.
Creating Web service
We will start by deploying the web service using the BizTalk WCF Service Deployment Wizard. Once finished, the folder for the web service should be copied from where is was deployed to our project folder, by default web services get deployed in C:\inetpub\wwwroot. After we have added the files to our project, we have to make sure the build action on the XSD’s is set to None instead of BtsBuild, as the references in these schemas probably can’t be resolved on build. Now we have to make a couple changes in our BTDF project file. To start with, we will have to tell BTDF that we want to deploy virtual directories by setting the following property in the PropertyGroup in our .btdfproj file.
<IncludeVirtualDirectories>true</IncludeVirtualDirectories>
Set Parent Website
Optionally we can also deploy our web service to a non-default website. This is especially helpful in case we want to use both WCF and SOAP web services, as IIS does not allow these to run under the same website. To enable this we would have to set the following property.
<IISMetabasePath>IIS://localhost/w3svc/{ID}/Root</IISMetabasePath>
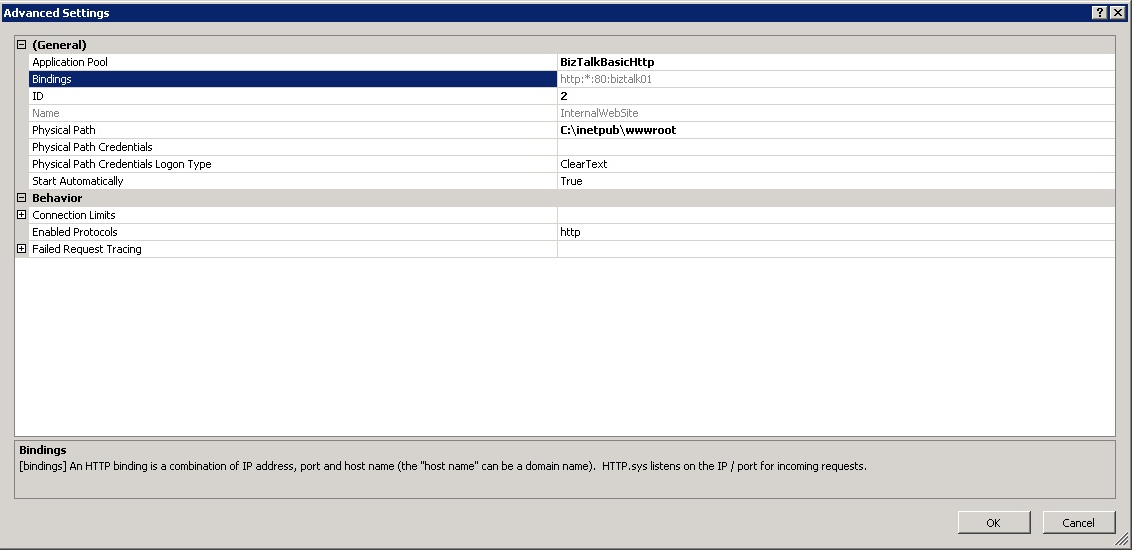
Replace {ID} with the ID of the website under which we want the web service to run, which can be found by opening the advanced properties of the website in IIS Manager.
Resetting IIS
The next (optional) step is to let BTDF restart your IIS after deployment has been done, by setting the following property.
<SkipIISReset>false</SkipIISReset>
Add Webservice
Now we will specify the settings for the web service by creating a new ItemGroup, which should be placed under the PropertyGroup with the ProductID. This is where we will set the name of the web service, the application pool’s properties to run in, and the location of the web service’s files. In case the application pool does not yet exist, it will be created for you.
<ItemGroup>
    <VDirList Include="*">
      <Vdir>NameOfWebService </Vdir>
      <AppPool>NameOfAppPoolToRunServiceUnder </AppPool>
      <Physdir>..\NameOfWebserviceFolderYouCopiedEarlier </Physdir>
      <AppPoolNetVersion>v4.0</AppPoolNetVersion>
    </VDirList>
</ItemGroup>
Set Credentials
We will also have to specify the user credentials to be used for the application pool. We can use the SettingsFileGenerator.xml file for this, by adding entries for VDIR_UserName and VDIR_UserPass for our environments. In the BTDF project file we will have to add the following under the ItemGroup we just created, or append to PropsFromEnvSettings if it already exists.
<ItemGroup>
  <PropsFromEnvSettings Include="VDIR_UserName;VDIR_UserPass" />
</ItemGroup>
Now when we use BTDF to deploy our application, it will automatically set up the application pool and create the web service for us.
See Also
Another important place to find an extensive amount of BizTalk related articles is the TechNet Wiki itself. The best entry point is BizTalk Server Resources on the TechNet Wiki.