Windows 10 IoT Core: Hello World on Raspberry Pi
This article helps to write a Hello World program where we can change the text on the Text Box given by a click and deploying it on the Raspberry Pi device. We will be working with Windows 10 IoT Core Operating System on this experiment.
Requirements:
- Raspberry Pi 2/ 3 installed with Windows 10 IoT Core OS
- Laptop or PC with Windows 10 OS (installed with Visual Studio 2015)
- Both devices should be connected with internet.
Click here for Windows 10 IoT Core OS installation on your Raspberry Pi device.
Click here to download Visual Studio 2015.
Follow the steps for Hello World program:
**
**
**Step – 01: **Run Visual Studio 2015 on your laptop/computer.
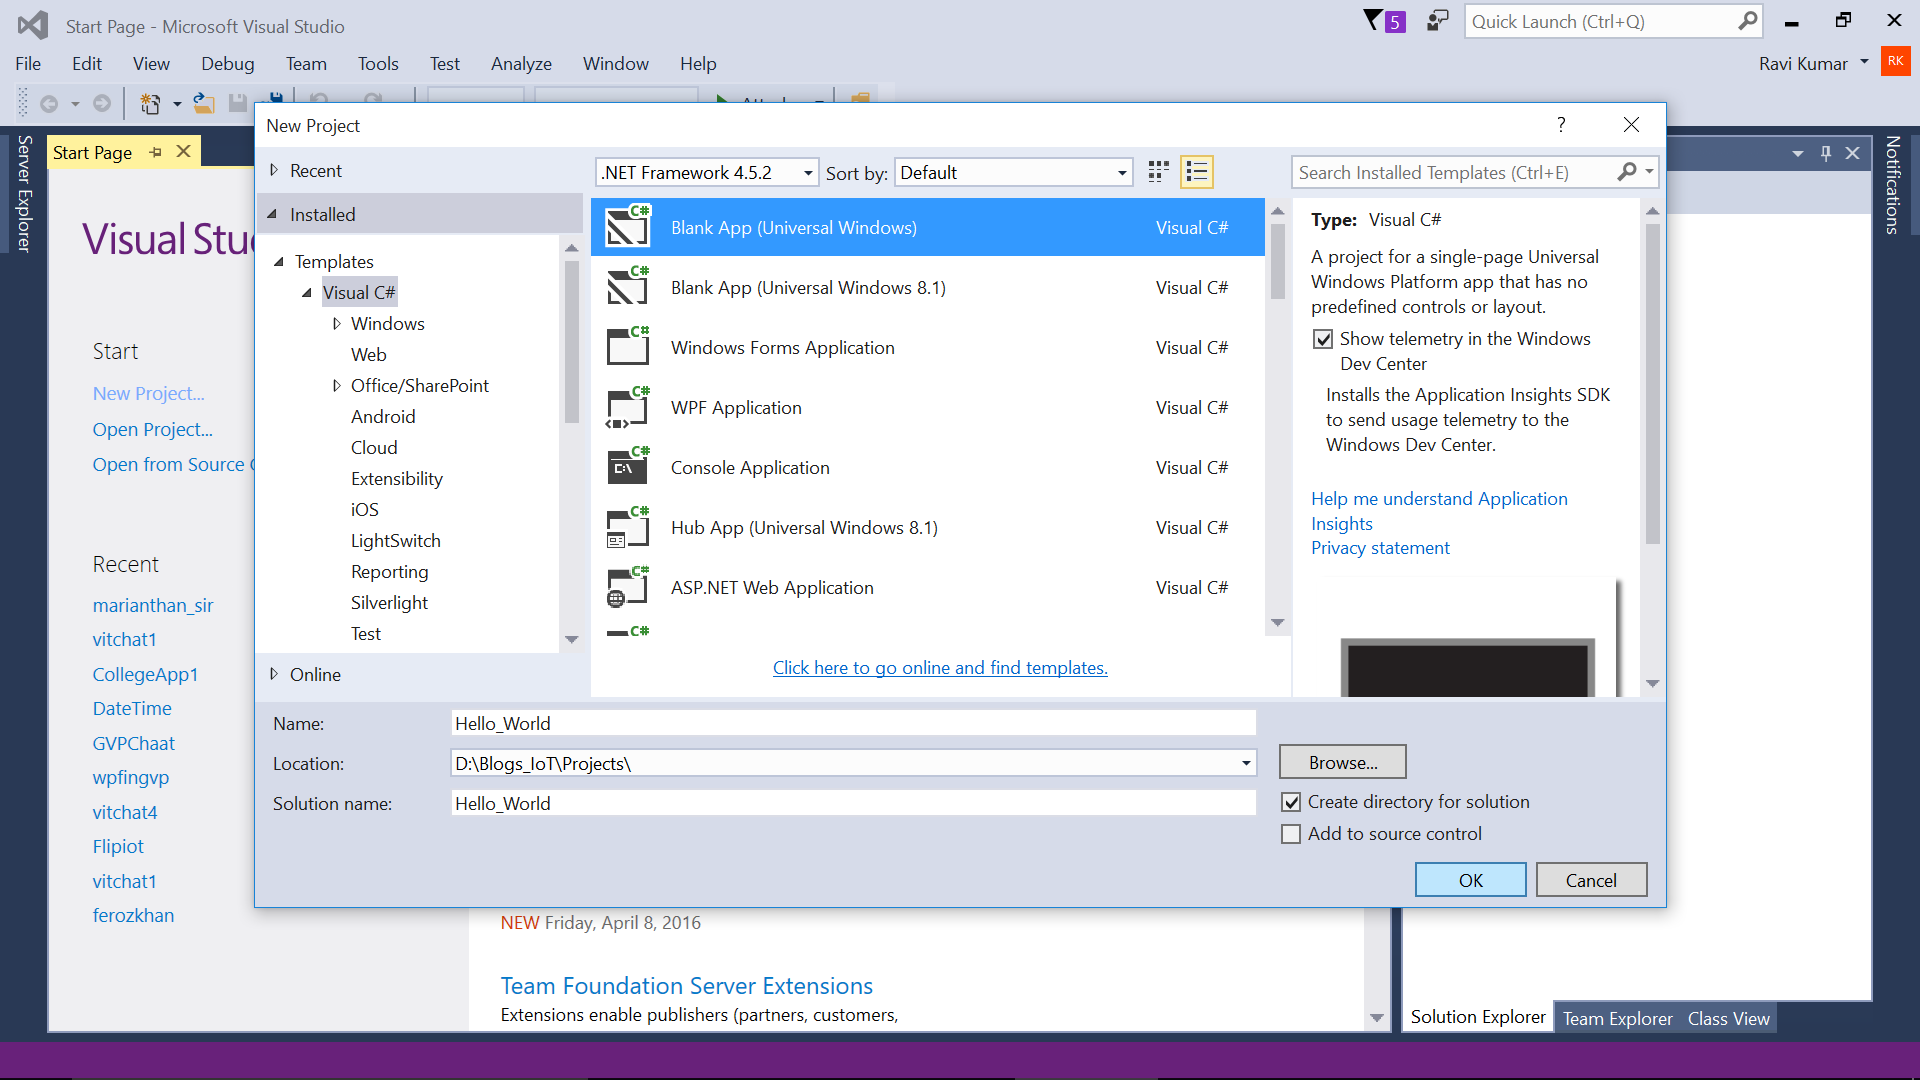
Step – 02: Click on File -> New -> Project -> Select Visual C# -> Windows -> Blank App (Universal Windows). Name your project with the solution name that you need and select the location where you want to save your project file.
 [
[
](resources/6864.Screenshot-2800_308_2900.png)
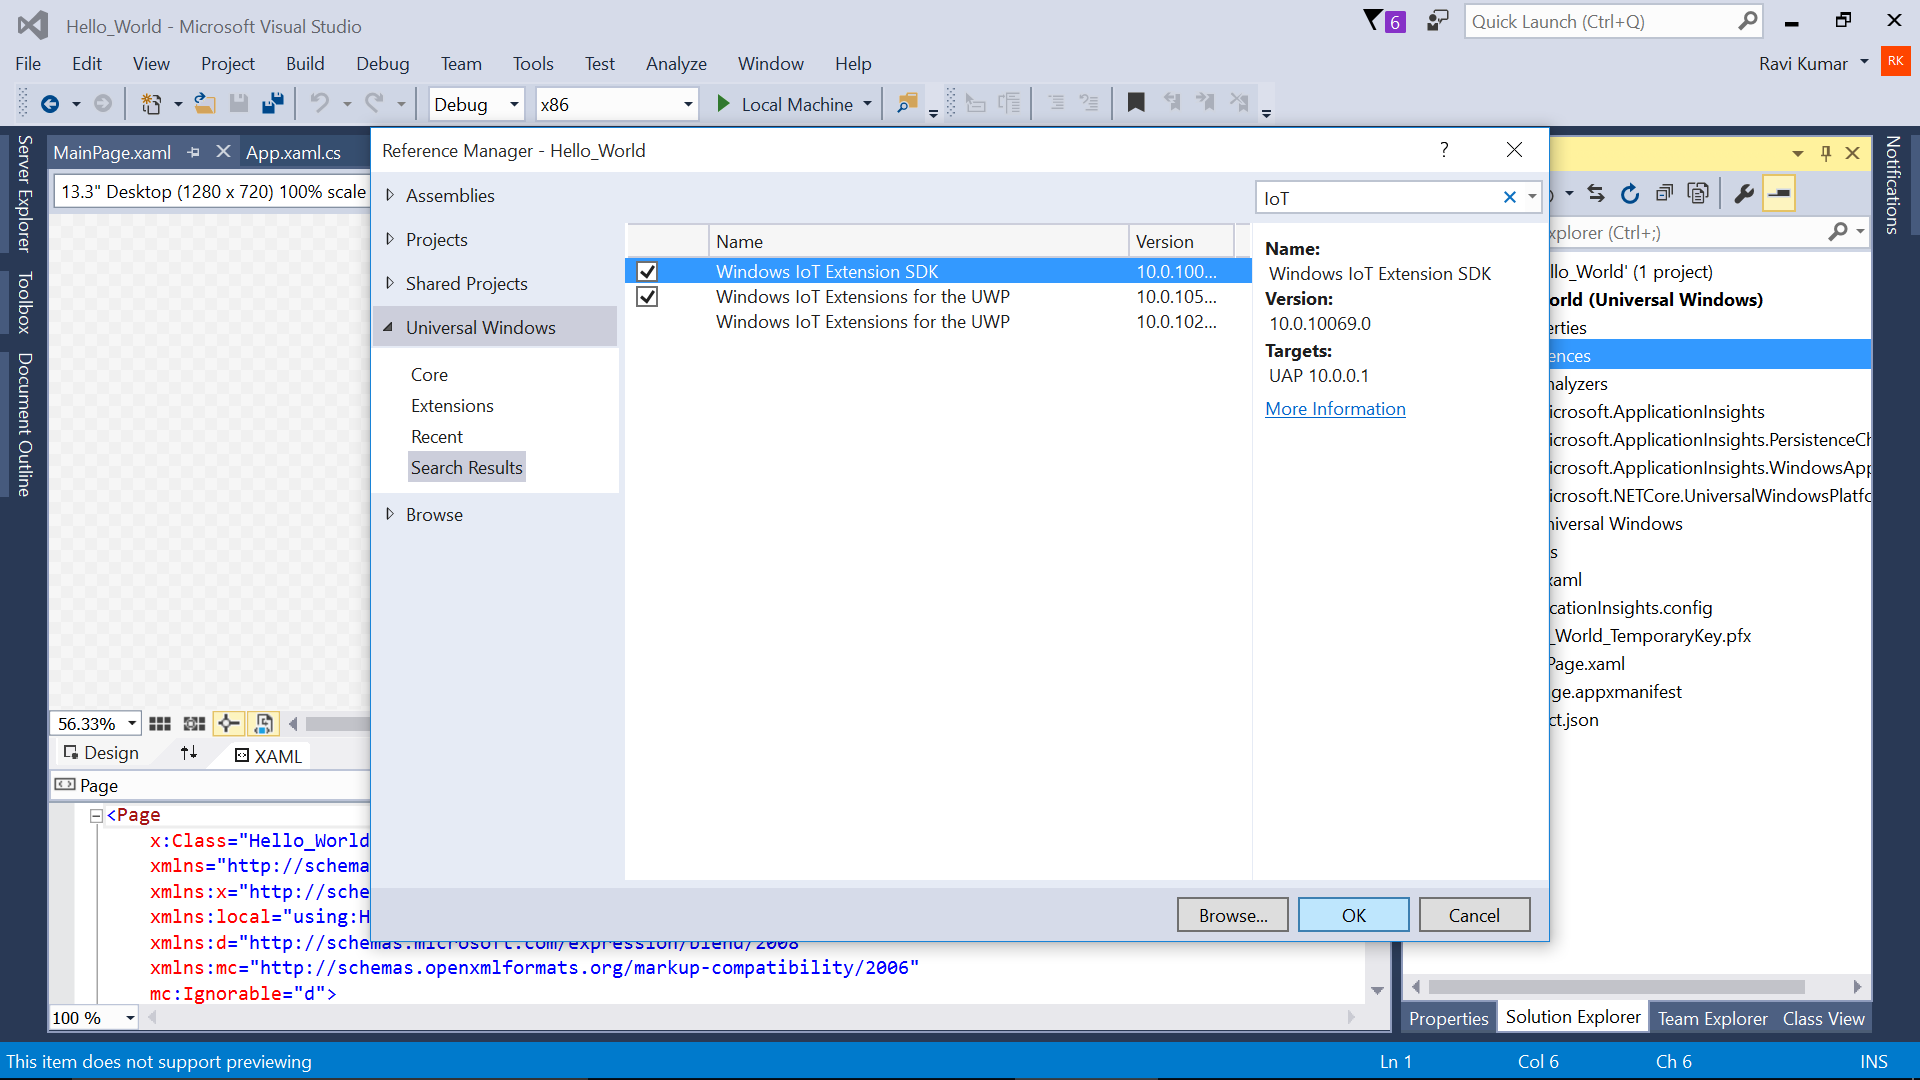
**Step – 03: **Right Click on Reference under Solution Explorer and Add Reference, Click on Universal Windows in Reference Manager Window –> goto extensions –> search for IoT. Add the following references.
- Windows IoT Extensions SDK
- Windows IoT Extensions for the UWP
 [
[
](resources/1778.Screenshot-2800_309_2900.png)
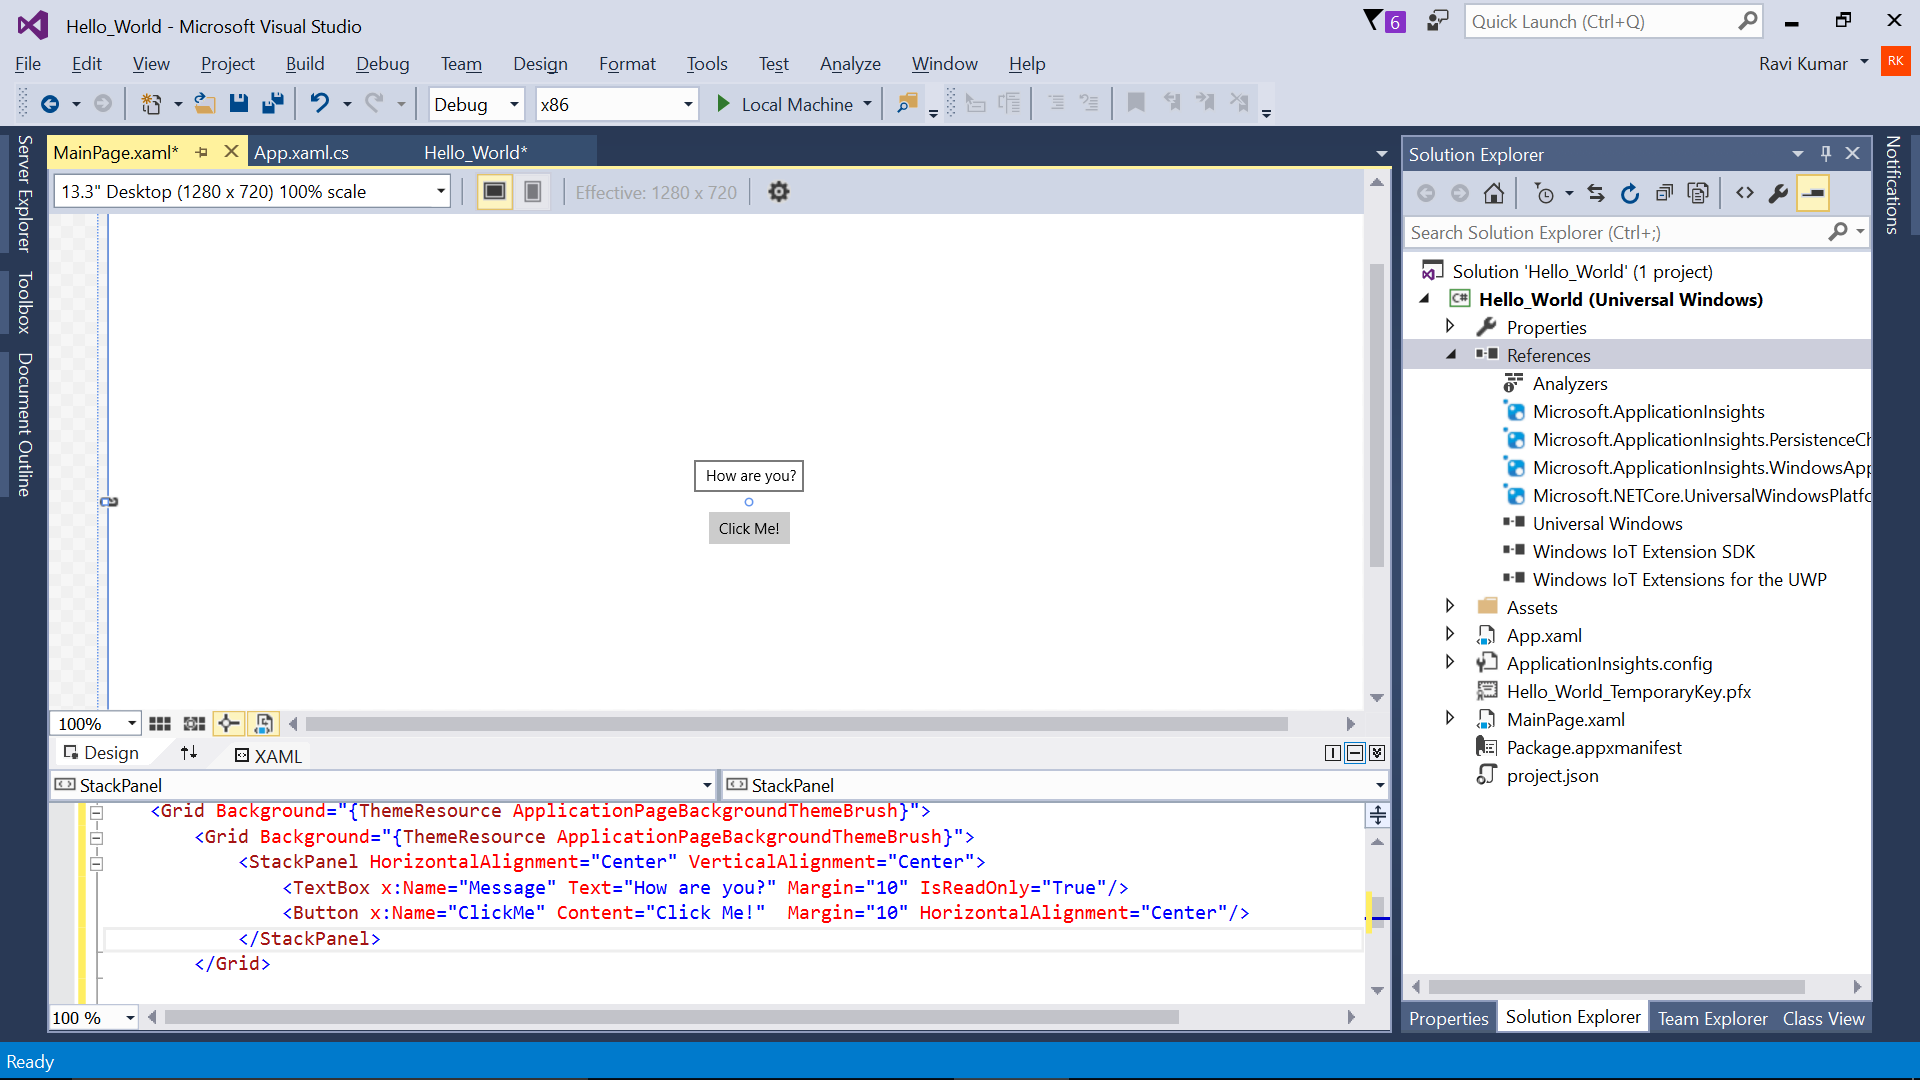
**Step – 04: **Under MainPage.xaml write code for TextBox and Button:
<Grid Background="{ThemeResource ApplicationPageBackgroundThemeBrush}">

    <StackPanel HorizontalAlignment="Center" VerticalAlignment="Center">

    <TextBox x:Name="Message" Text="How are you?" Margin="10" IsReadOnly="True"/>

    <Button x:Name="ClickMe" Content="Click Me!"  Margin="10" HorizontalAlignment="Center"/>

    </StackPanel>

</Grid>
You should be getting the following screen on Designer pane of Visual Studio 2015
 [
[
](resources/2844.Screenshot-2800_310_2900.png)
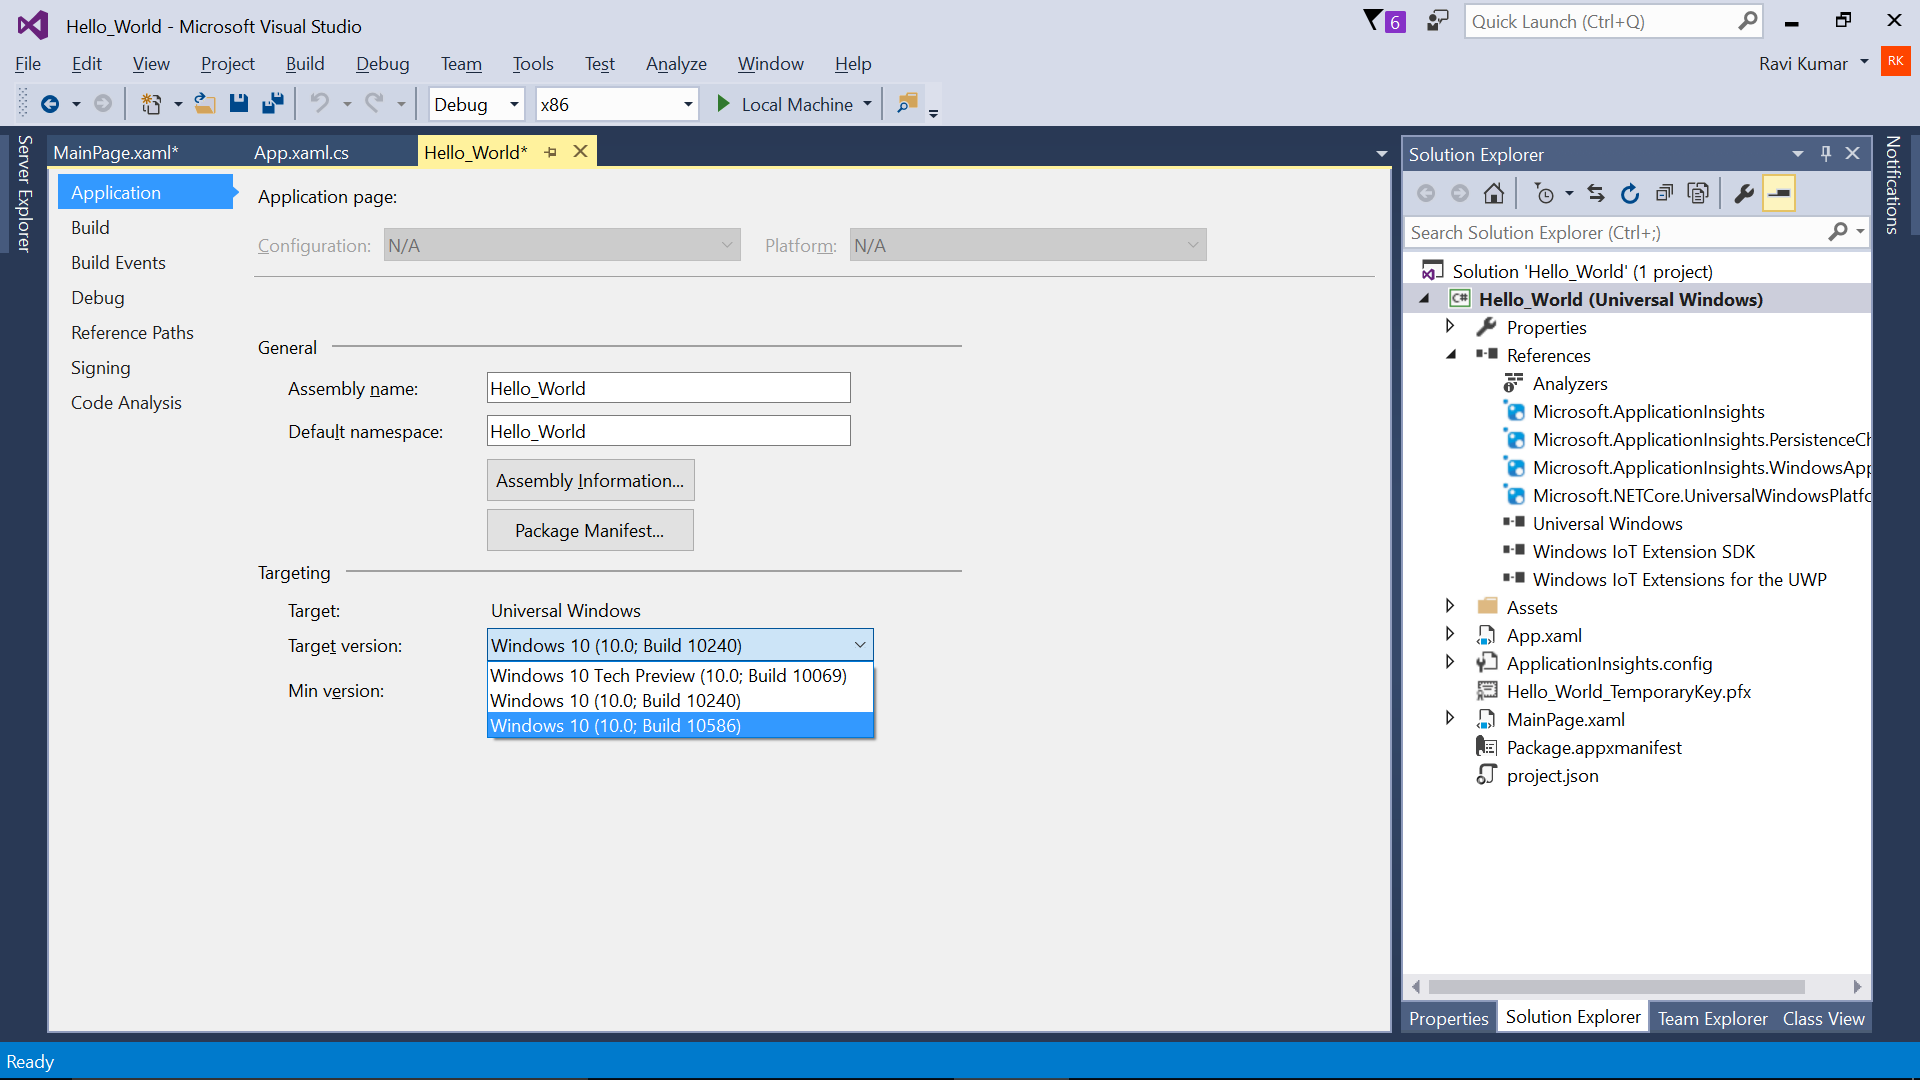
**Step – 05: **Now click on the Solution Name – in this project the solution name is Hello_World (Universal Windows), right click on the solution name and goto properties
 [
[
](resources/0003.Screenshot-2800_312_2900.png)
Note: Now goto MainPage.xaml, you cannot find the Designer pane as the Target version is changed for Windows 10 (10.0; Build 10586)
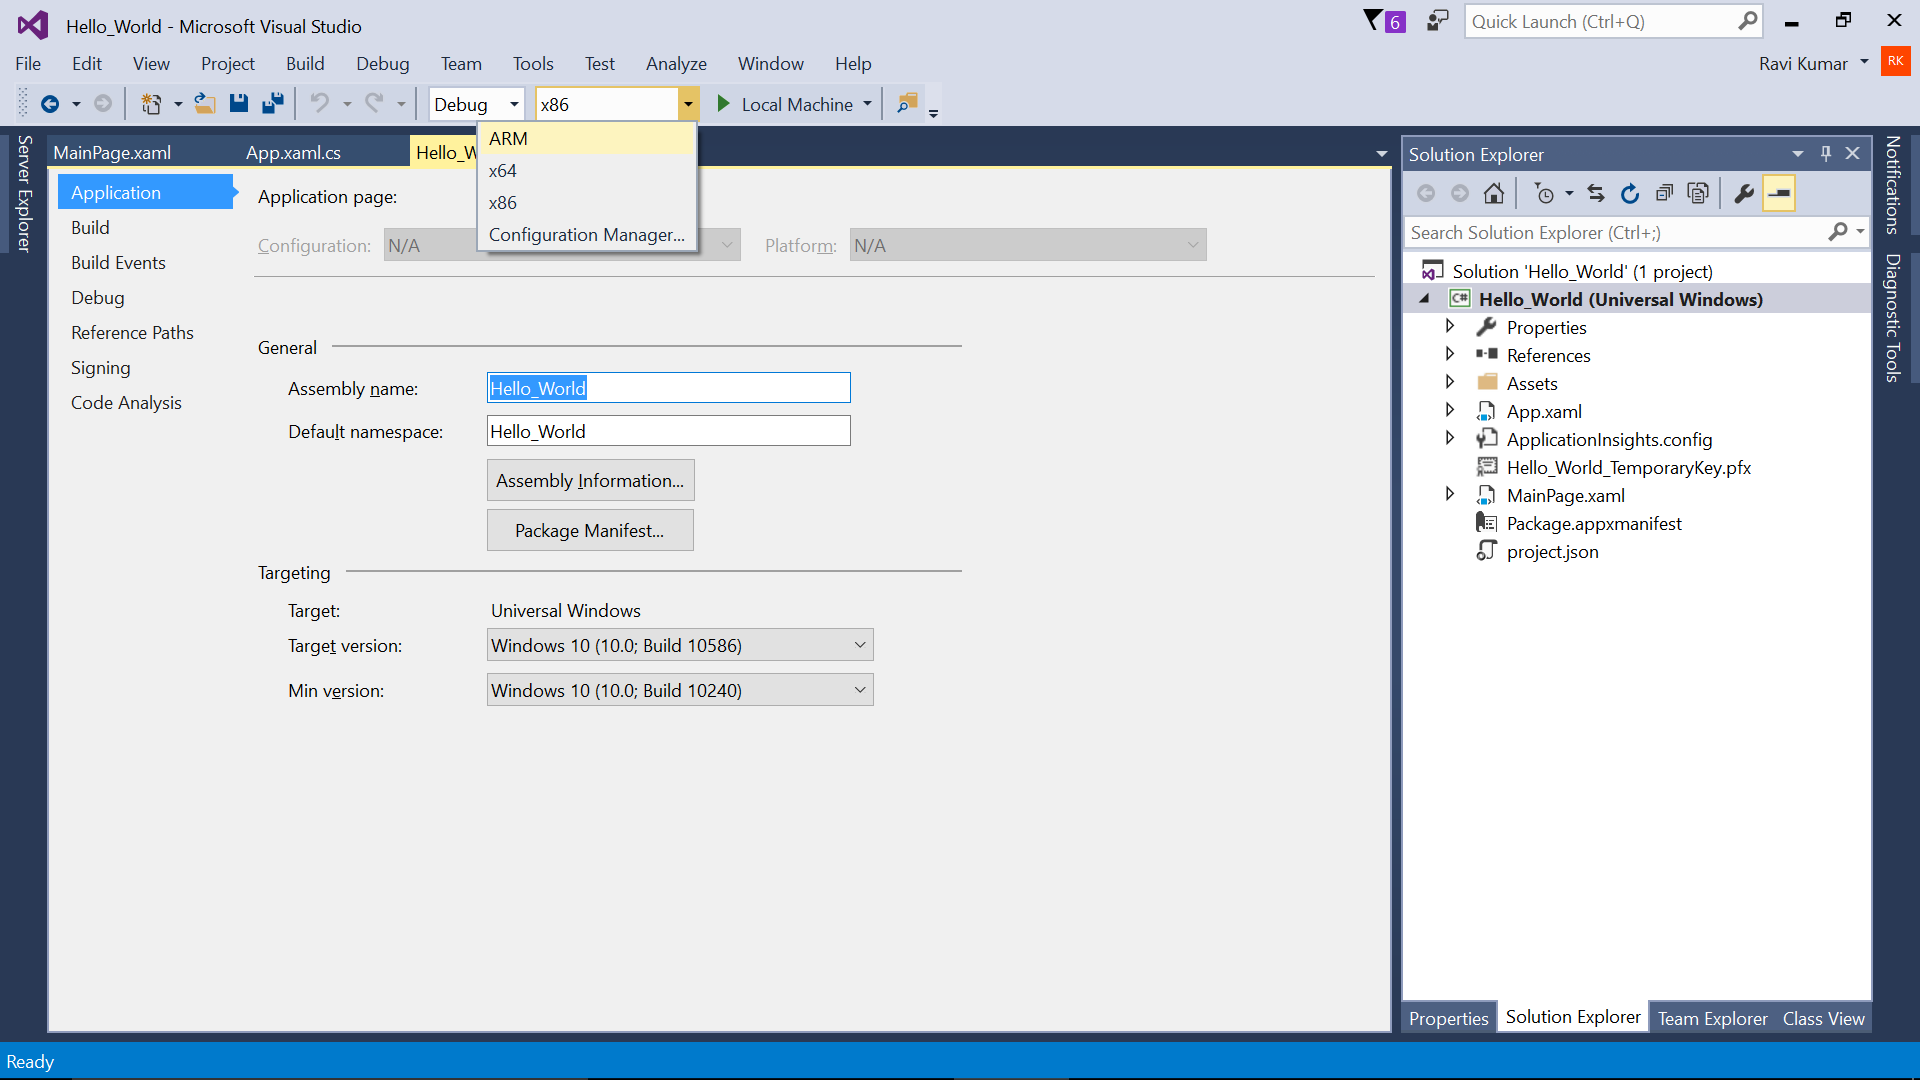
**Step – 06: **Goto Solution Platforms in Visual Studio and Select ARM processor
 [
[
](resources/4544.Screenshot-2800_314_2900.png)
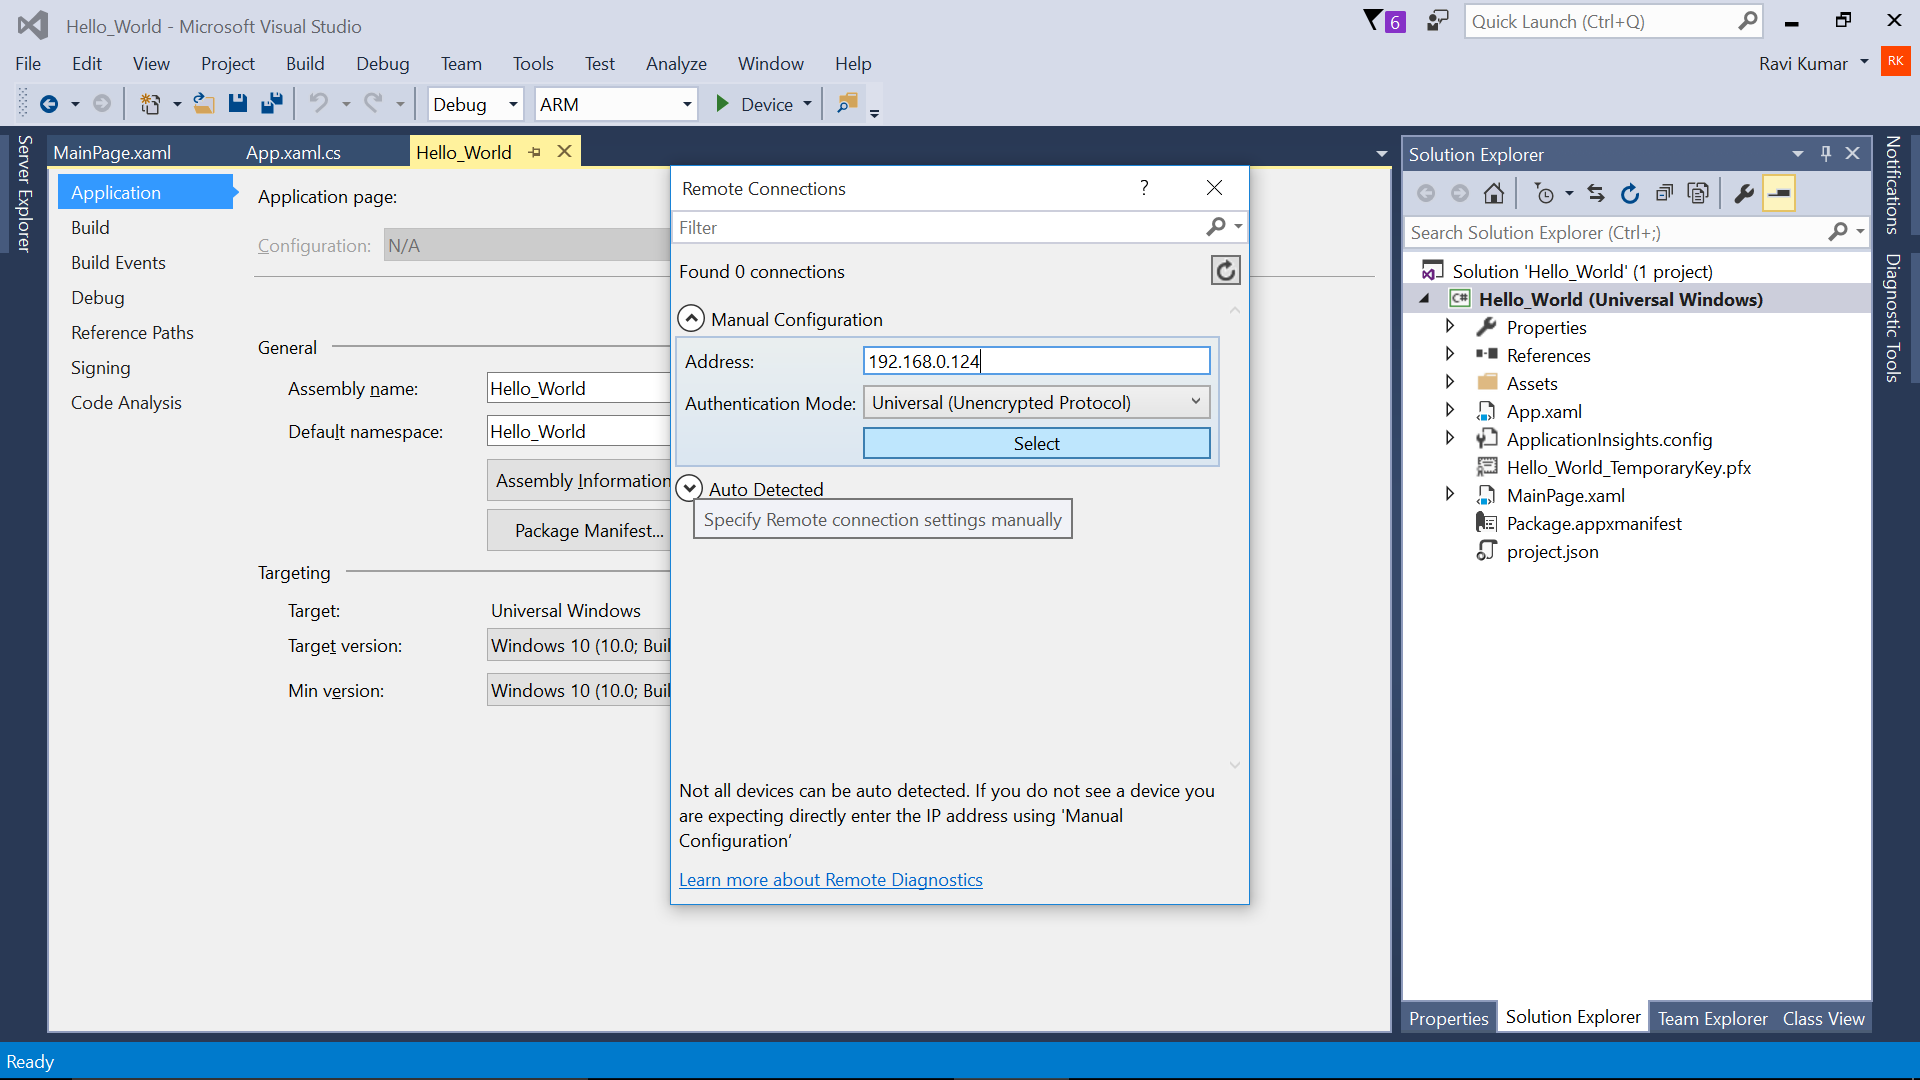
**Step – 07: **On the next column change the deployment source for Remote Machine. Here mention the address of the internet connectivity given on the Device Info screen of your Raspberry Pi device (under IP address), now click on select.
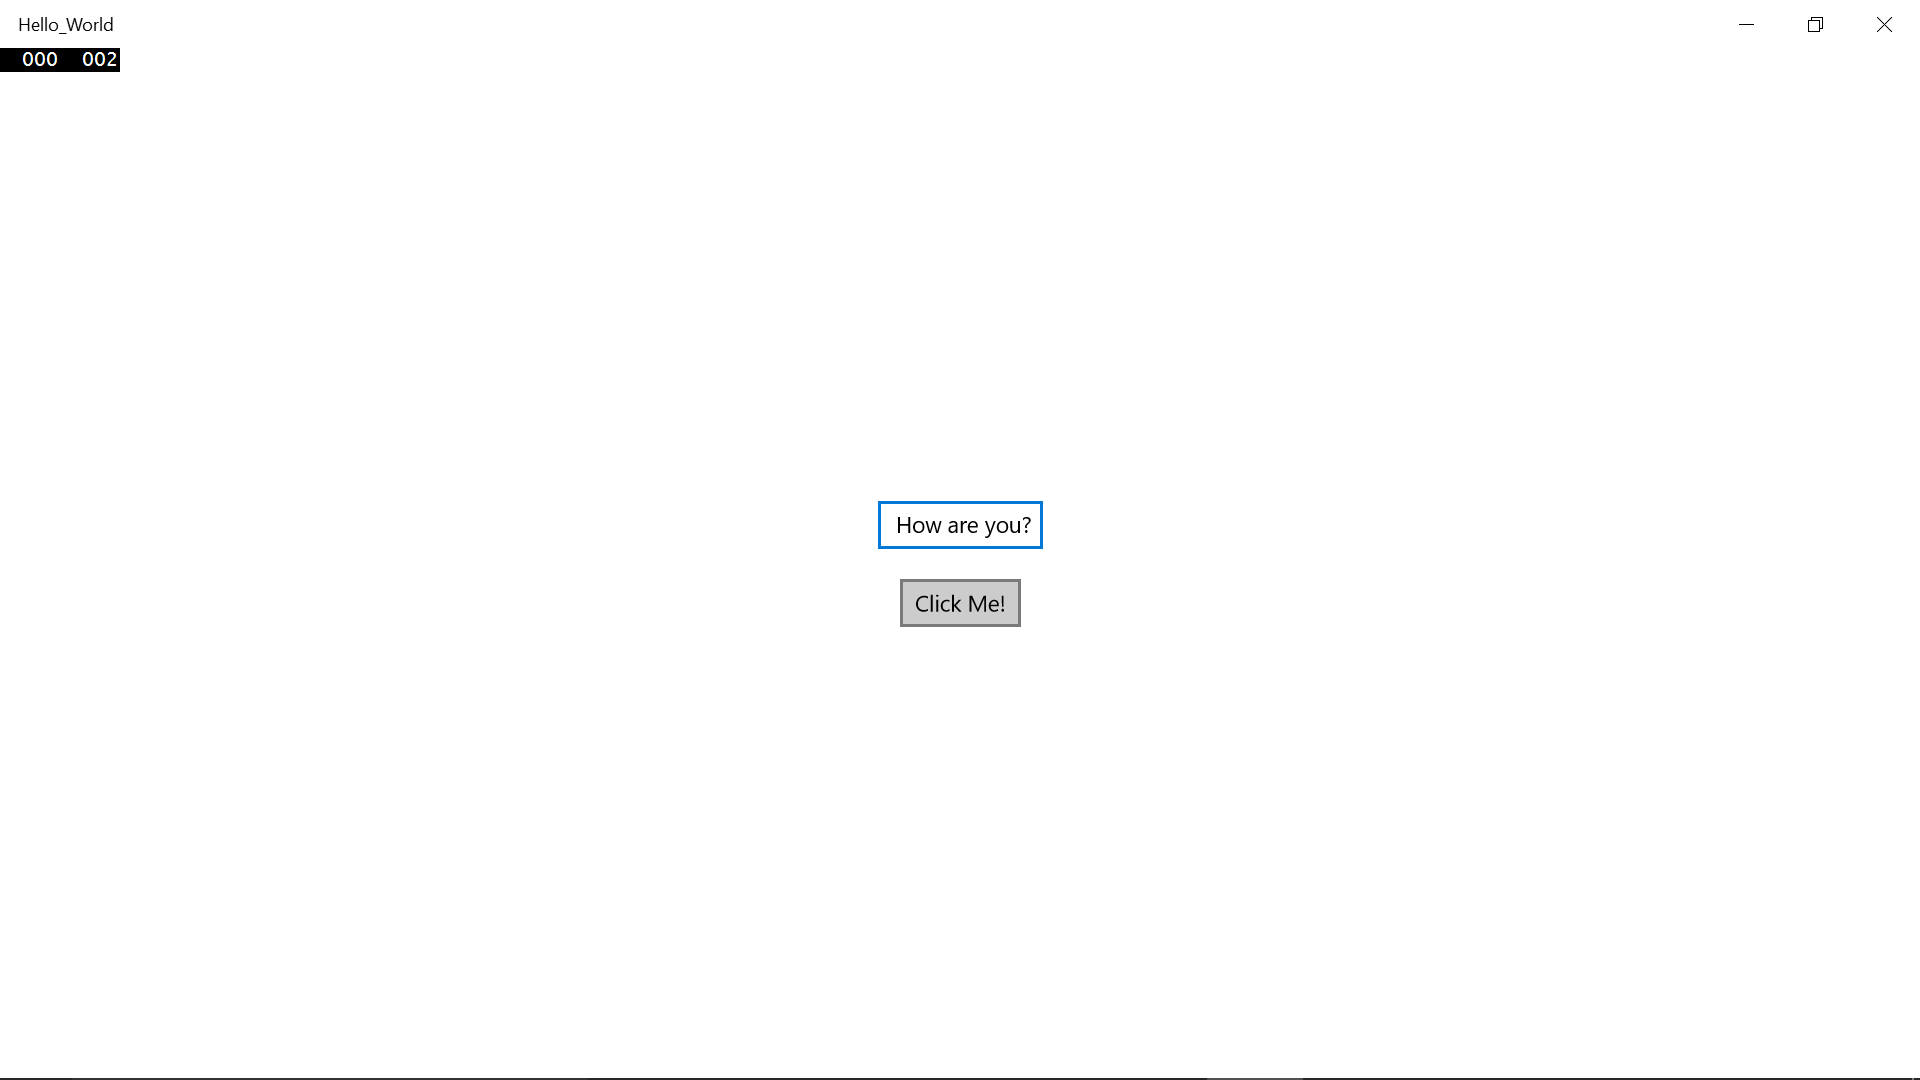
**Step – 08: **Find the output on the Monitor or TV connected towards your Raspberry Pi device.