In this article, we will go step by step to create Windows Server Virtual Machine with the help of PowerShell scripts on Classic deployment model. PowerShell provides more functionality compare to GUI version of Portal. Using PowerShell it is very fast to create or remove, configure VM easily.
Prerequisites
- Microsoft Azure Subscription (MSDN subscribers or sign up for one month free trial)
- Windows PowerShell. To Download PowerShell Click here
You will learn
- About PowerShell Tool
- How to Create Windows Server Virtual Machine
- How to Create Storage using PowerShell
- Get the RDP file
- Modify, Delete VM, Delete Cloud Service, Delete individual disk, Delete all of the disks that are not attached
Step 1: Install PowerShell on System.
Step 2: After installation, Open search box and search for Windows PowerShell

There are two types of Windows PowerShell available:
- Windows PowerShell – Command Line
- Windows PowerShell ISE – Execute the PowerShell script such as .ps file. GUI version of Windows PowerShell.
Windows PowerShell ISE version
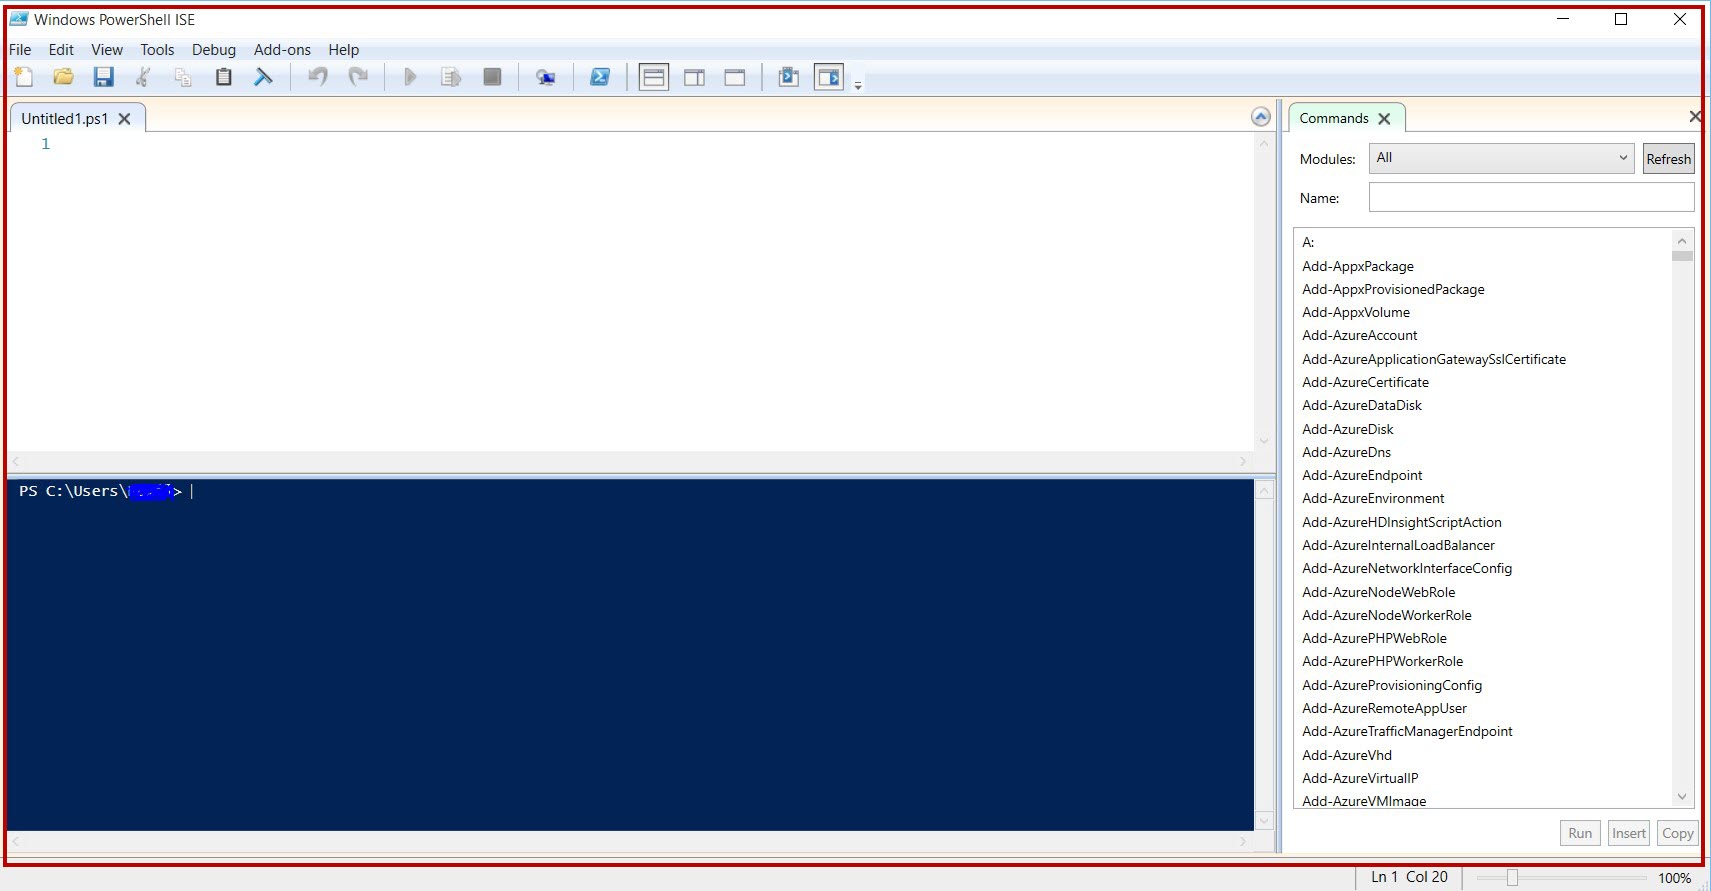
Step 3: Add Azure Subscription with PowerShell
Add-AzureAccount
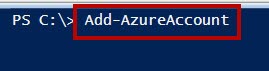
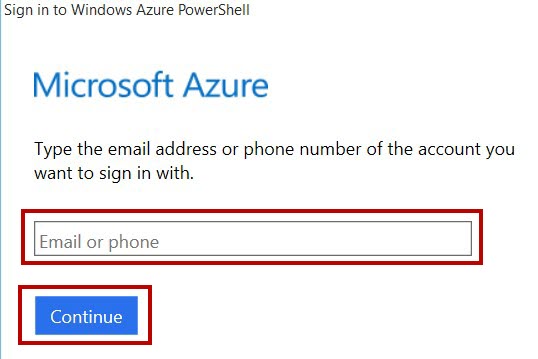
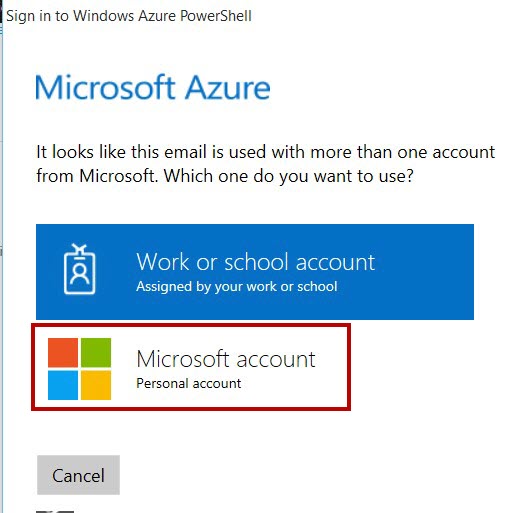
Enter your Azure Subscription credentials.
Few more command for Azure account details
Get-AzureAccount
List all the associated Azure Subscription with Id, Type, Subscriptions and Tenants

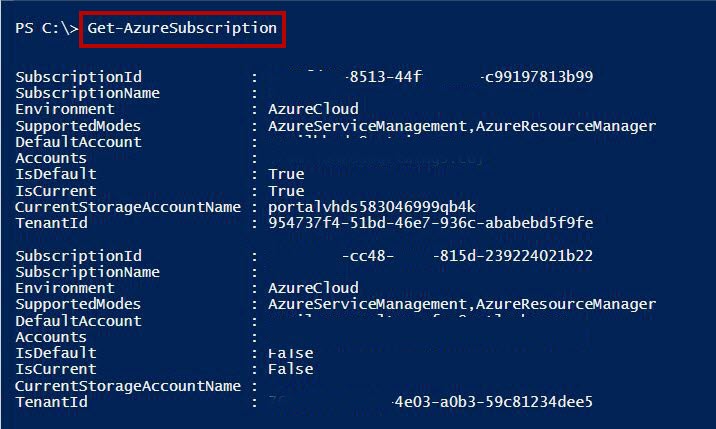
Get-AzureSubscription
List all the associated Azure Subscription with all details such as SubscriptionId, SubscriptionName, Account, etc.
if there is only one subscription associate so no problem but if more than one Azure account is there so we need to set default azure account for all operations.
Select-AzureSubscription –SubscriptionId "paste-subscription-id-here"

Check for default subscription

Step 4: Before creating the Virtual Machine, we need to create Storage.
New-AzureStorageAccount -StorageAccountName "powershellvmstorage" -Location "Southeast Asia"

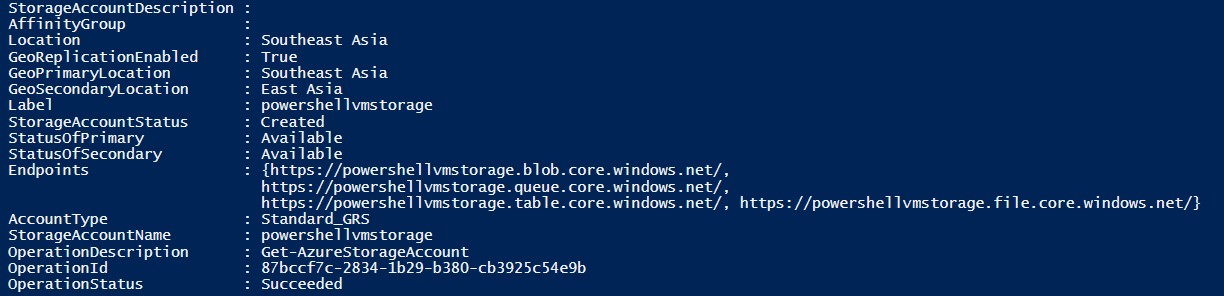
Get all list of Storage account
Get-AzureStorageAccount

Again we need to set the default storage account to create VM.
Set-AzureSubscription -SubscriptionName "Pay-As-You-Go" -CurrentStorageAccountName powershellvmstorage -PassThru
**Step 5: **Now storage is ready. Create Windows Virtual Machine
Below one command is there to list all the VM in a table sequence
# Get the latest VM images in a table with index
$images = Get-AzureVMImage | Group-Object Label | select Group | Sort-Object -Property PublishedDate -Descending | % {select -InputObject $_.Group[0]} | Sort-Object -Property Label
$global:index = -1
$images | Format-Table @{Name = "index"; Expression = {$global:index; $global:index++}}, Label -AutoSize

Approx. 290+ different-different VMs are available.
**Step 6: **For Windows Virtual Machine
*
*
New-AzureQuickVM -Windows -Name "winvm2012test" -ServiceName "winvm2012test" -ImageName $images[268].ImageName -Location "Southeast Asia" -AdminUsername "winvm" -Password "Windows@123" #-WaitForBoot
Here $images[268].ImageName is Windows Server 2012 R2 Datacenter

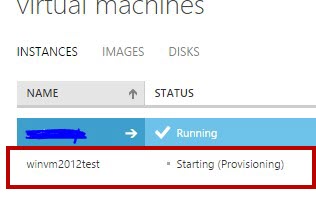
Creating Windows Virtual Machine in Azure Portal
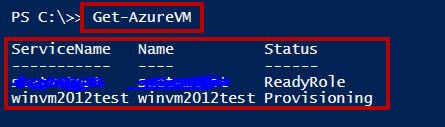
Get-AzureVM
List all the virtual machine
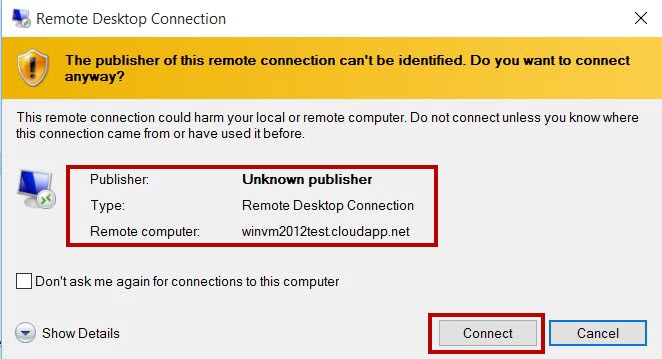
**Step 7: **Get the RDP file so that can connect remotely
Get-AzureRemoteDesktopFile -Name "winvm2012test" -ServiceName "winvm2012test" –Launch
**Step 8: **VMs all details
Get-AzureVM -ServiceName "winvm2012test" -Name "winvm2012test"

Windows Server 2012 R2 Datacenter running successfully
# Modifying the VM size from Small to Large
Get-AzureVM -ServiceName " winvm2012test" -Name " winvm2012test" | Set-AzureVMSize -InstanceSize Large | Update-AzureVM
# Delete VM
Remove-AzureVM -ServiceName " winvm2012test" -Name "winvm2012test"
# Delete Cloud Service
Remove-AzureService -ServiceName " winvm2012test" -DeleteAll
# Delete individual disk
Remove-AzureDisk "winvm2012test-winvm2012test-0-201509290443290441" -DeleteVHD
# Delete All of the Disks that are not attached
Get-AzureDisk | where { $_.AttachedTo -eq $null } | Remove-AzureDisk -DeleteVHD
Congratulations you have learned Create, Configure, Delete VM, Delete Cloud Service of Windows Server Virtual Machine using PowerShell command on Microsoft Azure!