Windows 10 IoT: Monitor Temperature & Humidity using DHT11 - Raspberry Pi
This article will help you to build a model with Pi and other sensors where you can monitor the temperature at a particular place where it is mounted.
Requirements
- Raspberry Pi 2/3 device with Windows 10 IoT Core OS connected to internet
- Laptop or PC with Windows 10 OS connected to internet
- DHT11 temperature sensor with three pin
About DHT11 temperature sensor
DHT11 temperature sensor used in this model allows you to monitor the temperature and humidity. This DHT11 temperature sensor holds three pins: Data, Power in (VCC) and Ground (GND).
Steps
Follow the below steps:
Connecting DHT11 sensor towards Pi:
- Connect the data pin towards GPIO 4 at Pi kit using Jumper wires
- Connect the Power pin towards Power (3.3v PWR) at Pi kit using Jumper wires
- Connect the ground pin at DHT11 towards Ground (GND) at Pi kit using Jumper wires
Refer the following image for connectivity:

Connecting Pi with Monitor:
Connect your Pi kit with monitor and start your device. Make sure that the Pi kit is connected to internet.
Build with Visual Studio 2015
Download the solution file from this URL: http://bit.ly/1rtQR55
Open the solution file attached with this article under Visual Studio 2015.

Change the target version towards the version of OS installed at Pi.
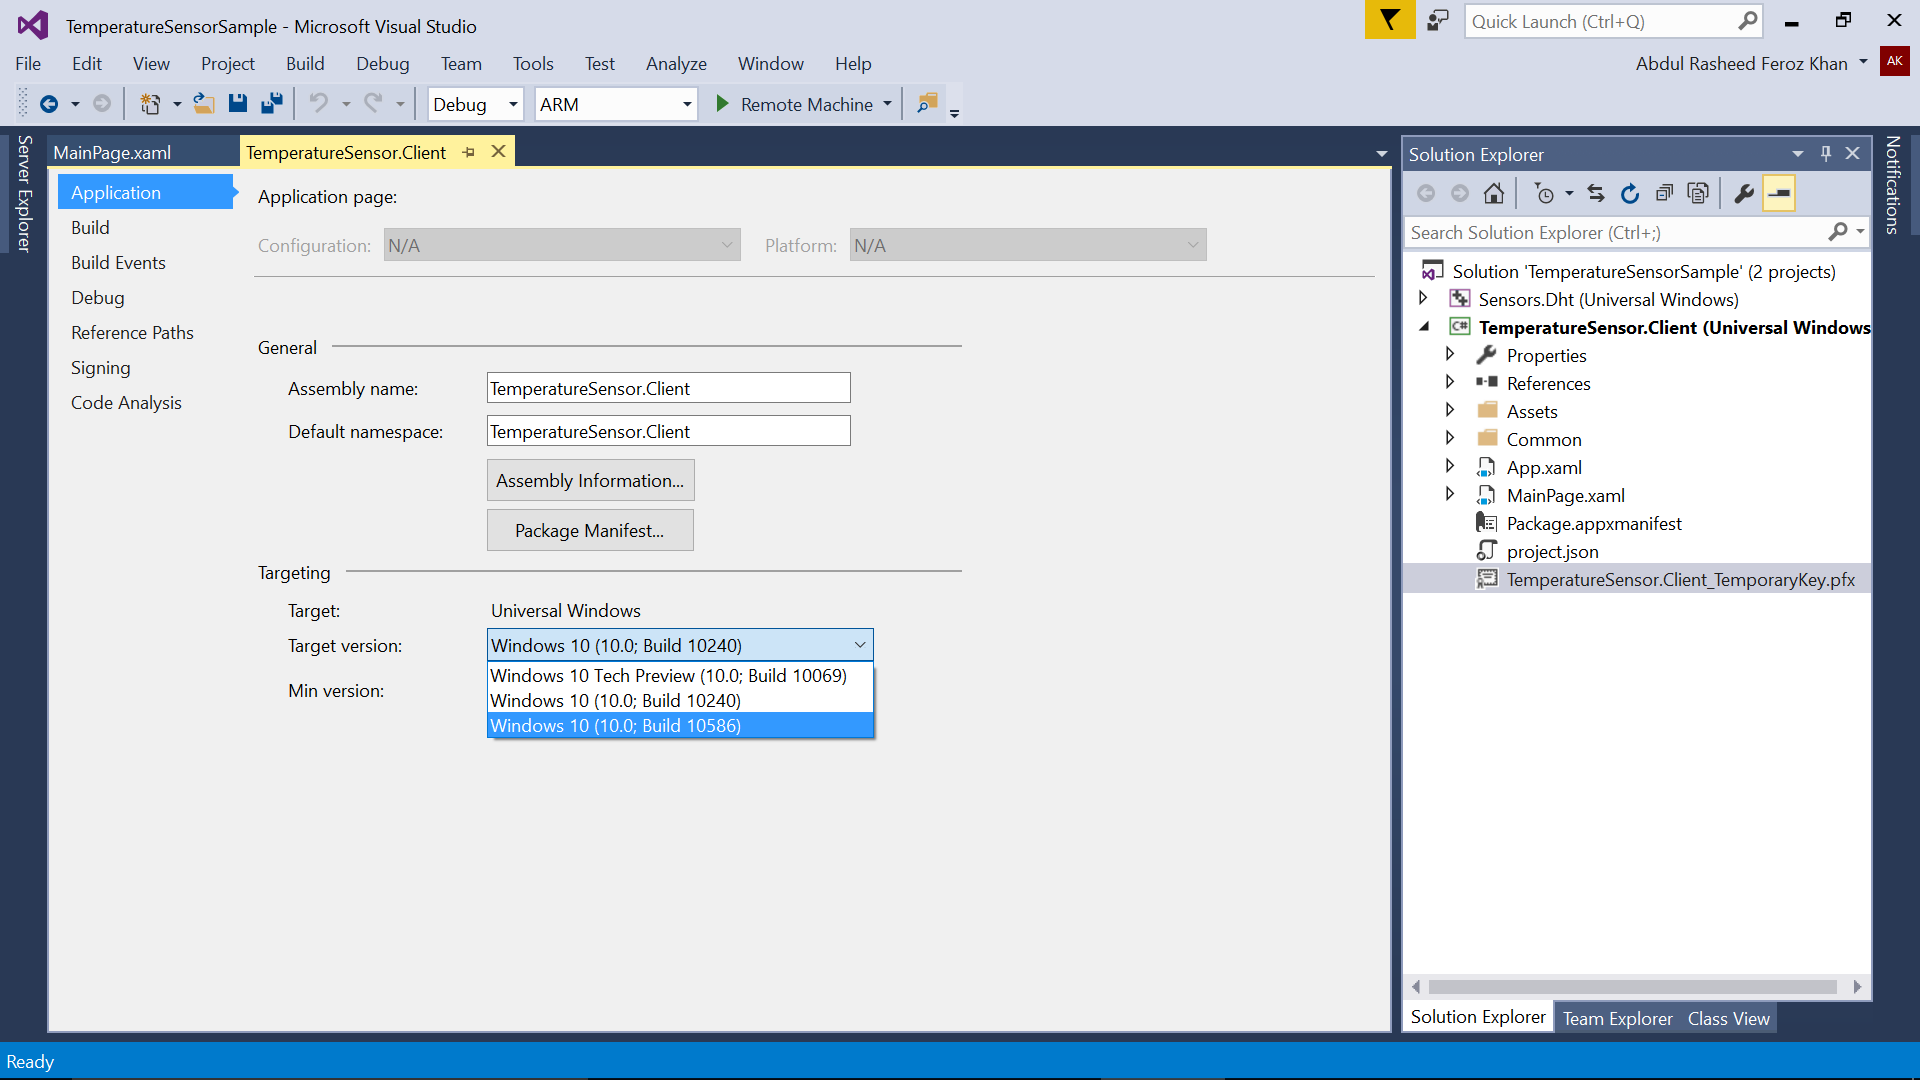
Change the Deployment platform for Remote Machine and ARM processor. Give the IP address of Pi to Visual Studio and deploy now.
