Azure: Create and Host Webapps
About
This article will help you to learn about creating a web app and hosting it on Azure App Service using Visual Studio.
Specs
- Visual Studio 2013 with Update 4.
- Azure account.
Steps
Creating web apps with Windows Azure can be done two ways:
- Moving with Visual Studio.
- Moving with an FTP client like FileZilla.
Let us move with Visual Studio 2013.
Step 1: Template
Download a website template or create a website of your own with some details.
Step 2: Modify the content with using Visual Studio
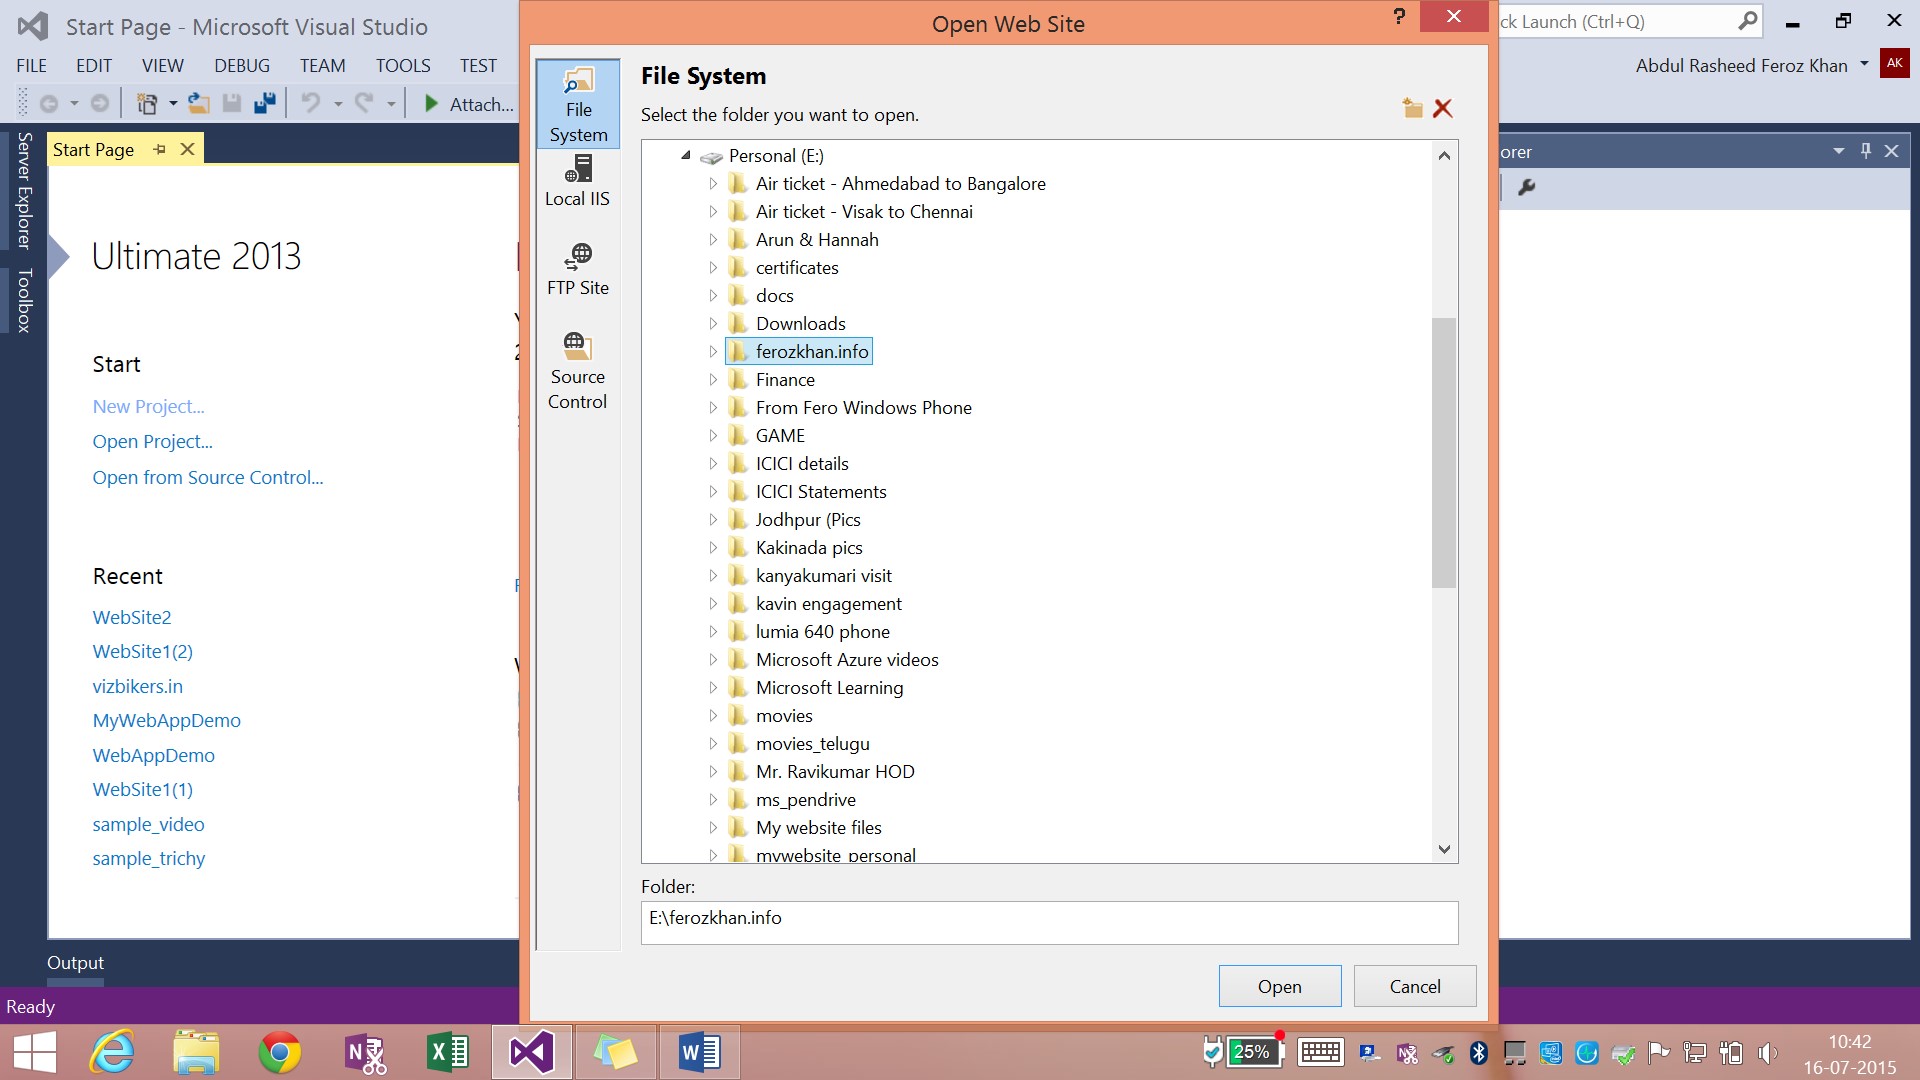
Click File -> Open -> Website
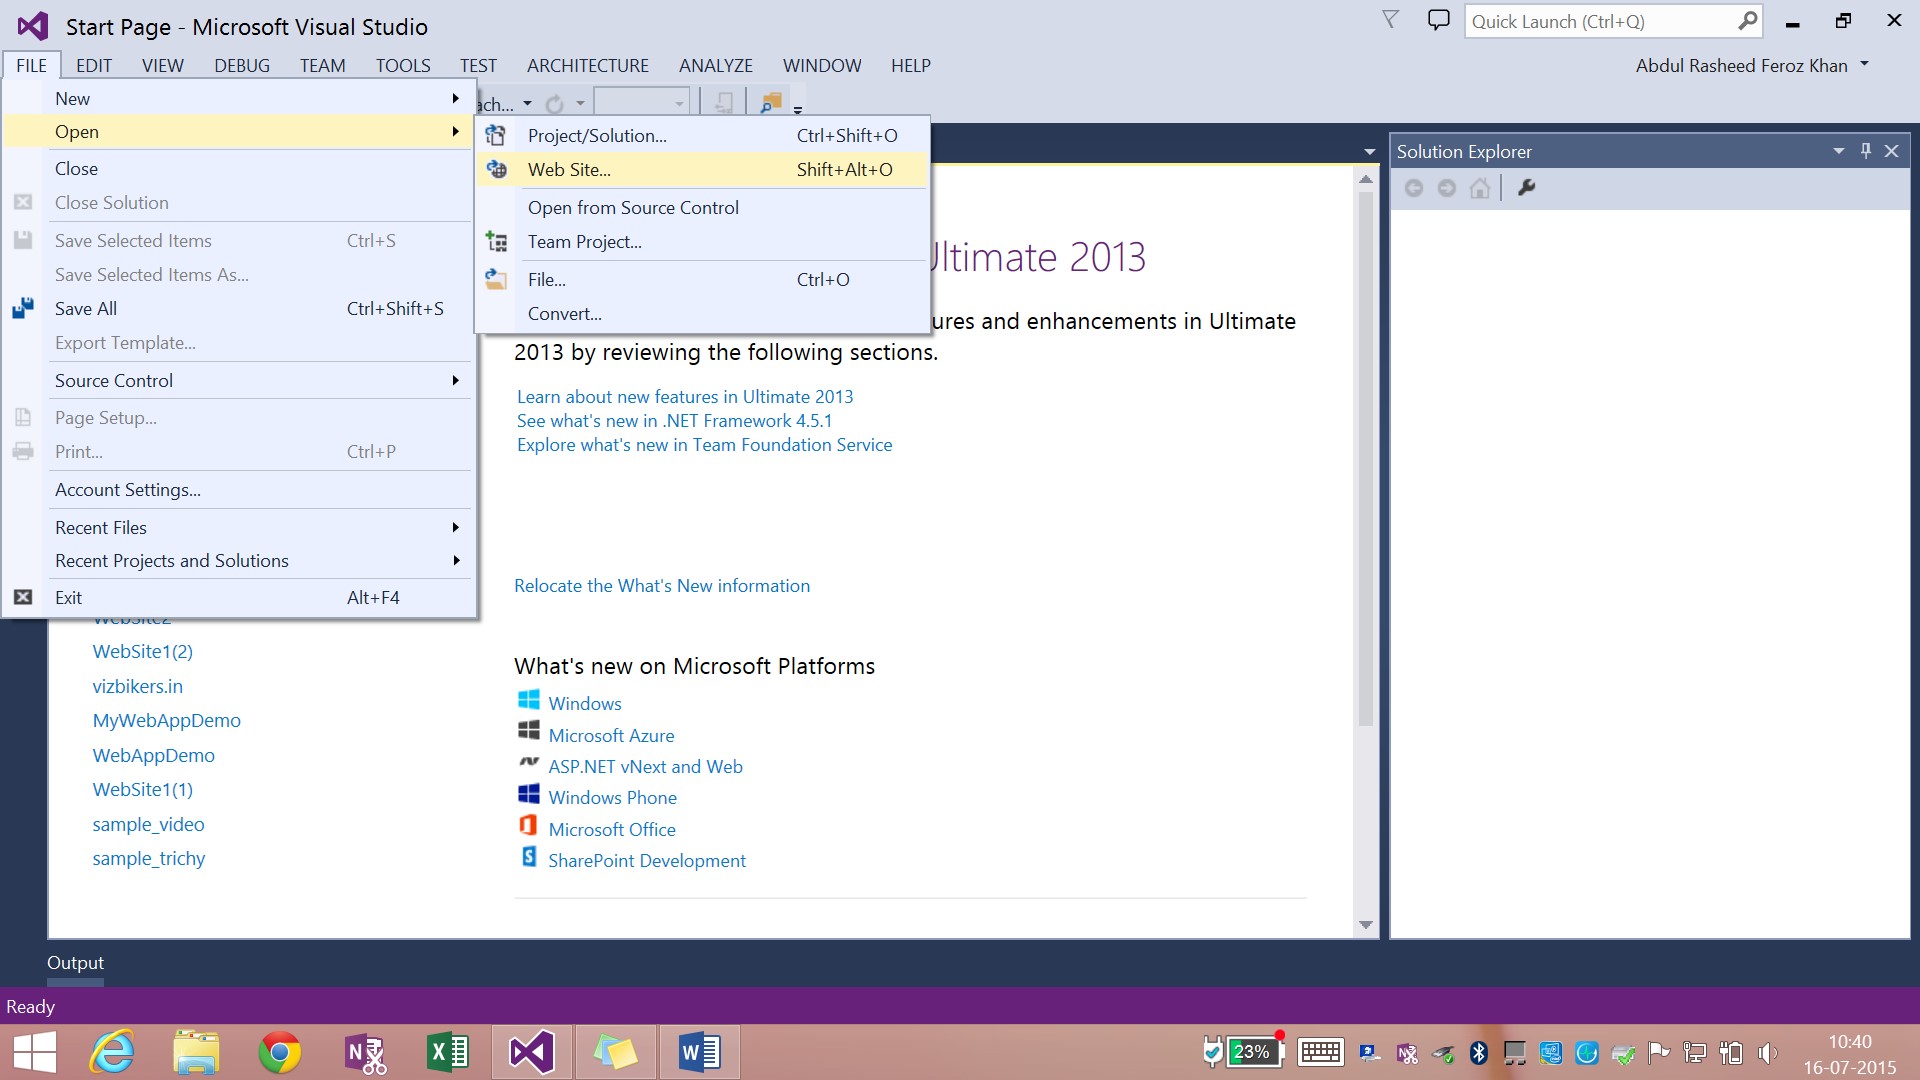
Locate the website with the pop-up.
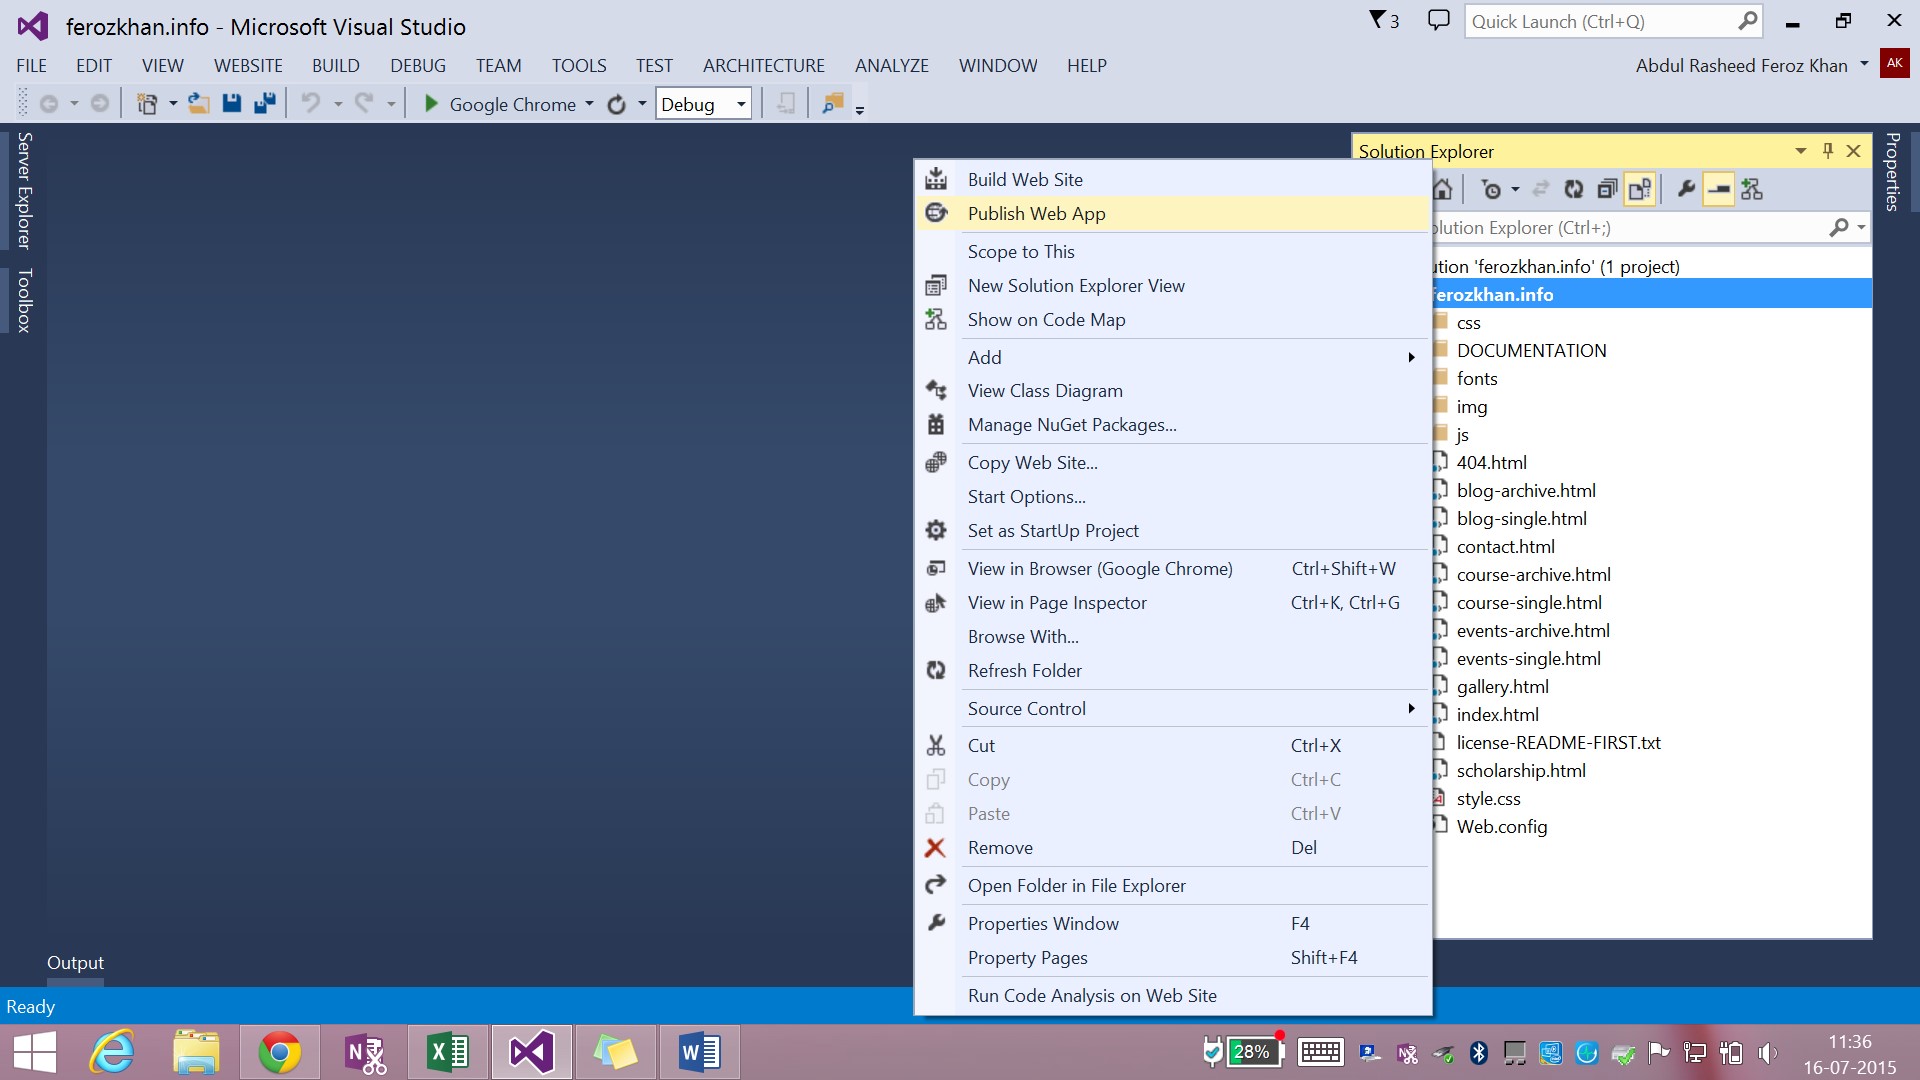
Step 3: Publish
After completing the website content, go to the Solution Explorer and right-click on the project solution name. Click Publish Web App.
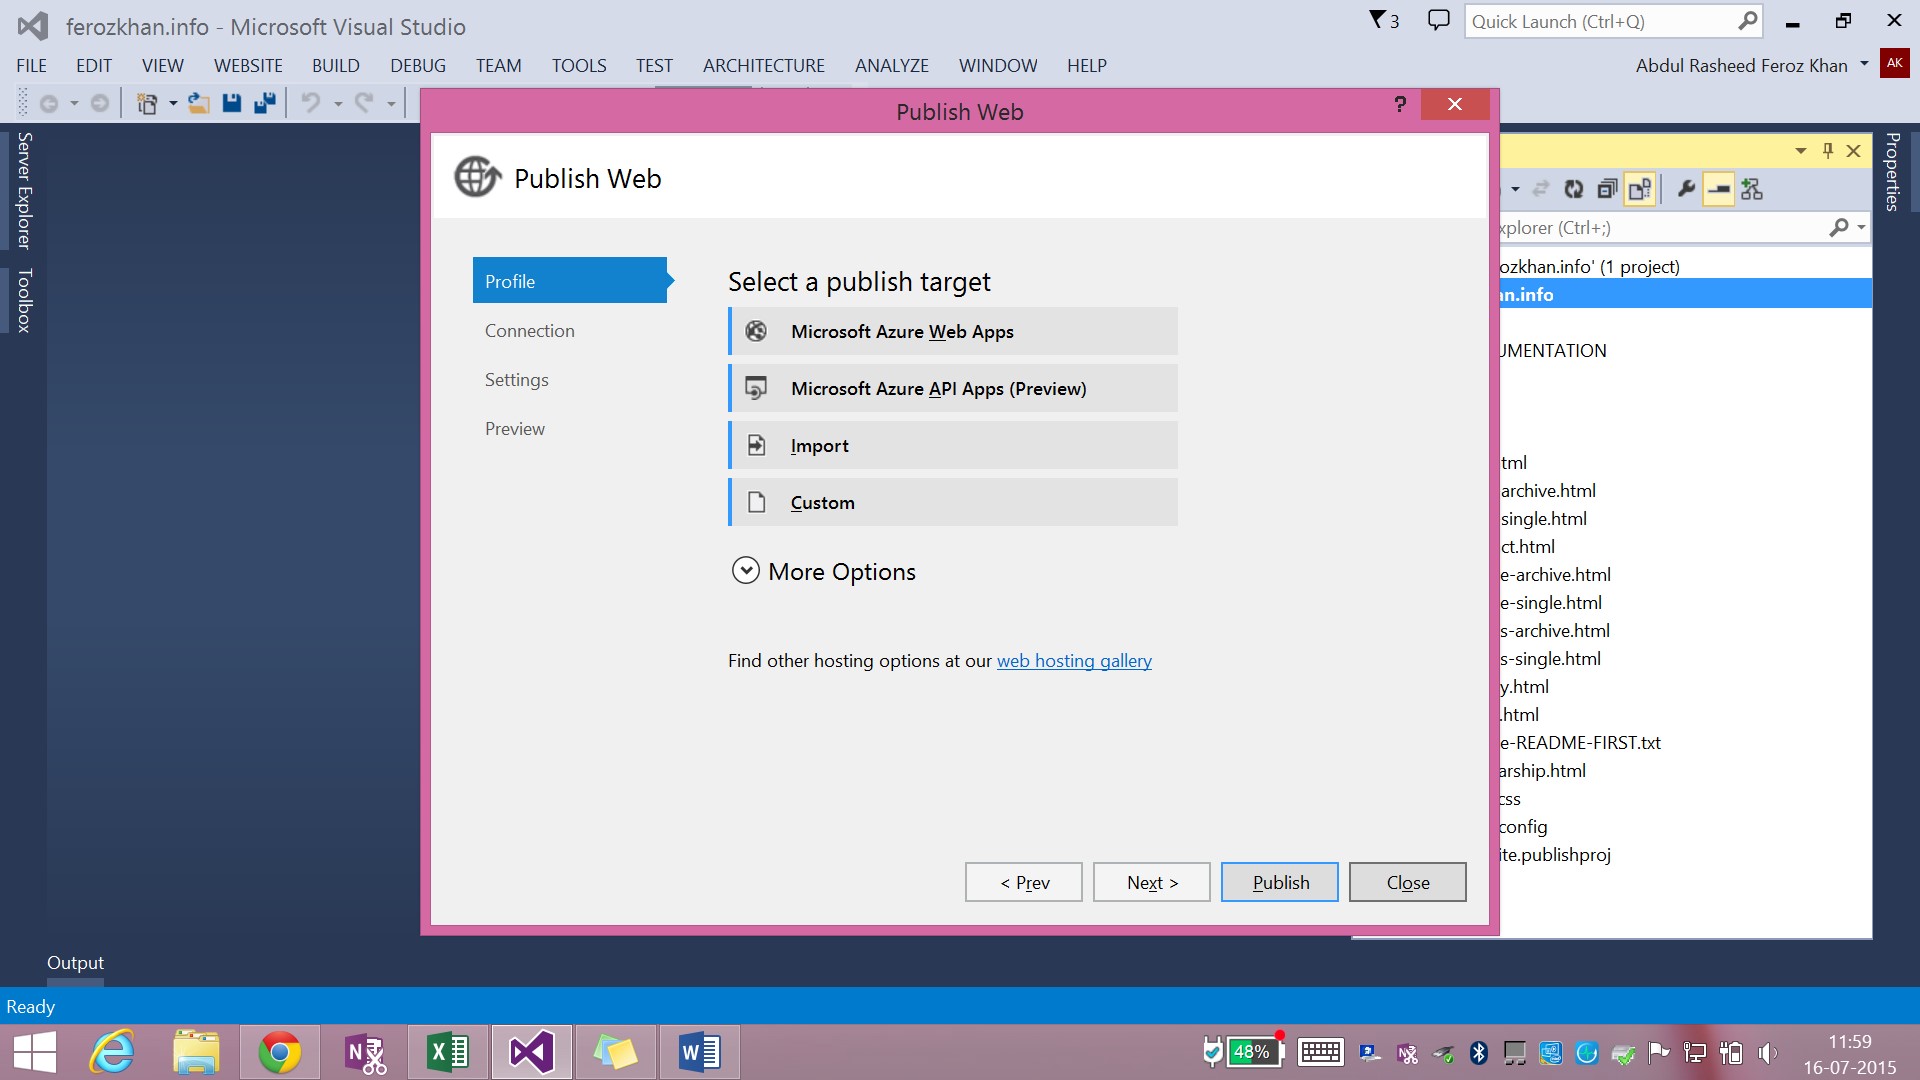
Step 4: Configure plan
Click New -> Web + Mobile and create a new web app by filling the details.
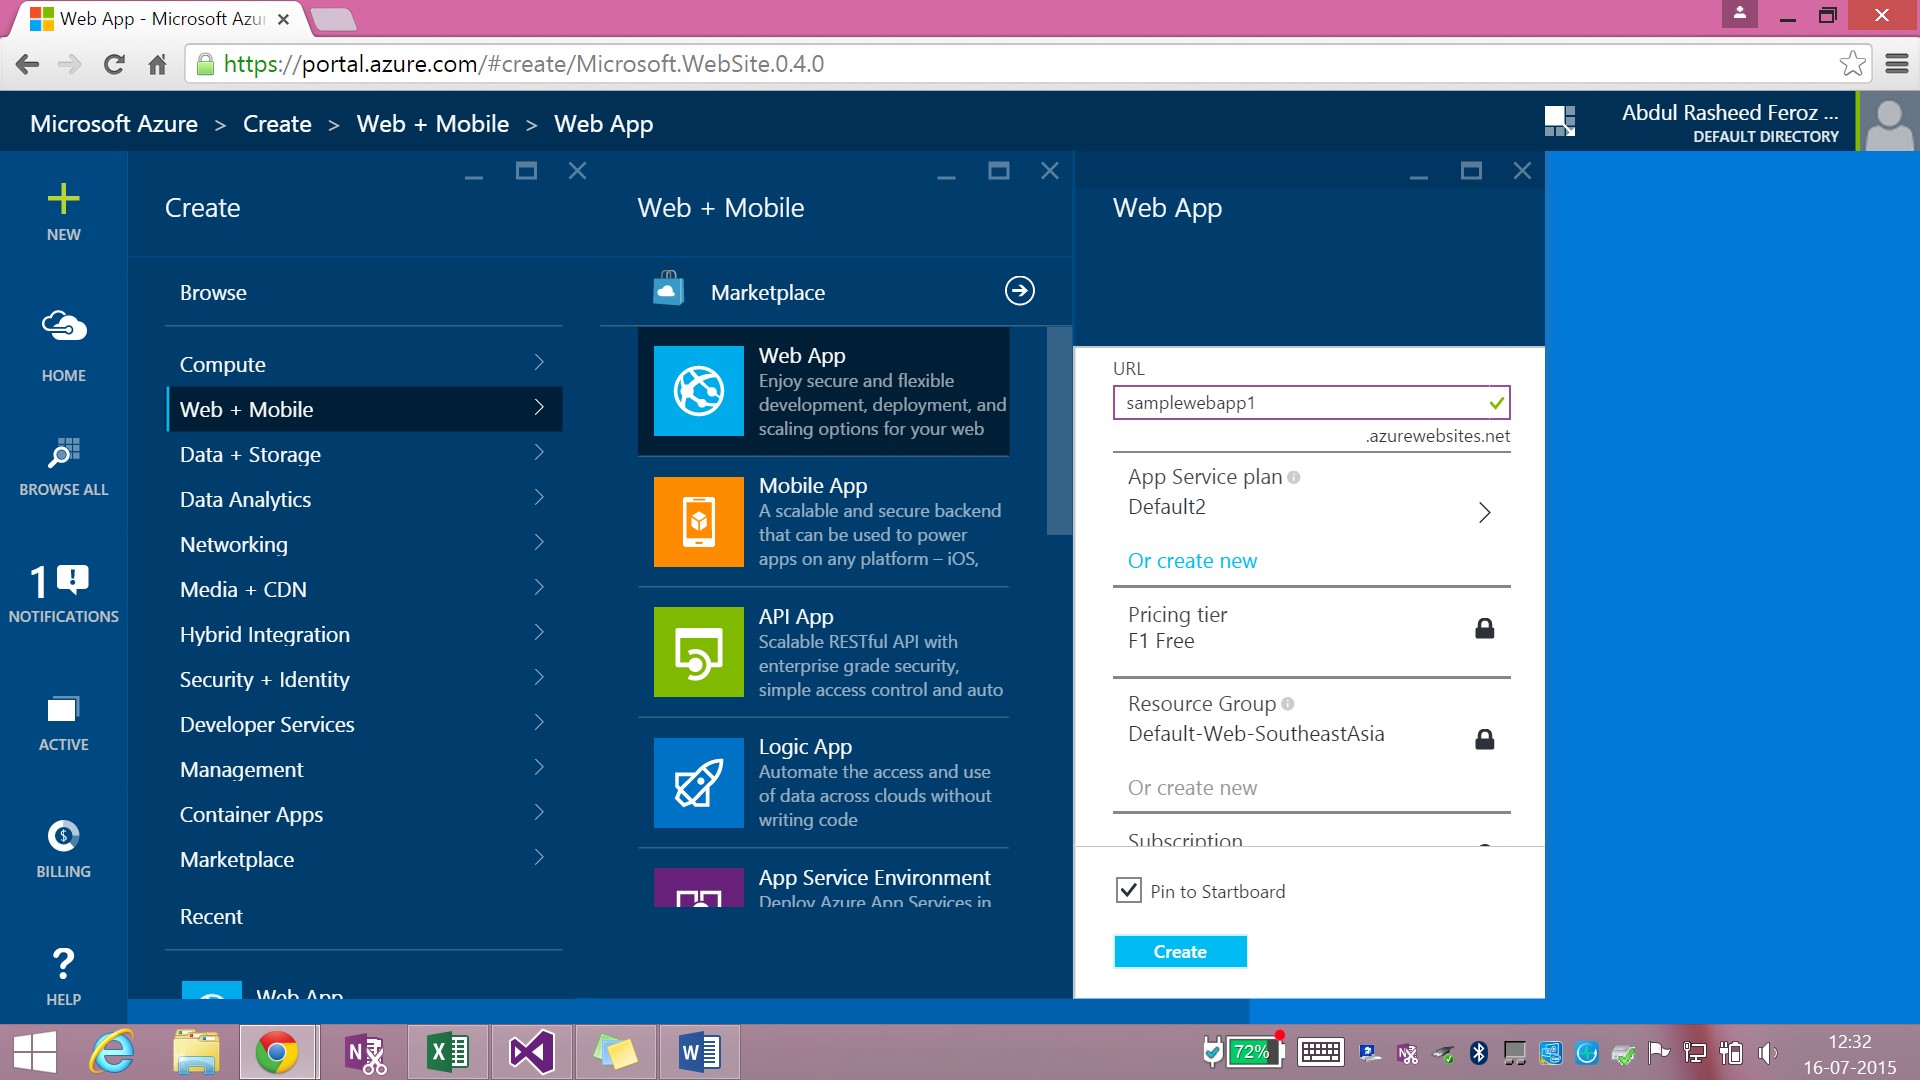
Enter the URL name, select an App Service Plan (something of your own), Pricing Tier, Subscription, and Location of your data center. Click Create and your web app is created.
Step 5: Download Publish Profile
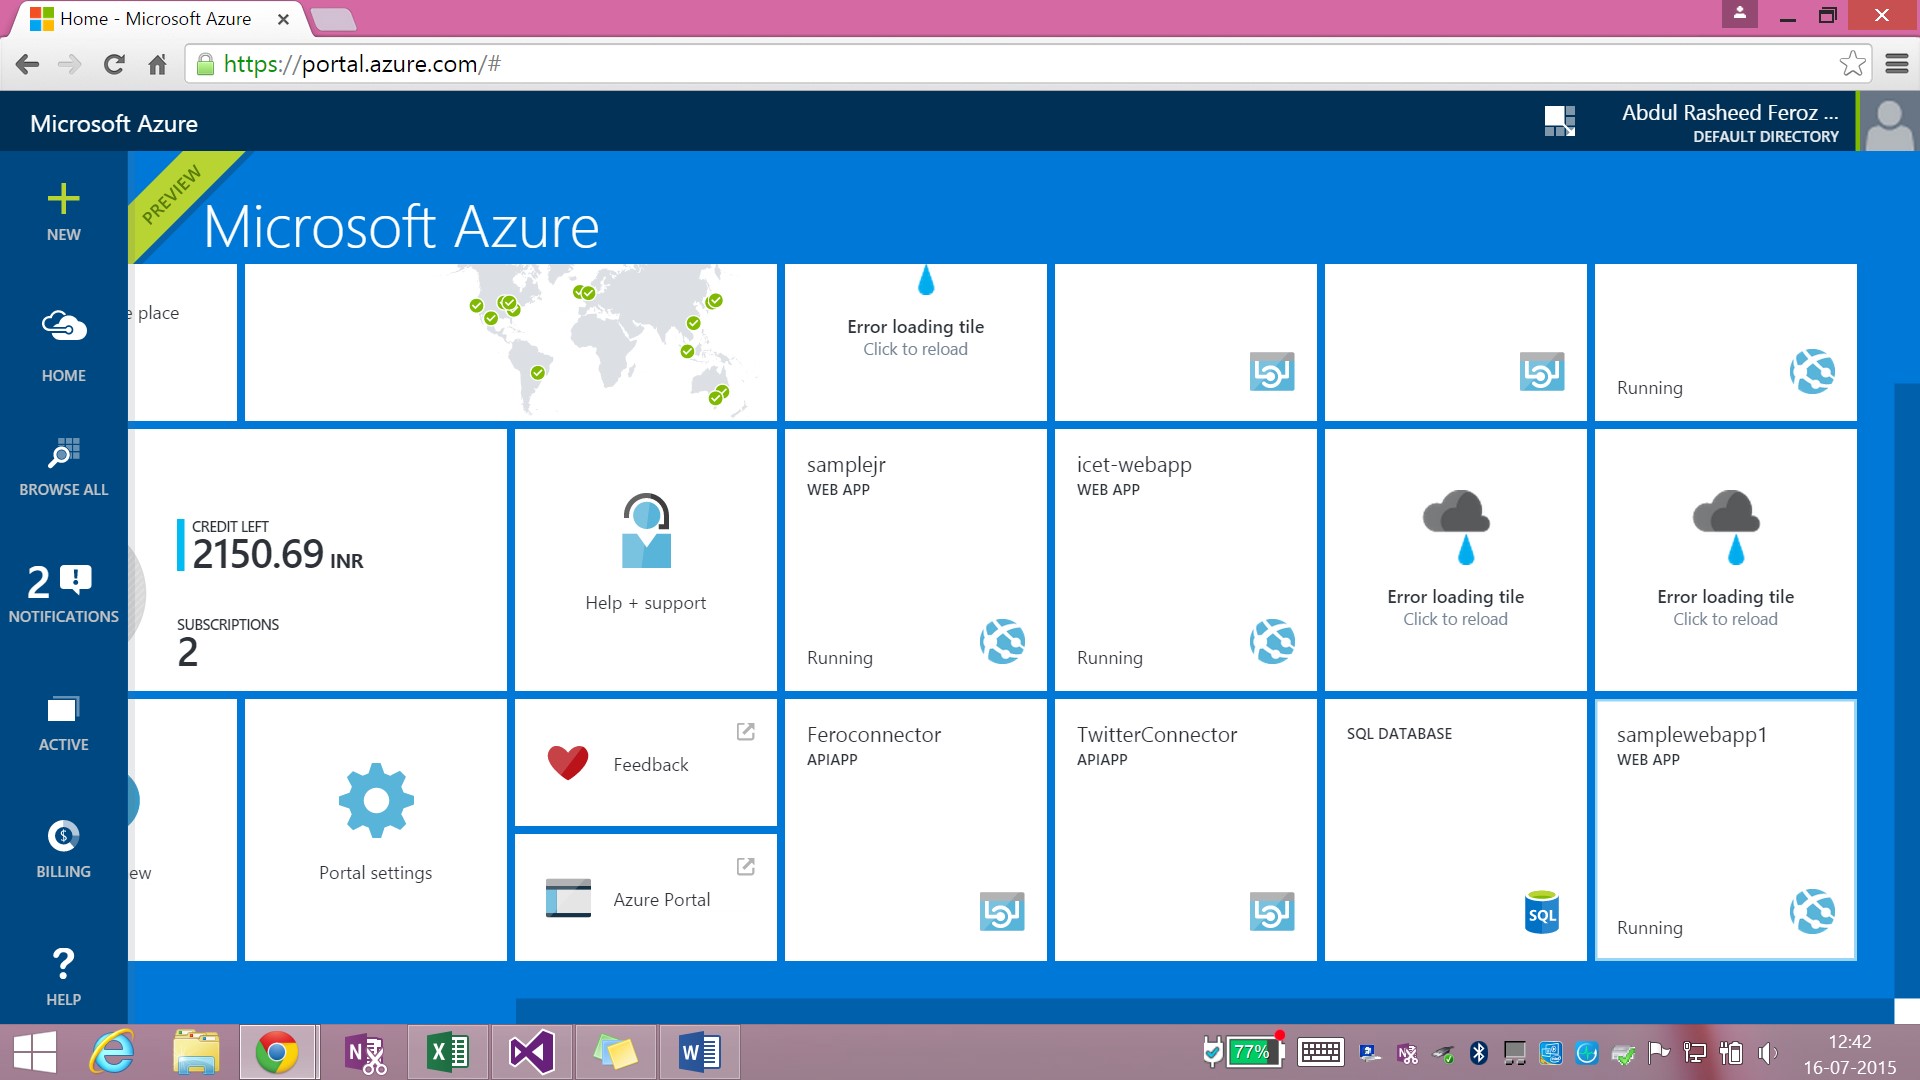
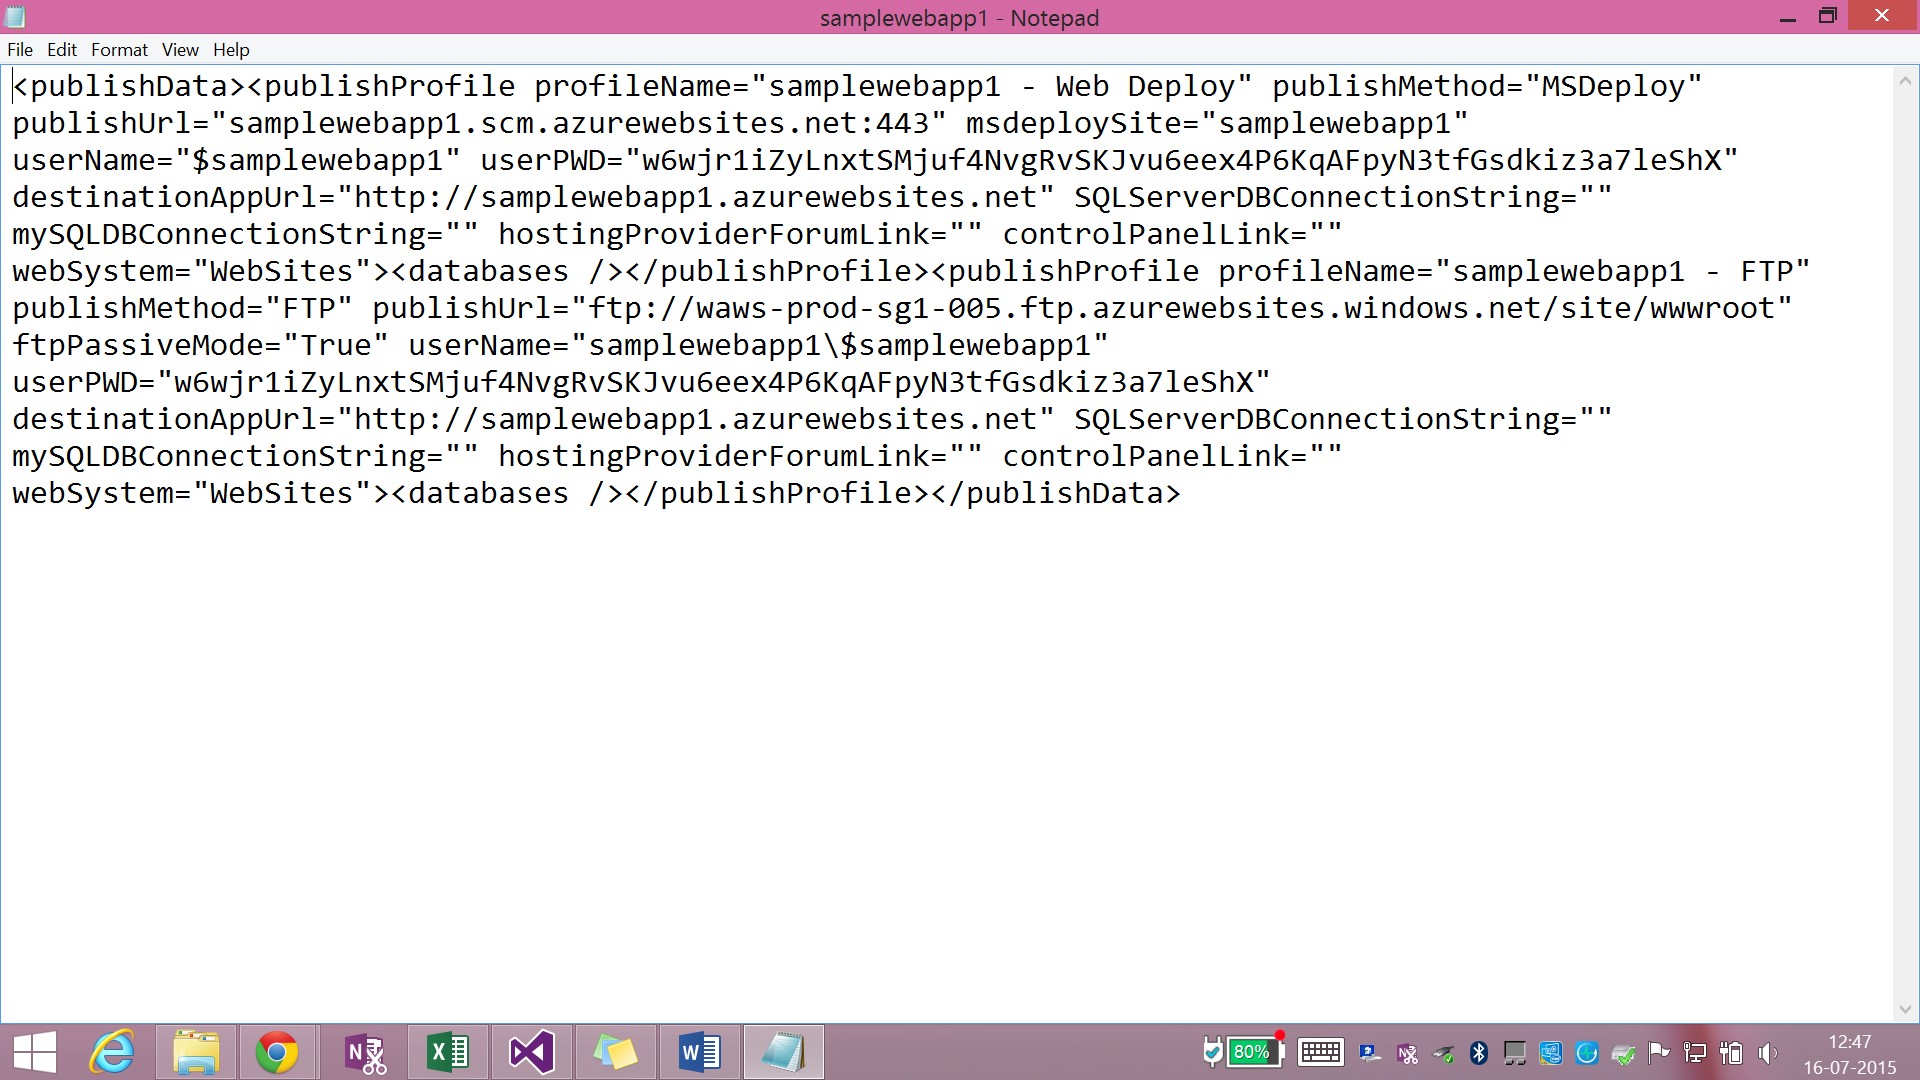
Now click on the web app that has been created (here it is samplewebapp1) and download the Publish Profile information.

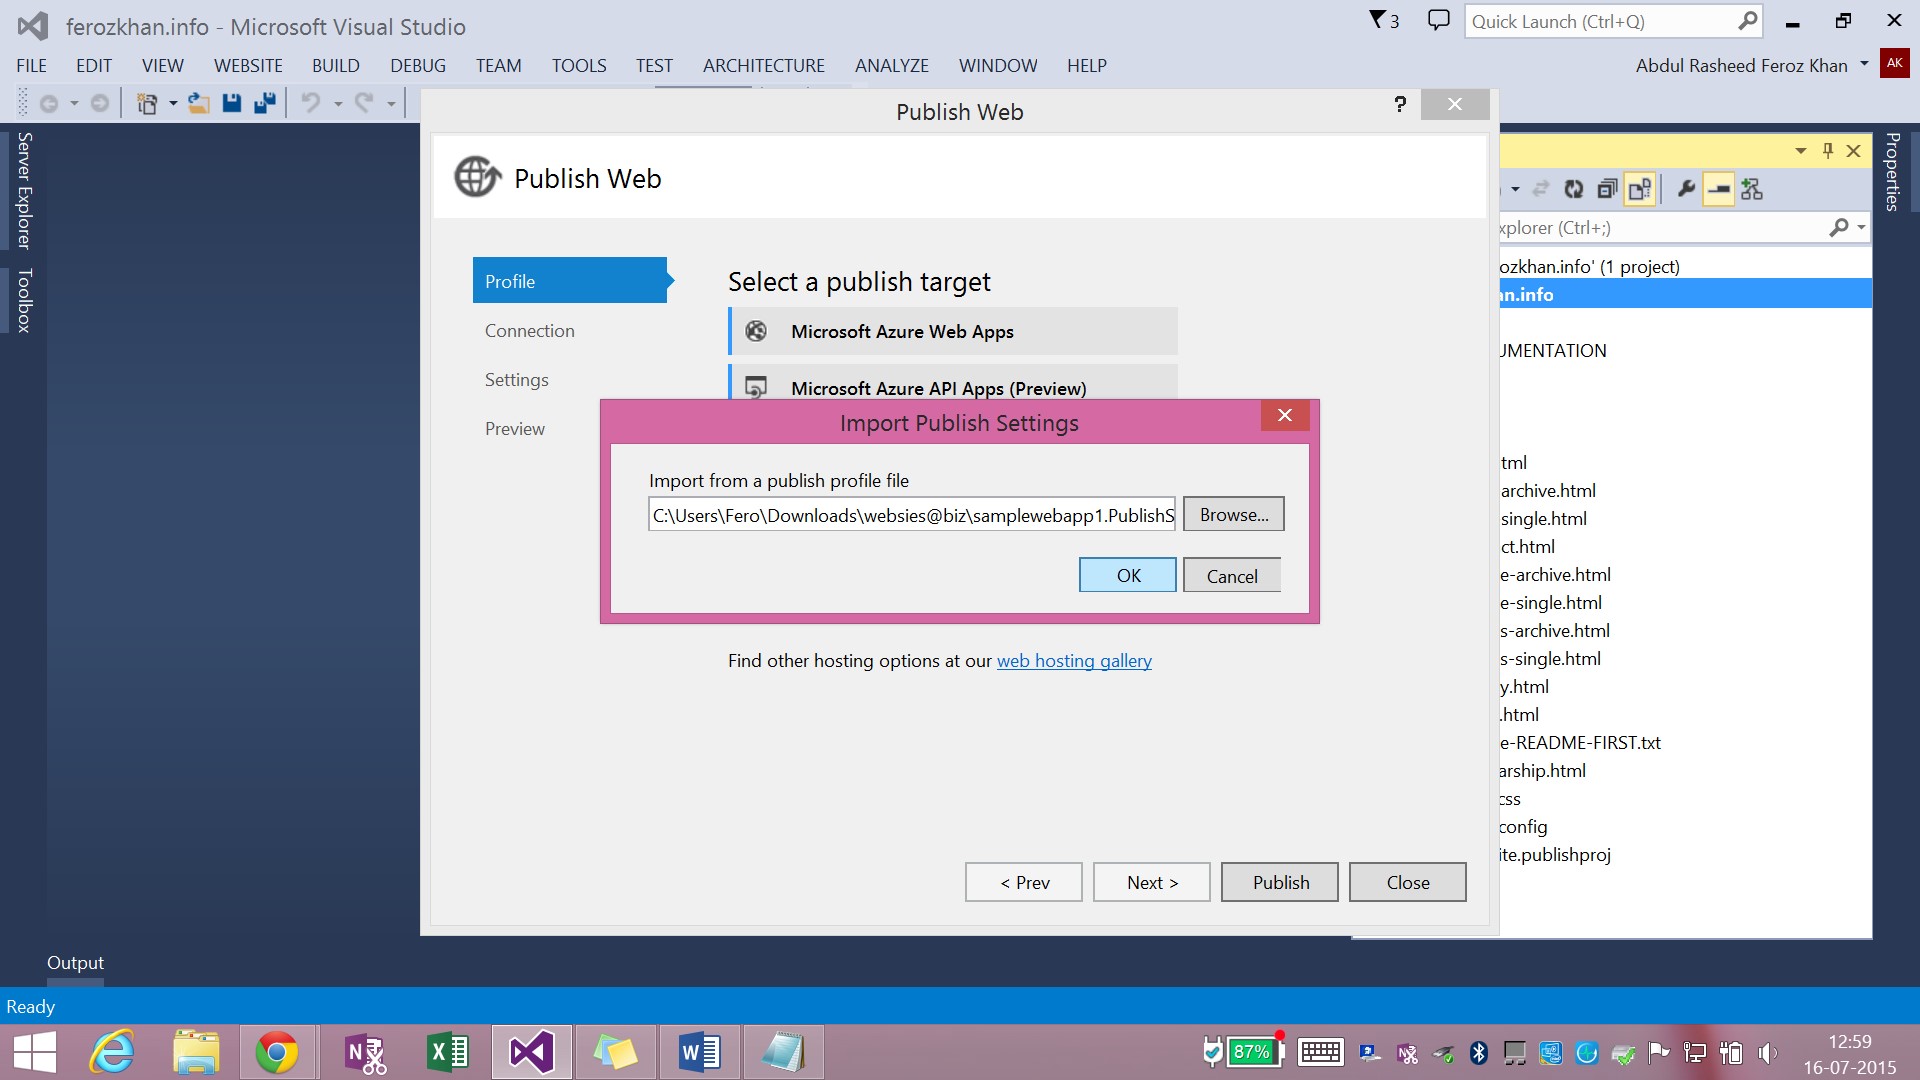
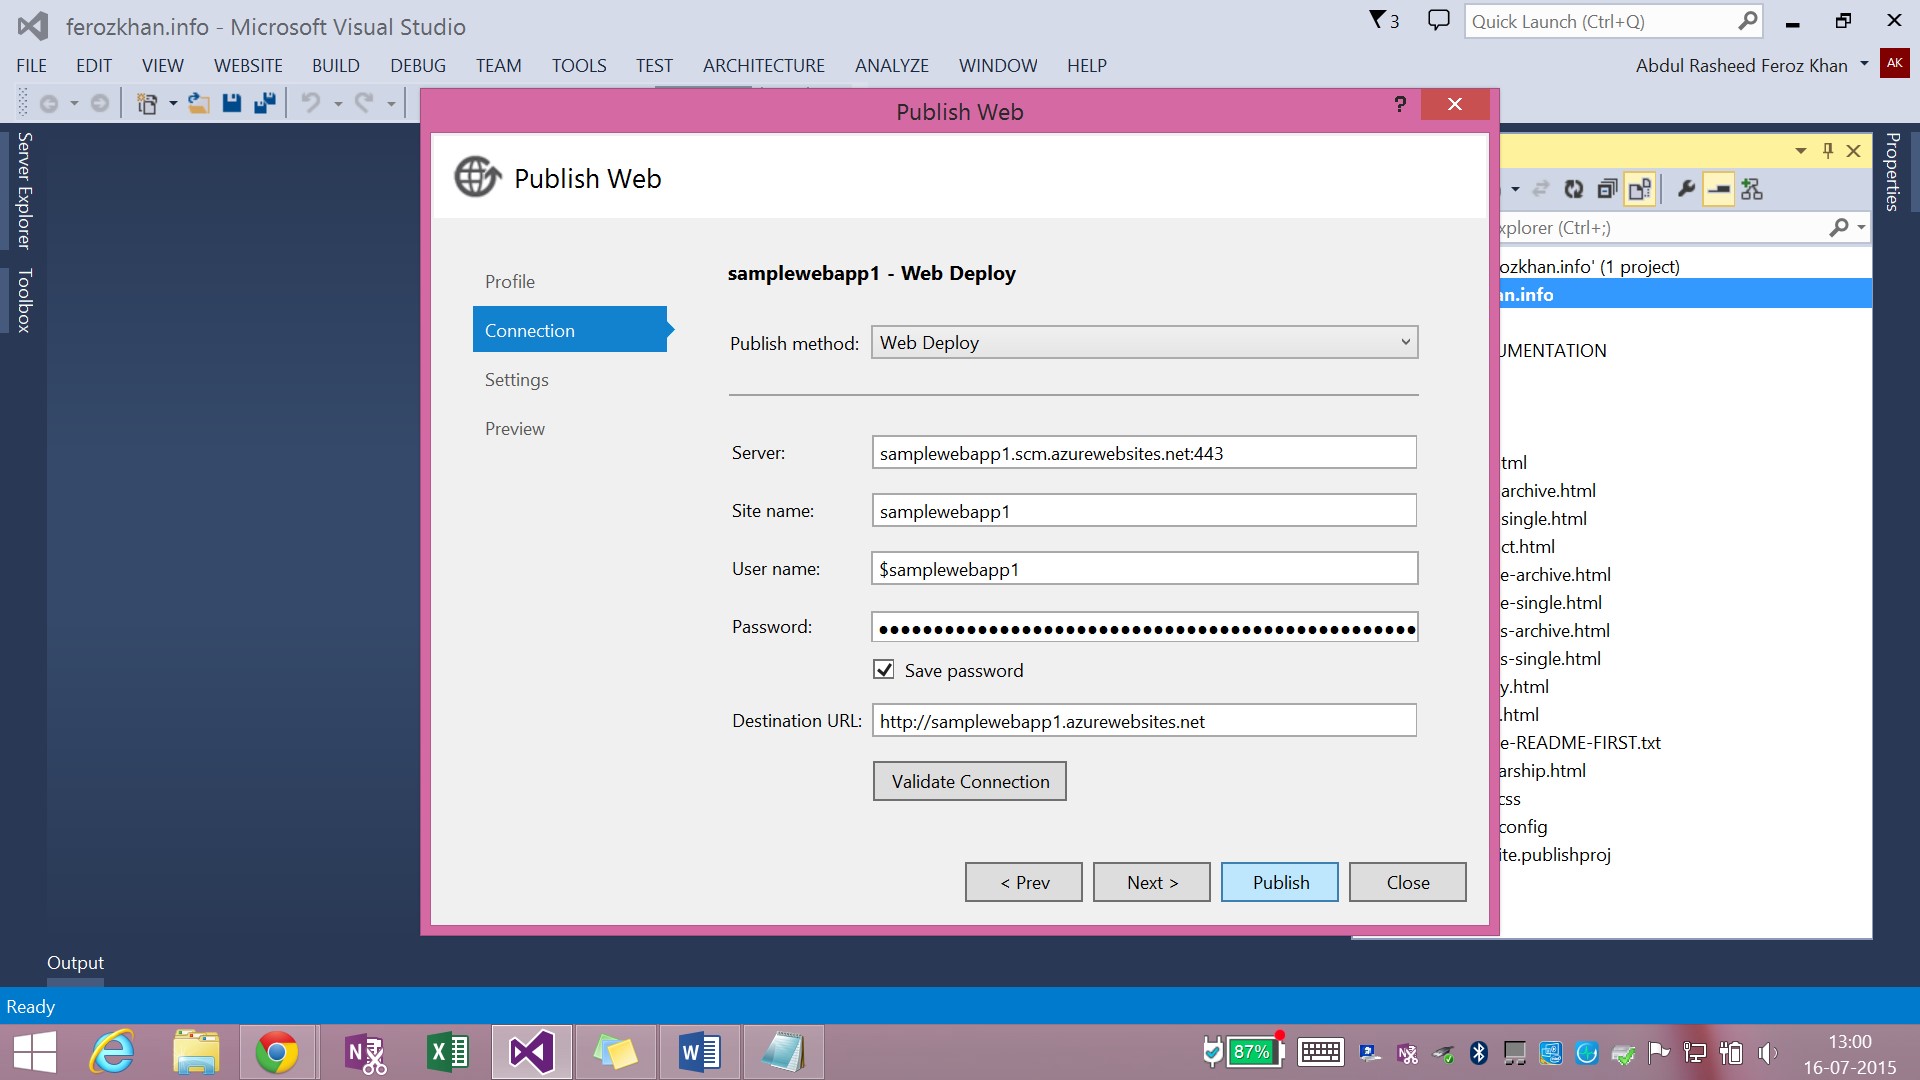
Step 6: Import publisher info
Move to Visual Studio. You will have this dialog still active. Click Import and locate the Publish Profile file.

Step 7: Publish app
Click Publish.
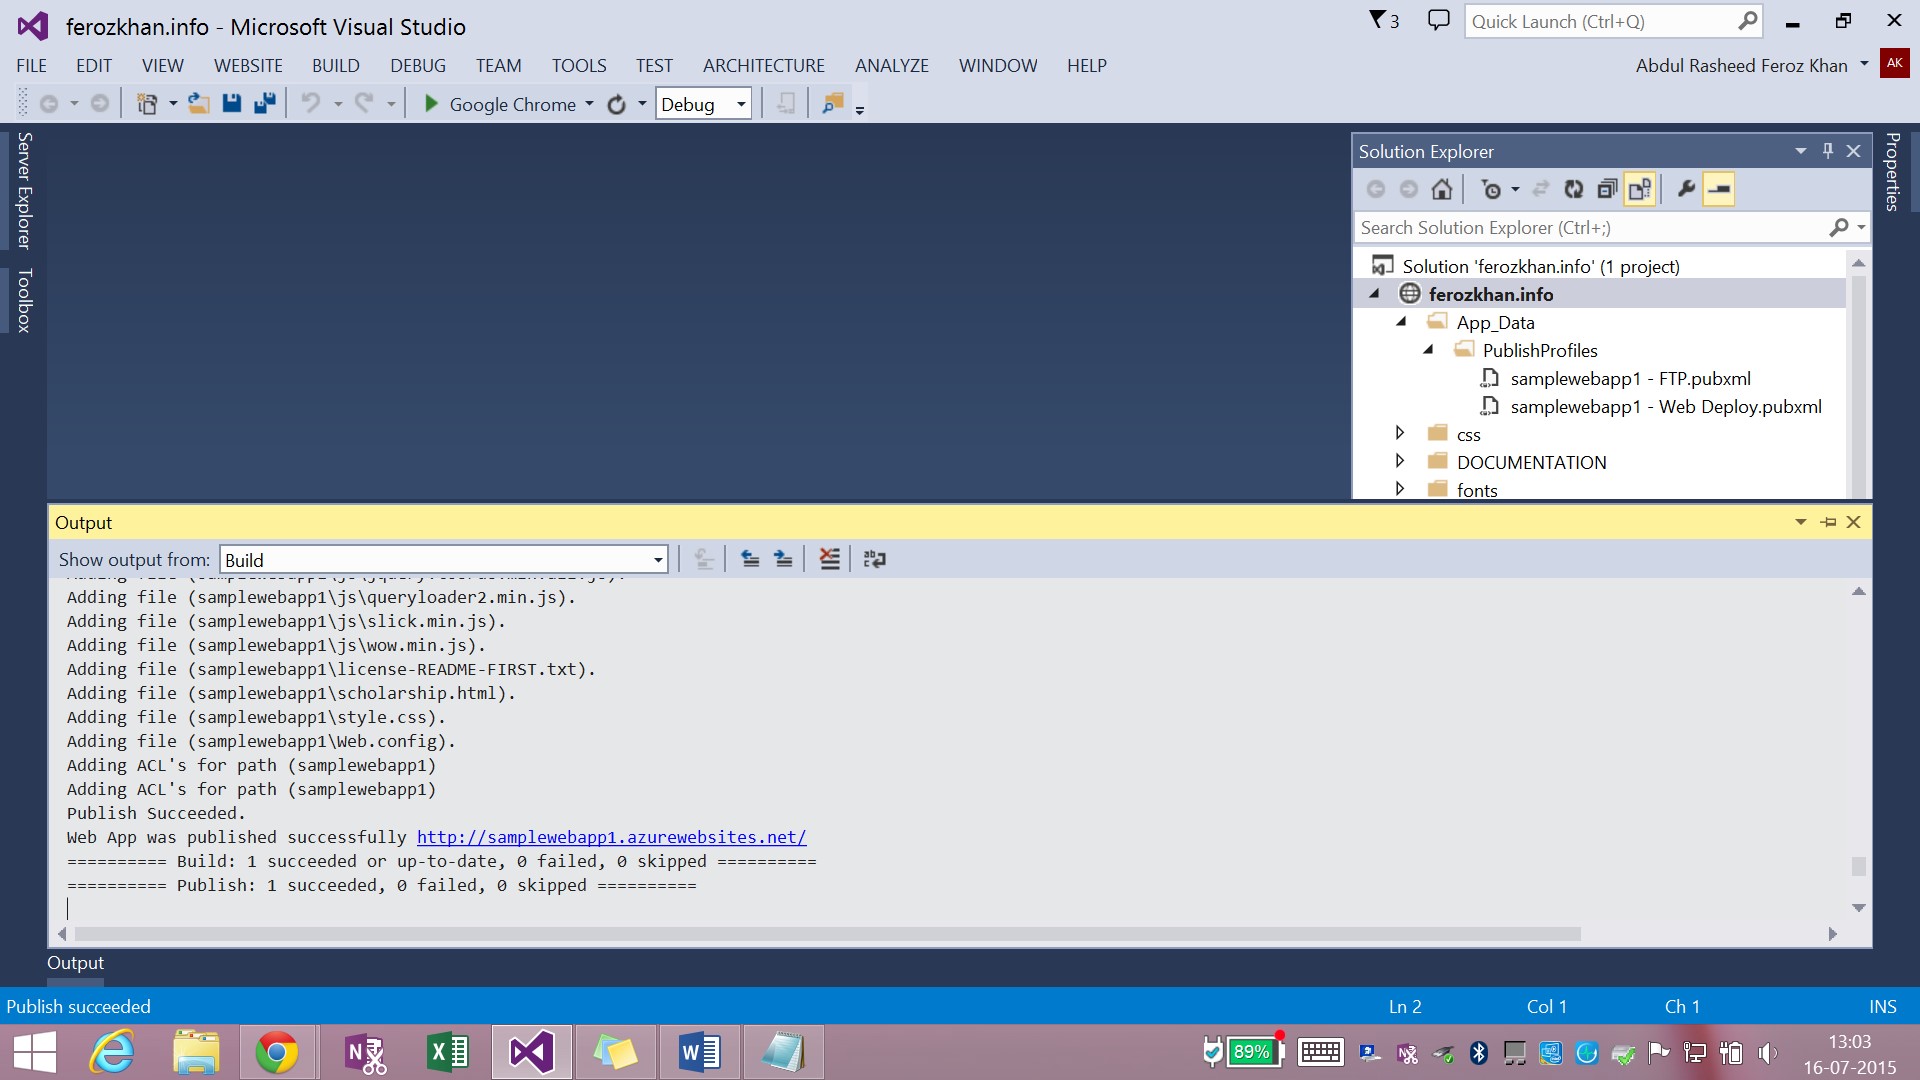
Now the website gets published and you can go to the URL on your browser (samplewebapp1.azurewebsites.net).
