Azure Active Directory Step by Step: Custom Brand Your Office 365 Sign In Page
This will allow you to put a customized logo of your organization for the login page on Office 365.
First, log in to your Office 365 portal using your admin credentials.
Then on the App launcher, click on “Admin” which will take you to the Admin Dashboard on Office 365 as shown in Fig 1.
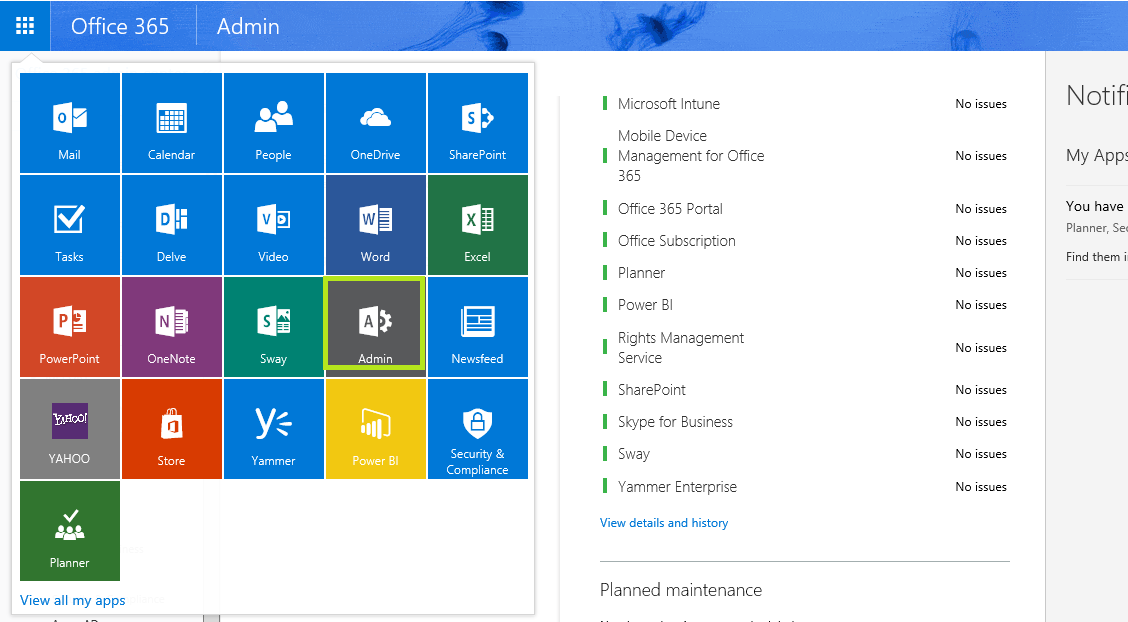
Fig1
Once on the Admin DashBoard, under the “Admin” select “Azure AD” as shown in Fig 2. This will load up the Azure Directory Portal related to your Office 365 Tenant. If this is the first time you are accessing the Azure AD, it will prompt you to set it up initially. This is fairly a simple process which consists of following on-screen commands to finalize the setup.
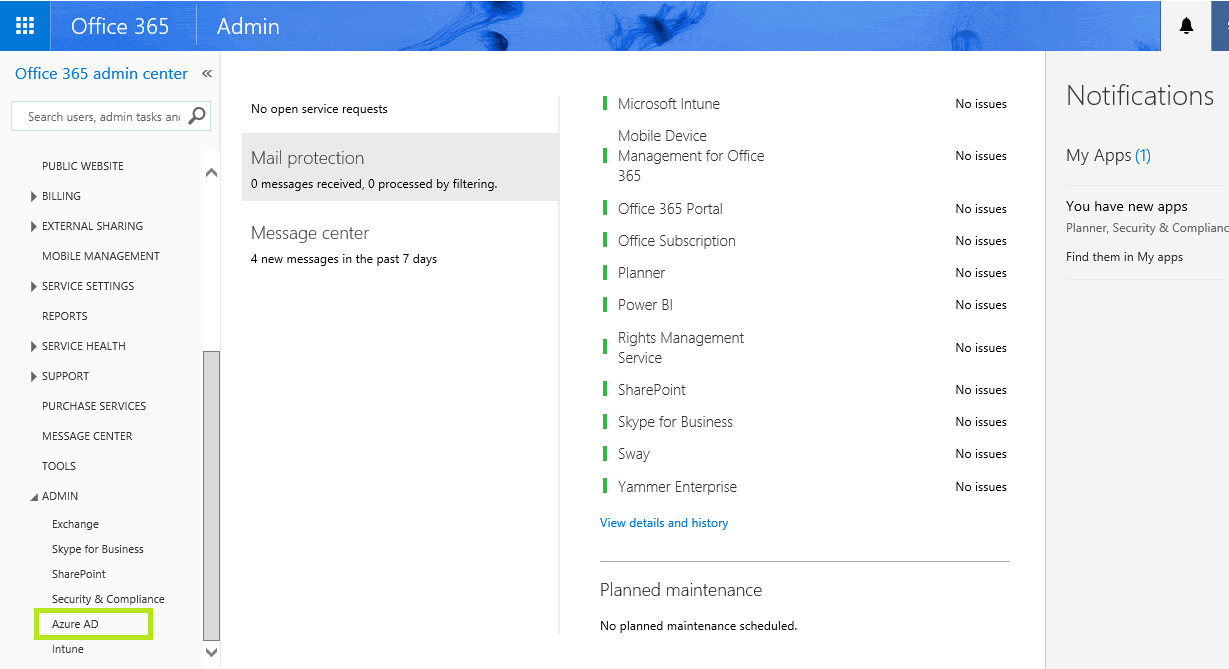
Fig 2
This will open up the Azure Active Directory on another browser tab as shown below in Fig 3. This is your Azure Directory Portal. (If this is your first time accessing Azure Active Directory, you will have to set it up. For the purpose of this article, it is assumed that the Azure AD is set up. Setting up of the Azure AD is simple.)
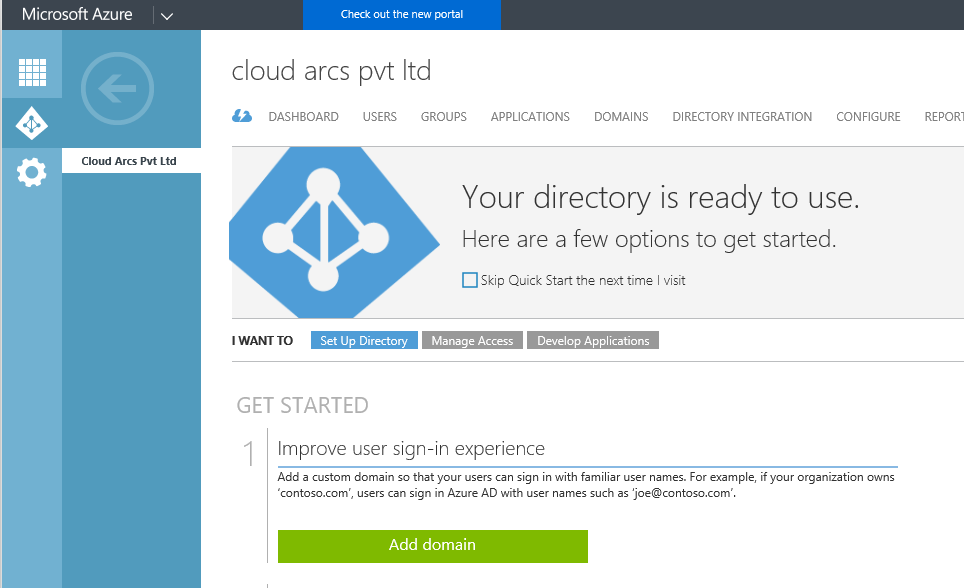
Fig 3
Once you are in the Azure Directory portal, click on the “Configure” tab and select “Customize Branding” as shown in Fig 4.
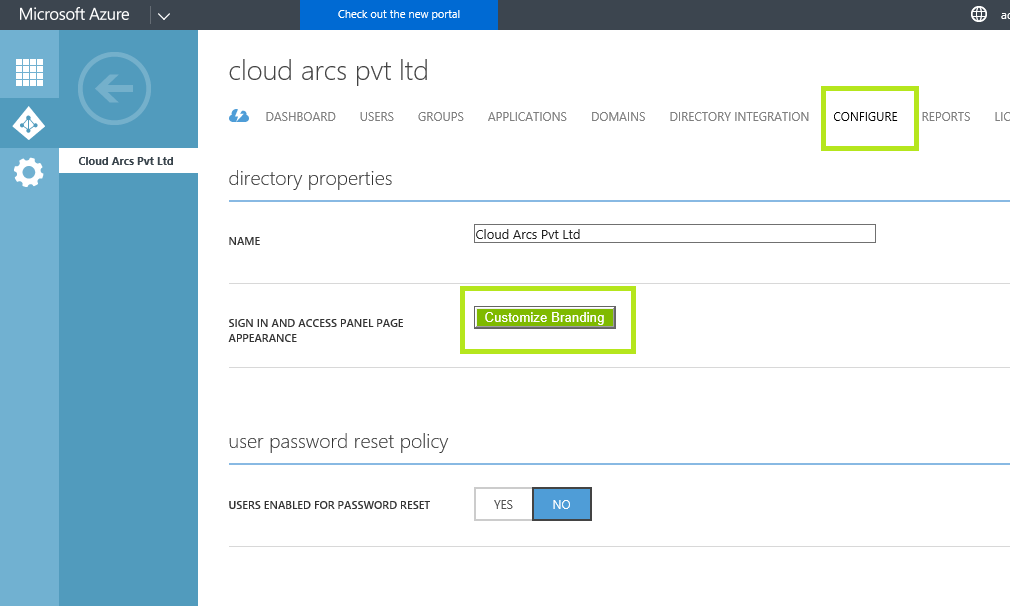
Fig 4
Once you click on the “Customize Branding” it will load up the below settings window for you to upload your images or some customized text related to your company to appear on your Office 365 Sign in Page as shown in Fig 5.
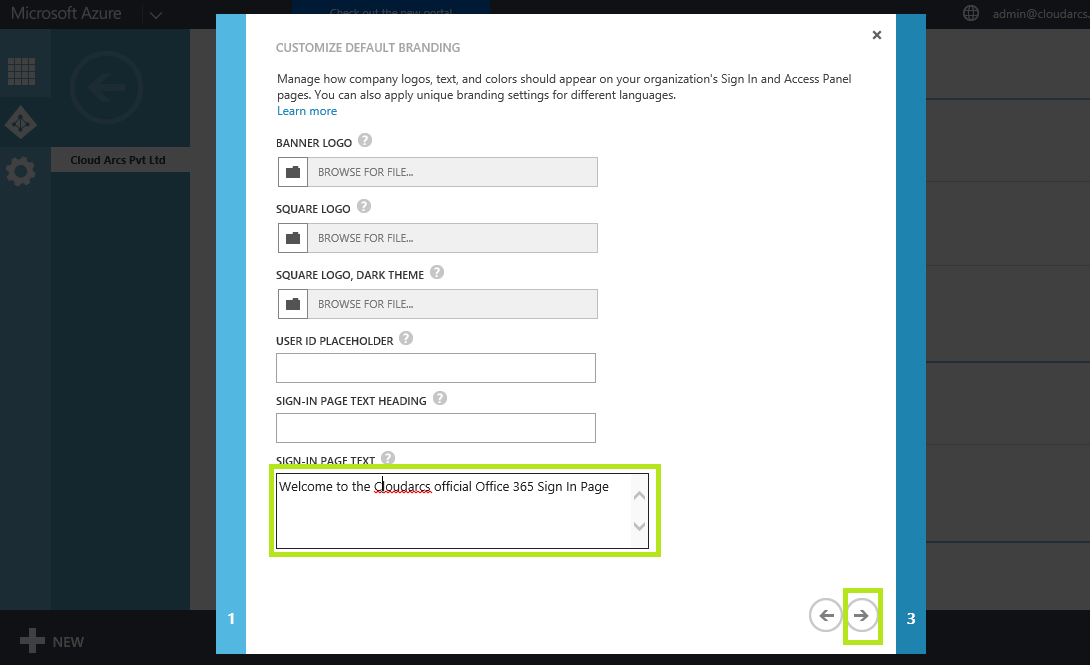
Fig 5
Here is left the Banner Logo, Square Logo, and other fields empty and just inserted some “Sign-In Page Text” as we prefer to do that as shown above. You all can populate the fields as you wish to customize the login page. Once done, click on the Next arrow to go to the next settings page where we will upload the image to appear on our Sign – in Page as shown in Fig 6.
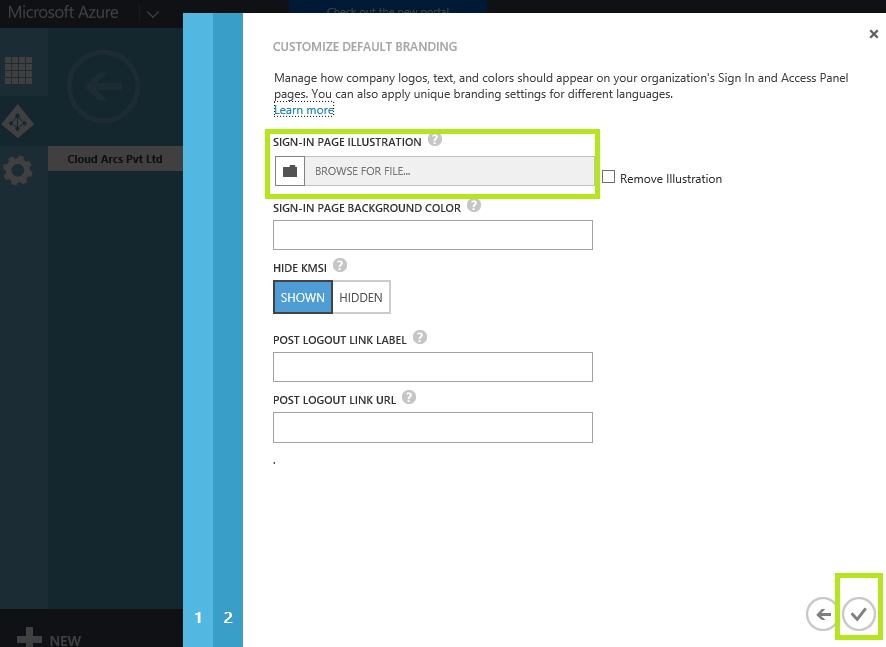
Fig 6
Under the “Sign-In Page Illustration” browse and give the background you desire to be available to the users when they land on to Office 365 Sign in page. Once done, click on the checkmark to apply changes.
Please note that changes made to your Office 365 sign-in page, take some time. So please check back if the image appears after ten or fifteen minutes.
Once the changes are applied your Office 365 sign-in page, it should look like below with the custom branding that you just applied via Azure AD when you enter the credentials. Refer to Fig 7.
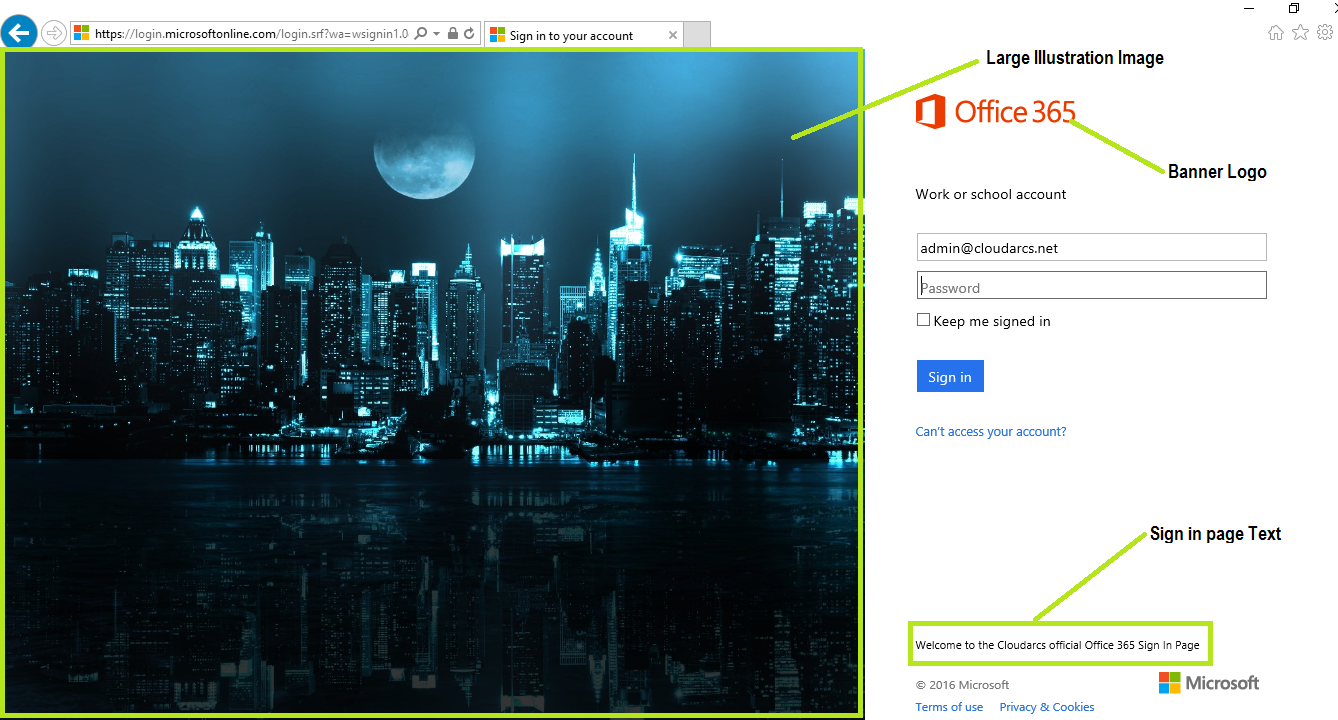
Fig 7