Upgrade OS Disk Size of Linux VMs on Azure
In Azure VMs, whenever you select a Machine Size, you find that the OS Disk is associated with it, so basically you don't have much flexibility in changing that upon creation.
However, for Windows VMs it is not that of a big deal, but it may be a little bit annoying in case of Linux VMs.
But basically it is pretty simple to change that on Azure, so don't worry, it is a piece of cake ;)
Note: this document was tried out and targeting CentOS distro, but it should work on the rest of the distros with a slight change in step2.
Steps:
1-Increase OS Disk Size attached on the VM from Azure [From Portal or PowerShell or AzureCLI]
2-Increase the Partition on the Linux OS level [From command line]
As you can see, it is pretty simple, so let's get started..
1) Increase OS Disk Size attached on the VM from Azure
First, you need to Stop the VM.
Using the Portal, got to the VM desired,
Stop the VM
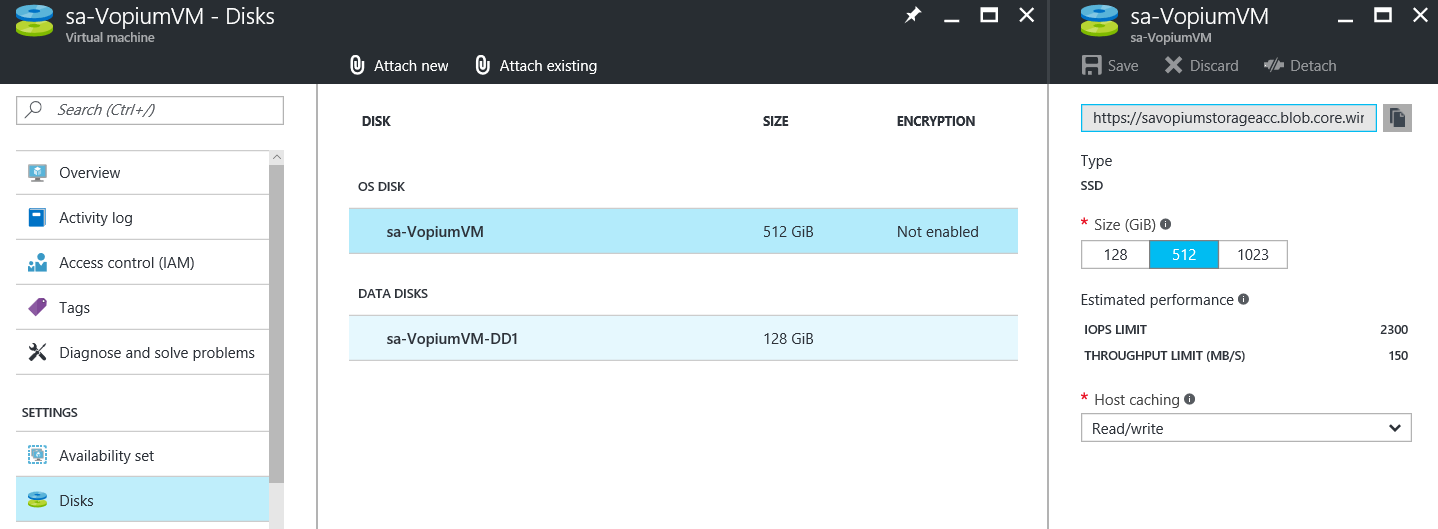
Select the data disks tab,
Select the OS data disk and go to properties
Change the Data disk
In case of Standard Disks -> just type the new desired size
In case of Premium Disk -> Select the available Options 128 GB, 512 GB , 1024 GB
Using PowerShell:
$ResourceGroup = “myResourceGroupName”
$vmName = “myrVMName”
$vm = Get-AzureRmVM -ResourceGroupName $ResourceGroup -Name $vmName
$vm.StorageProfile[0].OSDisk[0].DiskSizeGB = 128  #change the size as required
Update-AzureRmVM –ResourceGroupName $ResourceGroup -VM $vm
Using CLI:
$ azure vm deallocate -g resource-group -n vmname
$ azure resource set --resource-group resource-group --name vmname --resource-type Microsoft.Compute/VirtualMachines --properties "{ \"storageProfile\":{\"osDisk\":{\"diskSizeGB\": 512}}}" -o 2015-06-15
$ azure vm start -g resource-group -n vmname
Congratulations First step is finished, but actually the Linux OS is not aware of that change, it still cannot see that increase
So if you typed the below command:
$ df -h
you'll notice that /dev/sda1 size didn't change YET.
Don't worry, that's normal, since we still need to increase the partition size on Linux, so that it can span the new size increase, and it perfectly makes sense !!
**2) Increase the Partition on the Linux OS level
**Connect to the machine through SSH, or open the command terminal
$ sudo fdisk /dev/sda
Type "u"
Type "p" to list the partition details
Type "d" to delete the partition, don't worry this will not delete the data, it will alter the partition, then select the partition
Type "n" to create a new partition
Type "p" to create a primary partition
Type "1" to create the first partition and accept the default sector to use the entire disk
Type "w" to write these changes
You will get a warning that says: WARNING: Re-reading the partition table failed with error 16: Device or resource busy. This is fine.
Reboot
sudo reboot
Once the VM is up and running, login to your Azure VM using SSH
Resize the file system by typing:
$ sudo xfs_growfs /dev/sda1 #incase of XFS file system like CentOS
or
$ sudo resize2fs /dev/sda1 #incase of other file Systems
Verify
df -h
Now /dev/sda1 should have the new increased size.
[Screenshots to be added]
That's it :)