Assign a Public Domain UPN suffix to multiple users in Active Directory using PowerShell
Problem Statement
UPN stands for User Profile Name which is a logon method of authentication when you enter the credentials as LoginName@Domain.com instead of Windows authentication method: Domain\LoginName to be used as login. The default UPN for any user account is the domain name of the domain where the user account is present.
There can be instances where we will have to do a change in UPN from local to a public domain. One such common instance is the integration of Azure Active Directory with the Local Active Directory. In order to perform this integration we will have to change the local AD UPN to our Public Domain. However the problem is we will have to do the UPN change for each and every user who is part of the Active Directory which can be cumbersome if we do it manually.
The local active directory can be in an On Premise Server or it can be in a virtual machine hosted in azure. Let’s see how we can assign a Public Domain UPN to the local Active directory and update it for multiple users within the Active Directory.
Get Started
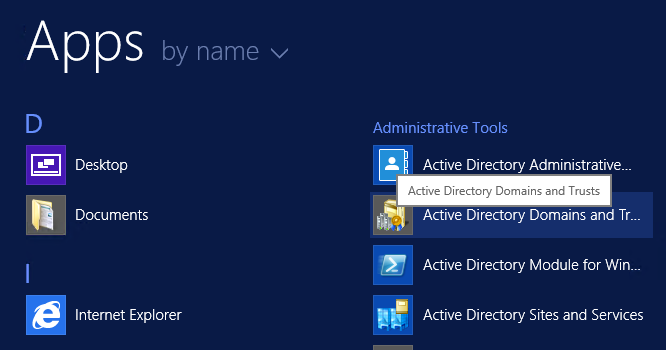
In our existing configuration we have hosted the Services in Azure and we have set up local Directory services in a virtual machine: VM01-AzureAD. Select Active directory domain and trusts from the server hosting active directory.
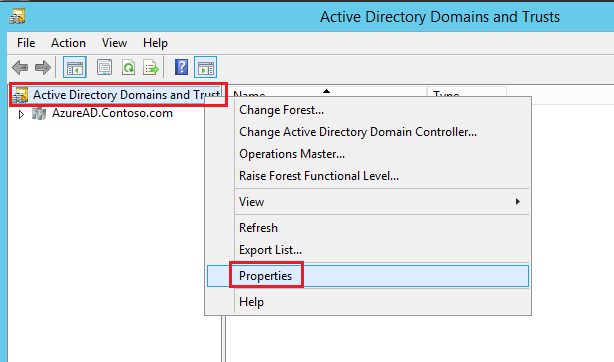
Right click the root and select Properties.
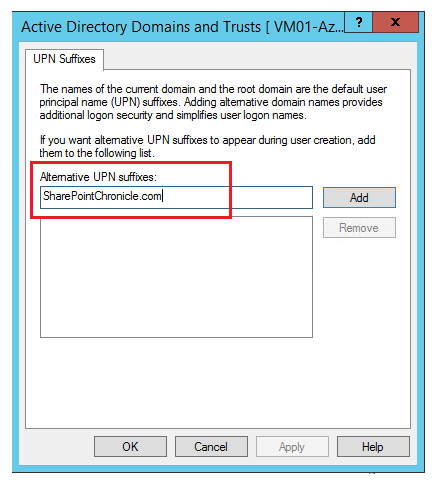
This will open up the window where we can specify the UPN Suffix. Specify our Public Domain(SharePointChronicle.com) here. Click on Add.
Now head over to the Active Directory users and Computers.

Updating the UPN for a Single User
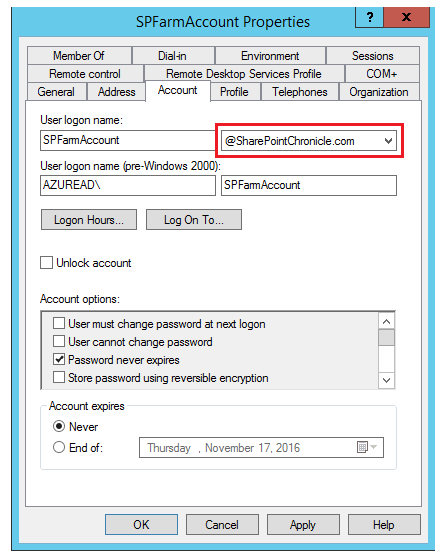
If we just had to update the UPN for a single user, it is relatively easy as described in this section. Select the user names whose UPN you would like to change, provided the number of accounts is small we can do it manually by editing the user logon name and updating the new UPN. By default, as it opens up, it will show the existing local domain which is AzureAD.Contoso.com here.
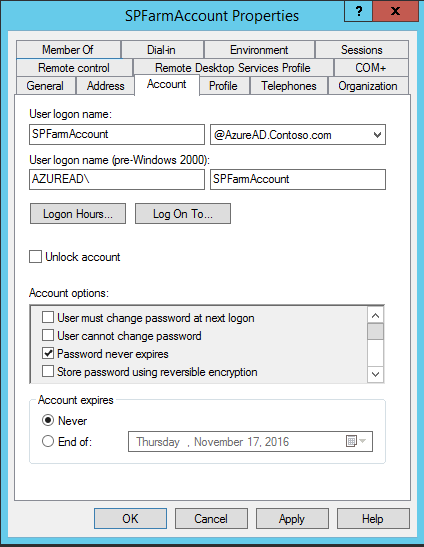
We have to change it to SharePointChronicle.com(Our Public Domain). Click on apply*.*
Updating the UPN for Multiple users
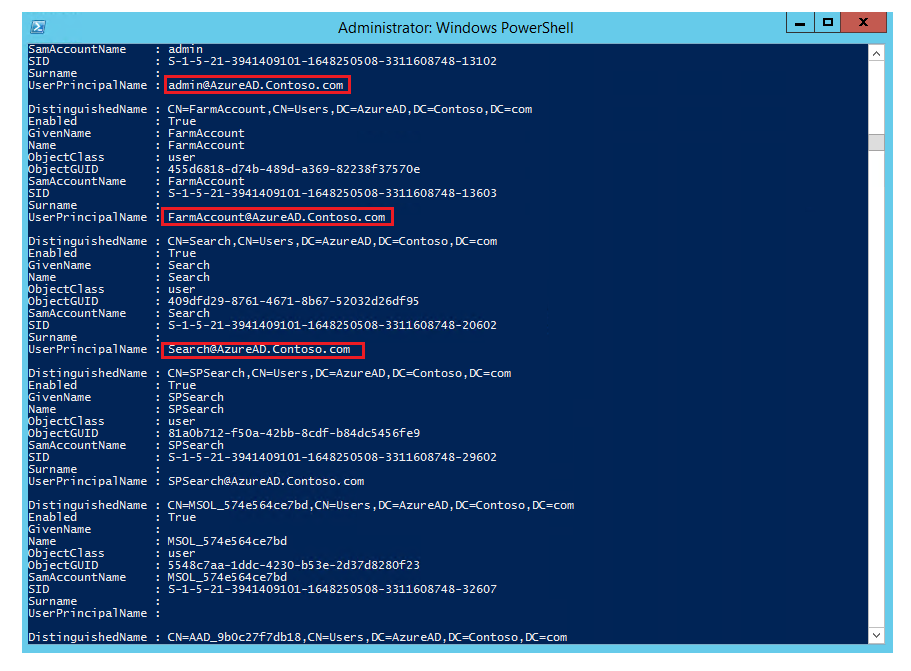
However if there are multiple users, doing it manually for each user is cumbersome. In such a case we can use PowerShell. Spin up PowerShell as administrator and run the below command which will give us the users in the domain and their details
Get-ADUser -SearchBase $DN -filter *
As you can see, the UPN of the AD Users are currently AzureAD.Contoso.com.
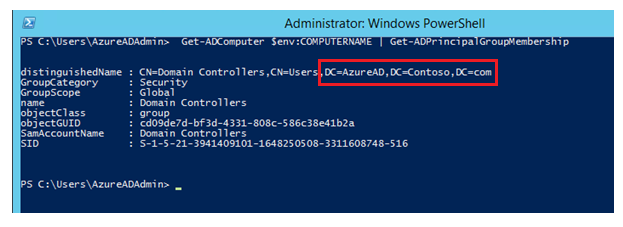
Run the below script to get the distinguished name of the domain controller which we will need to use in the PowerShell script.
Get-ADComputer $env:COMPUTERNAME | Get-ADPrincipalGroupMembership
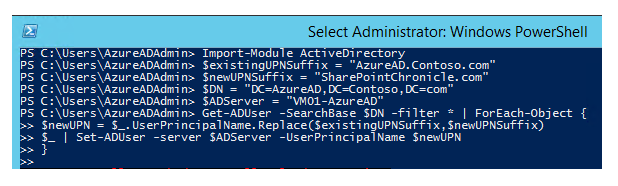
Run the below script to change the existing UPN (AzureAD.Contoso.com) to the new UPN (SharePointChronicle.com). The below script will fetch each user from the current domain and replace the UPN with a new value using the Set-ADUser command.
Import-Module ActiveDirectory

$existingUPNSuffix = "AzureAD.Contoso.com"

$newUPNSuffix = "SharePointChronicle.com"

$DN = "DC=AzureAD,DC=Contoso,DC=com"

$ADServer = "VM01-AzureAD"

Get-ADUser -SearchBase $DN -filter * | ForEach-Object {

$newUPN = $_.UserPrincipalName.Replace($existingUPNSuffix,$newUPNSuffix)

$_ | Set-ADUser -server $ADServer -UserPrincipalName $newUPN

}
Test the UPN post PowerShell Script Run
Post running of the above script, let’s see if the UPN has changed. Run the Get-ADUser command to retrieve the users in the domain.
After running the script, the UPN has changed from AzureAD.Contoso.com to SharePointChronicle.com.

Summary
Thus we saw how to bulk update the User Profile Name (UPN) in the Local Active Directory of the On premise Server.
See Also
This article can also be viewed from the below link :