Access Azure VM SQL Server Outside of Network
In Azure, we have many virtual machine templates with pre-installed SQL Server. Templates include different editions and versions of SQL Server.
This post explains you that how you can access your SQL Server databases outside of Azure VM with the help of DNS.
Create SQL Server VM from Azure VM templates and make sure you can access the VM.
Follow the below steps to access SQL Server databases outside of the Azure VM Network by using DNS name.
Step 1: DNS configuration
If you are not configure DNS for your virtual machine, then configure it as like below. You can check in portal that DNS is configured or not.
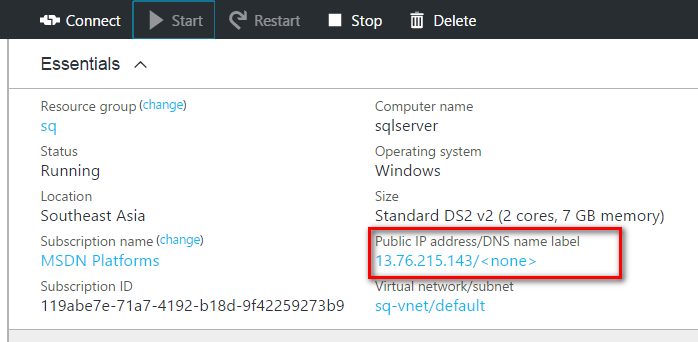
As you can see above, the DNS name label set as none. It means, DNS is not configured by default. It should be configured as we are going to access SQL Server via DNS.
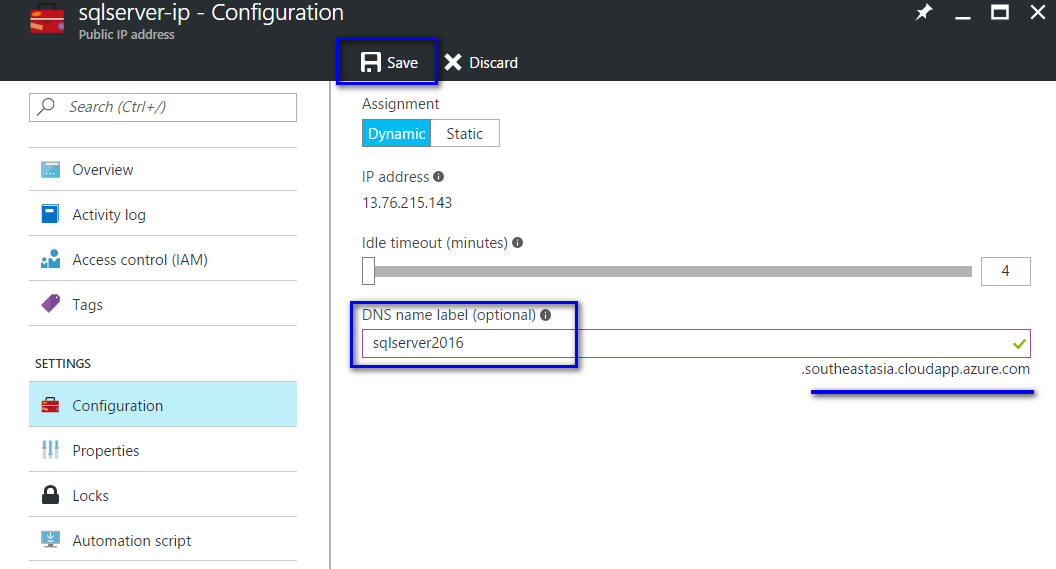
Click the link <none>. It will take you to IP- configuration section. Specify the DNS name in the given box and save it. DNS name always comes with an extension “.southeastasia.cloudapp.azure.com”. If you host your virtual machine in different region, then extension will be like “.regionname.cloudapp.azure.com”.
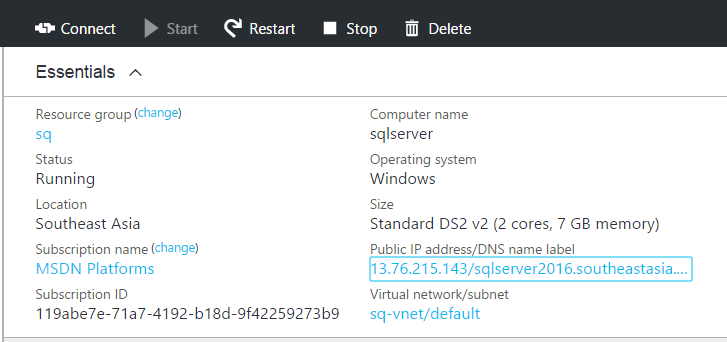
Once you saved the configuration, you can check the DNS name in your overview section.
**
Step 2: Enable the TCP port with 1433 in Portal**
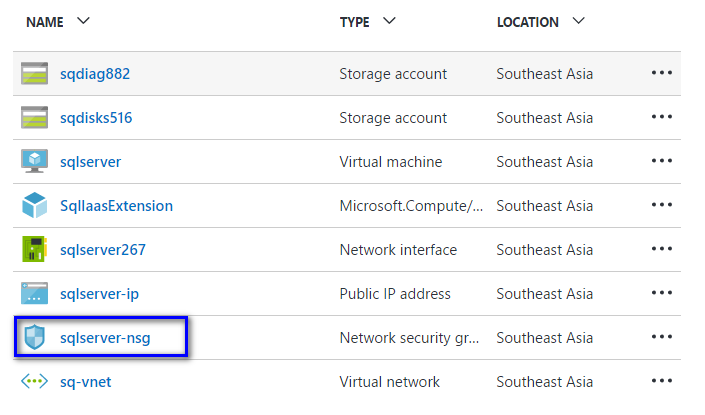
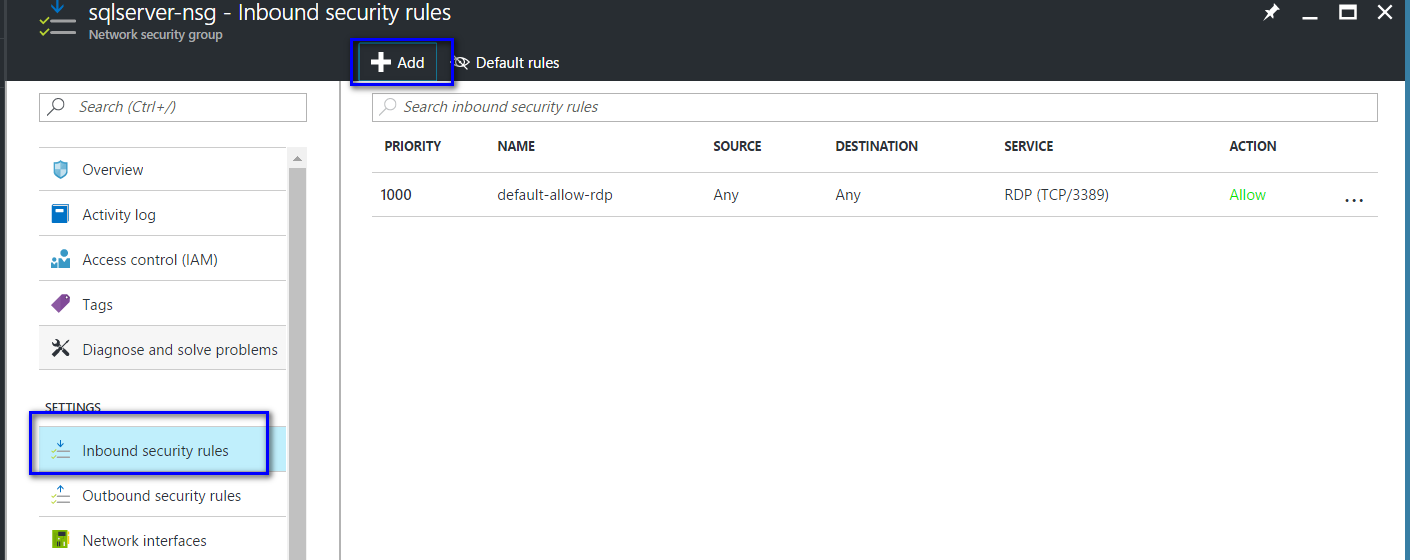
Go to Network Security Group.
Click the Resource group and click the “Network Security Group”.
Click “Inbound security rules” under settings and add the new rule.
*
*

Step 3: Enable TCP 1433 in Virtual Machine.
Log in to the virtual machine and type WF.msc in run (Ctrl + R) command. It will open windows firewall.
Right click on “Inbound Rules” and click “New Rule”. Set rule Type as “Port”.
In Protocol and Ports section, Leave TCP selected and Specify 1433 of local port box.
Don’t modify anything on next two sections and assign a name for the rule.
If you check the property of the created rule, it should be look like below.

Step 4: Create a new login in SQL Server and enable mixed mode authentication.
Enable the mixed mode authentication by going to SQL Server properties.
Right click on SQL Server instance->Properties->Security. Select “SQL Server and Windows Authentication mode”.
Restart your instance to apply the above change.
Create a SQL Server login with password. Expand Security->Right click Logins->New Login
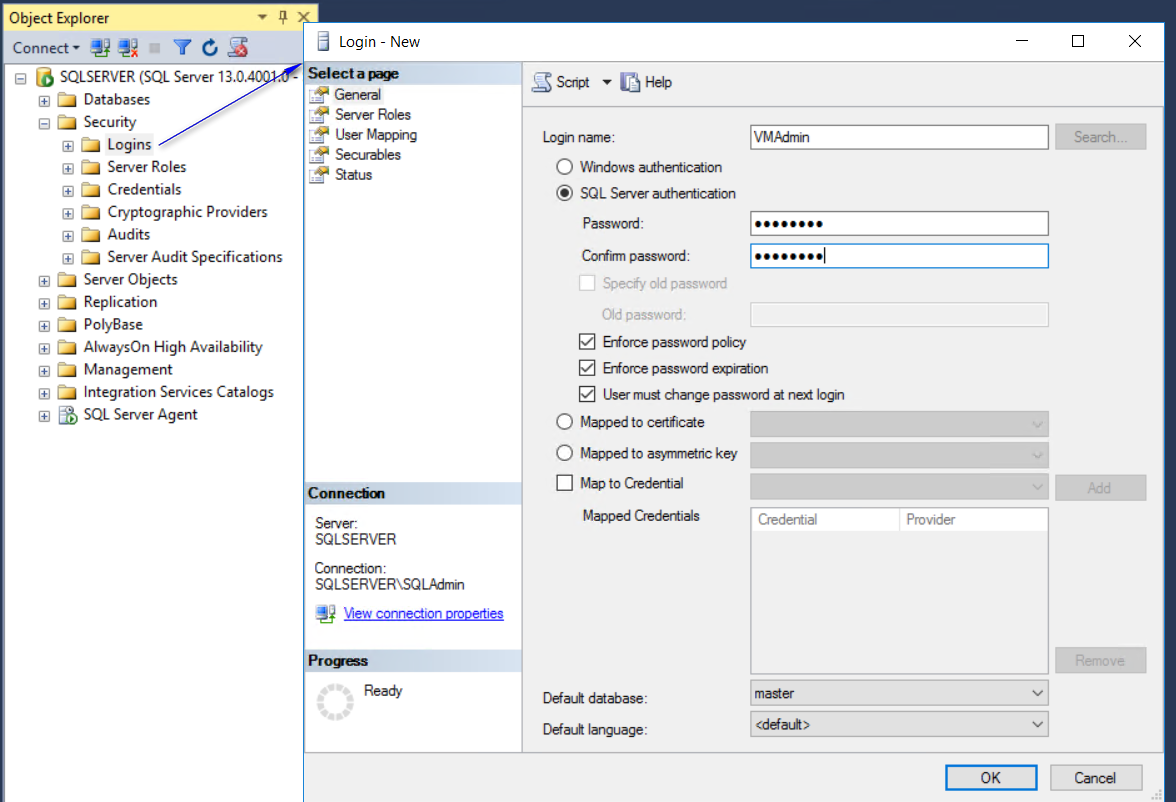
Ensure the created login is working without an issue and restart the machine.
Step 5: Access from different machine.
Take the below information handy,
DNS Name: sqlserver2016.southeastasia.cloudapp.azure.com
SQL Authentication Username and Password.
Open SQL Server Management Studio in another machine and connect.

Now successfully logged in another machine.