Introduction
What is COM+?
it is an extension of Component Object Model, Microsoft's strategic building block approach for developing application programs. COM+ is intended to provide a model that makes it relatively easy to create business applications that work well with the Microsoft Transaction Server (MTS) in a Windows NT or subsequent system.
COM+ consists of interfaces and Method.
In our Article, we will explain how to create COM+ application using C#.net.
We will make client in Vb6 and COM+ application server in C#.net.
We will do simple example addition and subtraction.
COM+ Application
Client: Vb6
Server: C#.net
Launch Visual Studio
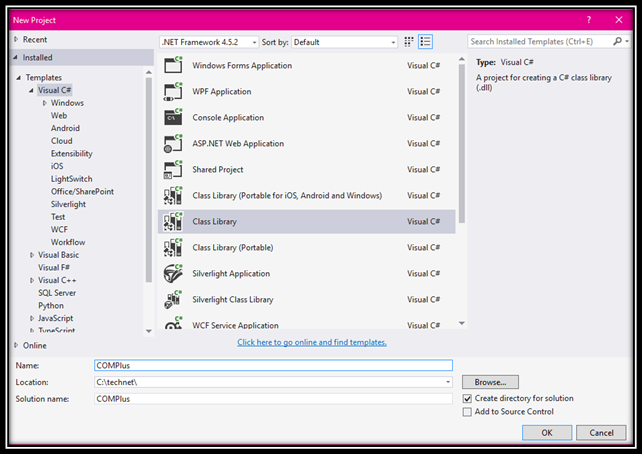
Create New Project
Select Visual C# - Class Library
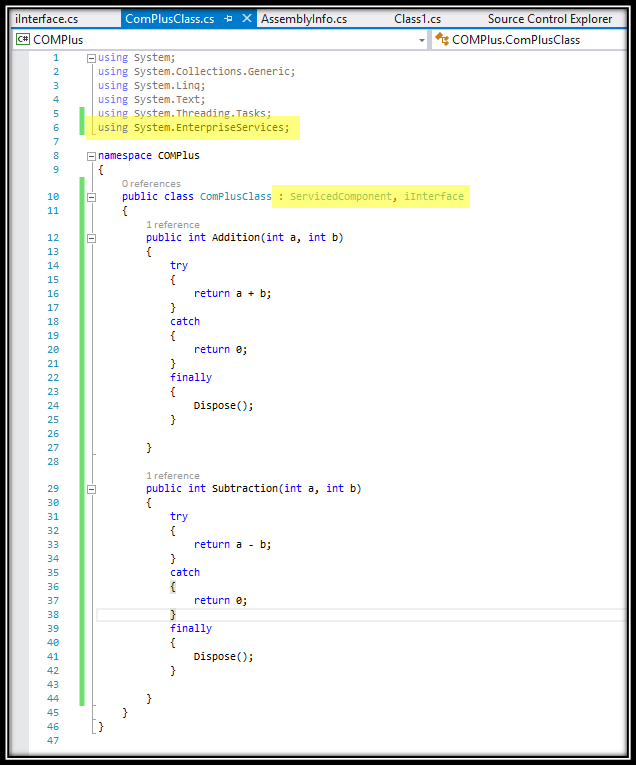
Add service System.EnterpriseServises.
It will be at below location.

Modify your AssemblyInfo.cs class as below
While modifying below lines, it will throw an error.
To solve this, add
using System.EnterpriseServices;’

[assembly: ApplicationName("ComPlus")]
[assembly: Description("COMPlus Assmebly")]
[assembly: ApplicationActivation(ActivationOption.Server)]
[assembly: ApplicationAccessControl(false)]

[assembly: ComVisible(true)]
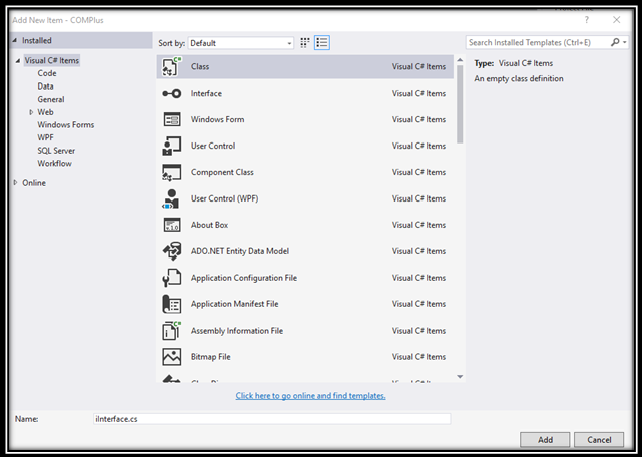
Create an interface class.
Example iInterface.cs
Add below method in iInterface.cs (Addition and Subtraction)
Make sure our interface is public.

- Add new class name ‘ComPlusClass’.

Implement Interface iInterface.
Add below code in class ‘ComPlusClass’
; Male sure class is public
Build the application
Make sure there are no error and build successful
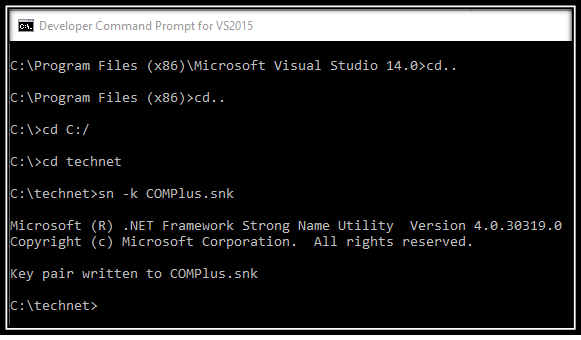
We have to create strong key which we need to assign to the application
We will use VS command prompt to create it
Note: it is strong key name so name should be same as project name otherwise it won’t work
Our project name is: COMPlus
- Launch VS command prompt
Locate to your project folder
Type
sn -k COMPlus.snk**
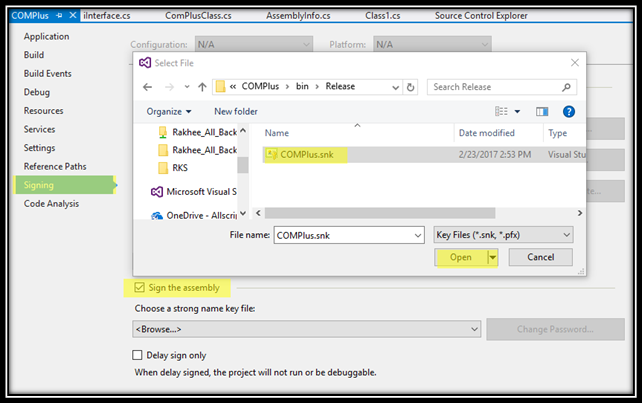
- Add this strong key to the project
Application properties -> Signing -> Check the check Box (Sign the assembly)
Locate the key which is created in above steps
Compile the project in release mode
We have moved this strong key in release folder so it would be easy to use
Build/Rebuild the application
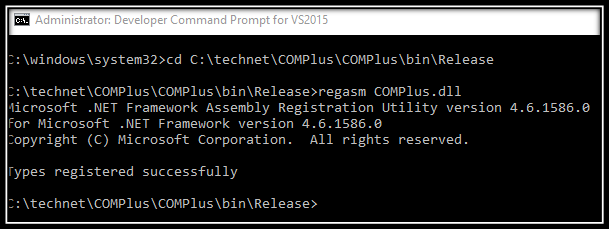
Next step to register the assembly
Use VS tool to register it
Locate to the release folder
Type:
regasm ComPlusExample.DLL
- Create Type Library using the same tool
Type:tlbexp COMPlus.DLL
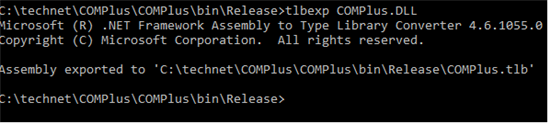
Confirm that tlb file is created in release folder.

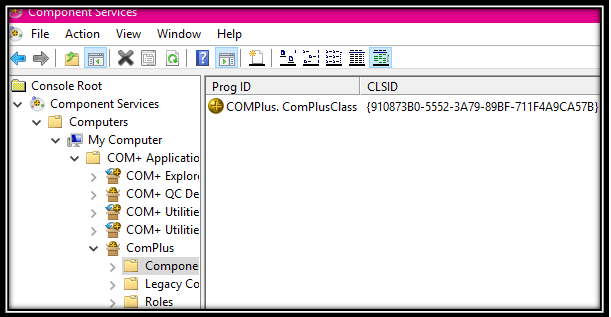
- Next step is to register the created COM+ application
Type: regsvcs COMPlus.DLL

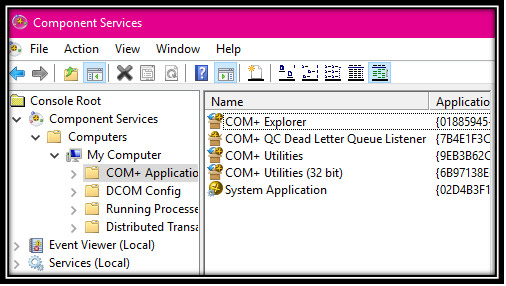
-To view this registered COM+
go to Control Panel -> Administrative Tools -> Component Services. In Component Services -> Computers -> My Computer -> Com + Applications.

We have successfully created COM+ application.
Now let’s create client in VB6.
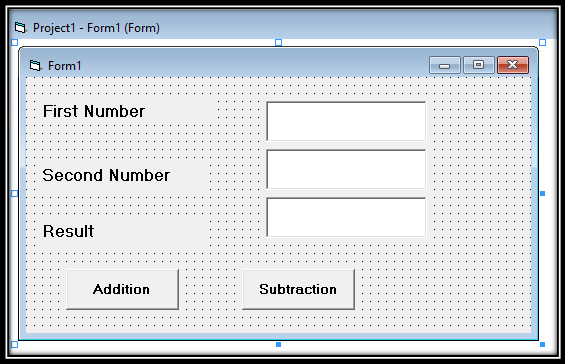
- Create new project
- Add two text box, one button
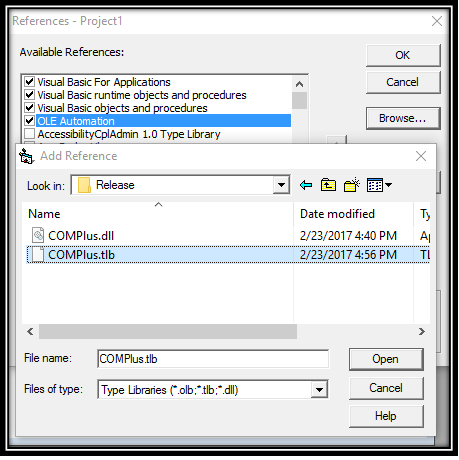
- Add reference of created assembly
Project -- References – Locate tlb file – Add
- Copy paste below code
Option Explicit

Private Sub  btnAddition()
Dim comAssembly As iInterface
Dim i As Integer
Dim a As Integer
Dim b As Integer
Dim c As Integer

Set comAssembly = New ComPlusClass

a = Val(txtFirstNumber.Text)
b = Val(txtSecondNumber.Text)

c = comAssembly.Addition(a, b)
txtResult.Text = c

End Sub

Private Sub  btnSubtraction()

Dim comAssembly As iInterface

Set comAssembly = New ComPlusClass
Dim a As Integer
Dim b As Integer
Dim c As Integer

a = Val(txtFirstNumber.Text)
b = Val(txtSecondNumber.Text)

'Subtraction

c = comAssembly.Subtraction(a, b)
txtResult.Text = c


End Sub
- Compile the project
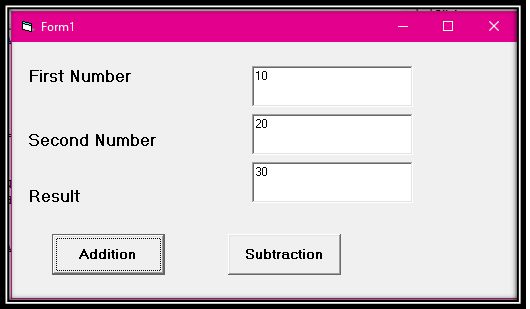
-Run the project
Addition:
Subtraction:
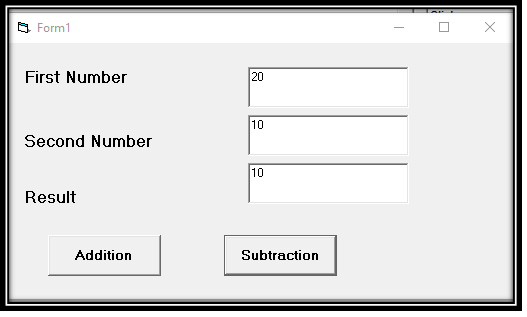
We have successfully created client who are using COM+ server.
- To unregister the COM+ application.
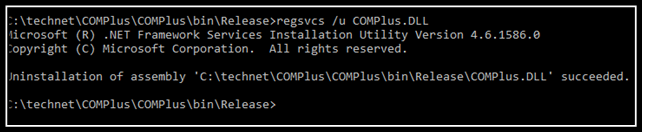
- Confirm, COM+ application is removed from the component service explorer
If we want to remove manual effort in Registering COM+, we can create batch file.
We hope this will help you to start with the COM+ and get brief understanding regarding COM+ application server and client.
Project is available at github.