Microsoft Bot Framework: Getting Started – Making the Bot Intelligent using Text Analytics Sentiment API from Microsoft Cognitive Services
Microsoft Cognitive Services enables developers to build intelligent solutions. Developers need not build complicated solutions to provide human intelligence to their solutions. They just needs to call these cognitive services and these services handle all complexities to augment human intelligence to the solution. These services are available as an offering on Azure platform and are part of Intelligent Cloud offering from Microsoft. They are json based APIs and hence can be consumed on any platform like Android, Linux and so on that understands json.
In this article we will use Sentiment API from Text Analytics cognitive services to make our Bot capable of analysing user sentiment from the chat text. Going forward in the future articles I will demonstrate using other APIs from Cognitive Services and make the Bot intelligent enough so that it can think like a human does.
Prerequisites
Before deep diving into this article I would strongly recommend you to go through the previous article that demonstrates building a simple Bot application using Microsoft Bot Framework.
Microsoft Bot Framework : Getting Started - Building the first Hello Bot
Here in this article we will not be focusing on the basic concepts of Bot Framework. We will concentrate here to give intelligence to the Bot we built earlier.
Text Analytics API
Text Analytics APIs analyse the text passed in the request body and return analysed information in their response. The response can provide information on languages used in the text, estimate the sentiment in the text, get the key phrases used in the text and detect the topics being discussed in a series of text passed in request body.
Below listed are the APIs that are bundled as part of text analytics.
sentiment – Analyses the text passed in the request body and gets back with sentiment of the text in a scale of 0 to 1 (1 being most positive and 0 being most negative).
language – Analyses the text passed in the request body and gets back with the language being used in the text.
keyPhrases – Analyses the text passed in the request body and gets back with the phrases used in the text that can indicate what is being discussed in the text.
topics – Analyses series of text passed in the request body and gets back with the phrases per text indicating what is being discussed in these text.
Subscribing to Text analytics cognitive service in Azure portal
Before we start building an intelligent Bot we need to subscribe for Text Analytics service in the Azure portal. Below are steps listed down that provides detailed instruction for this.
Step 1
Log in to Azure portal.
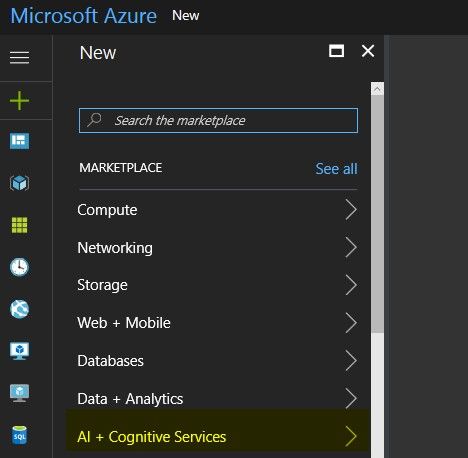
Step 2
Click in New in the dashboard.
http://i.imgur.com/ApMs8gb.jpg
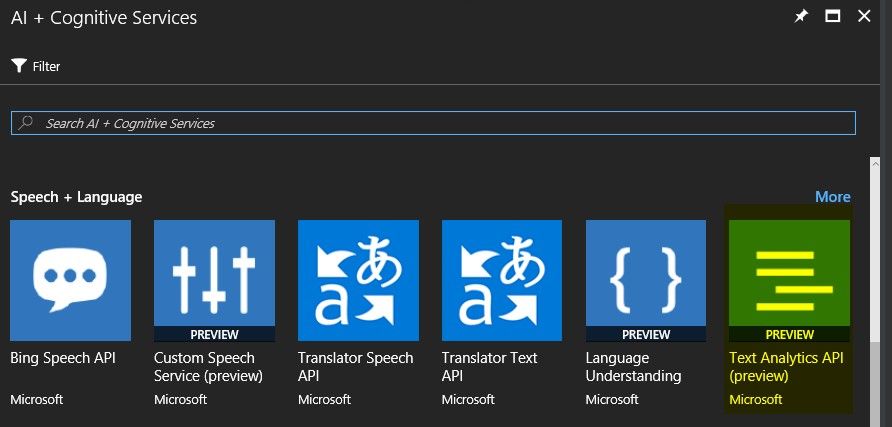
Step 3
Go to AI + Cognitive Services.
http://i.imgur.com/QucEapR.jpg
Step 4
Click on Text Analytics API.
http://i.imgur.com/FrZ7FcR.jpg
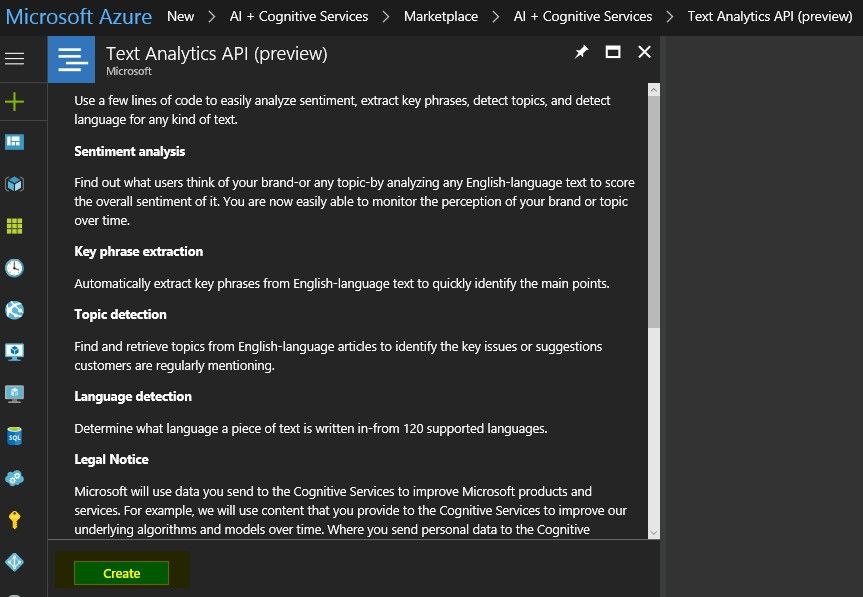
Step 5
Click on Create.
http://i.imgur.com/61IAF1F.jpg
Step 6
Provide Name, Pricing tier and click Create. I have used free tier here. I would suggest you to see the pricing details so that you have an idea of the pricing tiers available with this offering.
http://i.imgur.com/tF3BG8b.jpg
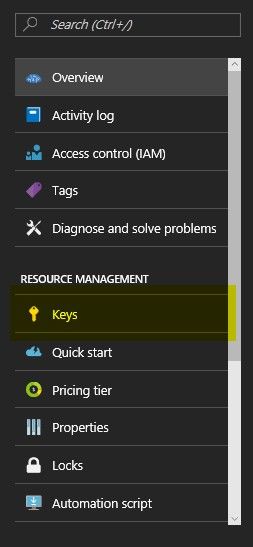
Step 7
Click on Keys and copy one of the keys that we will use in our code. This key helps in authenticating your calls and restricts unauthorised access to these APIs that you have subscribed.
http://i.imgur.com/YQNH1cW.jpg
Make the Bot intelligent using Text Analytics API
Now we will integrate the Text Analytics API we have created in the previous section with Bot and invoke the sentiment API. Here I have made a copy of the solution demonstrated in the previous article. I have added a new class – SentimentAnalysis. This class builds the request header, request body and does a POST call to the sentiment API uri. The request header should have the key we have copied earlier from Azure portal. The request body takes in the message sent by the user in the chat that has to be analysed.
public class  SentimentAnalysis
    {
        //Uri to Text Analytics sentiment API
        const string  uriSentiment = @"https://westus.api.cognitive.microsoft.com/text/analytics/v2.0/sentiment";
        public static  async Task<string> DoSentimentAnalysis(string messageSentByUser)
        {
            HttpClient client = new  HttpClient();
            //Build header - This takes in subscription key. Get the subscription key for TextAnalytics Api from your Azure subscription.
            //Provide your subscription key here.
            client.DefaultRequestHeaders.Add("Ocp-Apim-Subscription-Key", "1cbafc2b90be486a93bd8243f33c8384");
            //Build the request body. This should pass on the message sent by end user. We can pass on multiple texts and id parameter
            //helps in identifying its corresponding text.
            string requestBody = @"{
                                    ""documents"": [
                                                     {
                                                         ""id"": ""message"",
                                                         ""text"": """+messageSentByUser+@"""
                                                     }
                                                   ]
                                   }";
            byte[] byteData = Encoding.UTF8.GetBytes(requestBody);
            string responseText = string.Empty;
            HttpResponseMessage response;
            using (var content = new ByteArrayContent(byteData))
            {
                //Add content type to header of the content
                content.Headers.ContentType = new  MediaTypeHeaderValue("application/json");
                //Send Post request
                response = await client.PostAsync(uriSentiment, content);
                //Read the json response text
                responseText = await response.Content.ReadAsStringAsync();
            }
            //Fetching the response sentiment score. The text is analyzed and we get a score between 0 and 1. 1 being positive and 0 being negative.
            //It is highly recommended to use Json object deserializers and not to do string string operations I have done below.
            Double sentimentScore = Double.Parse(((responseText.Split(new char[] { ',' }))[0].Split(new char[] { ':' }))[2]);
            string responseMessage = string.Empty;
            //Do an analysis of the score and suggest response message that will be sent back to the user.
            //The conditions should be made more granular to get more accurate response.
            if (sentimentScore <= 1 && sentimentScore > 0.9)
            {
                responseMessage = "Great!!! Thanks for an awesome feedback";
            }
            else if  (sentimentScore <= 0.9 && sentimentScore > 0.4)
            {
                responseMessage = "Your feedback is recoreded. Corrective action will be taken!!! We will try to serve you better next time";
            }
            else
            {
                responseMessage = "Sorry to learn that you did not have a good experience. We will definitely serve you better";
            }

            return responseMessage;
        }

    }
Go to HelloSentimentBot\Controllers\MessagesController.cs and replace the POST method with below. Here we are calling the DoSentimentAnalysis method from SentimentAnalysis class. User’s chat text is sent as parameter to this method.
public async Task<HttpResponseMessage> Post([FromBody]Activity activity)
       {
           if (activity.Type == ActivityTypes.Message)
           {
               string messageText = string.Empty;
               //Create a connector client
               ConnectorClient connector = new  ConnectorClient(new  Uri(activity.ServiceUrl));
               // Reply user with message - Hello
               messageText = await SentimentAnalysis.DoSentimentAnalysis(activity.Text);
               Activity message = activity.CreateReply(messageText);
               //Send Reply message
               await connector.Conversations.ReplyToActivityAsync(message);
           }
           else
           {
               HandleSystemMessage(activity);
           }
           var response = Request.CreateResponse(HttpStatusCode.OK);
           return response;
       }
Conversing with the Bot using Bot framework Emulator
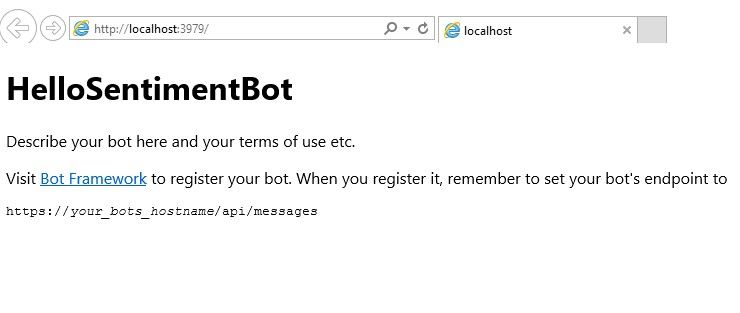
Now we have the code ready. Let us run the Bot in the Visual Studio. The service starts up.
http://i.imgur.com/veieIyr.jpg
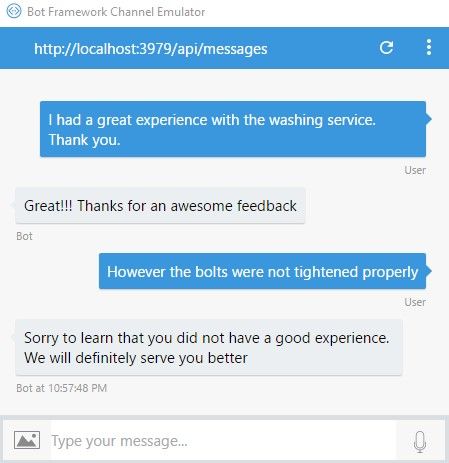
Open Bot Framework emulator. And start giving your feedbacks in the chat. You can see Bot judges the sentiment of the chat text and gets back.
http://i.imgur.com/WRIFwiP.jpg
Source Code
This solution is built using Visual Studio 2017 Community Edition. You can get the source from GitHub repository
here.
Next Steps
Below listed are next set of articles.
Microsoft Bot Framework: Getting Started – Understanding Dialogs and Maintaining states between conversations
Microsoft Bot Framework: Getting Started – Sending a File to the Bot
Microsoft Bot Framework: Getting Started – Bot sends an attachment file to the end user