Microsoft Azure Site to Site VPN with SonicWall Hardware Firewall
_____________________________
Summary
Azure is a cloud computing platform and infrastructure created by Microsoft. It is used for building, deploying, and managing applications and services through a global network of Microsoft managed datacenters. For SonicOS platforms, Azure provides site-to-site Virtual Private Network (VPN) connectivity between a SonicWALL Next-Generation firewall and virtual networks hosted in the Azure cloud. In this article, we will walk through the requirement and steps required for the configuration with SonicWall 6600 with Site to Site VPN scenario.
Requirements
For setting up Site to Site VPN you need the followings: -
- Azure valid subscription
- SonicWall hardware.
- Valid Public IP Address at on premises side.
In this article, we are going to use SonicWall Network Security Appliance (NSA) 6600 NGFW, you can use any low model SonicWall or any TZ series of the SonicOS.
Creating a Virtual Network
To create a virtual network through the Microsoft Azure Management Portal:
- Log into the Microsoft Azure Management Portal
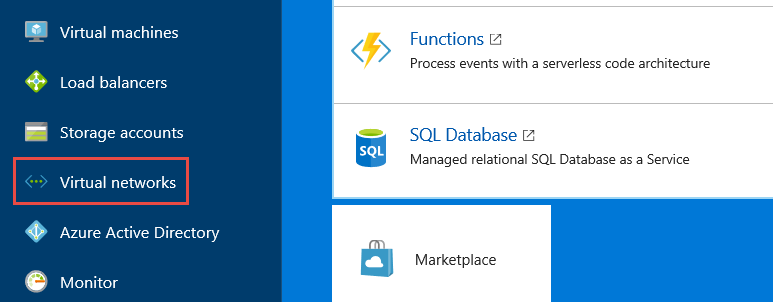
- In the left navigation menu, click Virtual Networks
You can also search by click New and search Virtual Network.
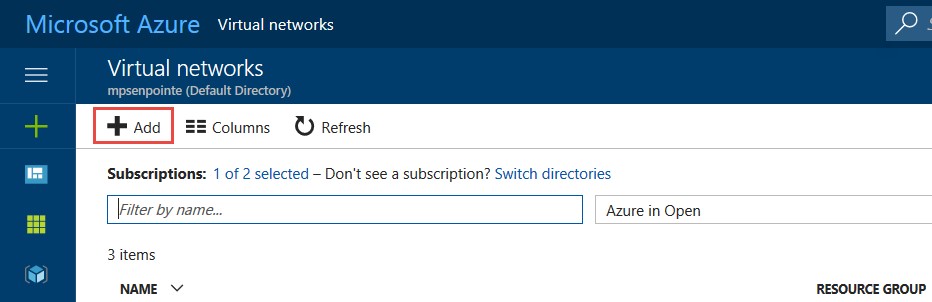
Click on +Add
Fill out the required information such as Name of the Virtual Network, Subnets, and Resource Group etc.
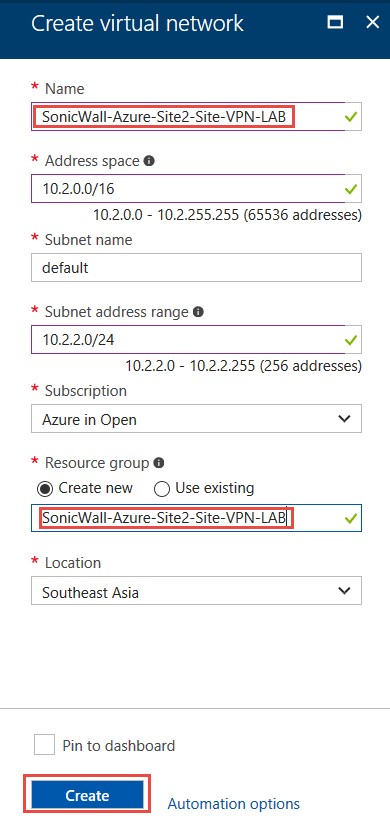
Click Create, after creation we can see the status in Dashboard and its properties.
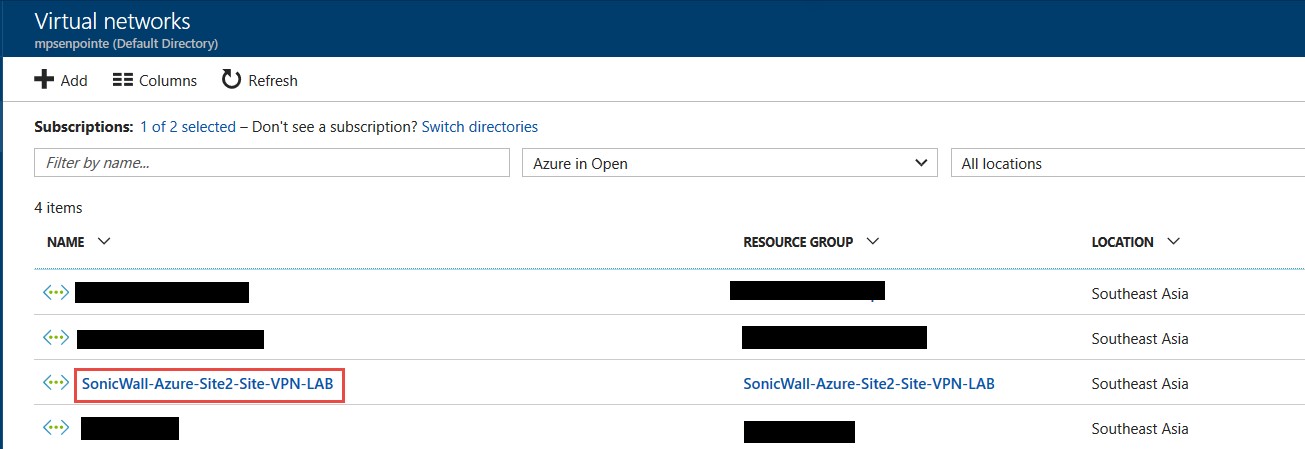
At this point we have successfully created a virtual network, let’s create Virtual Network Gateway for the newly created virtual network.
Creating Virtual Network Gateway
Click New and search Virtual Network Gateway
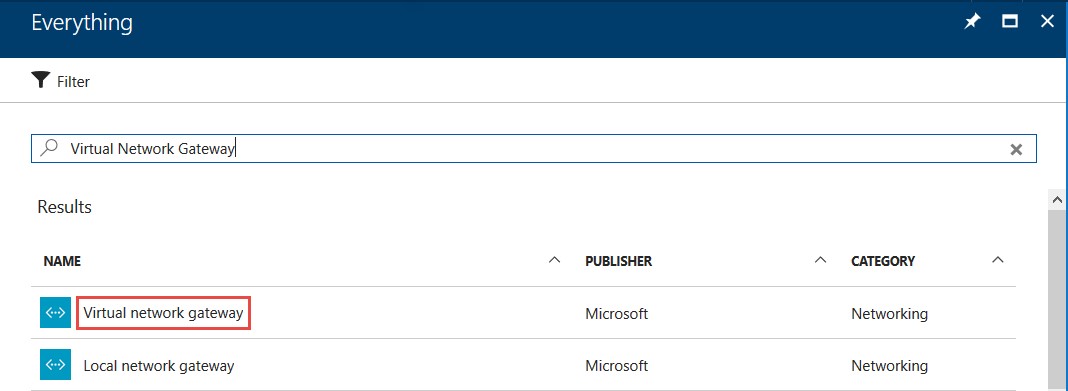
Click Create
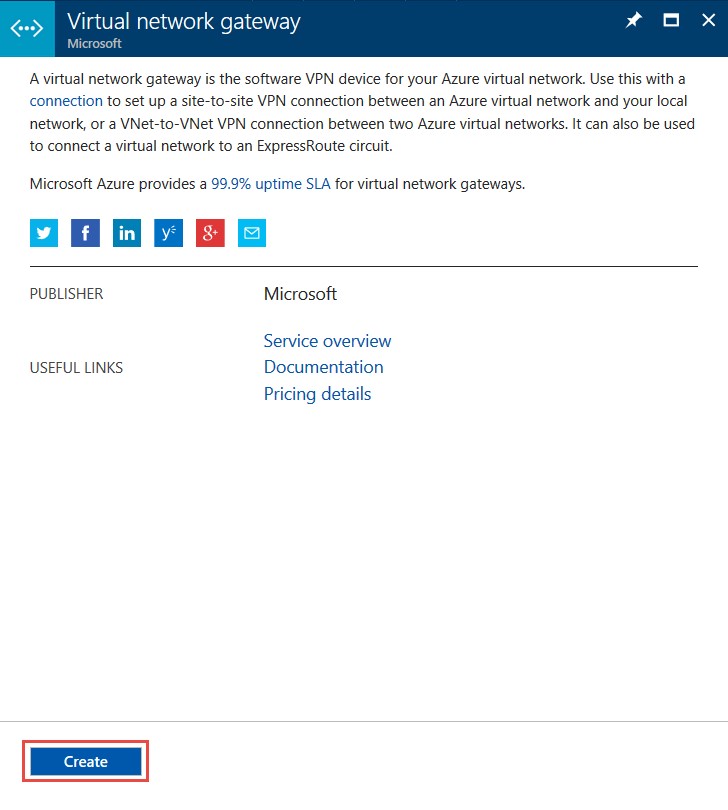
When we click on Create we will see the properties of Virtual Gateway
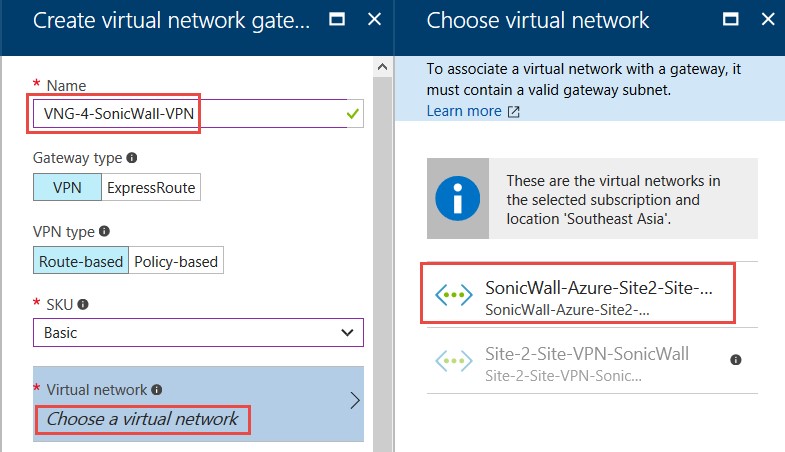
We have to give some name to this Gateway and select the Virtual Network.
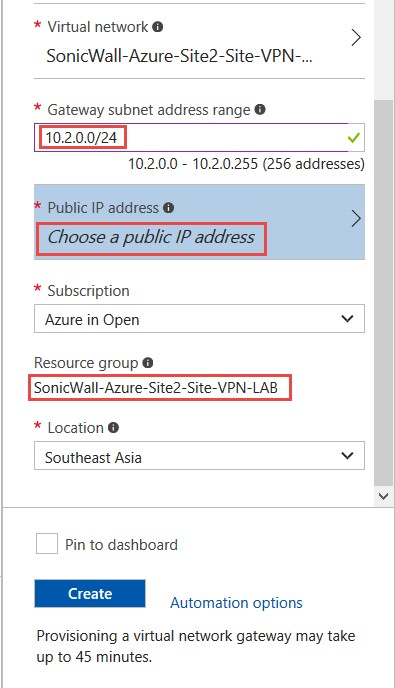
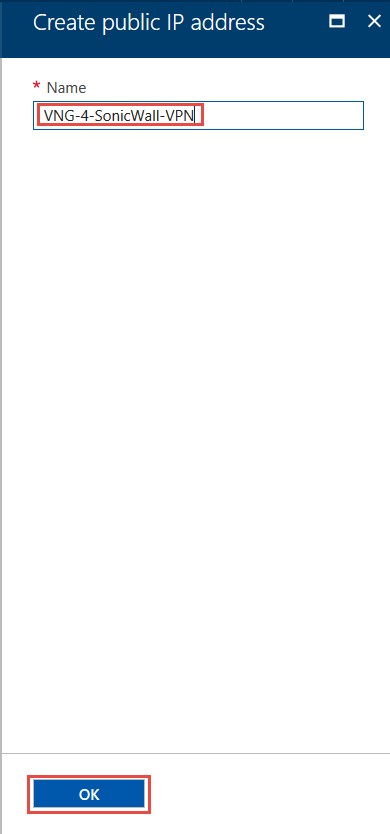
Creating Public IP Address
Give some identical name to your Public IP Address as per your environment
Define Gateway Subnet

Click on create and as its saying it will take approximately 45 minutes to create Virtual Network Gateway.
At notification area, you can see the progress and status of Virtual Network Creation.

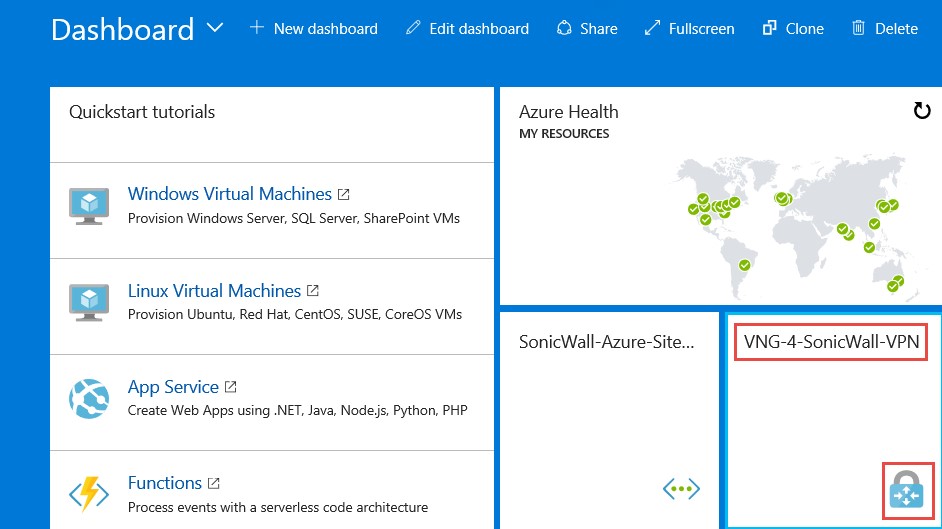
Dashboard Status of Virtual Network Gateway
At this point you can view the status of virtual Network Gateway creation, usually, it takes 20 to 35 minutes but it depends on datacenter to datacenter. By default, Gateway message will intimate about 45 minutes’ creation time.

Gateway successfully created.
Property of Virtual Network Gateway
Click on VNG-4-SonicWall-VPN you will see the Gateway properties having information about public IP address and VPN properties.
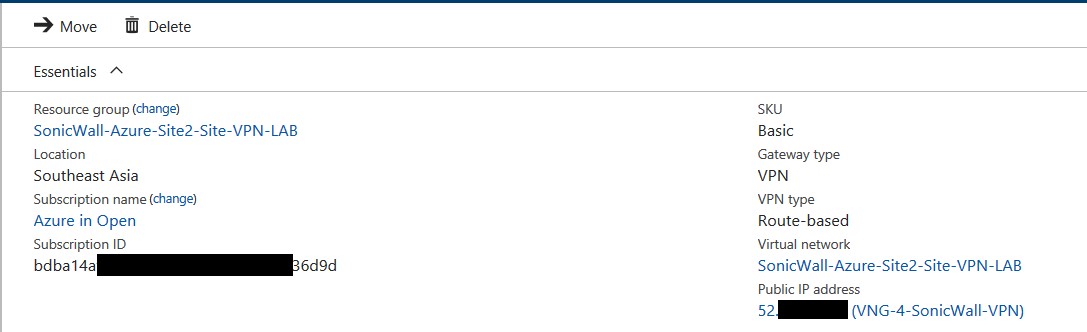
You can see the Virtual Network Gateway assign a public address which is starting from 52. Let do the connectivity parameter from Azure end.
Insides of Virtual Network Gateway
Click on Virtual Network Gateway you have just created.

These are different properties of the VNG created for SonicWall site to site VPN, you can explore different options available here.
Click on connection you will see that there is no connection available right now.
Creating Connection Under Virtual Network Gateway
Let’s create connection under VNG.

Click on Connection and then Click on +Add
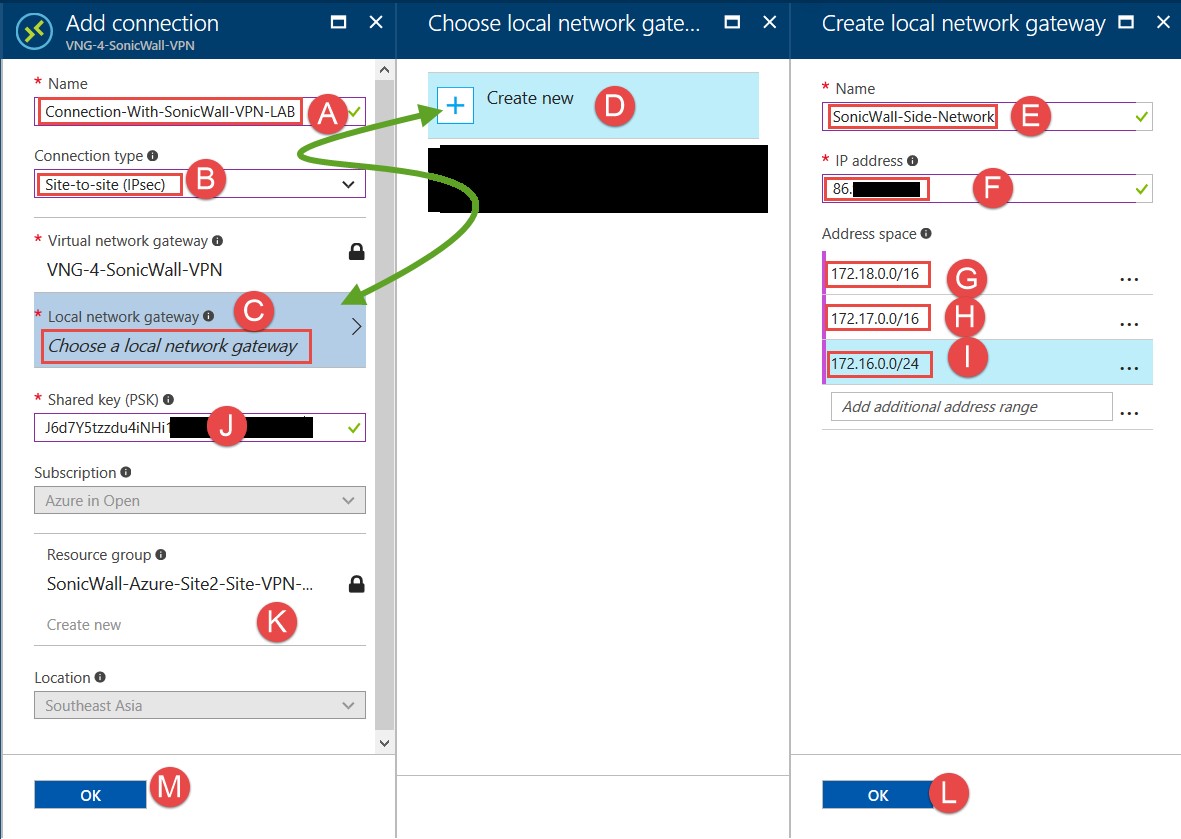
At this point we created connection in which we define pre-shared key and SonicWall Side Network

You can see that status of the connection is showing as unknow because we have not yet configured the SonicWall side VPN connection.
Creating an Address Object For the Virtual Network in SonicWall
To create an Address Object:
1 Navigate to the Network > Address Objects dialog.
2 Click Add to create a new Address Object.
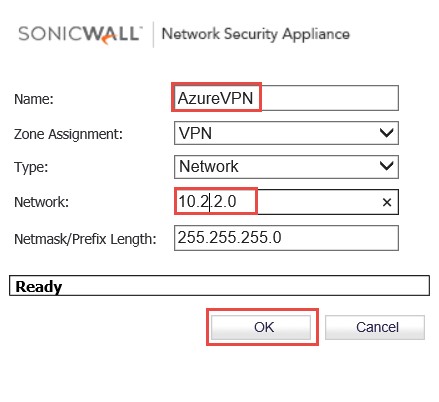
Enter the following information:
- Name – Enter a name for the Address Object (Azure Network is used in this example)
- Zone Assignment – Click the drop-down, and then select VPN.
- Type – Click the drop-down, and then select Network.
- Network – Enter the network IP address as shown in the SonicWall-Azure-Site2-Site-VPN-LAB - SubNets Quick Start dialog.
- NetMask/Prefix Length – Enter the NetMask. Click Add.
SonicWall VPN Connection Creation
To create a policy-based VPN on the firewall:
- Log into the SonicOS management interface as an administrator.
- Navigate to the VPN > Settings dialog.
- Click Add.
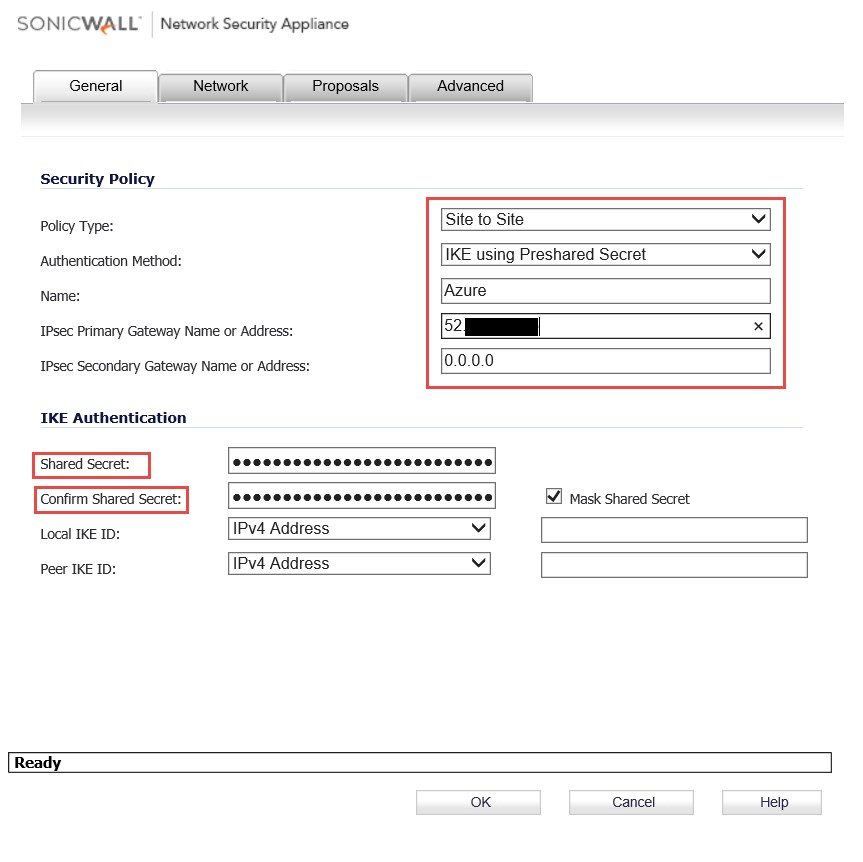
Enter the following information:
1. Policy Type—Select Site to Site from the drop-down menu.
2. Authentication Method—Select the IKE using Preshared Secret authentication method.
3. Name—Enter a name for the policy (this example uses Azure).
4. IPsec Primary Gateway Name or Address—Enter the AZURE GATEWAY IP ADDRESS displayed on the Virtual Network VNG-4-SonicWall-VPN Dashboard dialog of the Azure Management Portal. Refer to the Creating a Virtual Network Gateway section.
5. Shared Secret—This is auto-generated by Azure. Copy it from the Azure Virtual Network dashboard, under Manage Key, and then enter it into this field. For more information, see Managing Shared Keys.
6. Click the Network tab.
7. Click the Choose local network from list option, and then select the desired local network. (This could vary depending on your network. The X0 Subnet is used in this example.)
NOTE: This needs to be the same local network that was previously entered in the Azure Management Portal under the Starting IP text-field. Refer to Defining the SonicWALL Network to obtain this IP address. Select Choose destination network from list.
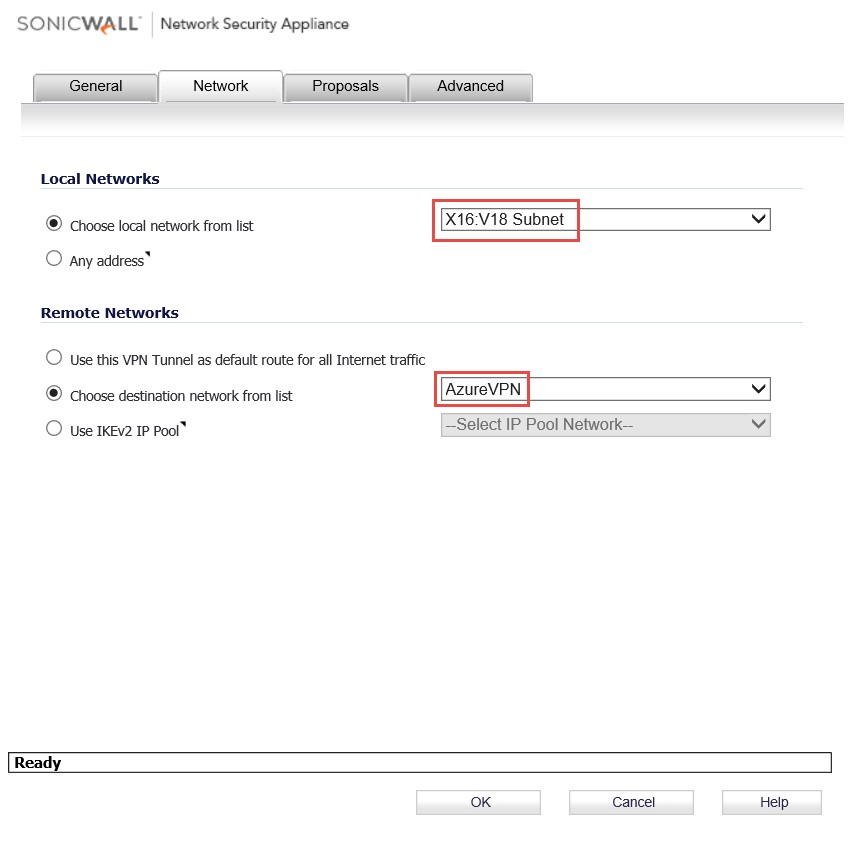
Here we have to select VLAN 16 and 18, as we have already defined both Vlan subnets at Azure management portal.
Remote Network is the Object we have just created above, this is Azure side network.
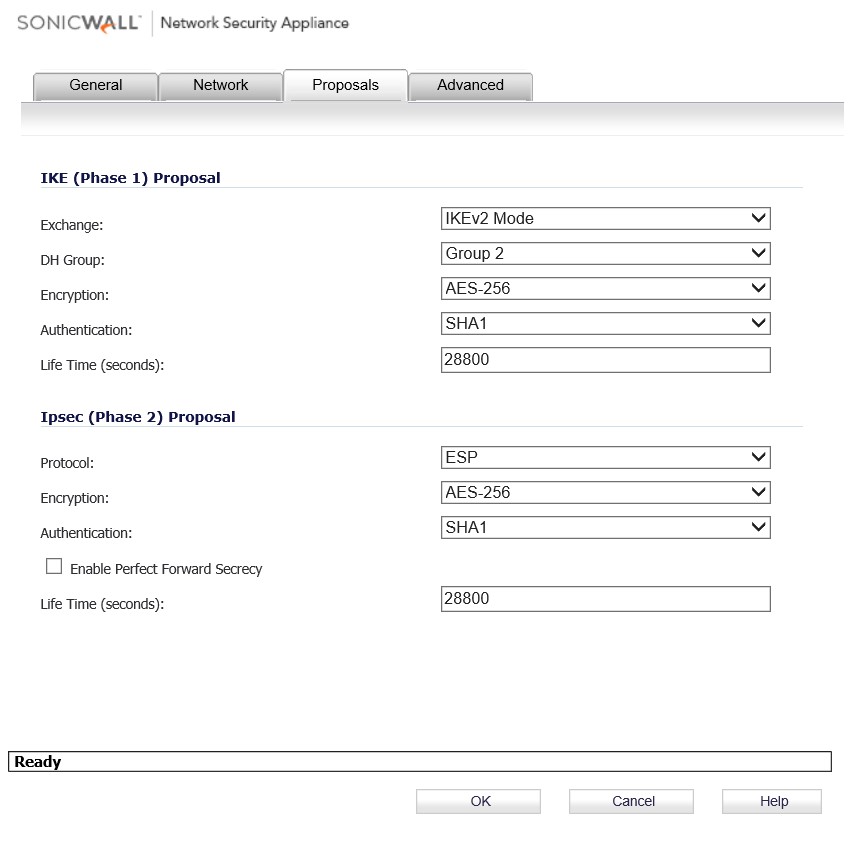
Click the Proposals tab. Select the Exchange > Main Mode.
Azure supports only Main Mode for static-routing site to site VPN. For more information about the Proposals supported in Azure.
Click the Advanced tab
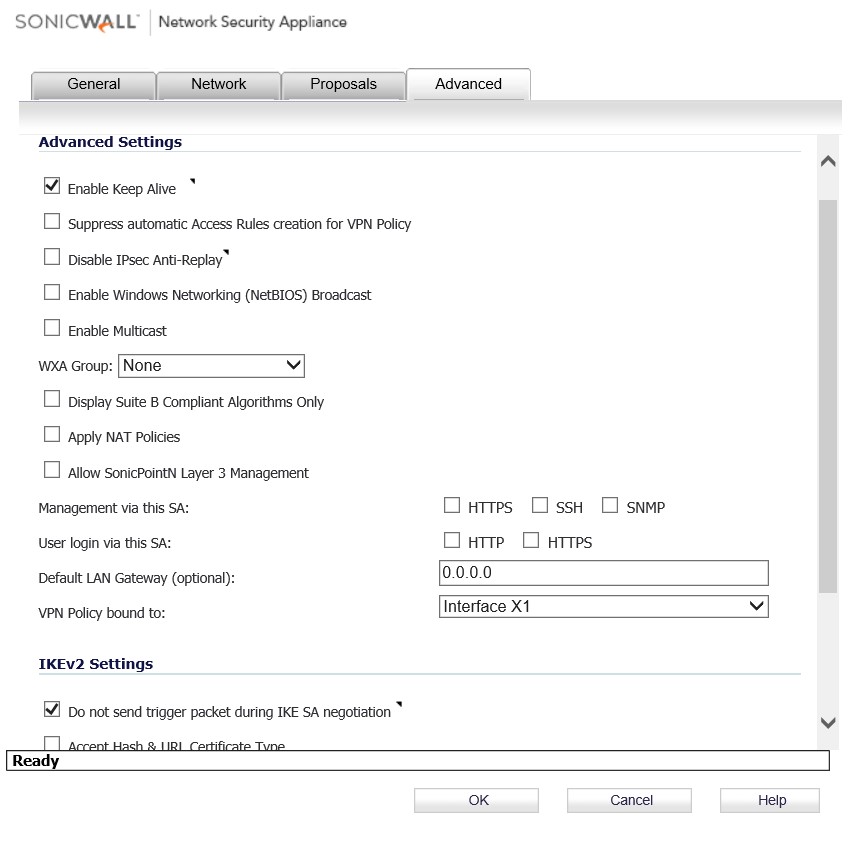
Check Enable Keep Alive to use heartbeat messages between peers on this VPN tunnel.
If one end of the tunnel fails, using Keep Alives allows the automatic renegotiation of the tunnel without having to wait for the proposed Life Time to expire.
For the VPN Policy bound to field, select the appropriate interface from the drop-down list (the WAN interface on the SonicWALL firewall).
Click OK.
Testing VPN Connectivity
The SonicWALL firewall automatically initiates the VPN connection and keeps it alive when Keep Alive is enabled.

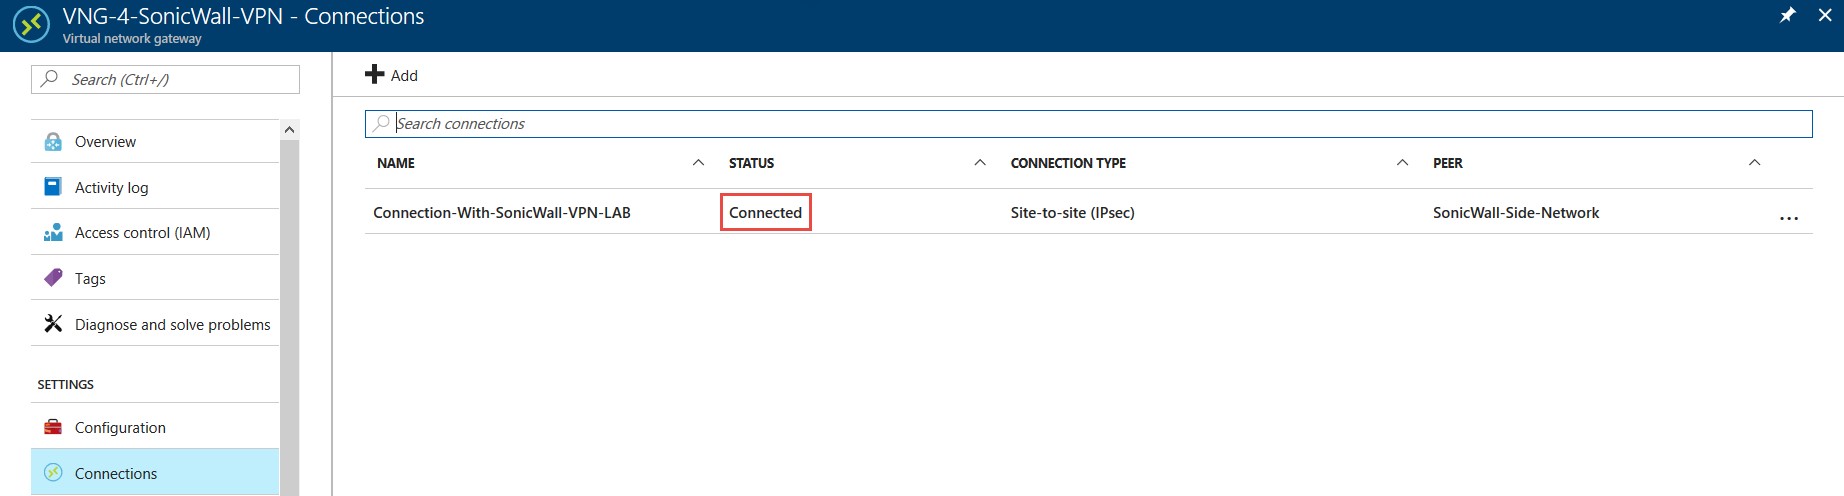
To test the connectivity from Azure:
Go to the Azure Management Portal, and navigate to Virtual Networks Gateway.
Click the Connection and go to its Dashboard.
You can see the connection status changed from unknown to Connected.
Click on the connected connection to view its property...
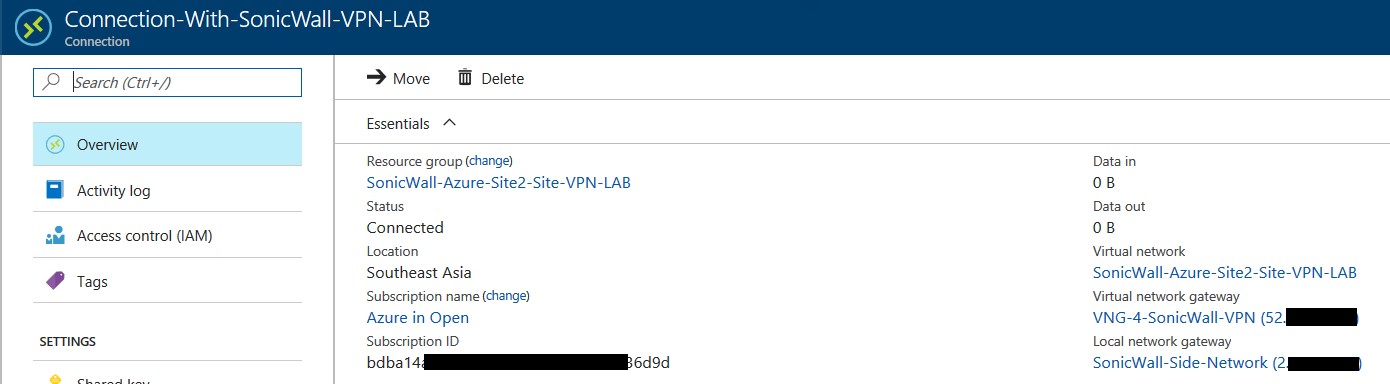
We have successfully configured Azure Site to Site VPN with SonicWall hardware Firewall. Now you can create Virtual Machines in Azure and can access Azure VMs from your Network.