Microsoft Windows Azure Point to Site VPN
Summary
There are many scenarios in which we have to work on Microsoft Azure Cloud doing experiments and LABs, or we have to set up some Application Server’s on which different people have to work like a team, such as a team of developer is working on a project which is hosted on Microsoft Azure plate form and the developers are located in different Geolocation. These kinds of scenarios for which Azure provides Point to Site VPN Secure connectivity so that every individual connect remotely with a secure SSTP VPN connection and perform his job.
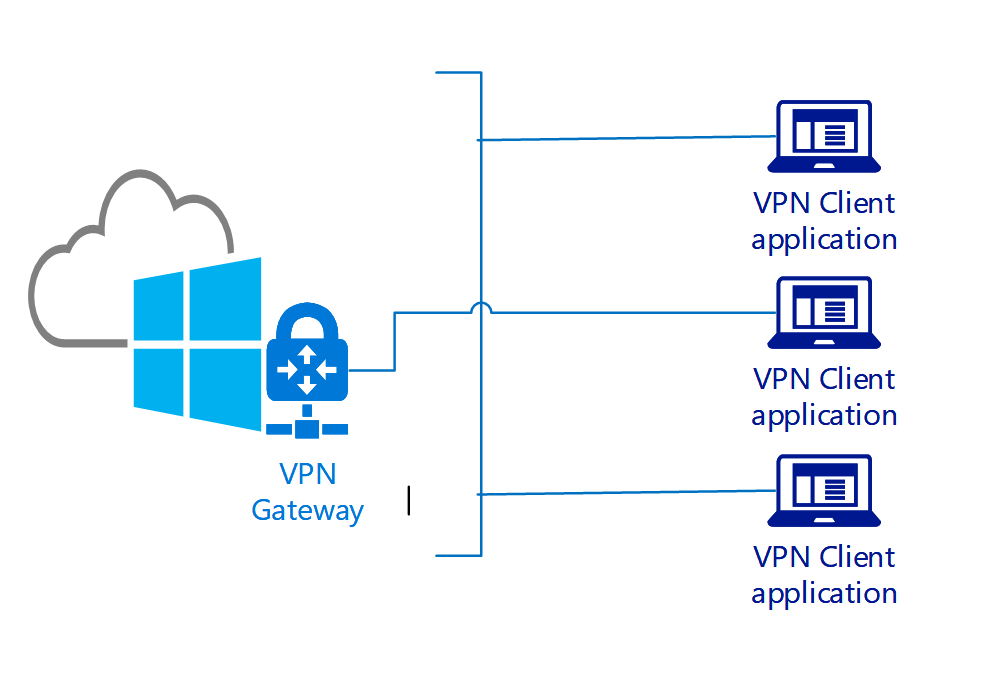
A Point-to-Site (P2S) configuration lets you create a secure connection from an individual client computer to a virtual network. P2S is a VPN connection over SSTP (Secure Socket Tunneling Protocol). Point-to-Site connections are useful when you want to connect to your VNet from a remote location, such as from home or a conference, or when you only have a few clients that need to connect to a virtual network. P2S connections do not require a VPN device or a public-facing IP address. You establish the VPN connection from the client computer. In this Lab, we will walk through the steps involved in setting up a remote P2S VPN with Microsoft Windows Azure Cloud plate form.
Setup for Azure VPN
Following is LAB scenario and requirement
We need to following requirements before we start P2S VPN.
- A valid Microsoft Azure subscription
- Microsoft Windows SDK at client computers installed
- Root and Client Certificate at client computers
- Virtual Network in Azure
- Network Subnet
- Virtual Network
- Gateway in Azure
- Gateway Subnet
Windows Azure Virtual Network
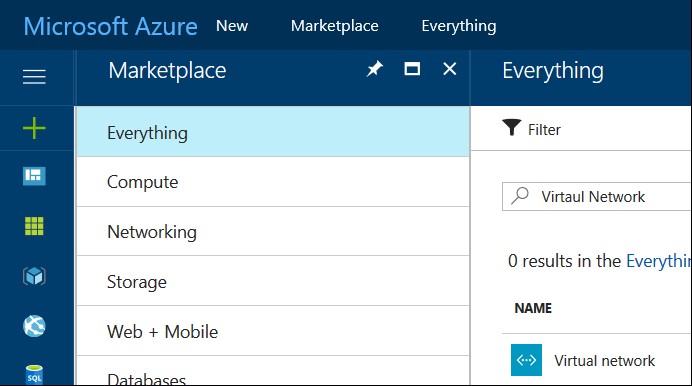
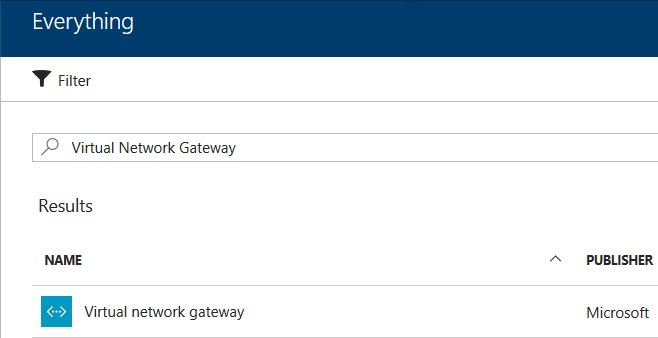
After successful login click New and search Virtual Network
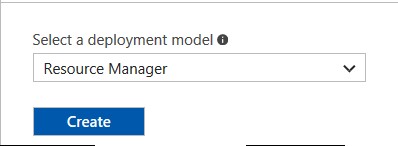
Select Virtual Network, Select Resource Group and Click Create
Virtual Network Properties
Fill out Virtual Network properties as per your Network
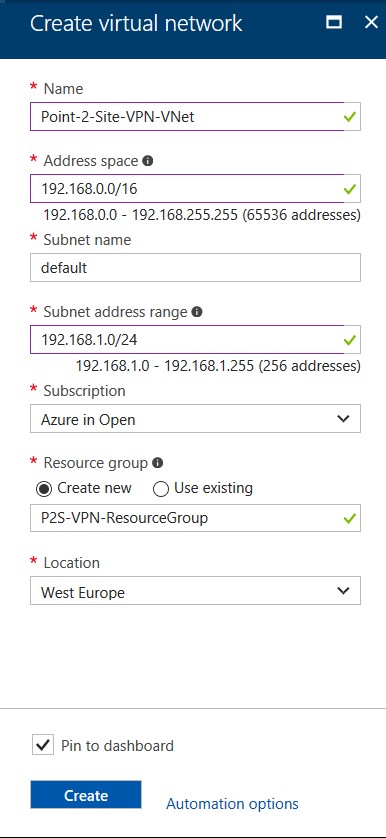
Location you can choose as per your nearest Azure Data Center and click create it will take approximate 2 to 3 minutes and V Network will be created.
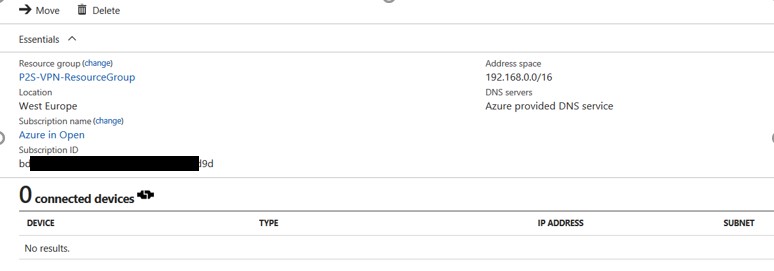
View Properties of Virtual Network
You can view newly created virtual network settings, resource group and address space.
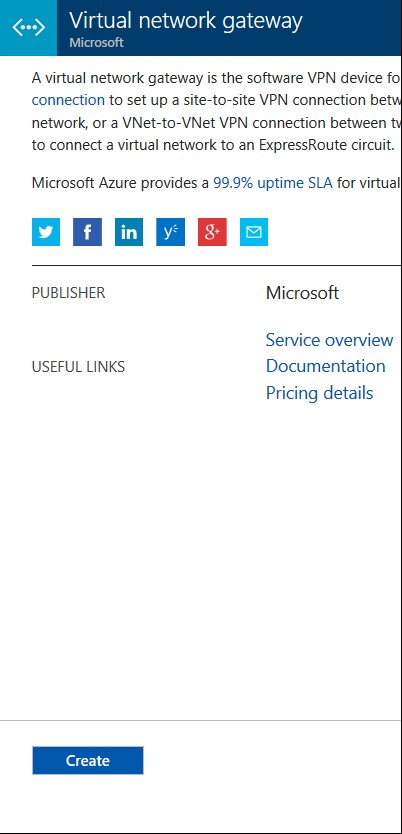
Creating Azure Virtual Network Gateway
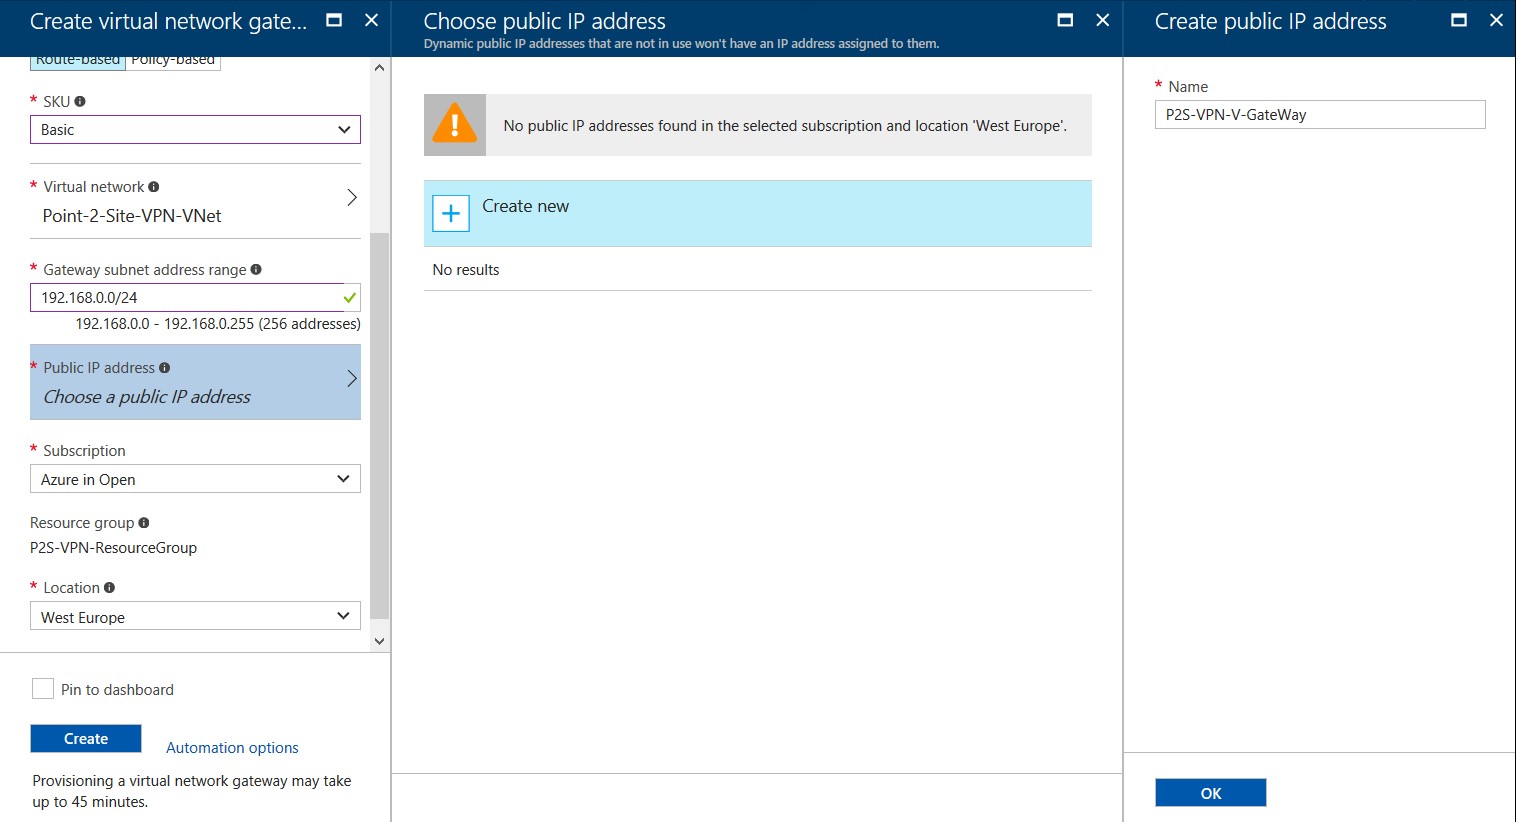
Click on New and in search bar type virtual Network Gateway, it will give you the option to create VNG. Virtual Network Gateway will provide you the facility to connect from outside of the world and will act as edge router/firewall at your Azure Network.
Click on VNG
Click on Create when it gives you the option for Virtual Network Gateway
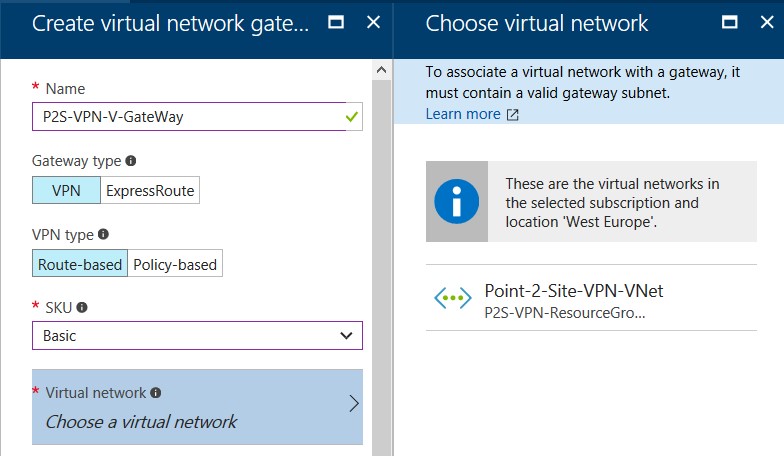
On Virtual Network Gateway, you have to provide its, Name, Select Gateway Type, VPN Type, SKU, SKU means Small production workloads on dedicated hardware. Highly available. Capacity is up to 3 replicas and 1 partition (2 GB) it is basically a pricing tier, and Virtual Network selection which we already created.
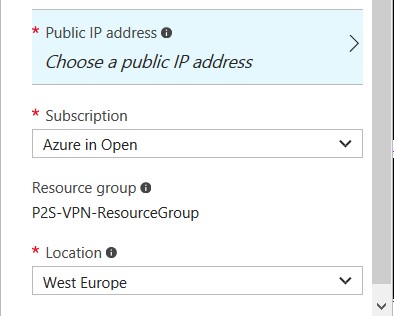
Choose a Public IP Address
Give a name to your Public IP, it will automatically assign one dynamic public IP address.
You can see the full property of the Public IP Address Name
Click OK to create the name of Public IP Address.
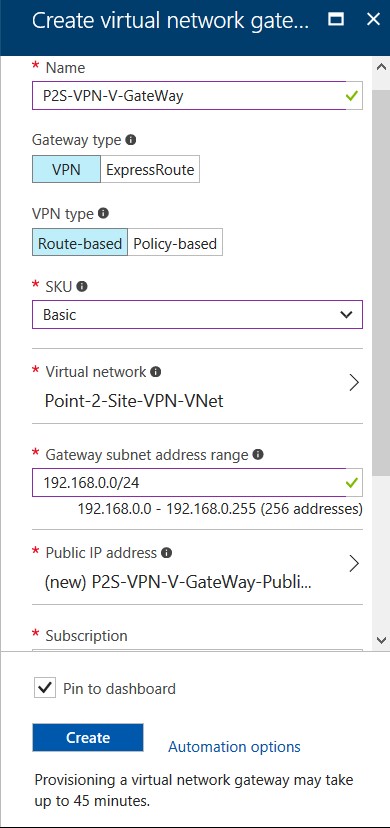
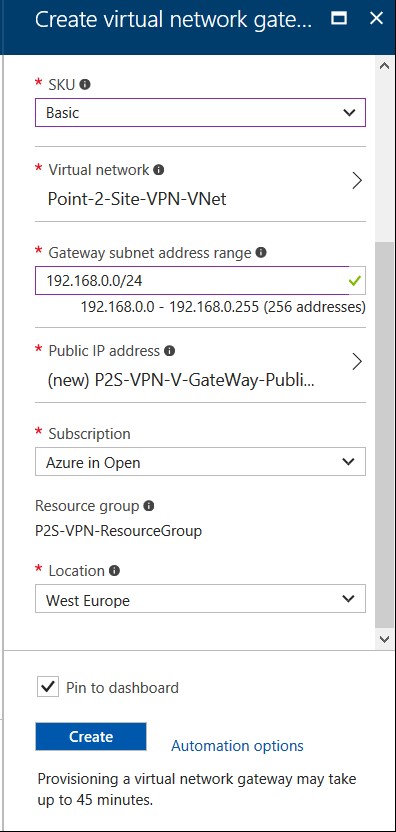
Click Create, it will take approximately 45 minutes to get things done for you.
At this step, we have done Azure part, we will come back to Azure when Gateway creation is finish and we will be done the Certification creation part.
Installation of Windows 10 SDK
As we are using Windows 10 for this Lab, so we have to install Windows 10 SDK (10.0.15063.0), you can install SDK as per your environment. SDK installation steps are simple so I am not adding those in the manual. You can find Windows 10 SDK from below link.
https://developer.microsoft.com/en-us/windows/downloads/windows-10-sdk
Installation of Root Certificate
After successful installation of Windows 10 SDK, open PowerShell and reach to this path
PS C:\Program Files (x86)\Windows Kits\10\bin\10.0.15063.0\x64> Once you reach here type cmd
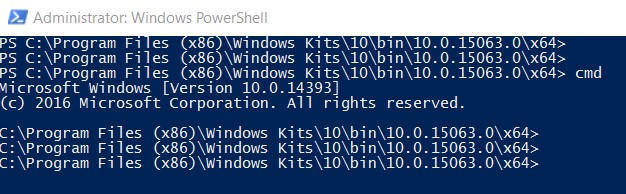
Set Path by this command
SET PATH=%PATH%;C:\Program Files (x86)\Windows Kits\10\bin\10.0.15063.0\x64;

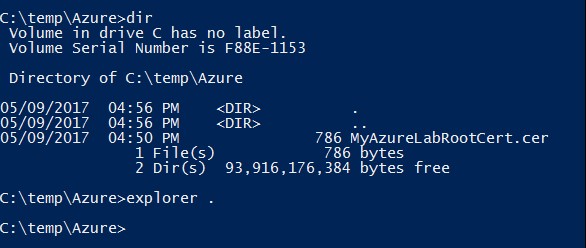
Create a directory in C:\temp\Azure and Generate the Root Certificate

Generating Root Certificate
makecert -sky exchange -r -n "CN=MyAzureLabRootCert" -pe -a sha1 -len 2048 -ss My "MyAzureLabRootCert.cer"

View the Certificate in Directory
Generating the Client Certificate
We need to run this command to generate the client certificate.
makecert.exe -n "CN=MyAzureLabClientCert" -pe -sky exchange -m 96 -ss My -in "MyAzureLabRootCert" -is my -a sha1

If succeeded you are good to go.
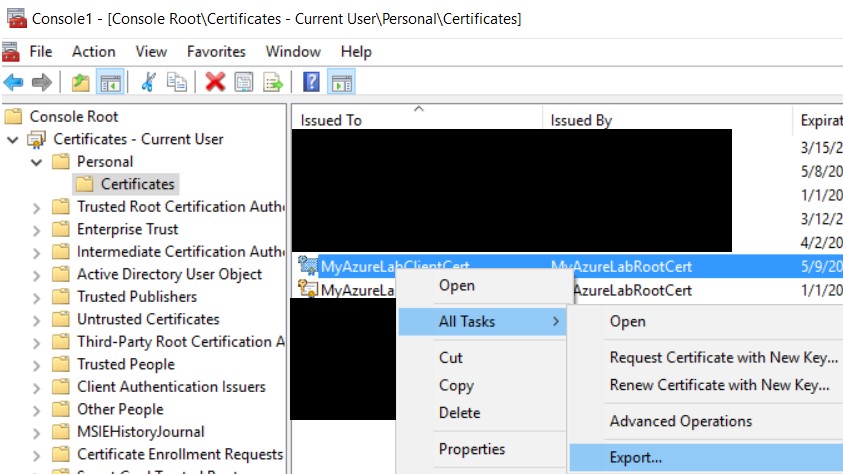
Exporting Root Certificate From MMC
Now we have to go to Certificate Manage to verify these certificates
• Load MMC, Add the Certificates snap-in for my user account.
• Go into personal --> Certificates
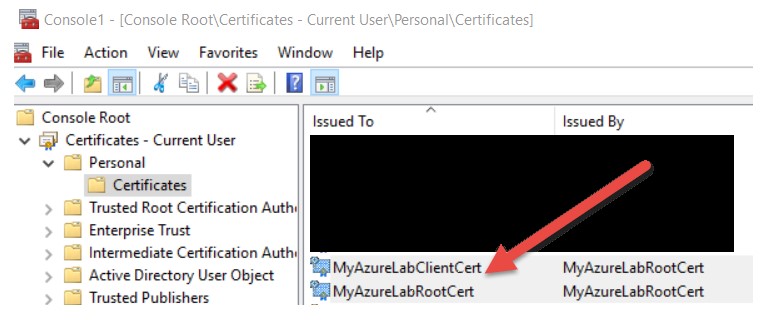
Right clikc on MyAzureLabRootCert
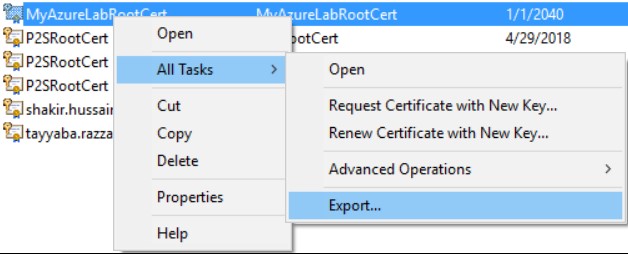
Export the Root Certificate
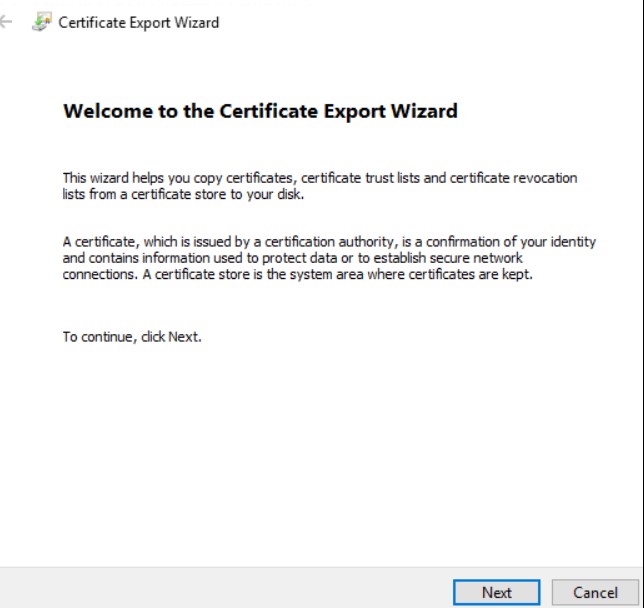
Click Next
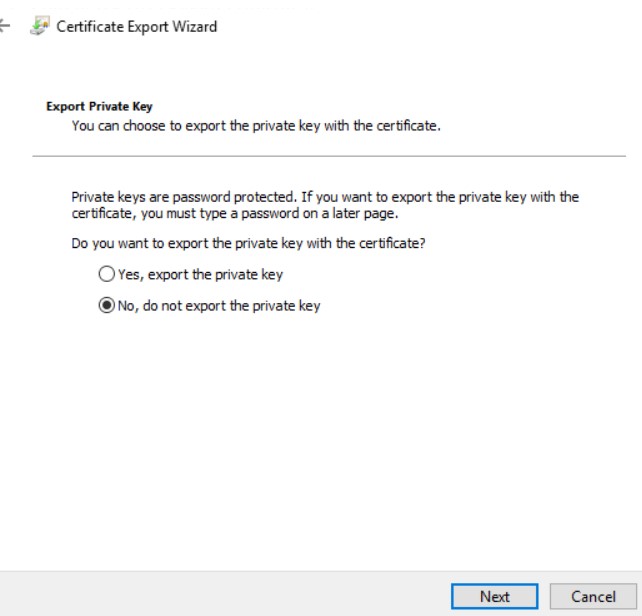
Select 2nd option and click next

Click Next

Give a name to your Certificate and click save

Click Next
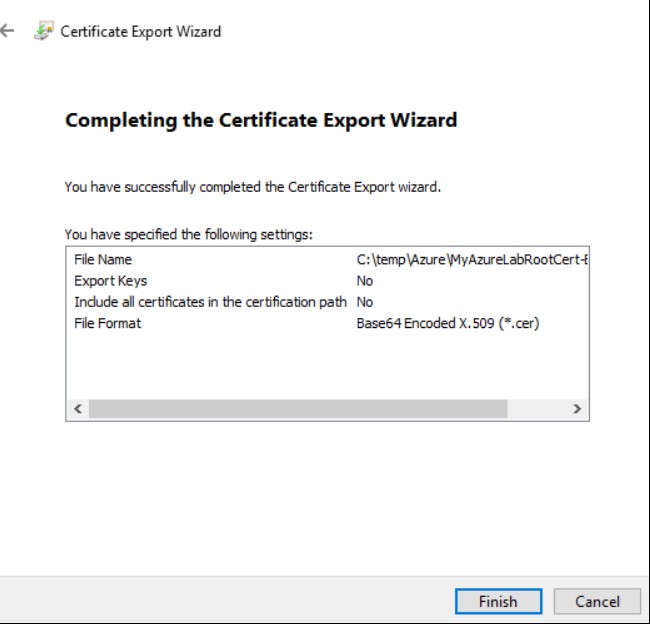
Click Finish
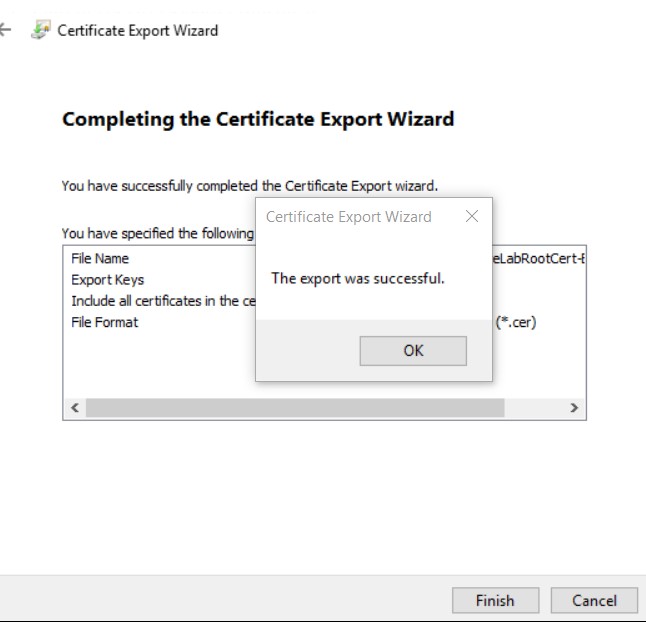
Click Ok
Export client Certificate
From the same location click Export

Click Next
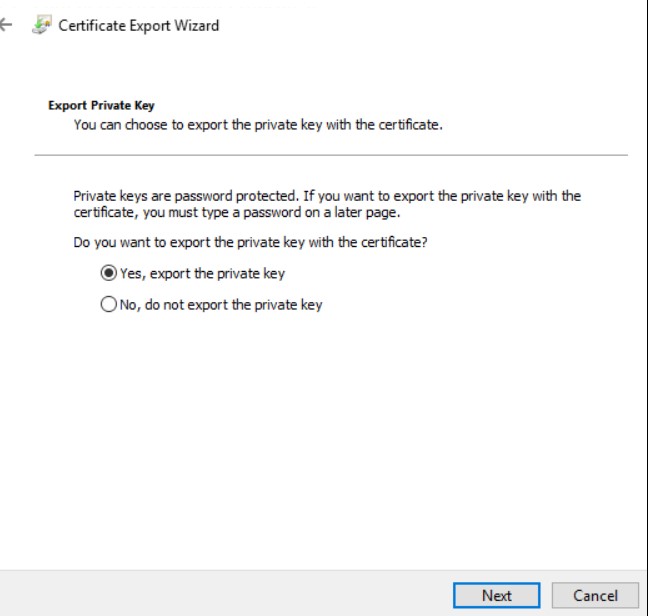
Select first option and click Next
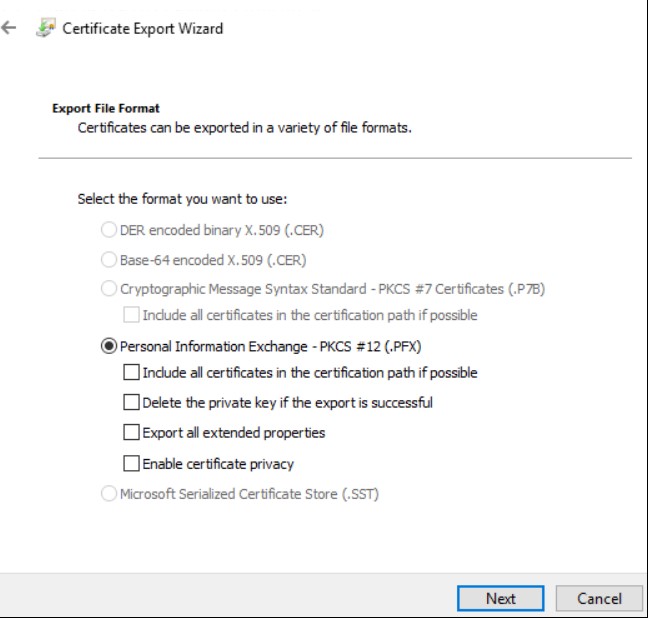
Click Next
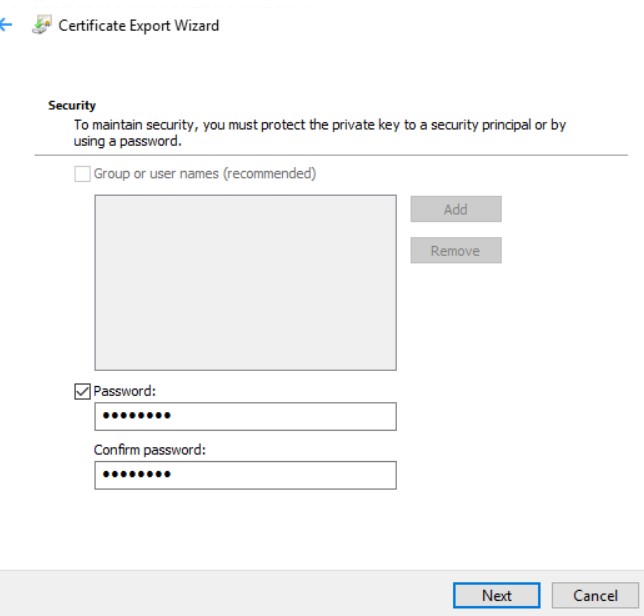
Provide some password and Click Next

Click Next

Click OK to Finish
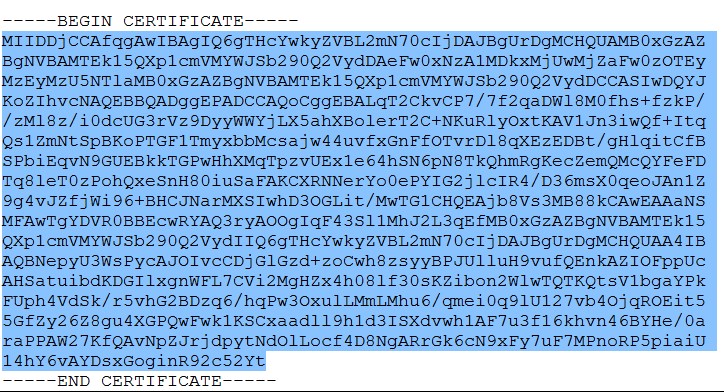
View Exported Base64 certificate
Let’s go the Certification directory in C:\temp\Azure and open the Base64 certificate file in word pad.
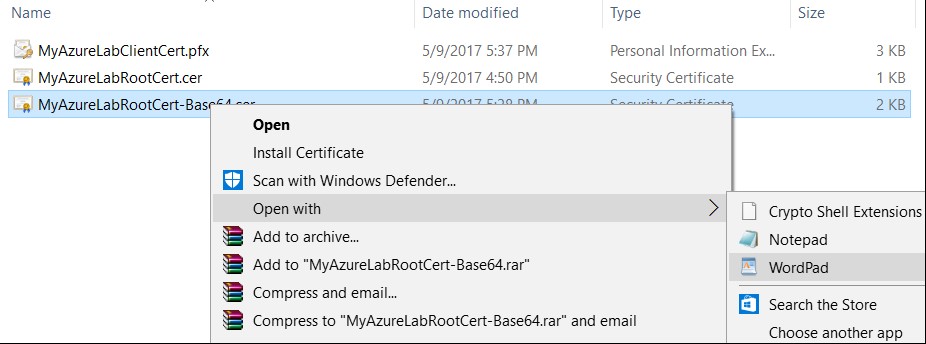
Copy the Key only from word pad file.
We will use this key in Azure portal in next step.
Connection Making with Certificate Key at Azure
At this point you can go back to Azure port in Virtual Network Gateway
Go to point-to-site Configuration.
Copy this key and paste in Public certificate data area.
Give some name to this Public certificate data
Give the Network Subnet you want that VPN client will get IP from this subnet.
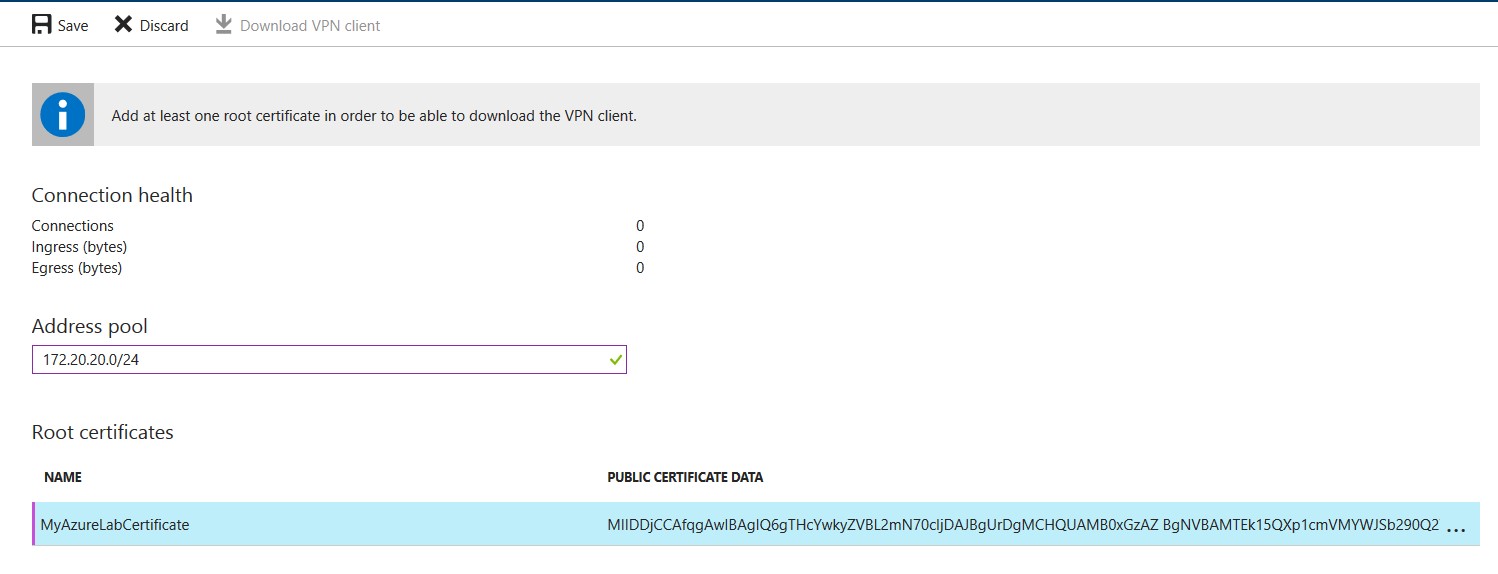
We are using 172.20.20.0/24
You can use as per your network.
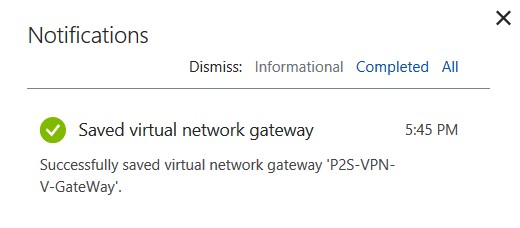
Click on Save on top left corner.
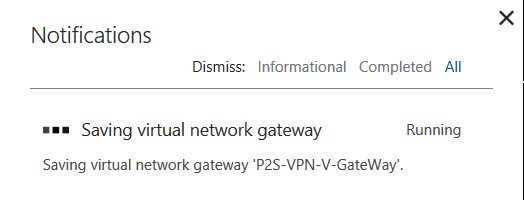
Notification area will give you progress on saving this.
When its complete it will give, you message of success with green sign
Download VPN Client Option Enabled
As you can see that Download VPN Client option is enabled now, it was disabled before when we were doing its configurations.

Click on Download VPN Client option
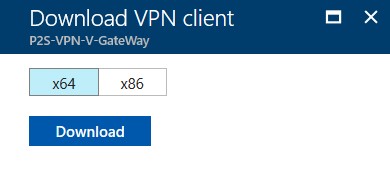
Select the option which best suits to your operating system. We have Windows 10 x64 so we will download x64 client.
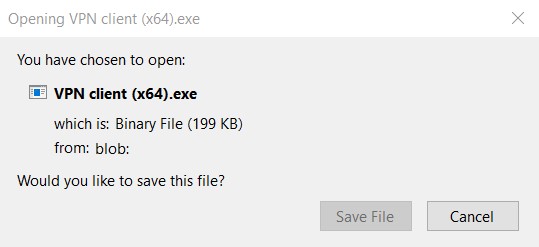
Click Save option and run this software
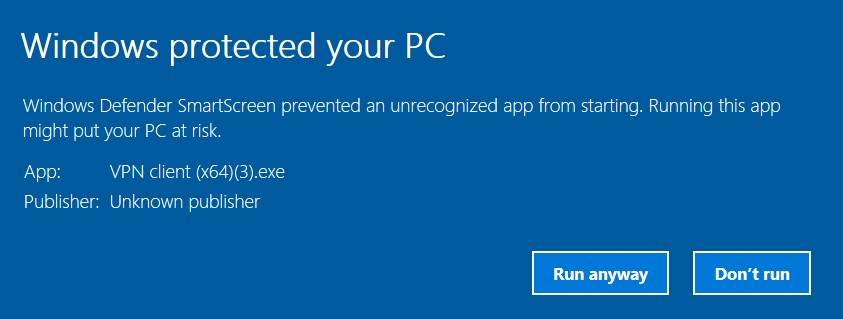
Select Run anyway option to install the VPN client software on the PC.
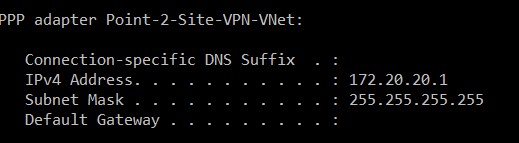
After successful installation, you can find the Point 2 Site VPN connection in the network area
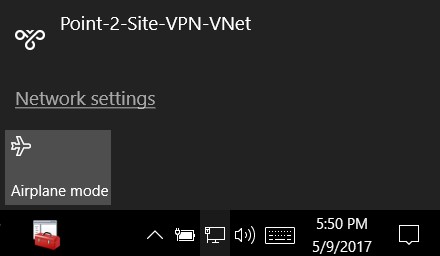
Click on Point-2-Site-VPN-VNet
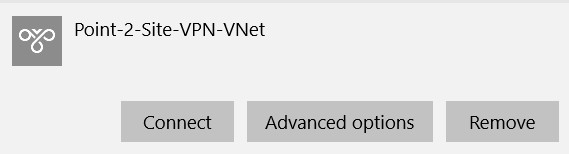
Click on Connect.
Windows Azure Virtual Network Connection Status
Here we will see how the connection with Azure is being created

You will see Windows Azure Virtual Network
Click on Connect
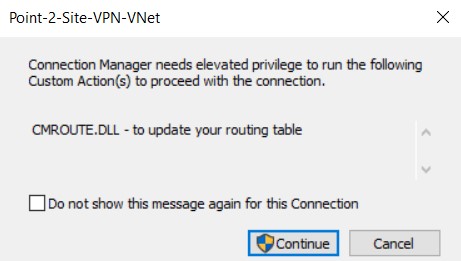
On elevated privilege, screen click on continue
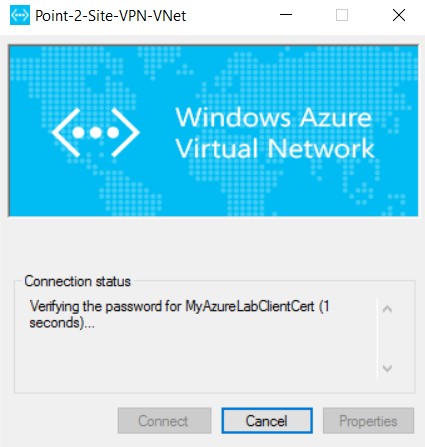
You can see the connection is verifying the password & other settings
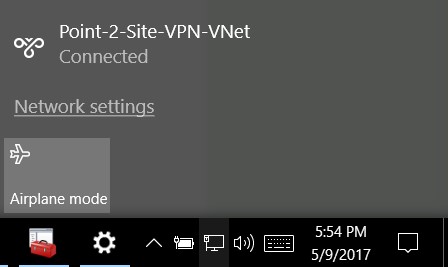
Point 2 Site VPN with Azure is Established
Here we can see that the connection with Microsoft Azure Virtual Network Gateway has been established from Windows 10 OS.
Creating a Virtual Machine in VNet at Azure
You can further create a VM Linux or Windows in Azure under your above-created Network, we have built an Ubuntu VM, We are not covering the VM creation screenshots here.

As you can see an IP address from our VNet is assigned to this Ubuntu VM, you can do two things to verify, first you can ping this IP from you connected client machine VPN from CMD, second you can establish SSH connection to this VM and can see the stats on the Azure portal under Gateway Point to Site Configuration.
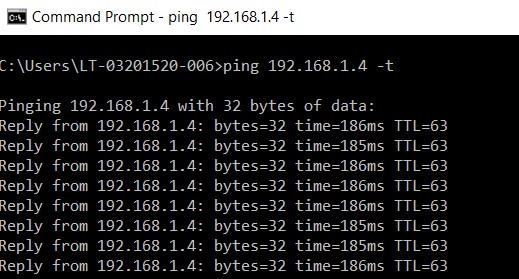
You can see the continues ping status to Azure VM from VPN client machine
Point to Site VPN Connection Status at Azure Portal
When you will start accessing this VPN resources, you can also monitor the traffic statistics at Azure Portal.
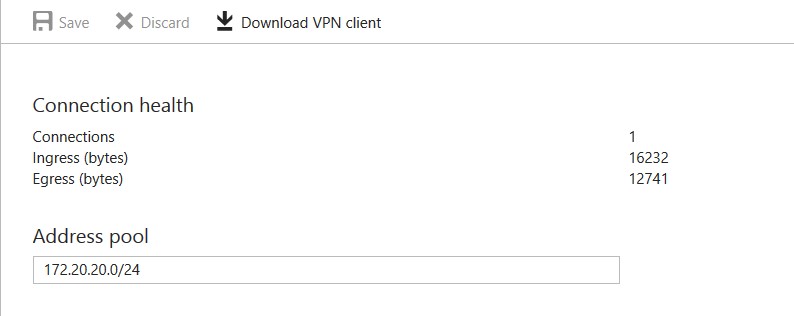
As we can see the connection stats are there in Azure Portal.
Conclusions
This article provides you steps to securely connect you local LAN computer with Microsoft Azure virtual network from where you can access resources hosted at Azure, or when you have less number of connection requirement you can use Point 2 Site VPN to securely provide access at Azure resources.