ASP.NET Core 2.0: Getting Started With Identity And Role Management
Introduction
In this article, we will see in detail how to use ASP.NET Core Identity in MVC Application for creating user roles and displaying the menu depending on user roles.
Here, we will see how to:
- Create default admin users
- Create default admin role
- Redirect unauthenticated users to a login page
- Display Admin Page menu only for Authorized Admin User
ASP.NET Identity allows us to add login functionality to our system. Here, in this demo, we will be using SQL Server to store the user details and profile data. We will use ASP.NET Identity for new user registration, login, and to maintain the user profile data. If we talk about the login, the important part is whether the logged in user is authenticated and also authorized to view the pages.
Authentication and Authorization
Authentication
Check for the Valid User. Here, the question is how to check whether a user is valid or not. When a user comes to a website for the first time, he/she will register for that website. All their information, like username, password, email, and so on will be stored in the website database. When a user enters his/her userID and password, the information will be checked with the database. If the user has entered the same userID and Password as in the database, then he or she is a valid user and will be redirected to the website's homepage. If the user entered UserID or Password that does not match the database, then the login page will give a message, something like "Enter valid Username or Password". The entire process of checking whether the user is valid or not for accessing the website is called Authentication.
Authorization
Once the user is authenticated, they need to be redirected to the appropriate page by his/her role. For example, when an Admin is logged in, then need to be redirected to the Admin Page. If an Accountant is logged in, then he/she needs to be redirected to his Accounts page.
Prerequisites
Make sure you have installed all the prerequisites on your computer. If not, then download and install them all, one by one.
- First, download and install Visual Studio 2017 from this link
- SQL Server 2014 or above
Description
Step 1: Create a Database
Firstly, we will create a database and set the connection string in appsettings.json file for DefaultConnection with our new database connection. We will be using this database for ASP.NET Core Identity table creation.
Create Database: Run the following script to create our database.
USE MASTER
GO

-- 1) Check for the Database Exists .If the database is exist then drop and create new DB
IF EXISTS (SELECT [name] FROM  sys.databases WHERE [name] = 'InventoryDB' )
DROP DATABASE  InventoryDB
GO

CREATE DATABASE  InventoryDB
GO

USE InventoryDB
GO
Step 2: Create your ASP.NET Core
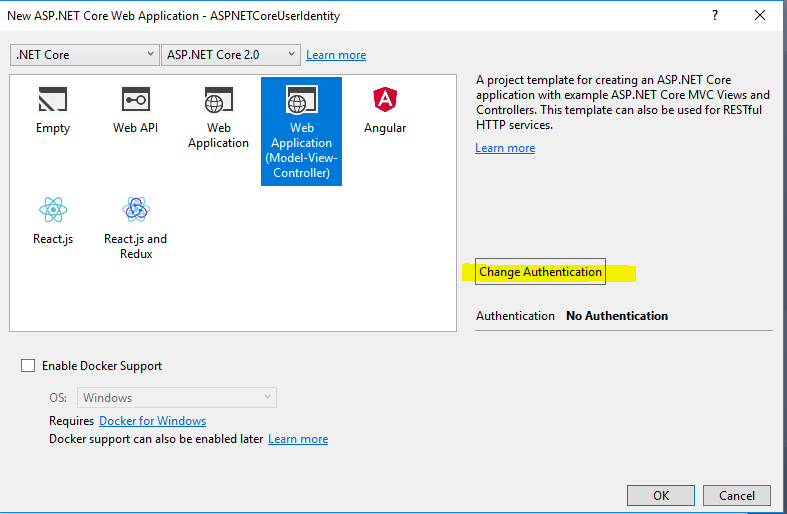
After installing our Visual Studio 2017, click Start, then Programs and select Visual Studio 2017 - Click Visual Studio 2017. Click New, then Project, select Web and then select ASP.NET Core Web Application. Enter your project name and click OK.

Select Web Application (Model-View-Controller) and click Change Authentication.
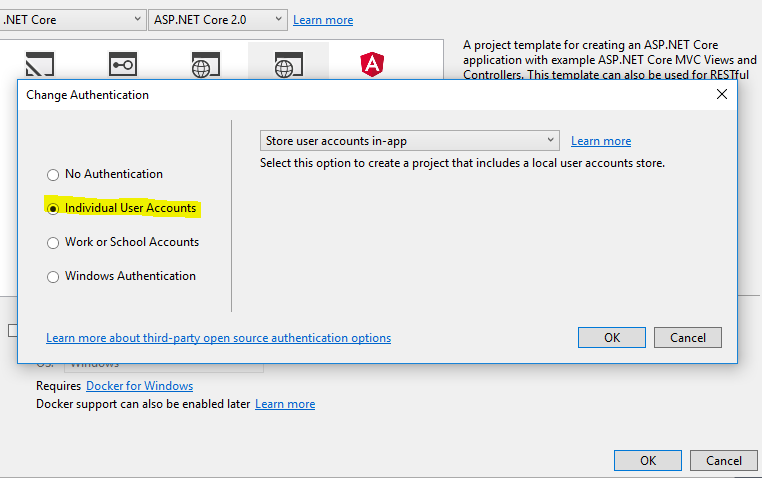
Select Individual User Accounts and click OK to create your project.
Updating appsettings.json
In appsettings.json file, we can find the DefaultConnection Connection string. Here, in the connection string, change your SQL Server Name, UID and PWD to create and store all user details in one database file.
"ConnectionStrings": {
 "DefaultConnection": "Server= YOURSERVERNAME;Database=InventoryDB;_
 user id= YOURSQLUSERID;password=;Trusted_Connection=True;_
 MultipleActiveResultSets=true"
 },

Step 3: Add Identity Service in Startup.cs
By default, in your ASP.NET Core application, the Identity Service will be added in Startup.cs file /ConfigureServices method. You can also additionally add the password strength while the user registers and also set the default login page/logout page and also AccessDeniedPath by using the following code:
services.AddIdentity<ApplicationUser, IdentityRole>()
 .AddEntityFrameworkStores<ApplicationDbContext>()
 .AddDefaultTokenProviders();

 //Password Strength Setting
 services.Configure<IdentityOptions>(options =>
 {
 // Password settings
 options.Password.RequireDigit = true;
 options.Password.RequiredLength = 8;
 options.Password.RequireNonAlphanumeric = false;
 options.Password.RequireUppercase = true;
 options.Password.RequireLowercase = false;
 options.Password.RequiredUniqueChars = 6;

 // Lockout settings
 options.Lockout.DefaultLockoutTimeSpan = TimeSpan.FromMinutes(30);
 options.Lockout.MaxFailedAccessAttempts = 10;
 options.Lockout.AllowedForNewUsers = true;

 // User settings
 options.User.RequireUniqueEmail = true;
 });

 //Setting the Account Login page
 services.ConfigureApplicationCookie(options =>
 {
 // Cookie settings
 options.Cookie.HttpOnly = true;
 options.ExpireTimeSpan = TimeSpan.FromMinutes(30);
 options.LoginPath = "/Account/Login"; // If the LoginPath is not set here,
 // ASP.NET Core will default to /Account/Login
 options.LogoutPath = "/Account/Logout"; // If the LogoutPath is not set here,
 // ASP.NET Core will default to /Account/Logout
 options.AccessDeniedPath = "/Account/AccessDenied"; // If the AccessDeniedPath is
 // not set here, ASP.NET Core
 // will default to
 // /Account/AccessDenied
 options.SlidingExpiration = true;
 });
Here is how we have added the ASP.NET Core Identity Services in our ConfigureService method looks like:

Step 4: Register and Create your First User
Now our ASP.NET Core web application is ready for a user to register on our website and also user can log in to our system after registration. We will be doing the Authorization by adding a role to a user in next steps. Build and run your application to register your first default Admin user.
Click on the Register link to register our first User.

Migration
When we click the Register button, we can see the below page. Don't panic with this page as for the first time run we need to do the Migration, just click the Apply Migrations button.

We can see the confirmation as Migration Applied and click Try refreshing the page message.

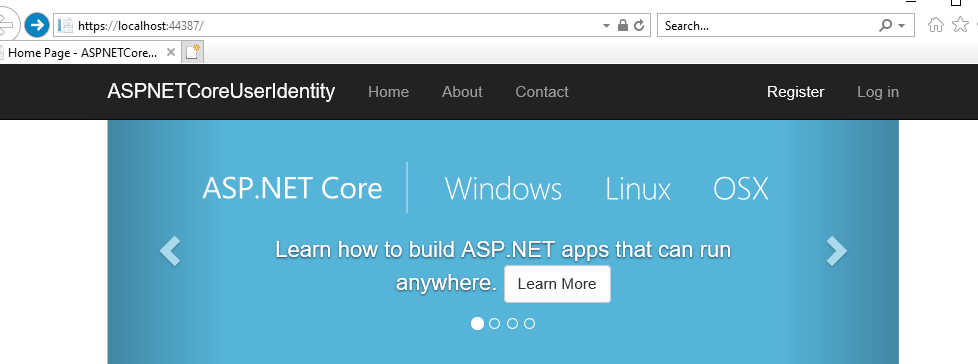
Refresh the page and we can see the newly registered user has been logged into our web site.
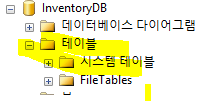
Refresh the Database
When we refresh our database, we can see all the Identity tables have been created.

We can check the aspNetUsers table to find the newly created user details. We can also see the ASPNetRoles and ASPNetUserRoles have no records as we have not yet created any roles or added a user to the roles. In the next step, we will add a new role as "Admin" and we will add the newly register user as Admin.

Step 5: Create Role and Assign User for Role
We use the below method to create a new Role as "Admin" and we will assign the recently registered as "Admin" to our website. Open Startup.cs file and add this method to your Startup.cs file.
private async Task CreateUserRoles(IServiceProvider serviceProvider)
 {
 var RoleManager = serviceProvider.GetRequiredService<RoleManager<IdentityRole>>();
 var UserManager = serviceProvider.GetRequiredService<UserManager<ApplicationUser>>();

 IdentityResult roleResult;
 //Adding Admin Role
 var roleCheck = await RoleManager.RoleExistsAsync("Admin");
 if (!roleCheck)
 {
 //create the roles and seed them to the database
 roleResult = await RoleManager.CreateAsync(new IdentityRole("Admin"));
 }
 //Assign Admin role to the main User here we have given our newly registered
 //login id for Admin management
 ApplicationUser user = await UserManager.FindByEmailAsync("syedshanumcain@gmail.com");
 var User = new  ApplicationUser();
 await UserManager.AddToRoleAsync(user, "Admin");
 }
From Startup.cs file, we can find the Configure method. Call our CreateUserRoles method from this Configure method. When we build and run our application, we can see new Role as "Admin" will be created in ASPNetRole table.

When we build and run the application, we can see the New Role has been added to the ASPNetRoles table and also, we can see as our default User has been assigned to the Admin Role.

Step 6: Create Admin Page and Set Authorization
Now we have an Admin user for our ASP.NET Core web application. As a next step, let's create one new page and set Authorization for this page as only Logged in and Admin user alone can view this page. For doing this, we create a new Controller named as Admin.
Creating Admin Controller
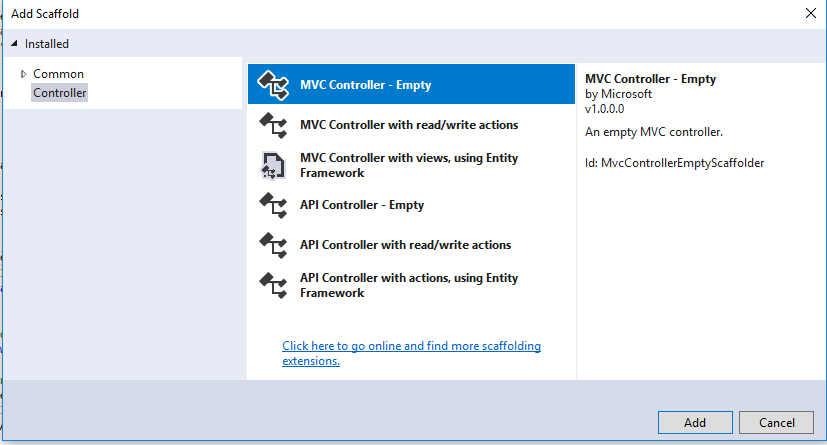
Right-click Controller folder and click Add New Controller, select MVC Controller - Empty and click Add.
Enter your Controller name as Admin and click Add.

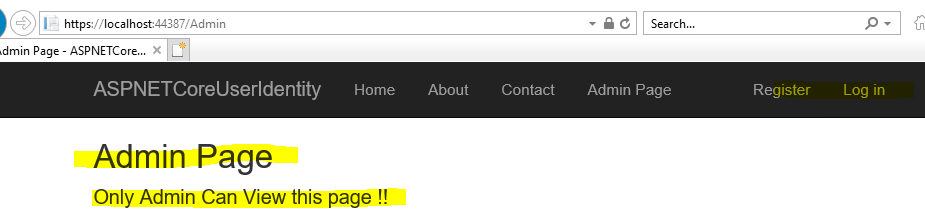
From the controller, right-click the Index and click Add View. Click the Add Button to create our View page.Open the Admin/Index.cshtml page to design for your need. Here, we have added simple text like below:

Next, we create a new Menu to display the Admin Page. For creating our new Menu, open the _Layout.cshtmlfrom Views/Shared folder. Add the menu as shown in the image below:

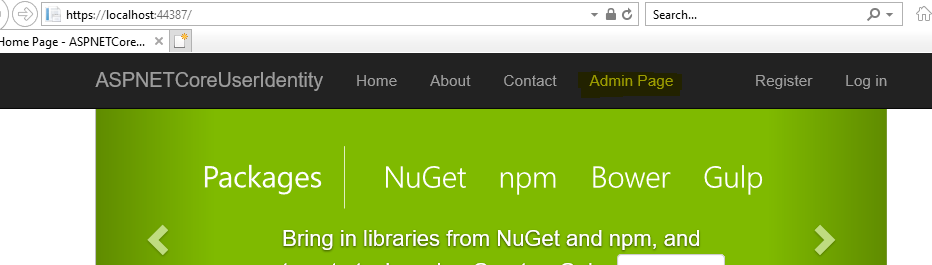
Now we have created the Admin Page and also added the menu for our Admin. We have created this page only for the Admin user and other users or non-logged in users should not see this page. What will happen If we run our application?
We can see a new menu "Admin Page" has been created and it's open to all now. This means that anyone can click the link and view the content of that page.
Here, we can see as we can view the Admin page with our Login.
Set Authorization
To avoid this, we use the Authorization in our Admin page controller. Open our Admin Controller and add the below line of code:
[Authorize(Roles = "Admin")]
public IActionResult Index()
{
 return View();
}
If we run our application and click on the Admin page, it will automatically redirect to the login page.
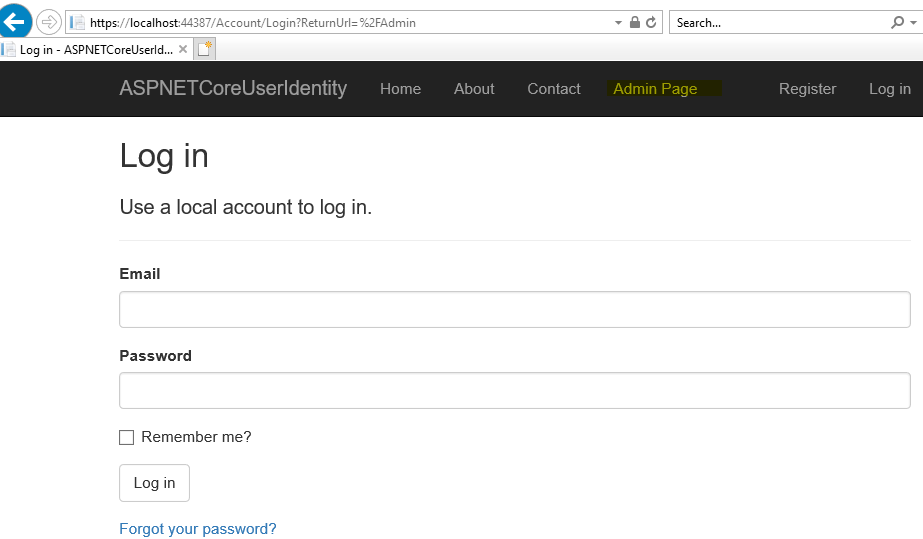
Note only the Admin Role Members will be able to view the admin page as we have set the Authorization only for the Admin Roles. If you want to add more Roles, we can use the comma in the below code:
[Authorize(Roles = "Admin,SuperAdmin,Manager")]
Step 7: Show Hide Menu by User Role
Now let's go one step forward as to show the Admin Menu only for the Logged in Admin users. To do this, we open our Layout.cshtml from Views/Shared folder and edit the newly added menu like the below code. Here, in this code, first we check whether the user is Authenticated, means Logged in, and then we check whether the user has the authorization to view the menu.
<li>
 @if (User.Identity.IsAuthenticated)
 {
 @if (User.IsInRole("Admin"))
 {
<a asp-area="" asp-controller="Admin" asp-action="Index">Admin Page</a>
 }
 }
 </li>
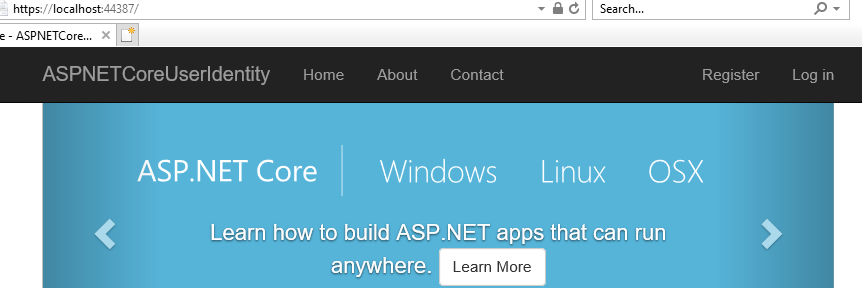
Run the application and we can see by default the "Admin Page" will not be displayed in our top menu. Logged in Admin Role user alone can view the menu.
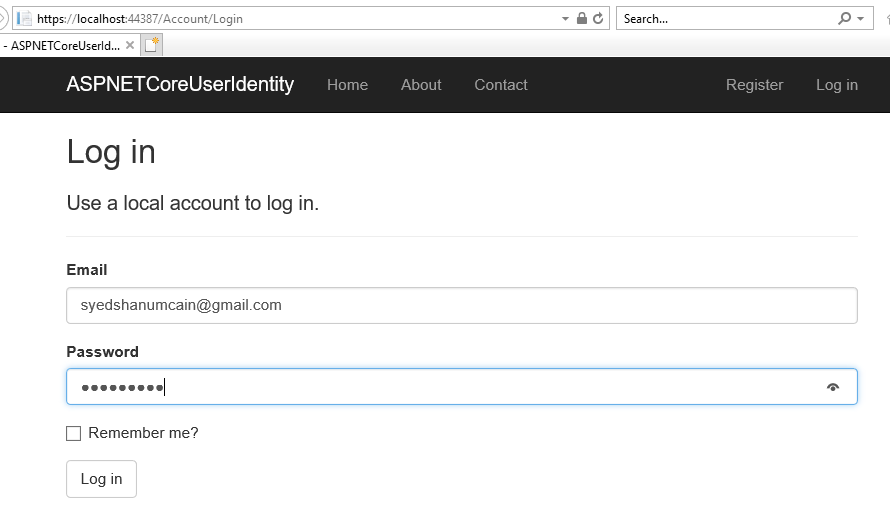
Let's try this to Login with our Admin user which we created initially.
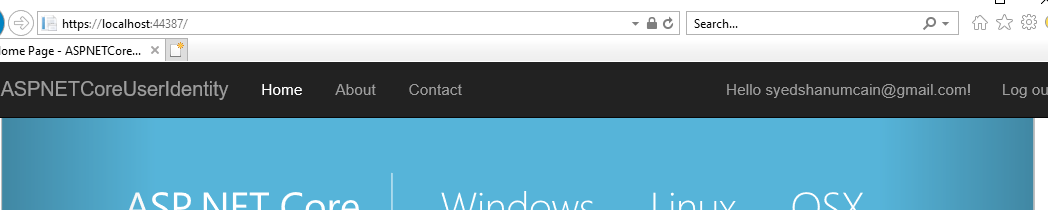
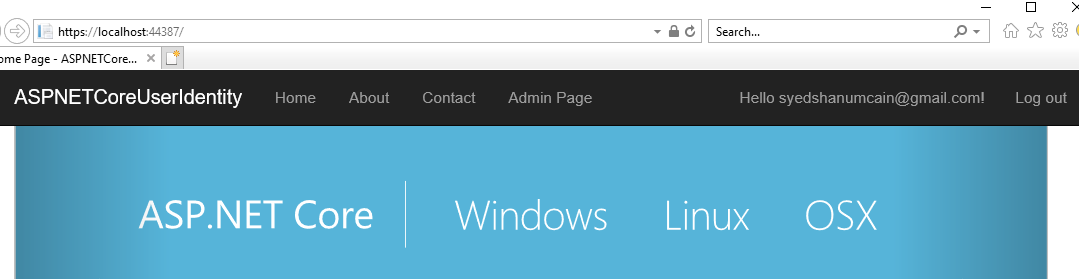
After Log in, we can see that the Admin user can view the Admin Page menu now.
Let's try with creating a normal user as we register new user now.

After the registration, we can see that for this user, we didn't add the "Admin&rdquorole and he has no access to view the Admin Page:
Conclusion
Firstly, create a sample InventoryDB database on your SQL Server. In the appsettings.json file, change the DefaultConnection connection string with your SQL Server Connections. In Startup.cs file, add all the code as we discussed in this article. In the next article, we will see in detail how to perform User Role management and customize the User Registration/Login Page in ASP.NET Core 2.0.
See Also
Download
Getting Started With ASP.NET Core 2.0 Identity And Role Management