Azure: Quickly update Primary NIC on your VM using Cloud Shell
In some cases when provisioning a new Virtual Machine on Azure or updating a VNet we might have troubles connecting to our VM, we will review a a quick TIP to generate a second NIC and update that NIC as primary for our Virtual Machine.
Pre requisites:
* Be sure to stop the VM before
* I´m assuming you already have a VM with a NIC and Static/Dynamic IP Address assigned.
Quick Steps
To update the second IP Address to primary IP Address (we can perform this through the Azure Portal):
- Generate a second IP Address in your NIC-1 and assign the new Static/Dynamic IP address.
- Generate a temporary "NIC-2 (temporary)" and assign it to the VM
- Then disassociate the "NIC-1" from the VM,
- Now make the second IP Address primary so that we can assure we have the right IP address associated.
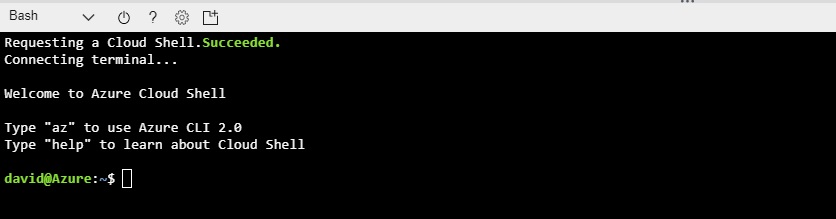
To update the IP Address in the Azure Portal, we can do it vía Azure Cloud Shell.
Go to your Azure Portal, click on the Shell Icon at the upper right icon:

Then the cloud shell will start, notice that it requires an azure storage account:
You can use the following cmd to set the second NIC as primary:
$ az network nic ip-config update --name "VM-PublicIP" --nic-name "VM-Nic2" --resource-group "VM-Network-westeurope" --make-primary
https://wikiazure.com/wp-content/uploads/2018/02/sap63-daverendon.png
Now go to the NIC2 and associate it to the VM:
https://wikiazure.com/wp-content/uploads/2018/02/sap66-daverendon.png
Now disassociate and delete the NIC-1.
Finally go back to the NIC2 and attach the NSG related to the ports we previously assigned, click Save
https://wikiazure.com/wp-content/uploads/2018/02/sap67-daverendon.png
Now go back to your VM, and start it.