Azure Cosmos DB: Introduction (Part 1)
Introduction
Azure Cosmos DB is Microsoft's globally distributed and multi-model database service.
Azure Cosmos DB enables us to elastically and independently scale throughput and storage across any number of Azure's geographic regions.Azure Cosmos DB allows us to create a database and manage the data which is distributed globally to any Azure region.
Azure Cosmos DB provides multiple APIs for following data models –
- SQL API -
- MongoDB API
- Cassandra API
- Graph (Gremlin) API
- Tables (Key/Value) API
Here are some key capabilities of Azure Cosmos DB –
- Using Azure Cosmos DB user can distribute the data globally to any Azure region with just a click.
- Provides multiple API to query and access the data using SQL, gremlin, mongo dB, Cassandra, and tables.
- Easily scale database throughput on demand at any time.
- Ensure ‘Always On’ availability with 99.99% availability SLA.
- No index and schema management in database.
Resource Hierarchy
In Azure Cosmos DB, databases are essentially containers for the various collections that each API uses. Collections are containers where we store individual entities. Containers have different names depending on API:
- DocumentDB and MongoDB: Collection
- Gremlin: Graph
- Tables: Table
Partitioning
In Cosmos DB, a partition key is a property to ensure that related documents are stored in the same partition. This means that documents with the same partition key would be stored within the same partition. In Azure Cosmos DB service, it automatically created partitions and distribute the data across these partitions. Also, when we create a set of data that data is transparently replicated to ensure the high availability.
In Azure Cosmos DB, a partition is a fixed amount of high-performance storage that contains data. When data grows beyond the capacity of a partition, the Azure Cosmos DB service automatically determines the number of partitions needed and how to distribute the data across those partitions.
Provisioning an Azure Cosmos DB Account
Let’s create an Azure Cosmos DB account using following steps –
Sign in to theAzure Portal (http://portal.azure.com).
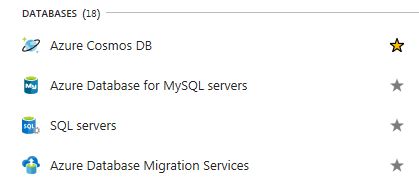
In the search option, type cosmos DB and select Azure Cosmos DB option as shown in below image
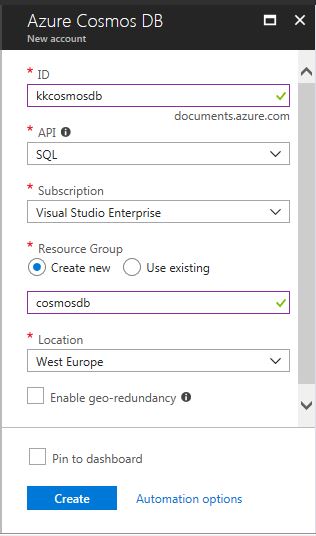
In the Azure Cosmos DB window, specify the desired configuration using the following steps:
First, enter a name in ID option to uniquely identify the account. It will become the host name within URI and a green check appear if validation is successful.
In the API section, select SQL API.
In the Subscription Section, select the Azure subscription that we want to use for the account.
In the Resource Group section, create a new resource group for our account of our choice. For a demo, I created resource group with name cosmos db.
Select Location to specify the geographic location which is closest to our current location to host our cosmos db account.
After providing all the details, click the Create button to begin the deployment.
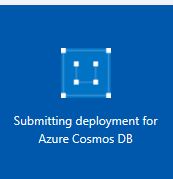
On the Azure portal dashboard, we will see the status of deployment as shown below –
After the Azure Cosmos DB account is created, we will see the name in the All Resource list in dashboard. Click on the Azure account to check the details of our azure cosmos db account –
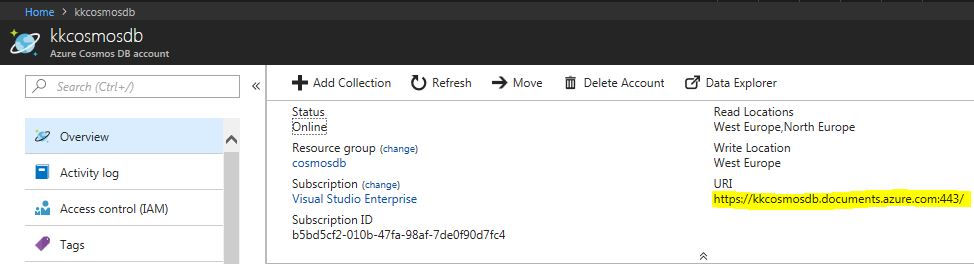
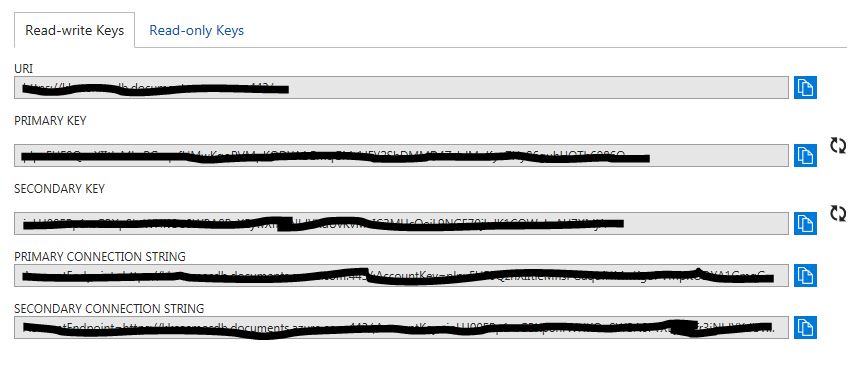
In the Azure Cosmos DB account blade, click the Keys option on the left-hand side of the blade to view account information like Read-Write keys and Read-only keys.
So, this is how you can create the Azure cosmos DB account with the desired API with few clicks.