Azure Storage: Create Azure File Share
Azure Files supports the Server Message Block protocol standard (SMB) and gives the capability to create a file share to an on-premises server as a mapped network drive.
Create Storage Account
Enter all the necessary fields and click Create.
| Setting | Value |
| Name | Type the storage account name, must be unique |
| Deployment model | For new deployments, select Resource manager, for existing deployments, select Classic |
| Account Kind | For more details, visit the following link |
| Location | Select the storage account location |
| Replication | For more details, visit the following link |
| Performance | HDD drives are for Standard Performance and SSD drives are for Premium Performance |
| Secure Transfer required | For more details, visit the following link |
| Subscription | Select Azure Subscription |
| Resource group | Select the Resource Group for the storage account deployment |
| Virtual networks | If enabled then Vnet(existing or a new one) can access this storage account |

Open storage account blade and click Files.
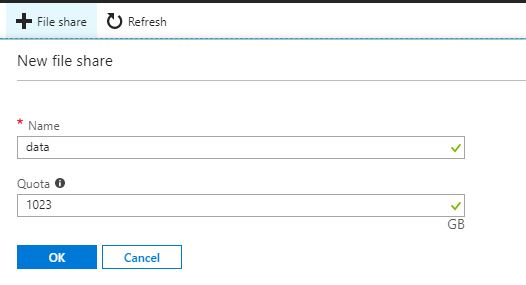
Create New File Share
After Files blade opens, click the File Share button on the menu.

Specify Name and Quota fields
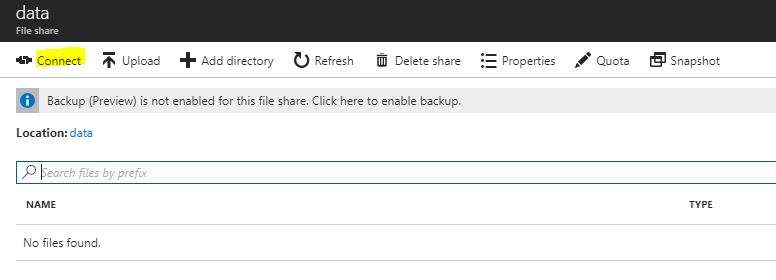
To map to a network drive, right click on new File share and select Connect.
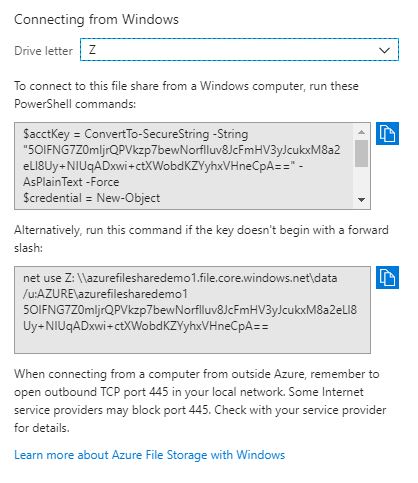
Now, the Azure File Share is mounted on the local machine


Conclusion
In this post, we learned how to deploy an Azure file share and mount it on a local computer. Anyone can have immediately one brand new and secure new network drive.