Azure: Self-Service Password Reset
Self-Service Password Reset is a useful tool to help with reducing the Burdon on the service desk whilst empowering users and enabling them to have more control over their accounts. It allows users to be more productive, reducing the amount of time to report the issue to the service desk and reduces end user frustration.
For licensing requirements please see this link: /en-us/azure/active-directory/authentication/concept-sspr-licensing
The below steps enable SSPR with Writeback:
First, you need to enable writeback in the Azure AD Connect tool. A guide to do this is here /en-us/azure/active-directory/authentication/howto-sspr-writeback
One thing to note when making setting changes within Azure is to click save at the top of the window you have open when you have made changes.
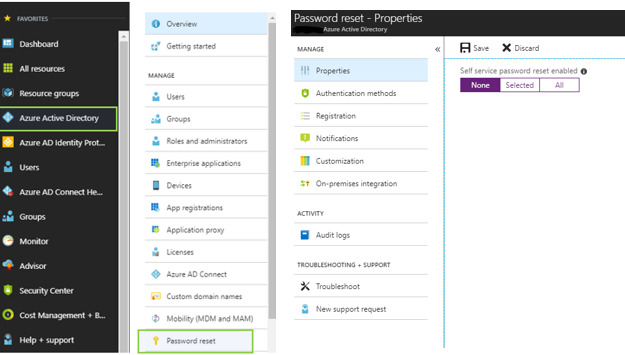
Open Azure Active Directory then Password Reset. Open the properties tab and then specify if you would like to enable SSPR for selected, or all users. If you chose to enable for selected, you will have to specify an individual or group of users.
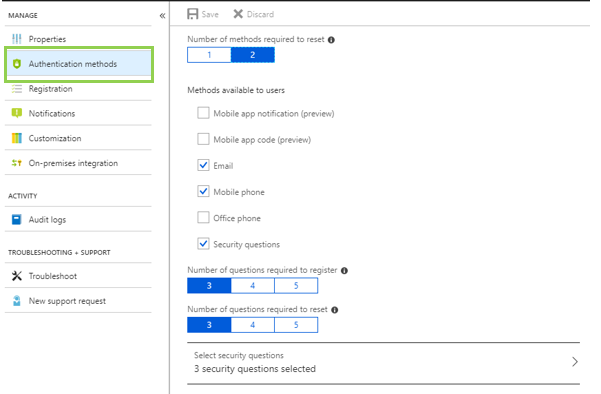
On the Authentication Methods tab, you can select what authentication methods you want the users to use to enable them to manage their passwords. In my example, I have enabled Email, phone and security questions.
You can choose the number of security questions you would like the users to answer, as well as what the questions are.
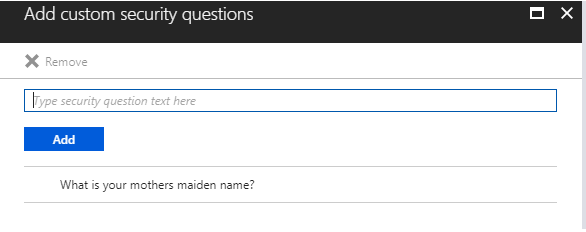
You can select from the set of predefined security questions, as well as create your own custom questions. The set of predefined questions are quite extensive but in my case, I wanted to use “Mother’s maiden name” as an option which wasn’t in the predefined list. You can use all custom questions or all predefined which is up to you to choose.
To add a predefined question, click the + next to Predefined.
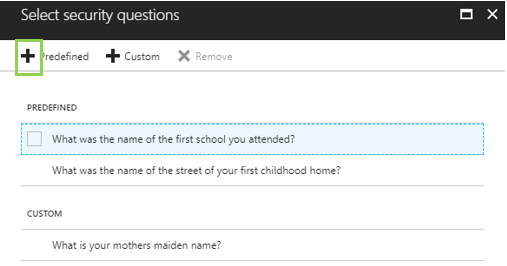
To add a custom question, click the + next to Custom, and then type in the question you would like to use, then click Add.
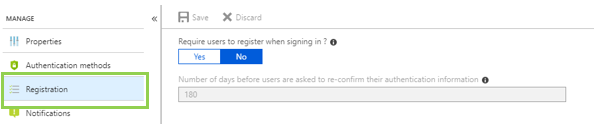
On the registration tab you can choose to force users to have to register for SSPR when they next sign in, and the number of days until it asks them to re-confirm their authentication information.
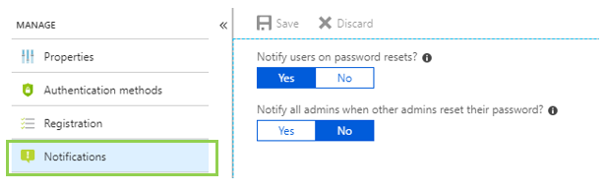
The notification tab allows you to select whether to notify users if their password has been changed. Which is a great security step as they will be notified if someone else has changed their password?
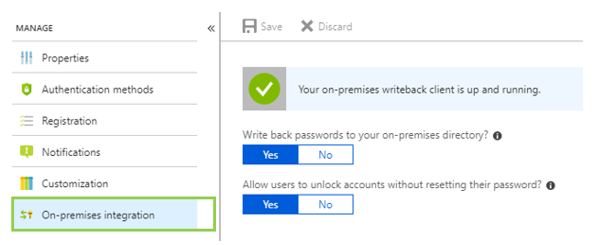
The On-premises integration tab verifies that you have enabled password writeback in the Ad Connect tool which is documented at the start of this document. As well as whether to enable users to unlock accounts without resetting their password.
Once the above has been configured you can test SSPR. If you have chosen to force users to register when they log in they will be asked to enter their authentication details when they log in, or you can email them and ask them to browse to https://aka.ms/ssprsetup.
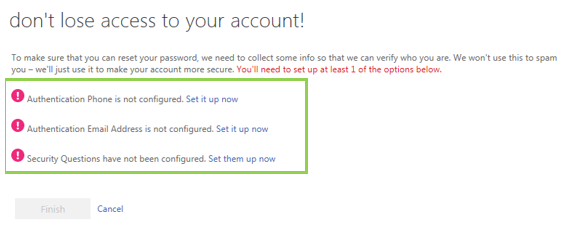
Below are what users will first see. Users must enter details for each of the authentication options you have forced them to configure.
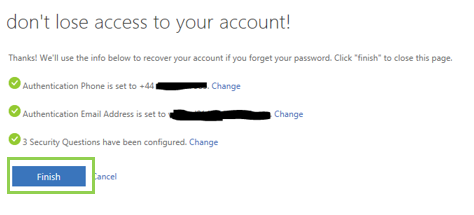
Once you have entered all the required authentication details, click finish and this will redirect you to your applications.
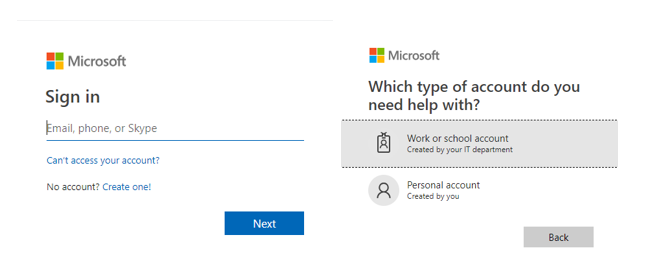
Below are instructions on resetting your password once authentication information has been configured. You can do this from either the link below or by clicking on the “Can’t access your account” link on the Office 365 login screen, then select “Work or school account”.
https://passwordreset.microsoftonline.com/
You then need to verify who you are by typing in your email address and the CAPTCHA information shown in the box. On the next screen, you select what issue you are having with your password.
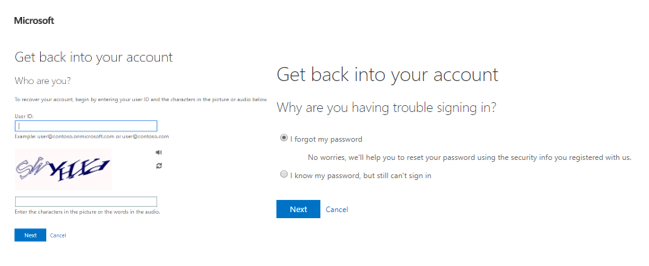
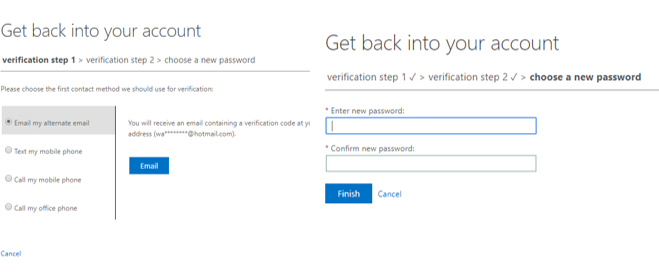
You must pass two verification steps to enable you to reset your password. You can choose any two of the steps shown in the screenshot below. If you successfully pass them both, you are then prompted to type a new password.
If you chose the option above “I know my password but still can’t sign in”, you will have to complete the same verification steps. Once verified it will unlock your account.